Gifts created with their own hands, often have an extravagant and impressive appearance. Interestingly decorated egg kinder surprise can be presented as a main gift or as an addition to the main, because besides the delicious chocolate inside the egg there is also a small toy. We offer several interesting master classes on the self-made bouquets of kinder surprises.
- Bouquet 1
- Bouquet 2
- Bouquet 3
- Bouquet 4
- Basket with surprises
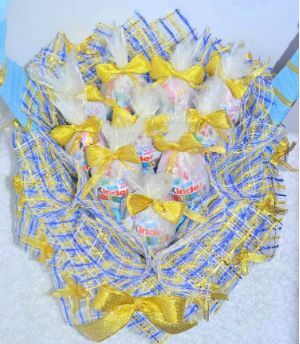
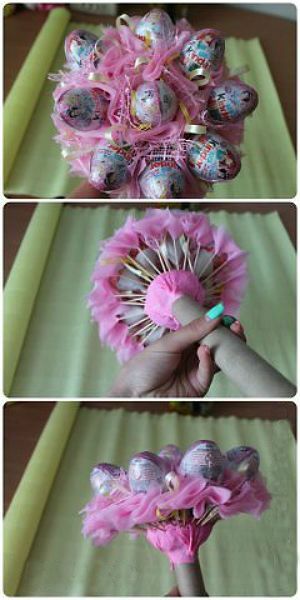
Bouquet 1
Such a bouquet will definitely become a surprise for the person to whom it is presented. It can be a girl and a boy.
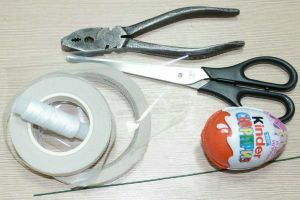
Necessary materials and tools:
- the desired number of chocolate eggs;
- floral tapes;
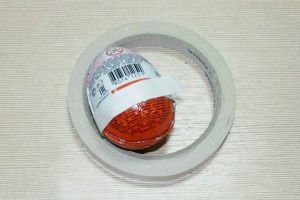
- double sided adhesive tape;
- thread;
- scissors;
- pliers or pliers;
- wire( to pick up you need medium hardness and thickness);
- transparent polyethylene for decoration of colors;
- organza or polyethylene film for the final design of the bouquet;
- dry stems, leaves, flowers and ribbons for decoration.
Master-class for making a bouquet:
- Measure and bite off the necessary number of equal lengths of wire with the pliers, the ends of the wire should be twisted with spirals so as not to damage the egg packing.

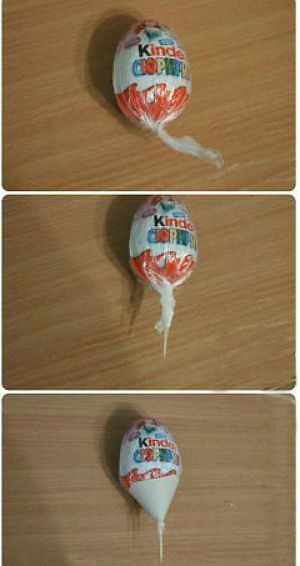
- The lower part( about a third) of the kinder around the whole circle is wrapped with double-sided tape.
- Adhesive tape on polyethylene tape( measure it so that a piece of film is enough for the entire diameter of the egg).
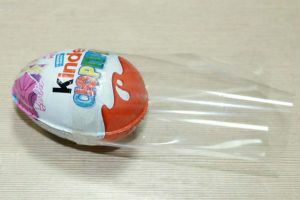
- To the bottom of the kinder, attach the wire with a spiral to the egg and secure with a thread.
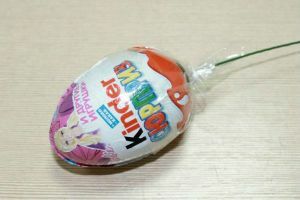
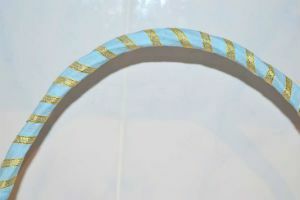
- "Stem" is wrapped with a tape tape to secure the film and give aesthetic appearance.
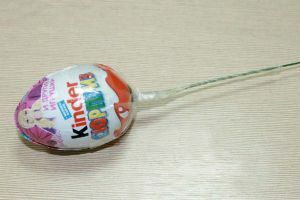
- Each "flower" from the kinder wrapped in an organza or colored film.
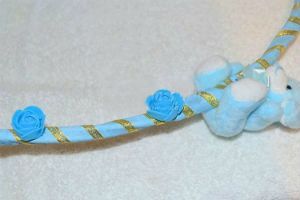
- Collect all the kinder in a bouquet and decorate with ribbons and flowers.

Bouquet 2
Materials and tools required:
- kinder surprises;
- wooden skewers;
- paper napkins in various colors;
- green tape;
- scissors;
- green two-sided paper or cardboard.
Master-class for making a bouquet:
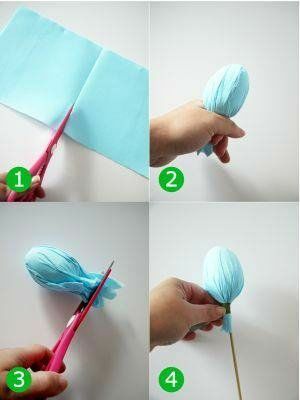
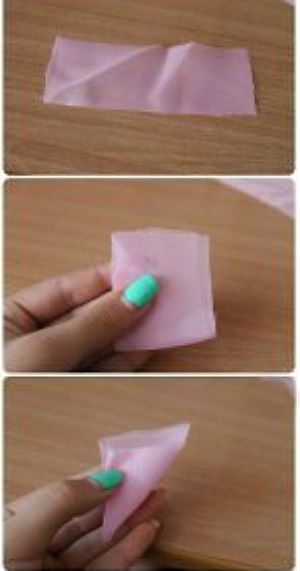
- Cut a napkin into 2 halves.
- Gently wrap one half of the napkin of a kinder surprise.
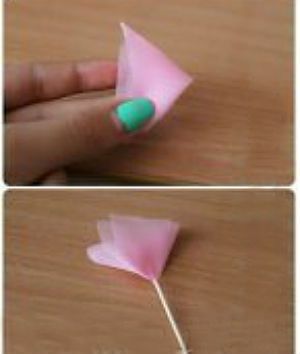
- The corners of the napkins are cut evenly.
- The skewer is attached to the egg with a tape.
- Ribbon the skewer to the very end.
- Of green paper cut out the leaves of the tulip.
- Ribbon to attach a pair of leaves to the "stem" of the flower.
- Leaves bend as shown in the picture.
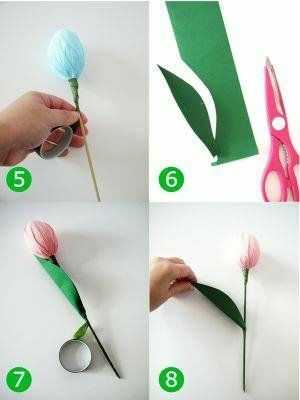
- Tulips to collect in a beautiful bouquet and, if desired, decorate it with organza, ribbons or rhinestones.
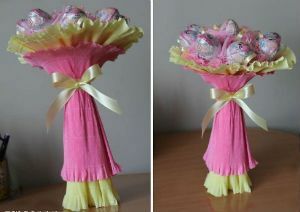
Bouquet 3
Materials and tools required:
- chocolate kinder surprises;
- tube made of cardboard( can be taken from a roll of paper towels or a roll of packages);
- a piece of penoplex;
- glue gun;
- double-sided thin transparent scotch tape;
- stationery stapler;
- cardboard;
- food film;
- scissors;
- toothpicks;
- tapes, decorative mesh, corrugated paper of two colors;
- piece of fabric to create decor elements.
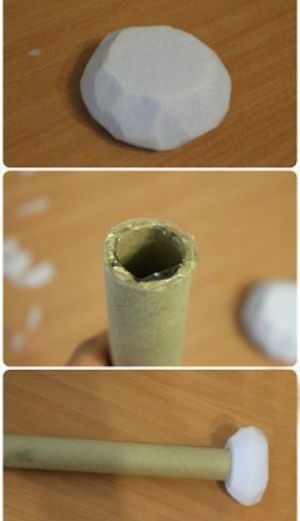
Master-class for making a bouquet:
- Cut a piece of penoplex as in the picture and paste it onto a cardboard tube.
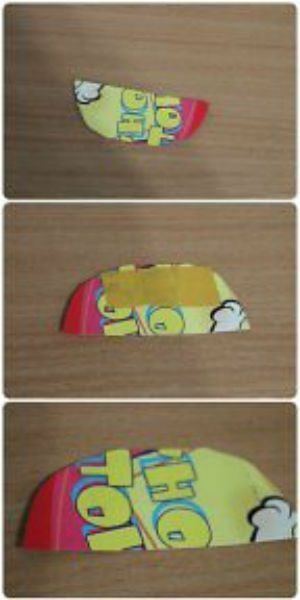
- Cardboard cut into a semicircle. The number of blanks should be equal to the number of kinder. To each piece stick a strip of scotch, and then twist them into funnels and secure with a stapler.
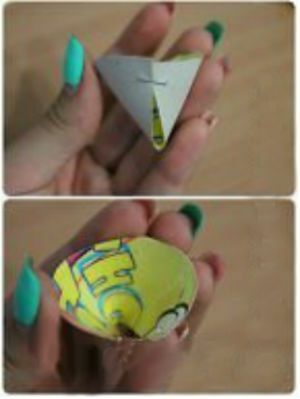
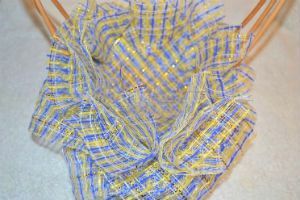
- The egg is wrapped with food film, the remaining "tail" of the film is wrapped around the toothpick and put on the top of the funnel( it is first necessary to remove the top film from the scotch tape) and wrap it with a decorative mesh.
- The fabric is cut into rectangles measuring 5 by 10 centimeters( about 40 pieces), making the blanks as in the picture and attaching them to the toothpicks with a double-sided adhesive tape.
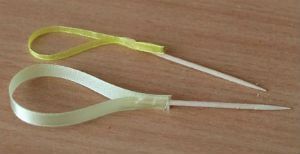
- Tapes to cut into strips( approximately 10 centimeters, you can make different sizes), fold with a loop and attach with adhesive tape to the toothpick.
loading. ..
- All created bouquets bouquets must be inserted into the foam.
- The bouquet's leg is wrapped in corrugated paper as in the picture, fastened with staples and decorated with a ribbon bow.

Bouquet 4
This is the easiest way to create a bouquet, which even a child can cope with.
Necessary materials and tools:
- egg kinder surprise;
- corrugated multi-colored paper;
- wooden scoop or sushi stick;
- green tap-tape;
- thread;
- scissors;
- glue;
- stationery stapler.
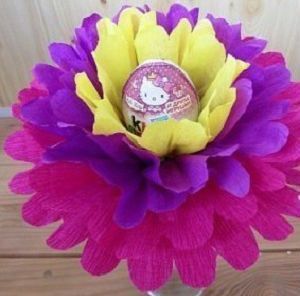
Master-class for making a bouquet:
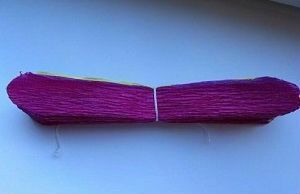
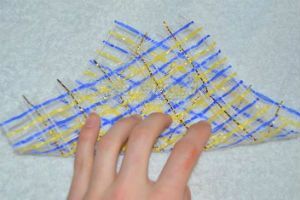
- Cut corrugated paper in the same pieces. Each piece of folded accordion and fasten them together with a thread in the center( it is better to start with a light tone of paper and observe a smooth transition between shades).
- Scissors round the edges of the resulting multi-colored accordion, forming a petal of the flower.
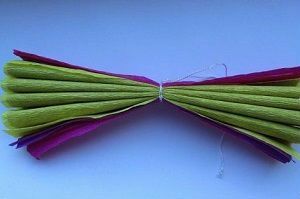
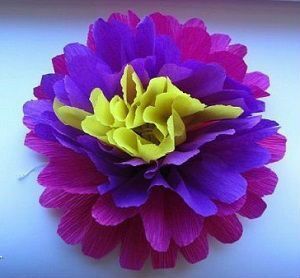
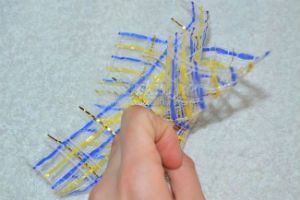
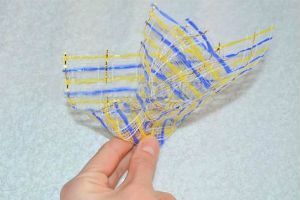
- Starting from the center, unfold the paper, trying to make the flower more magnificent.
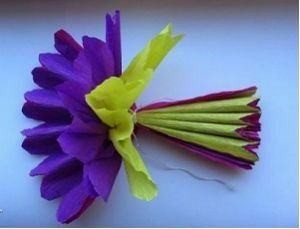
- The edges of the flower halves are best to glue together, or neatly secure the stapler with staples.
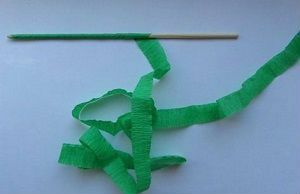
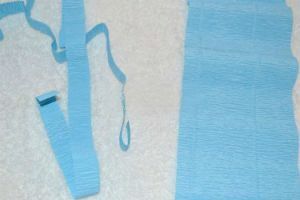
- To create a "stalk", cut the green paper tape 1 cm wide and wrap the wooden stick, periodically attaching the paper to the skewer.
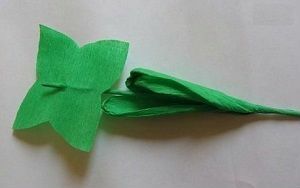
- The leaves of the flower are also cut from green corrugated paper, threaded onto the previously created stem and fixed with a tap-tape or glue.
- With the sharp end of the stalk stick it is necessary to pierce the flower in the center, and then insert inside the egg( it must be strung on a stick).
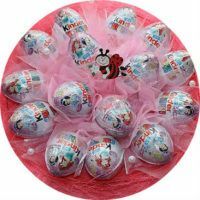
Basket with surprises
This basket will be a wonderful gift or addition to the cake for children's parties.
Tools and materials
For registering the basket:
- desired number of kinder;
- a small basket of vines;
- Crepe paper of any color;
- decorative mesh;
- thin ribbon;
- hot glue;
- scissors;
- decorative flowers, toys.
For decoration of eggs:
- organza;
- tape;
- polystyrene foam( thin, matching the bottom of the basket);
- beads, ribbons, rhinestones.
Master class on the design of the basket:
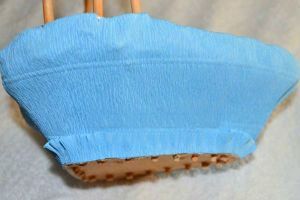
- Add the crepe paper to the basket with glue. At the bottom of the basket make ruches for beauty.
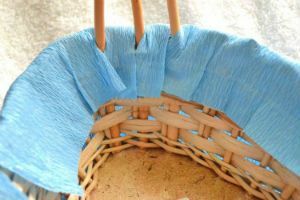
- Decorative mesh cut into squares( about 10 by 10 centimeters) and glued to the bottom and the inner perimeter as shown in the photo.
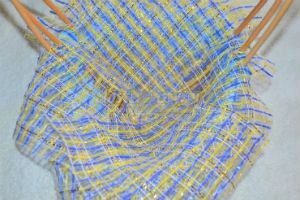
- For the second row, fold the grid squares in a special way( as shown in the photo) and attach with glue to the bottom of the basket.
- Cut crepe paper in long strips( no more than 1 centimeter in width);
- Wrap the received paper strips with the handle of the basket, fix the edges with glue. In addition, wrap the handle with a ribbon and fasten the decor elements.
- Each egg is wrapped in an organza, inside, under the bottom of the egg, put a small square of thick paper( so as not to damage the candy package with glue).Organza on top of tie with ribbon and make a bow( ribbon take the color of the one on the handle of the basket).

- Stick the foam on the bottom of the basket, cover it with crepe paper on top to hide all the shortcomings.
- You can attach ribbons to the decorative grid.

- To firmly fix the kinder to the basket, they should be put on the adhesive pressing to the foam plastic( glue applied to the base of the egg, where paper is placed under the organza).
- In the end of the work between the kinder, gently lay the organza, if desired, attach beads, rhinestones or other ornaments.