
How to draw a camomile?
Contents
- How beautiful to draw a daisy in pencil step by step for beginners?
- Chamomile: drawing with a pencil for children
- Video: drawing of a camomile with children a water color
- Drawings and sketches of a camomile for a drawing
- How to draw a bouquet of camomiles in pencil step by step?
- Chamomile: drawing in watercolor stage by stage
- Video: camomile
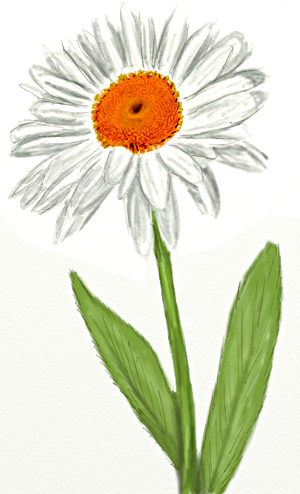
Camomiles are delicate and beautiful flowers. Particularly impressive are chamomile flowers, collected in bouquets or small groups, if you draw them, sitting in a sunlit glade.
You can paint flowers in simple pencil. Do not worry about not being able to convey bright and delicate colors: using a smooth glare, light and dark areas, you draw a flower no worse than using a set of colored pencils.
But if you still want to make the drawing more close to reality, then for you - step by step drawing lessons in watercolor.
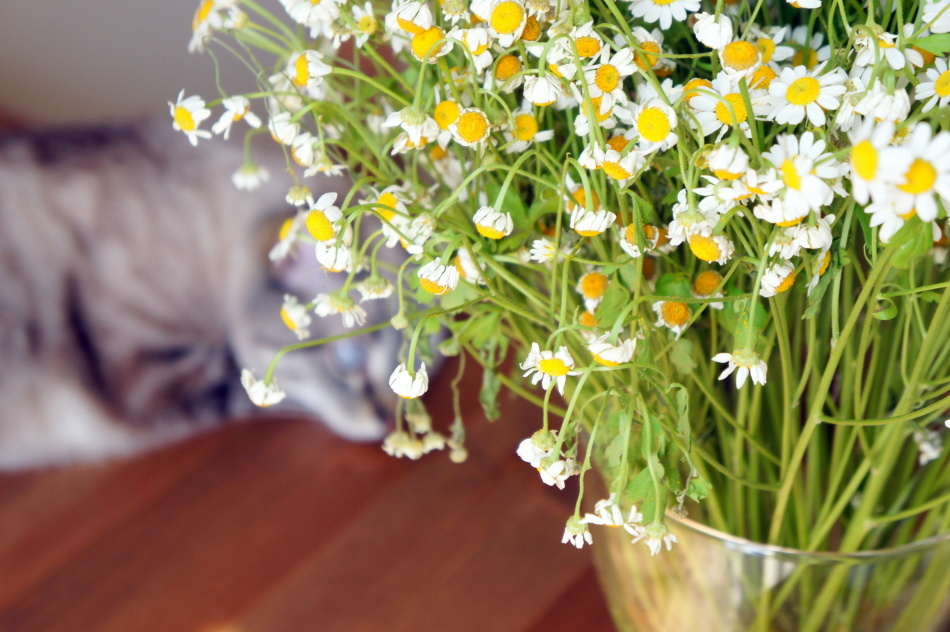 Bouquet of camomiles
 How beautiful to draw a daisy in pencil step by step for beginners?
For drawing it is necessary to prepare:
- thick paper
- simple pencils: soft( B2),( B4) and hard( H)
- eraser
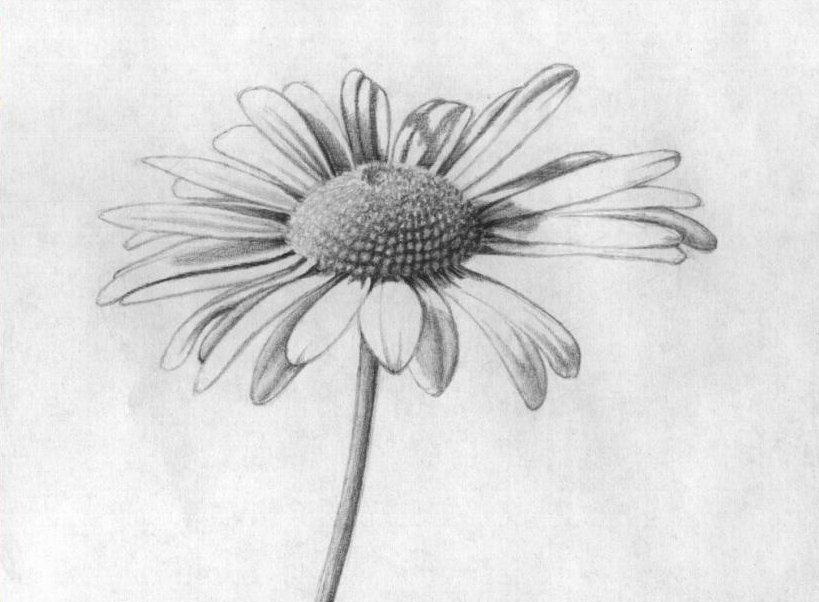
Let's try to draw a simple but impressive chamomile pattern. The lesson is for beginners, but requires attentiveness and patience.
Not always it will be immediately clear the purpose of this or that line, but it is only necessary to repeat exactly all the stages of creating a picture. The end result is worth the effort and time!
We will draw such a daisy.
Step 1:
- For drawing the main chamomile contours we will use a solid pencil. Let us estimate how much the flower of the place on the sheet will occupy and separate the working surface by a rectangle-frame. Inside the rectangle we will create our masterpiece.
- First, draw a core or eye of a chamomile. We depict it in the form of a not very large oval. Let's mark the second large oval of the edge of the future petals.
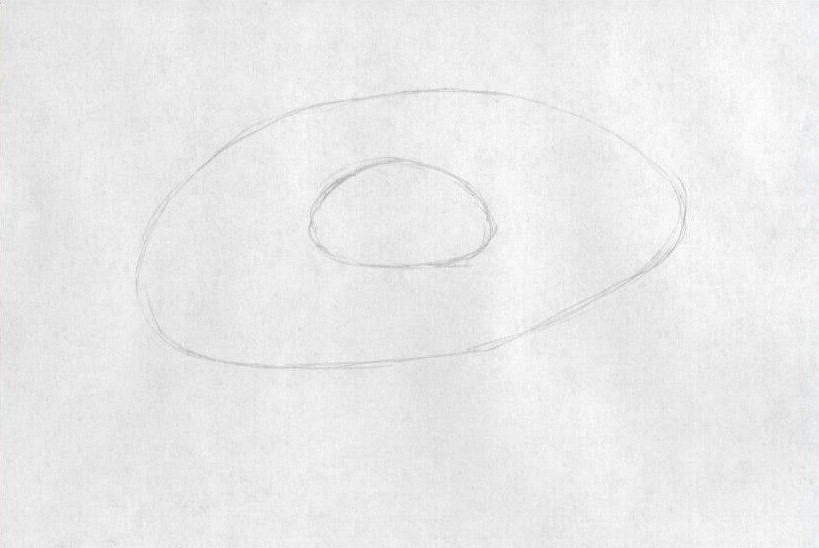 Draw the circle
 Step 2:
- Begin to draw a solid pencil in a circle, each petal. The shape of the petal is a very elongated oval. Their size should be 1.5 times the core.
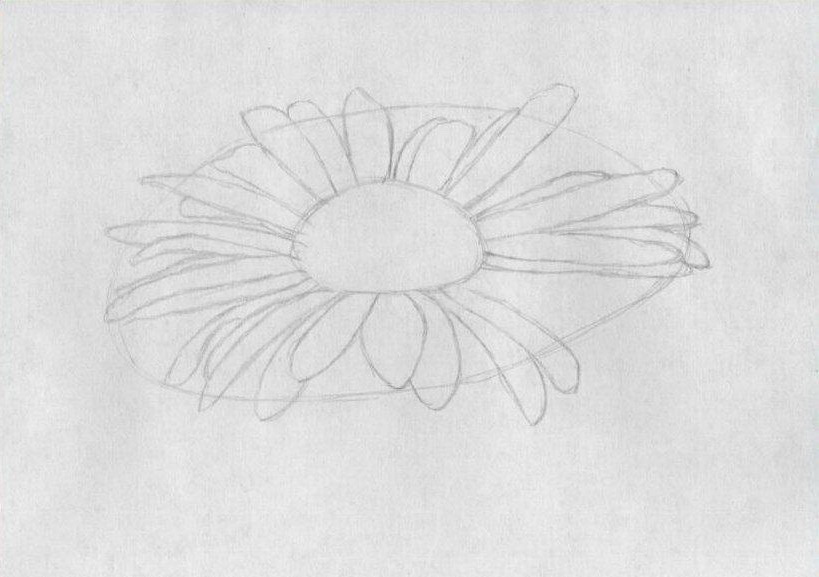 Drawing the petals
 - At the base of the petals we draw a slightly narrowed, as if cutting off the edges of the core. The tips of the petals may be slightly rounded or sharp.
Stage 3:
- At the top of the core, draw another small circle, from which we will draw the lines down to the outer edge of the core. Inside the grooves traced in this way, we will draw rows of seeds.
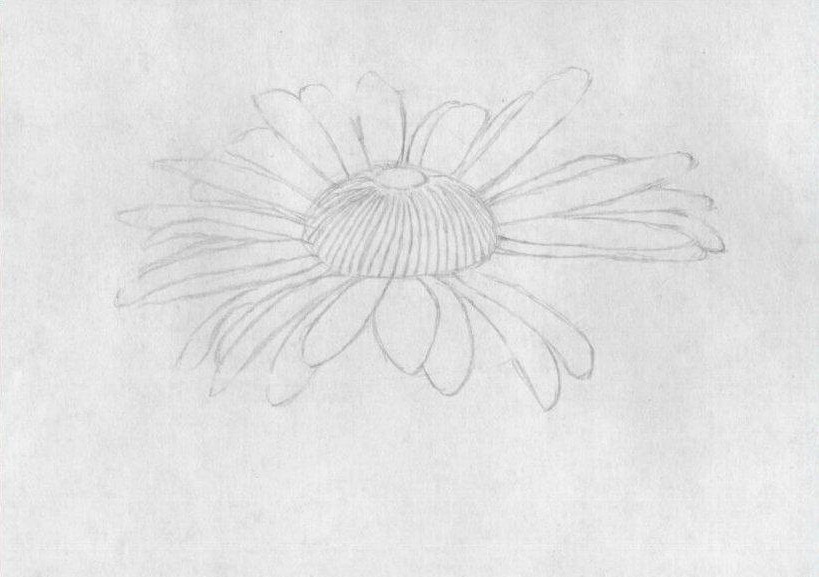 We take a few minutes to core
 Step 4:
- We draw the seeds in the form of circles. We follow the boundaries of grooves: the circles should not go beyond them.
 Drawing seeds
 Step 5:
- Now go to the tint. Spread the space around the seeds with a soft pencil. Note: the right side is in the shade, and the left side is under the lighting.
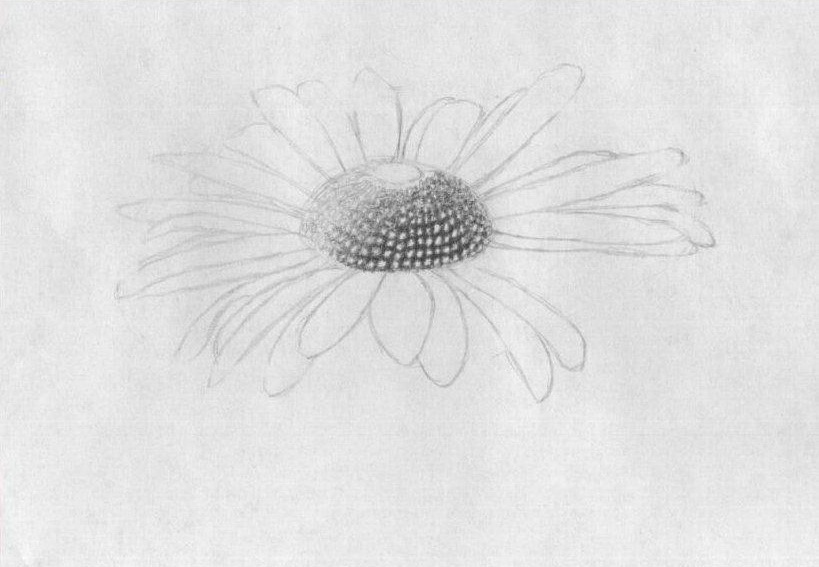 Strengthen shadows
 Step 6:
- The top of the core should also be darkened at the edges.
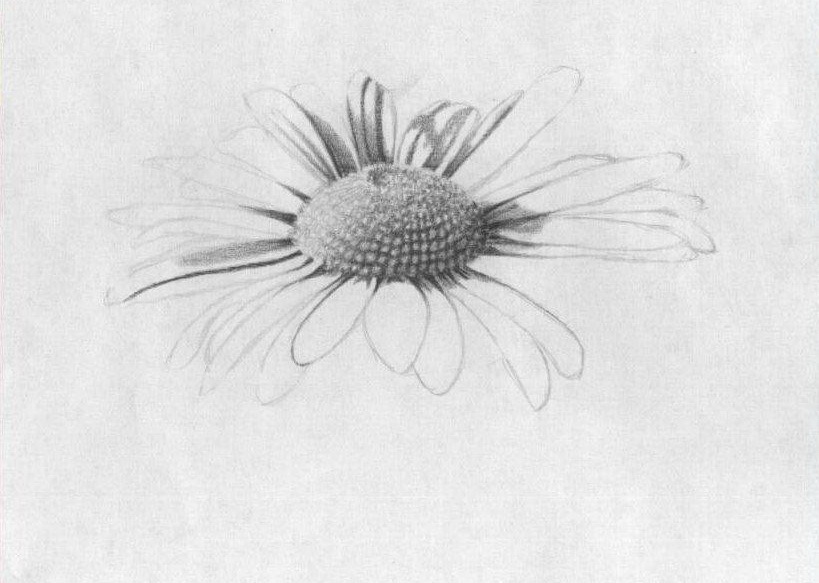 Begin to shade the petals of
 Step 7:
- Take the soft pencil( B4).We will need to transfer the shadows on the petals. To make them the same as in the figure, you need to roughly outline the border of the shadow and only then proceed to the gloss.
- Try this method. It will greatly simplify your task. It is much easier to paint a certain area, than with each new stroke to check with the original.
 Detailed drawing
 Step 8:
- With a soft pencil we continue to shade the petals. We specify the stem line and shade it, remembering that the right side is shaded, and the light source is pointed at the left side.
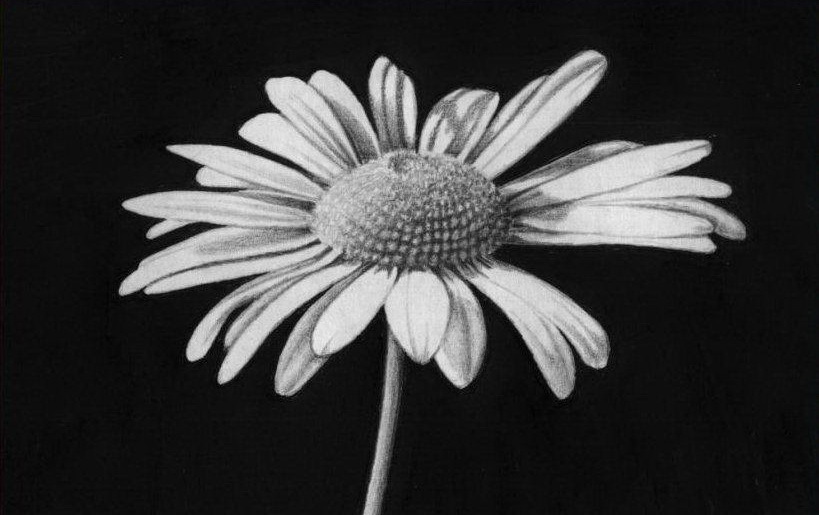 Finished chamomile
 Step 9:
- Paint the background with a soft pencil.
The second version of
This drawing can be done with colored pencils. To make the daisy beautiful, like a real one, you need to make a preliminary markup. If this simple rule is followed, the petals will be symmetrical and even.
Beginners usually begin the pattern from the core, instead of first tracing the stem and outline the contours of the bud.
Repeating step by step all the steps, you will see that it is not difficult to draw a daisy.
1. Contours of the stalk and bud of chamomile
Draw a circle of the bud, from which we take the stem line down. Now it will be much easier to withstand the proportions and arrange the petals exactly along the circle of the core.
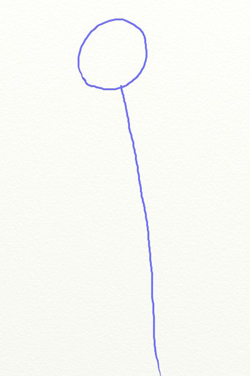 Drawing the stem line and marking the place of the future bud around the
 2. The outer edge of the
petals. Draw the circle around the core. She has more than twice the diameter. The outer border will allow you to paint inside the petals, without worrying that they will be of different lengths. The width of the petals should also be the same.
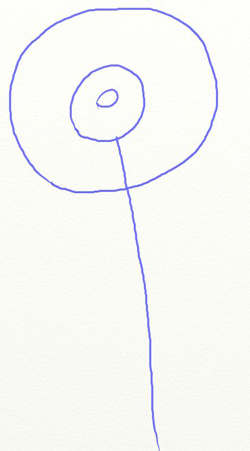 Drawing the outer edge of the petals
 3. Petals
To make the petals look even and neat, they will have to be worked on above them. Petals will draw, slightly changing both the size and length. Do not be afraid to draw some long petals that go beyond the outer border.
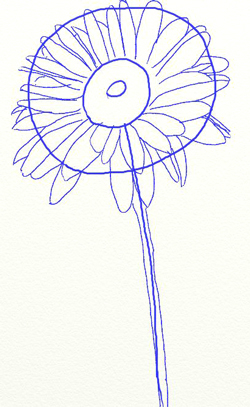 Drawing the petals
 After all, in nature on a daisy can not be calibrated absolutely identical petals. Along the stalk line, we draw two more straight lines. At the flower itself, the stem will be drawn a little wider - it will be a cup.
4. Leaves and details
The leaves of the chamomile draw a sharp. They can be small and big. The main thing is that they look harmonious in the drawing. Add streaks on the leaves.
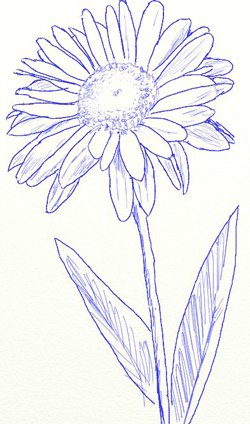 Drawing leaves
 5. Completion of
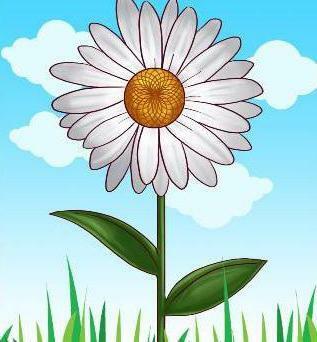
In order to decorate the daisy, you will need colored pencils or colors of yellow and green. To revive the drawing, which depicts one daisy, you can draw a butterfly or a bee.
 Gentle chamomile ready
 Chamomile: drawing with a pencil for children
Children often take to draw flowers, but a beautiful drawing can only come out after the available explanations of an adult. How do you get out of a difficult situation for parents who do not have special abilities for drawing?
Do not "extort" the same image of the flower, erasing the eraser and throwing out not one sheet of paper, until you get at least some kind of flower? To prevent the baby from becoming frustrated because of the unsuccessful drawing, try to draw a beautiful daisy flower with him, following our step-by-step recommendations.
Step 1:
Begin drawing from the stem: pull out one curved line from below and run parallel with it. But do not make the stem too thick. At the top of the stem draw a circle - this will be the middle of the daisy.
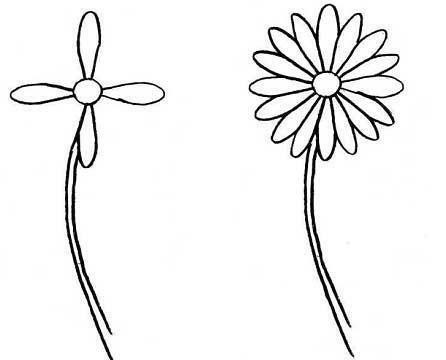 Draw the stem and the petals of the
 Step 2:
Begin drawing the petals. First, draw four narrow and long petals, located in pairs opposite each other.
After two pairs of petals have taken their places in the picture, start adding three petals between them, keeping symmetry, length and width. When the petals are drawn, you can proceed to the next step.
Step 3:
Draw two leaves: long and narrowed at the top.
Now you can paint chamomile. Seredinka - yellow, petals in some places can be decorated with a gentle blue color, and the leaves - in green.
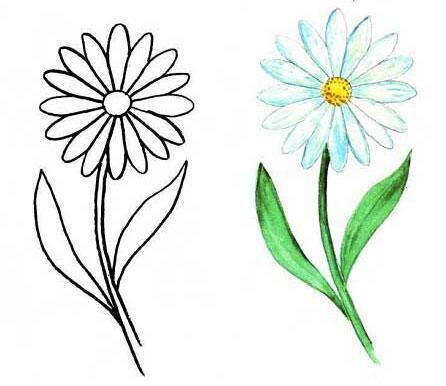 Adding leaves and decorating
 Video: drawing of a camomile with children by a water color
Drawings and sketches of a camomile for serevovanija
Sometimes children ask to help them draw a flower. And it's good if at hand there are simple but beautiful schematic images of the desired flower. You will only have to offer the child to choose what you like and show how to reproduce the picture.
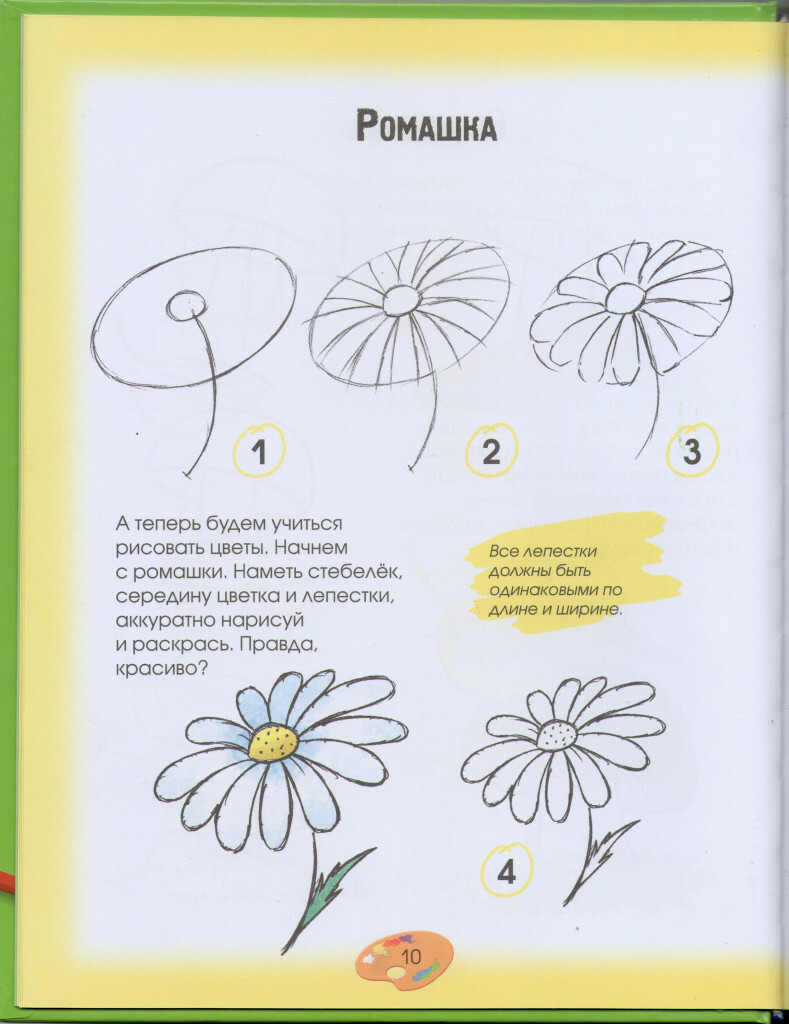 How to draw a camomile?
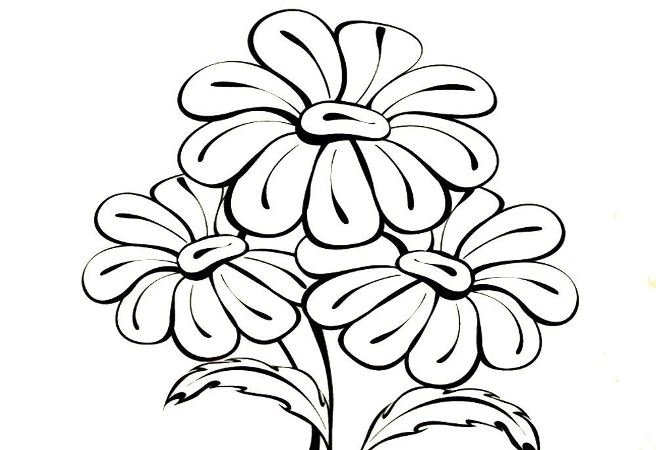
 Scheme of staged chamomile drawing
  Chamomile in bouquet
 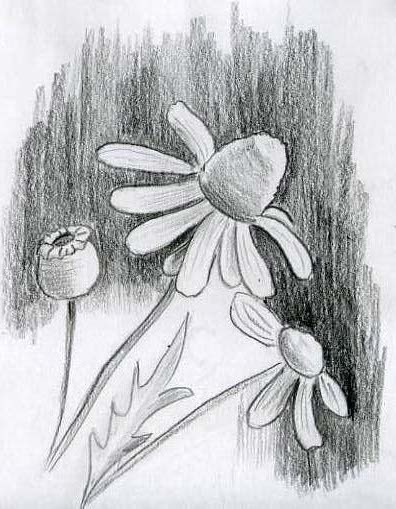 Simple but original drawing
 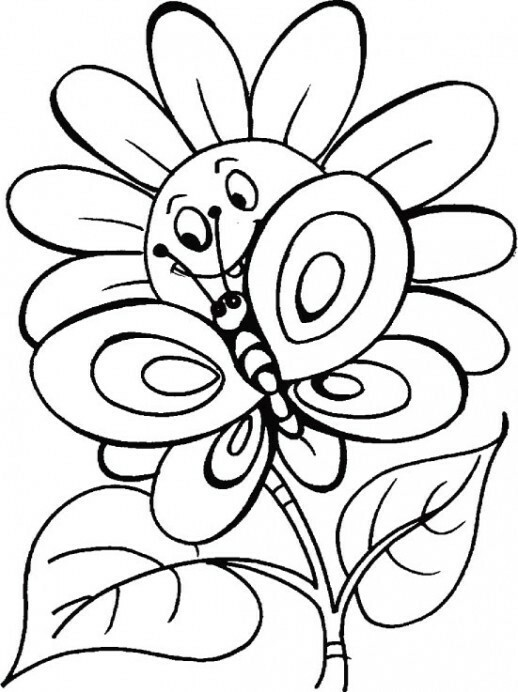 Chamomile with butterfly
 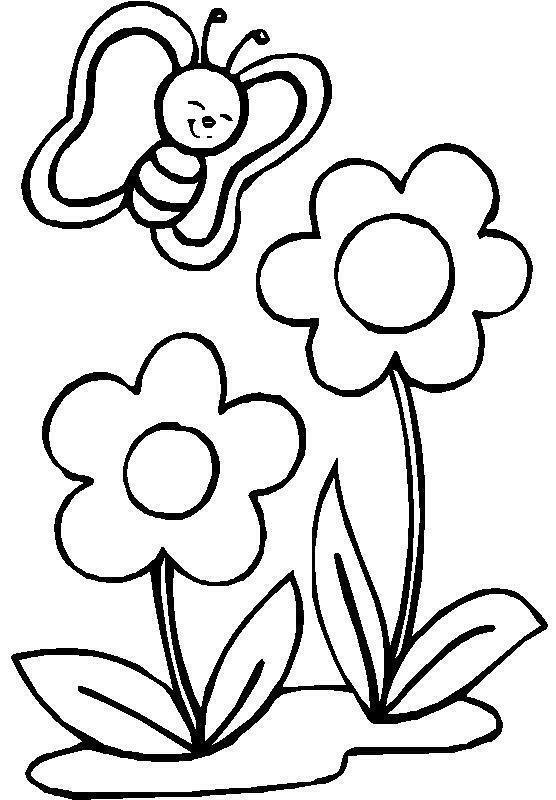 Two chamomiles
 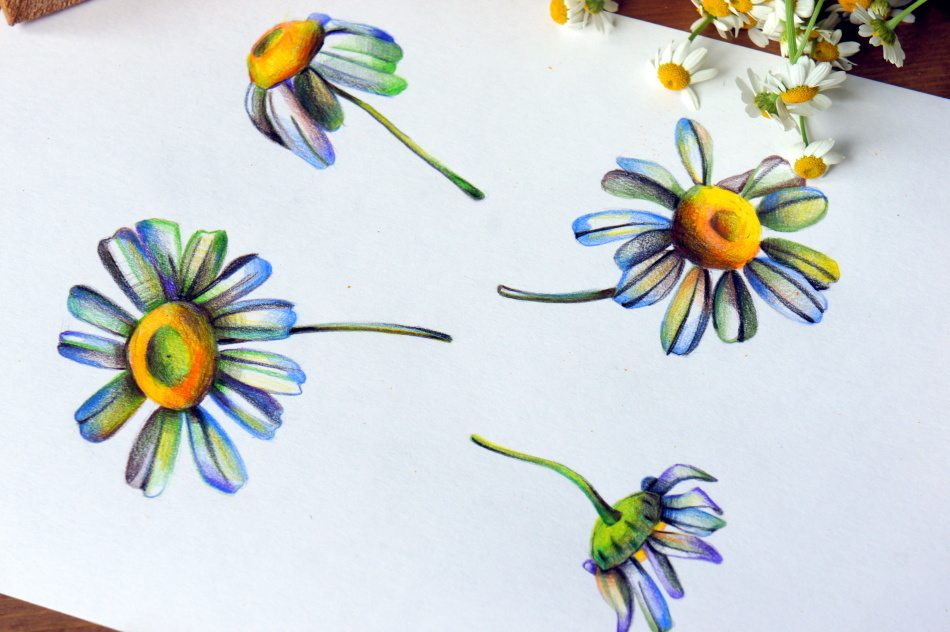 Vector camomiles
 How to draw a bouquet of chamomiles in pencil in stages?
Small flowers look good in a bouquet. And if we figured out the figure of one daisy, then why not try to draw a bouquet of chamomiles?
Do not think that the drawing of a bouquet of three chamomiles is a difficult and impossible task. It's not like that at all. You do not need to understand the intricacies of drawing in pencil.
Just repeat all the lines, as in the pictures below, and you'll see just how easy it is. You do not even need to do preliminary marking, so everything is simply drawn. Enjoy the creative process
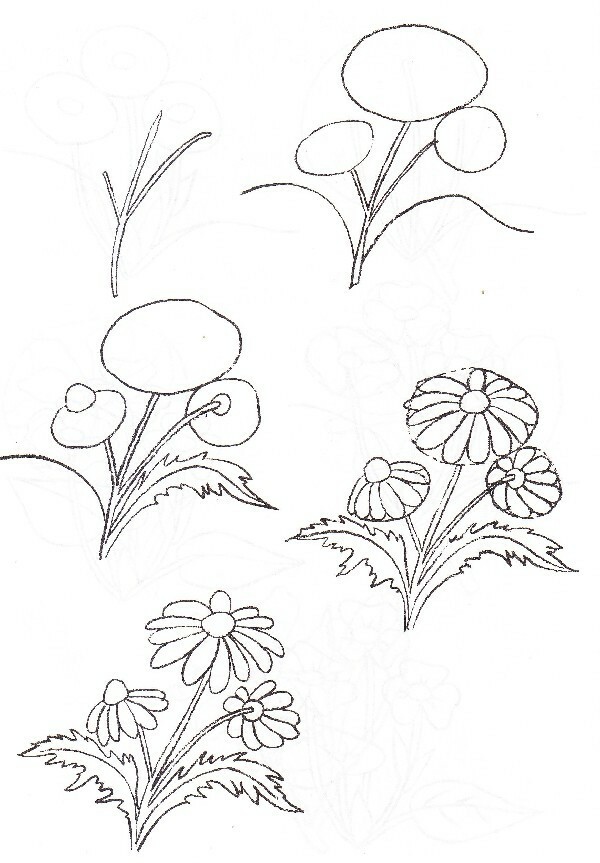
Step 1:
Draw a circle in the upper right half of the sheet. It is not necessary to use for this purpose compasses or other auxiliary tools: draw, as it turns out, without worrying about equal and regular boundaries. It's a flower, not a balloon.
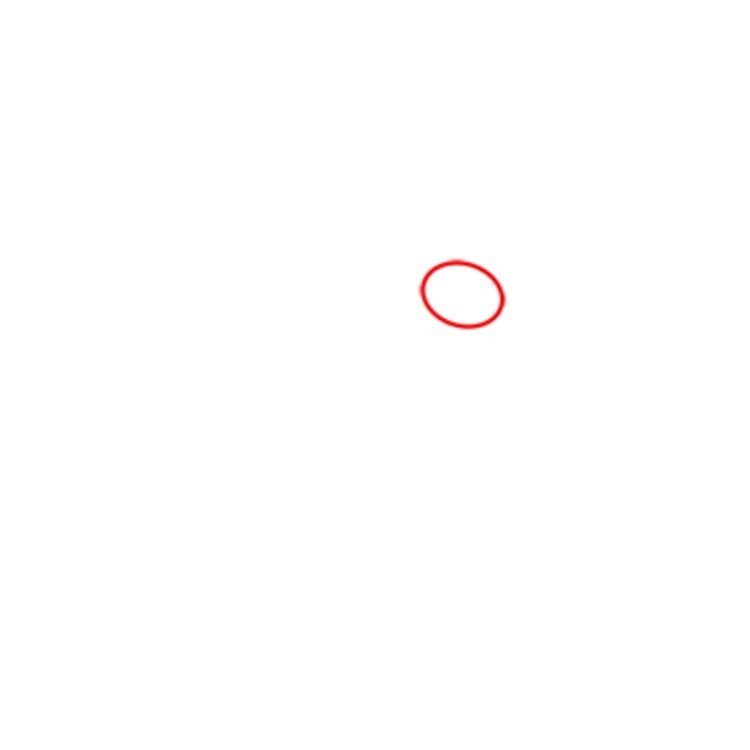 Draw the first core of the
 Step 2:
Now around the core, draw the petals: they should be 6 pieces: the upper edge of the petals is wide and wavy, the lower one is narrowed.
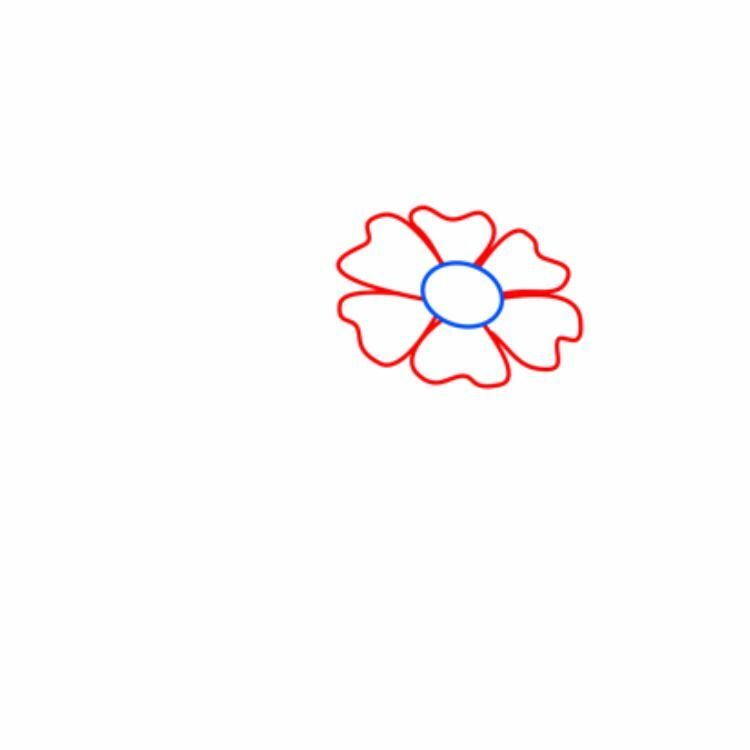 Drawing around the petals of the
 Step 3:
A little bit backing away from the first chamomile, put the second heart. Draw the petals again. Notice, the first camomile as if covers the petals of the second.
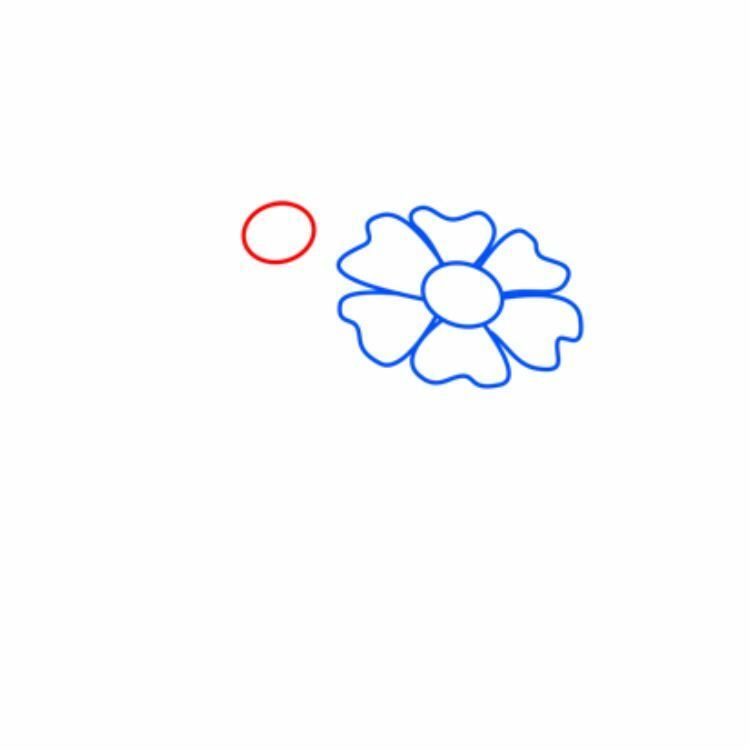 Draw one more core of
 Above them draw a third daisy. It is slightly smaller than the previous two, because it is located further.
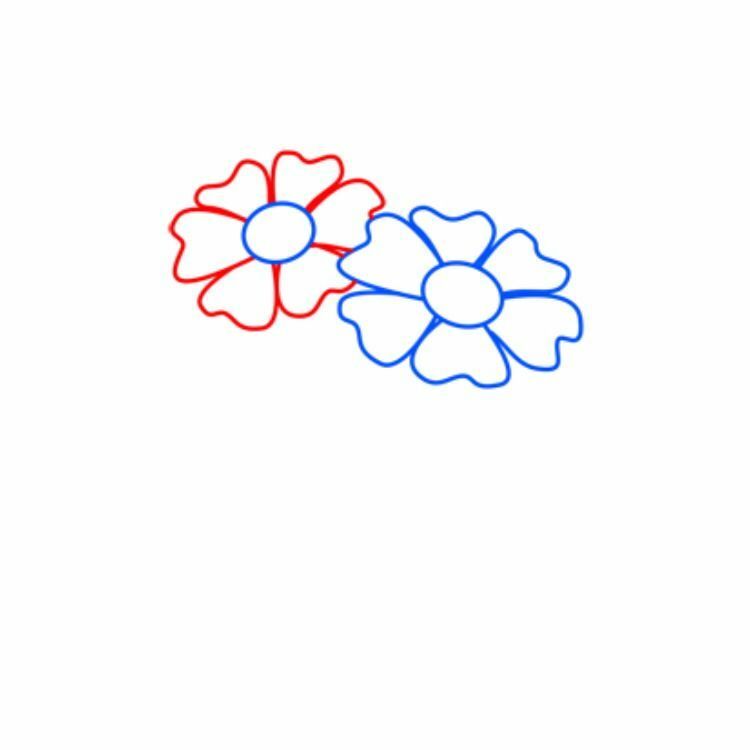 Draw the petals of the second camomile
 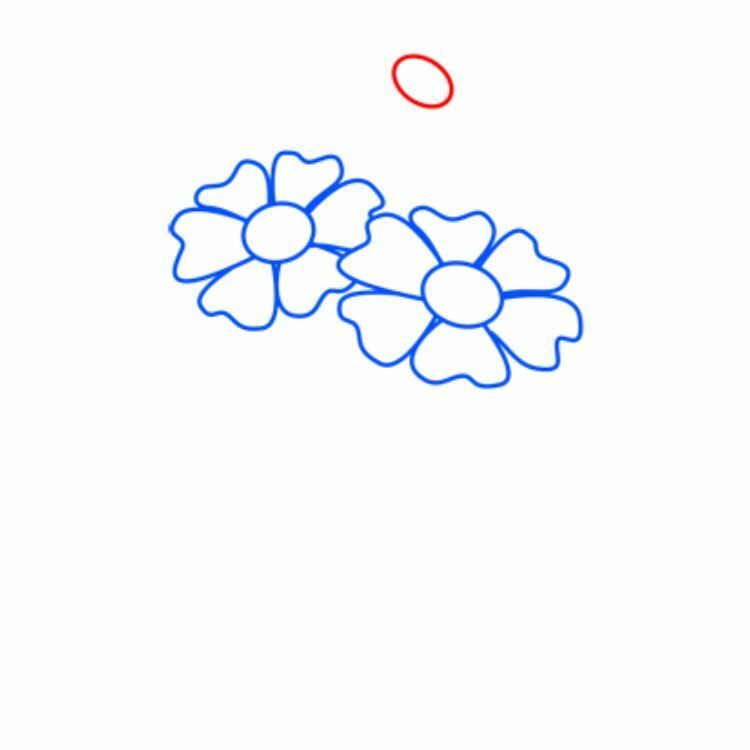 Start drawing the third camomile
 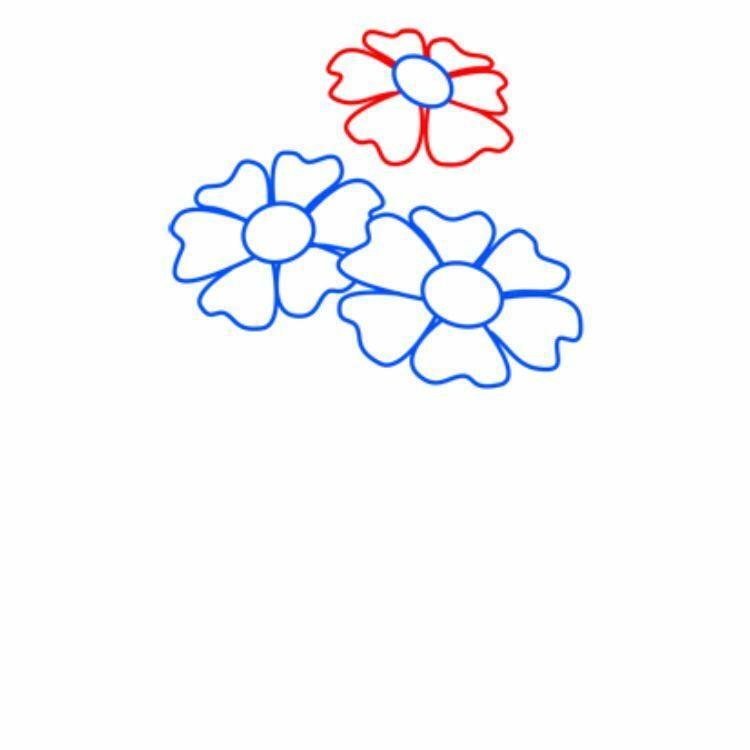 Draw the petals of the third camomile
 Step 4:
Start drawing the stems: draw down two parallel lines from each flower and connect them at one point. Do not forget about the leaves: leave four empty patches on the stems where the leaves will be located.
 Draw the stems of the
 Step 5:
Add the leaves. There should be five of them. We color it.
 Draw the leaves
  Four leaves
 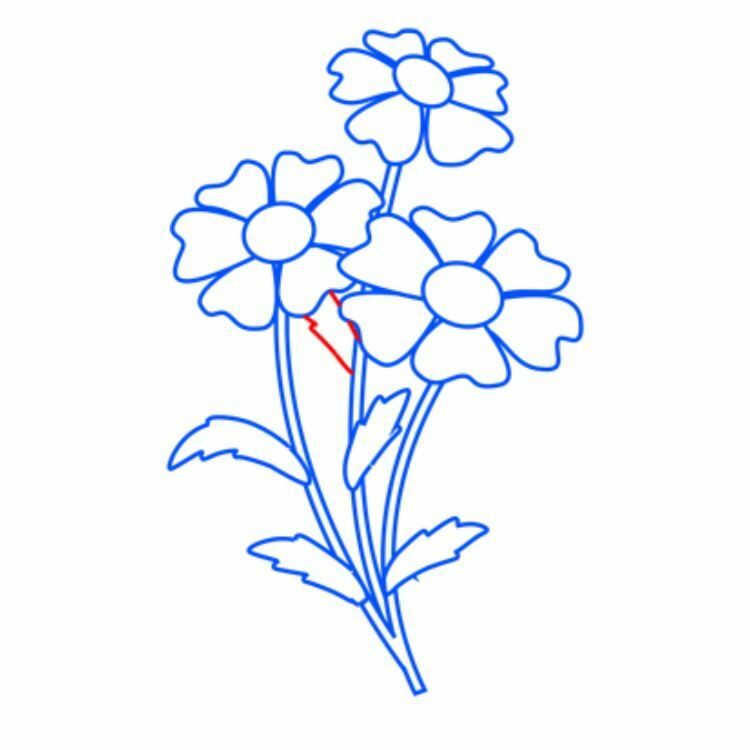 The fifth leaf "hid" behind the stems
 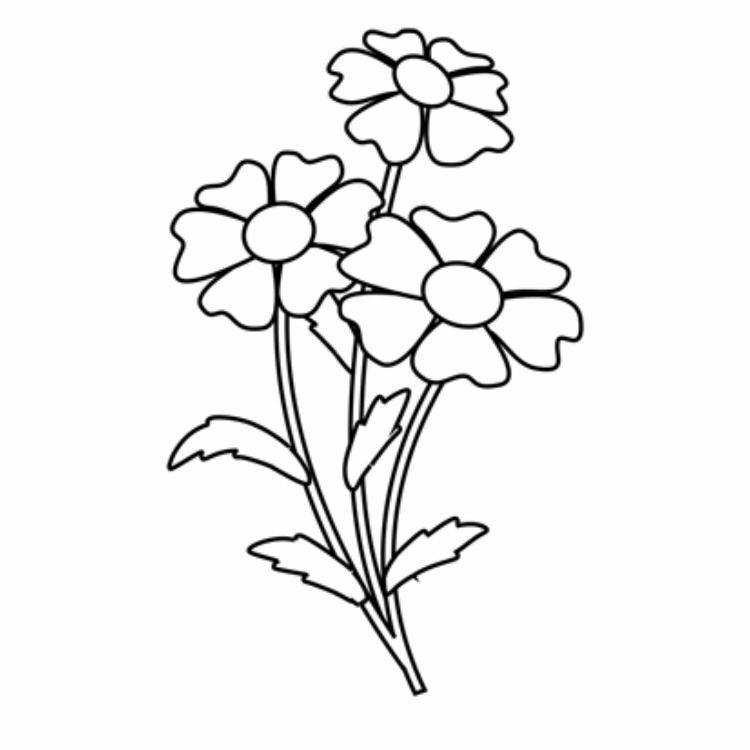 The picture is ready. You just need to decorate
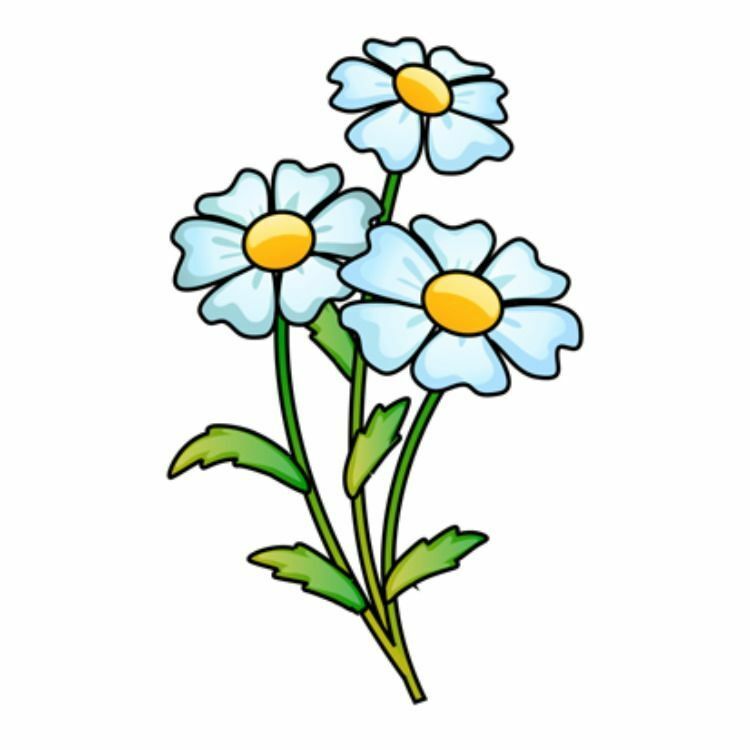
The second option:
You can draw a bouquet of chamomiles differently. Though this drawing will be more difficult, but also with it to cope the beginner, never earlier holding a pencil in a hand.
Step 1:
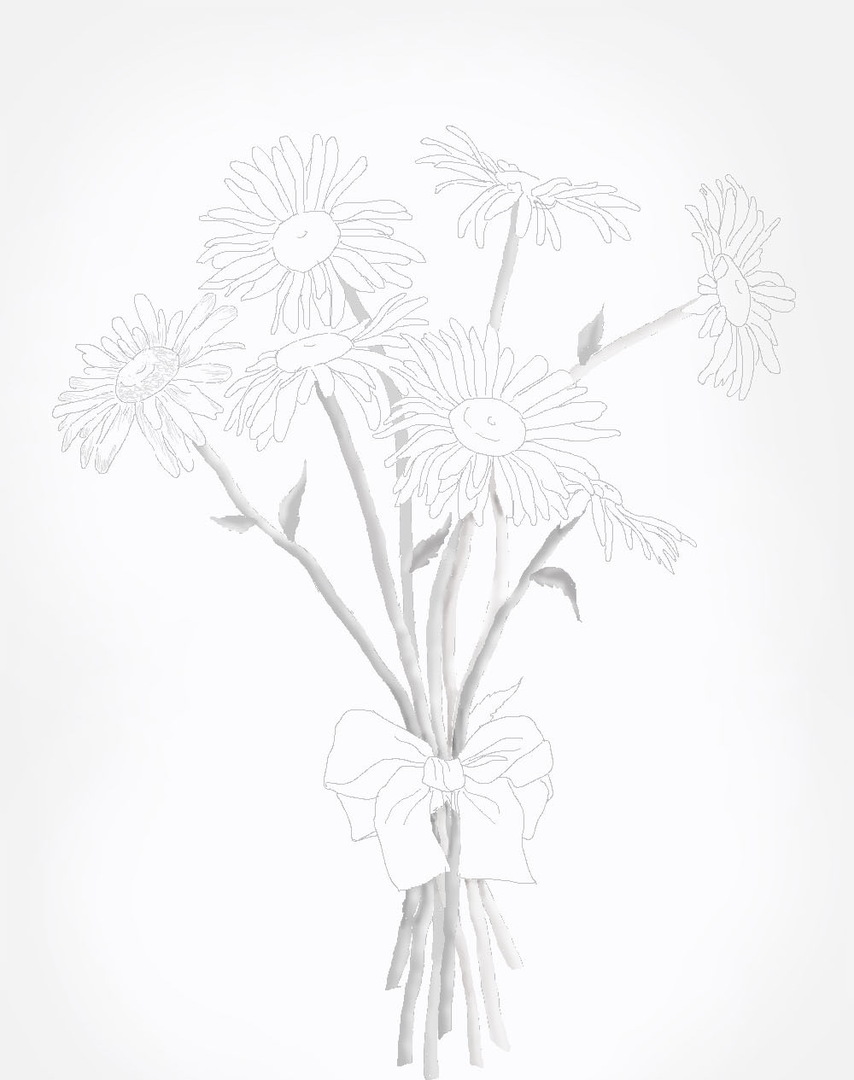
Schematically draw a sheet of paper stems and flowers. Preliminary contours of a camomile are two circles: one is less - a core, and the second is more. Let's mark a bow.
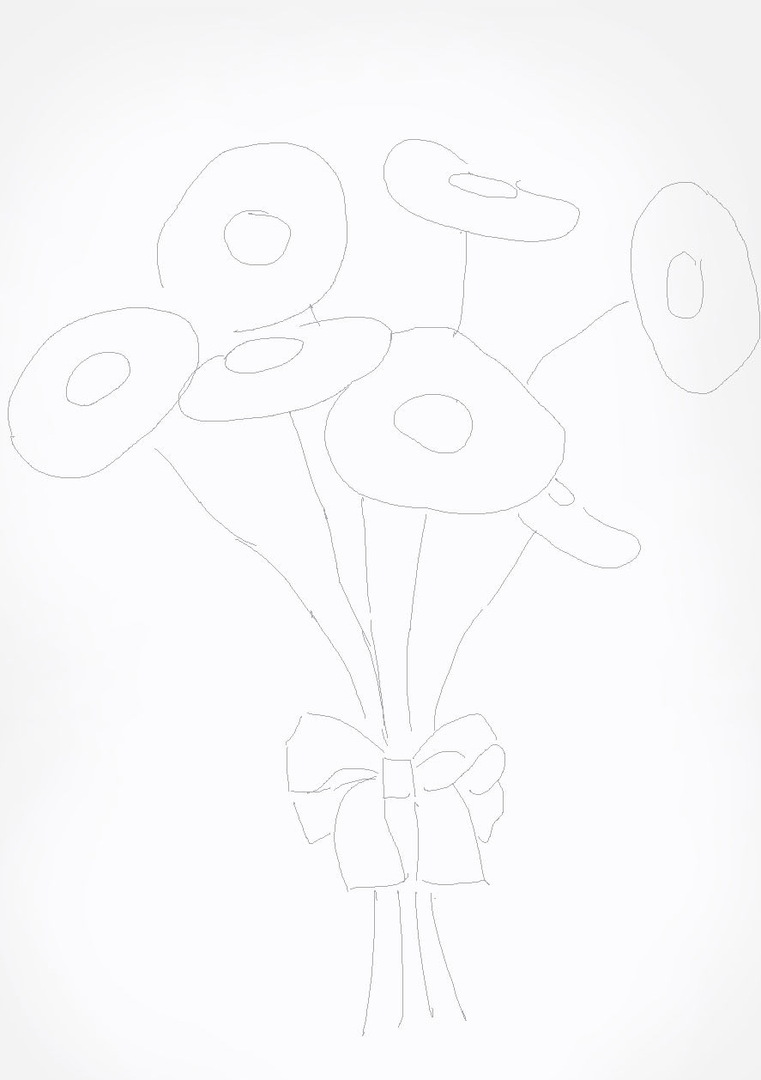 Original contours of the bouquet
 Draw the petals of each chamomile. It is not necessary to draw them the same: some can be long and curved, others - short. Some of the edges can be wavy. We continue to draw until all 7 chamomiles are ready.
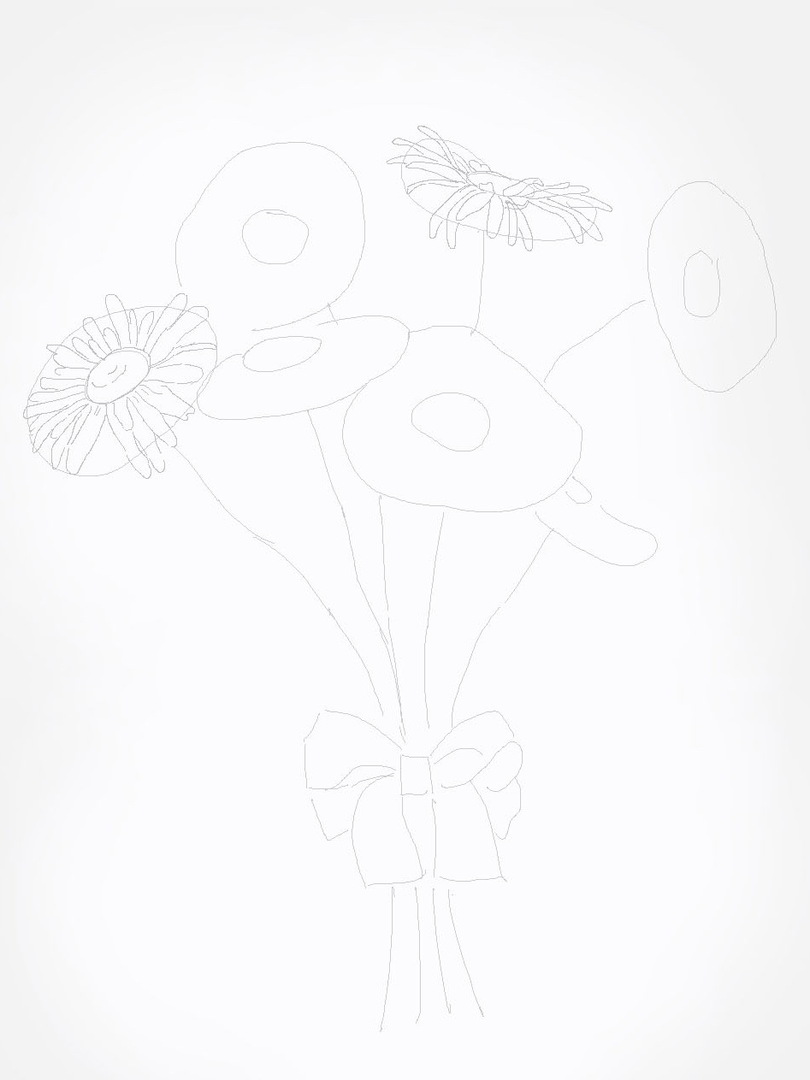 Drawing the petals
 Step 2:
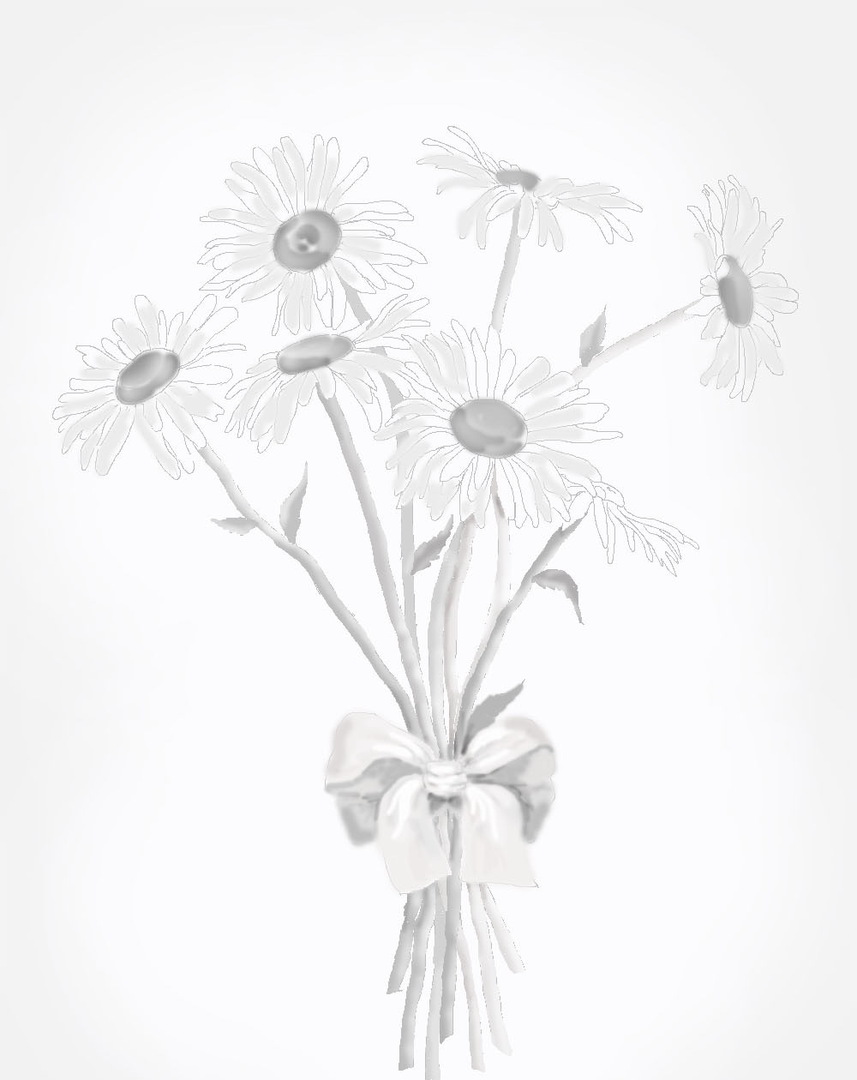
Begin to draw stems and leaves. The leaves of these daisies are quite small. We'll work on the bow: we'll draw on it the folds formed from the ribbon.
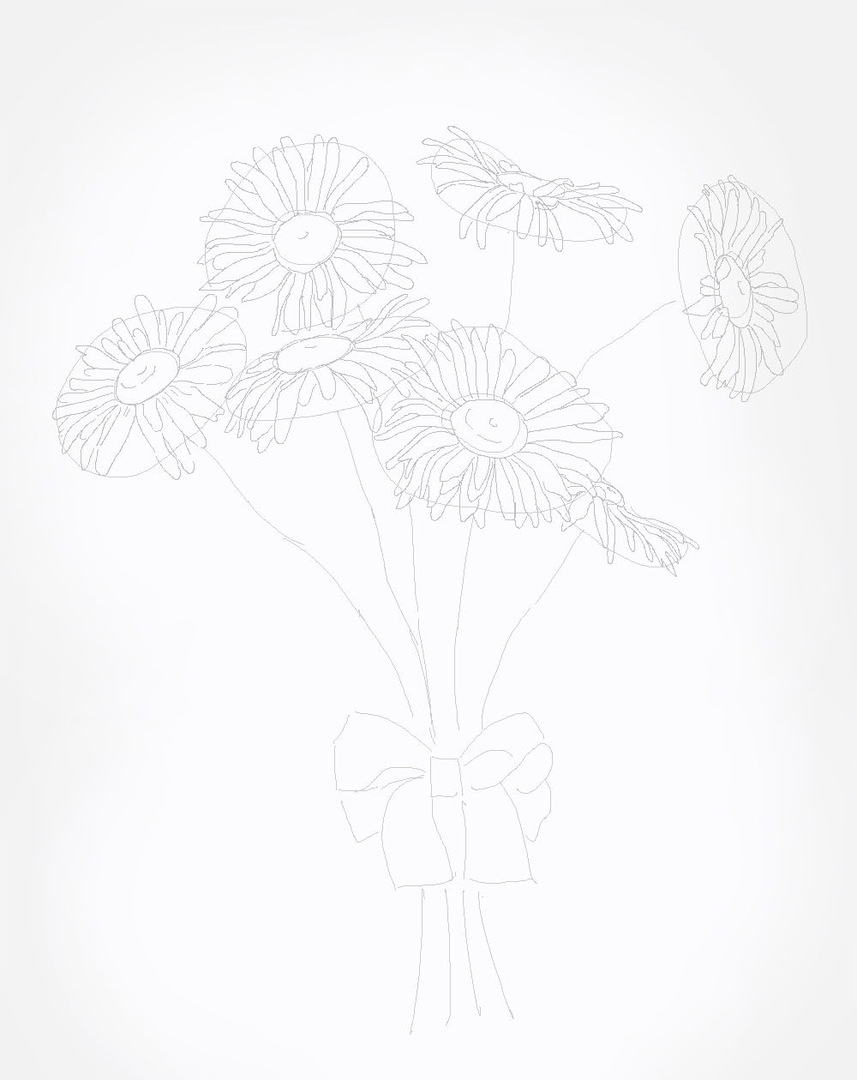 All chamomiles painted
 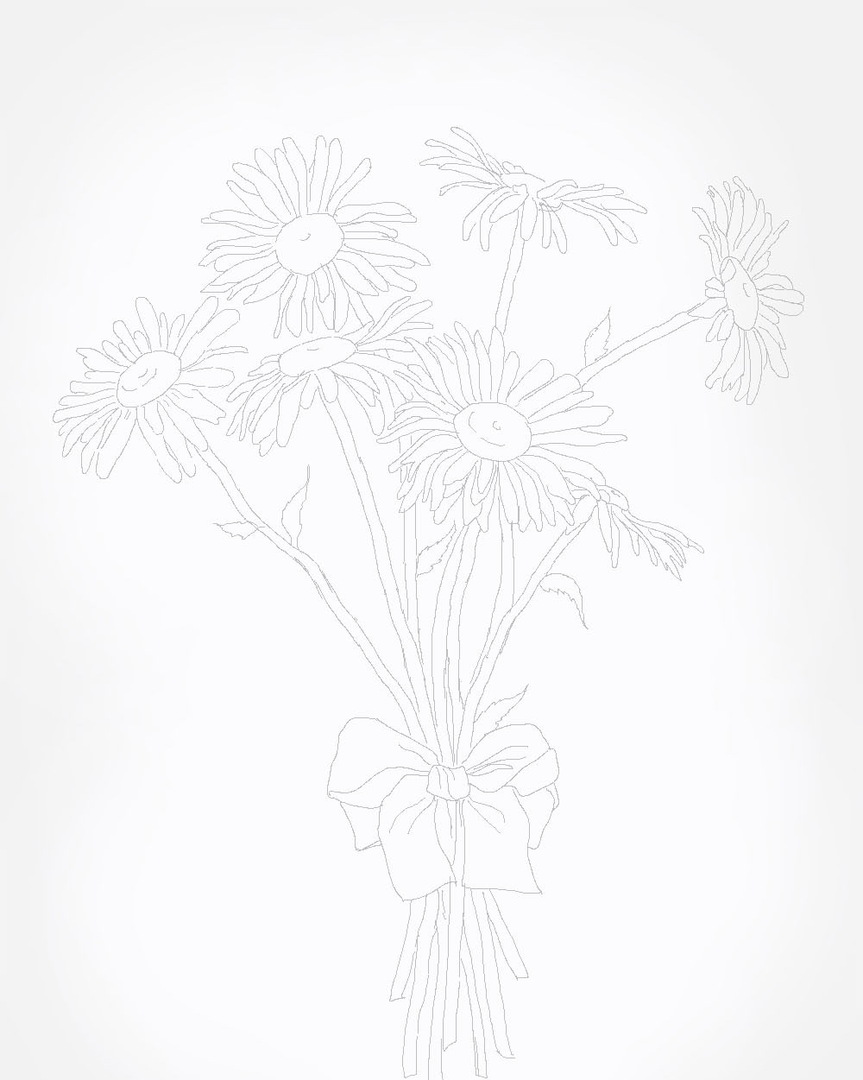 Drawing leaves and bow
 Step 3:
It's time to give the original color contours the volume. We obscure some areas on the stems and leaves, not forgetting that the lighted part should remain light.
 Hatching of stems
 Shading the bow, leave the light ends of the ribbon hanging down. In some places, you can erase the shaded area to create a glare.
 Core Detailing
 Step 4:
Take the hard pencil and begin to shade the patches on the petals. Do not press strongly on the pencil, but the strokes should fit tightly to each other.
We draw the flower core with a soft pencil 2B.They should look darker than the petals. We will give the core volume. To do this, cover the bottom edge of the core with dashed lines.
With a soft pencil 4B or 6B, you need to correct the color outlines in some areas.
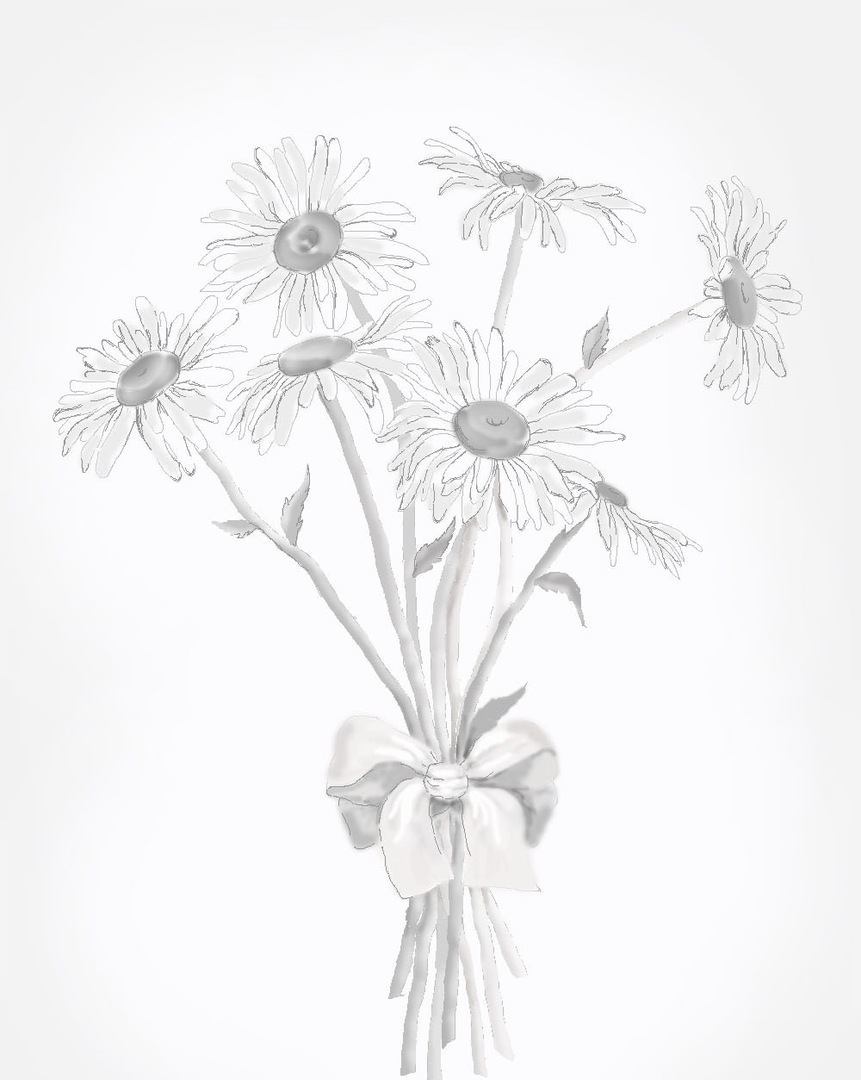 Gouache can draw some lighted areas of
 Let's make some petals more shaded. This will give a picture of expressiveness. Well, with this bouquet we coped!
Chamomile: drawing by watercolor in stages
With the following figure, even a novice can cope.
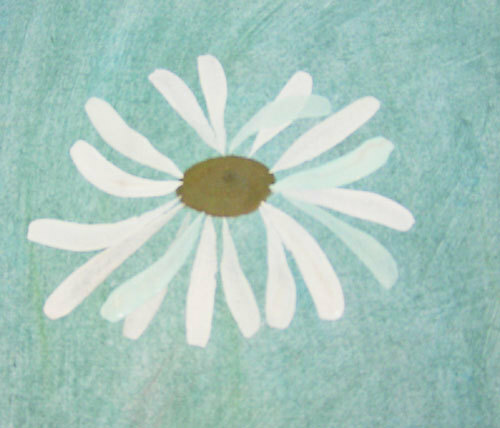
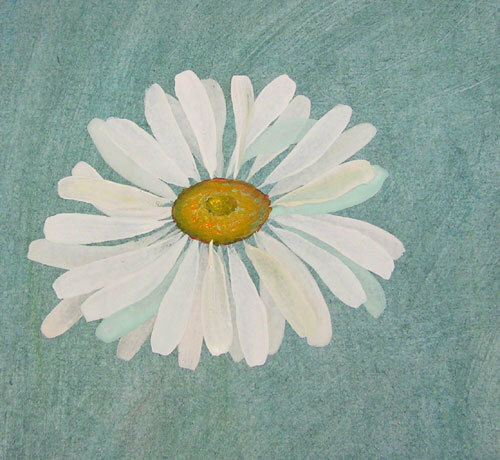
1. We paint the background. Draw a dark spot closer to the center of the sheet. This will be the core of the daisy.
 We paint the background of
 2. We draw the white petals different in length and location, but they all come out from the edges of the core. Flat brush set on paper, smear to the center of the flower, narrowing the base. At first, the smear may not work, so it's better to practice on a separate sheet of paper.
 Draw the petals with a flat brush
 3. Add the lower layer of the petals, and then with a clean white paint, apply the same strokes on top of the already painted ones. The lower petals seem to be shaded by the upper ones, which are closer to the viewer.
 Mix the colors to give the white petals different shades of
 4. Let's trace the contours of some petals. Let's paint the core. The lower part of the oval is highlighted with a light green color, thereby emphasizing its bulge.
 Draw the petals with pure white paint
 Mix the yellow and red paint and draw the whole heart points. Add a white "smile" tokens for expressiveness.
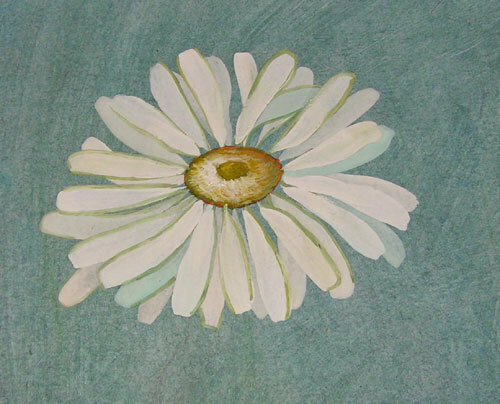 Contours of petals
 5. We finish the stem and leaves with the colors of green shades.
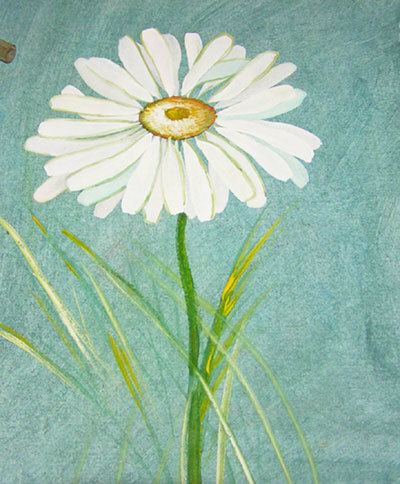 Final stage: leaves