
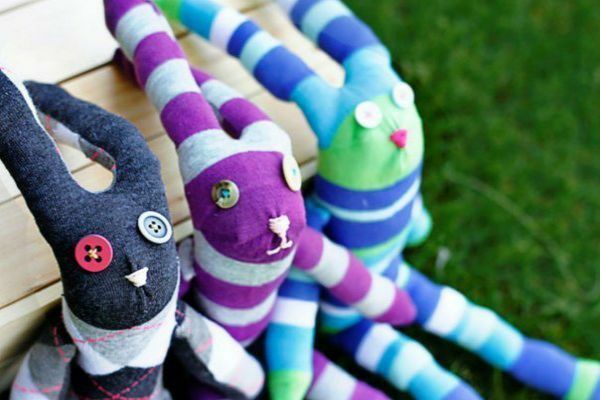
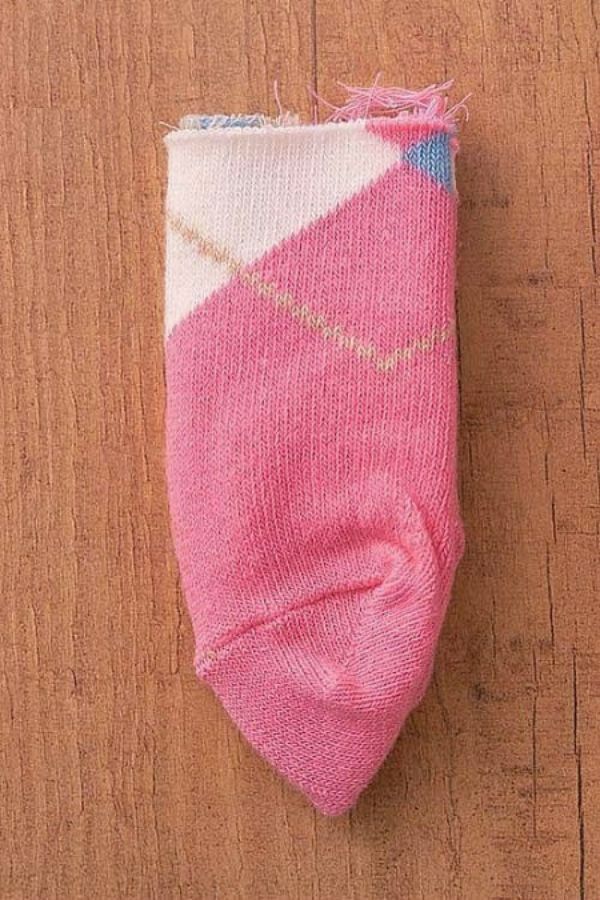
It happens that a lot of unnecessary socks in the family accumulate. Creating toys from socks with their own hands is a unique option for the recycling of old knitwear. Unusual and bright toys will look good on the shelf in any interior, and children from games with new friends will be delighted. Moreover, sewing such toys will be an excellent hobby for the whole family.
- Snowman
- Hare
- Cat
- Owl
- Puppy
- Bearing
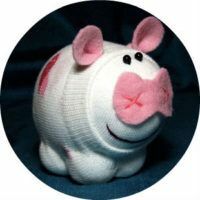
Snowman
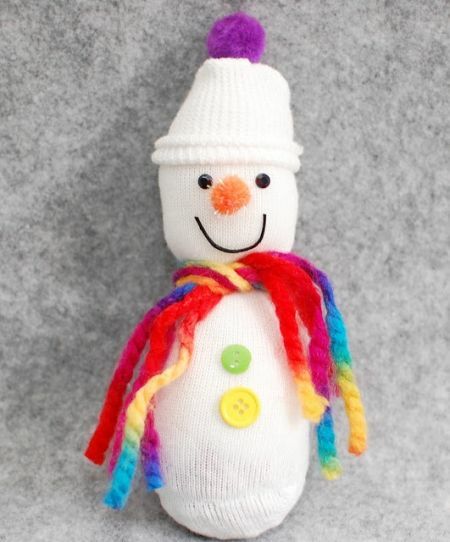
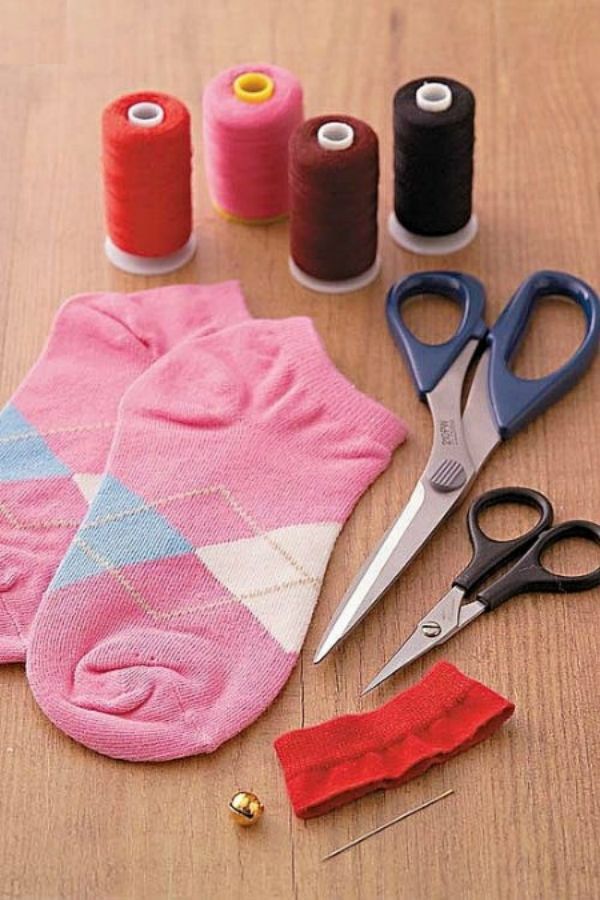
Required material:
- white sock;
- filler - sintepon, holofayber, pieces of cloth, beans, large croup;
- 2 black beads;
- 2 buttons;
- tight threads;
- orange pompon for the nose;
- pompon for the cap;
- satin ribbon;
- glue gun;
- scissors;
- black thread and needle.
Creation process:
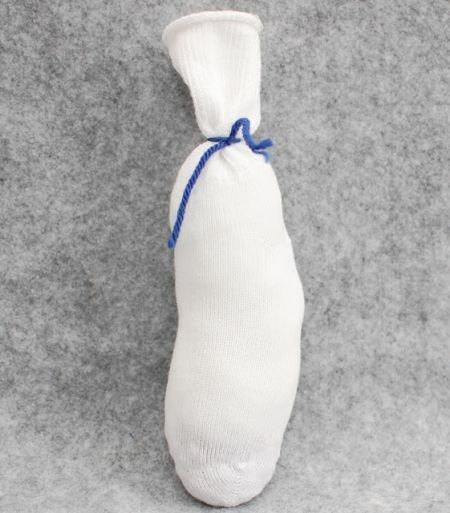
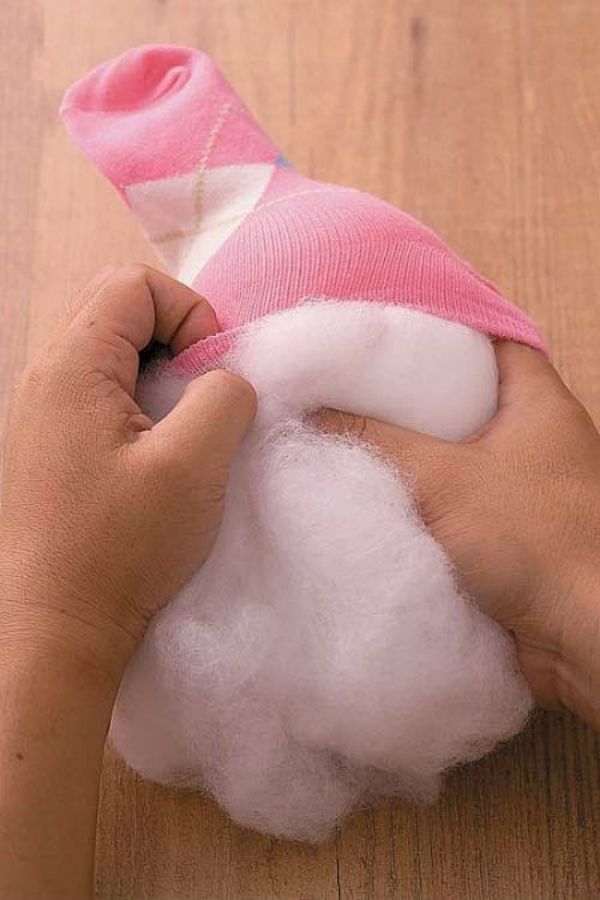
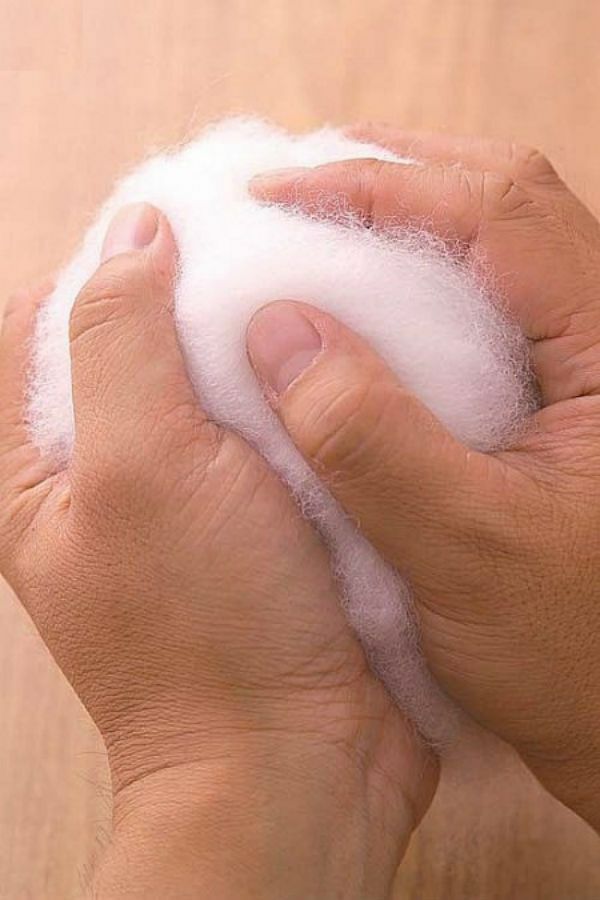
- Fill the sock with 3/4 filler, croup or beans. Tie a loose edge of the free edge of the toe gum to 2 knots.
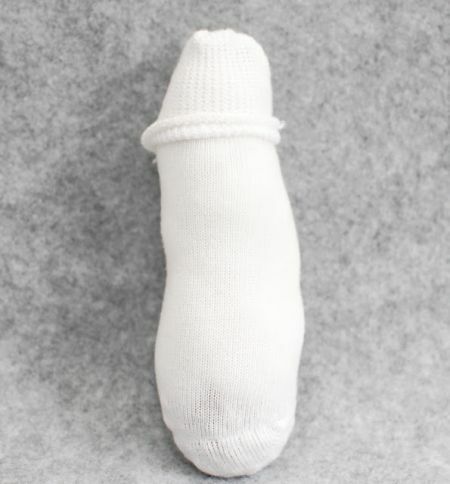
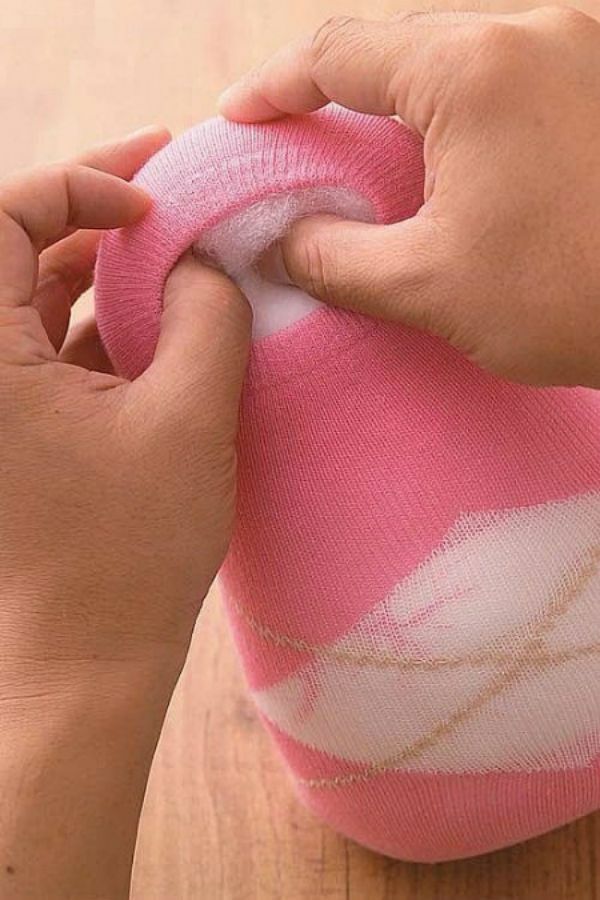
- Screw the bound free edge of the toe onto the filled part and glue it with a glue gun so that the formed cap does not untwist.
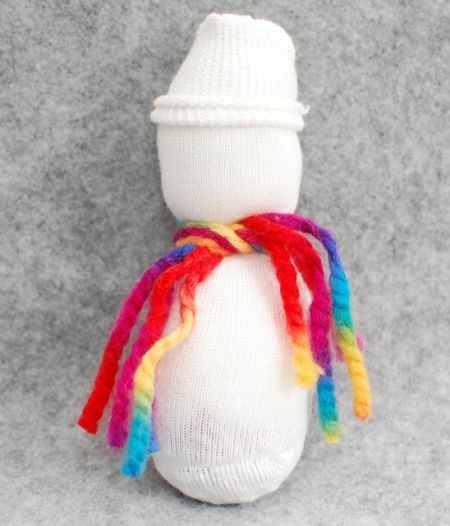
- Tie a snowman's body with knitting colored threads, ribbon or a knitted scarf. Thus, the snowman is divided into 2 parts.
- Sew to the snowman's body button. Attach the pompon to the cap. On your face, sew your eyes-beads, sew a nose and embroider your mouth.
Hare
Required material:
- pair of long striped socks;
- filler - sintepon, holofayber, pieces of fabric;
- needle and thread;
- sewing machine;
- 2 buttons;
- 2 beads, buttons or decorative eyes for toys.
Creation process:
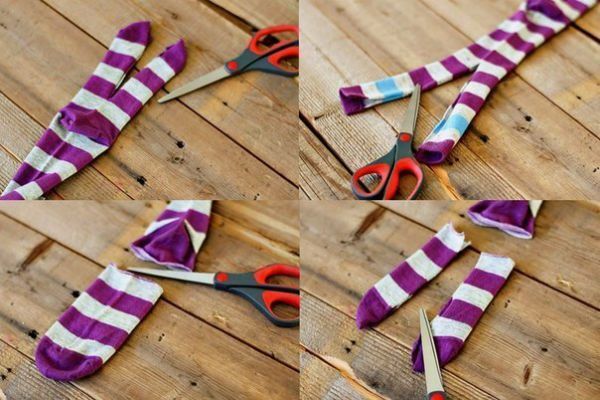
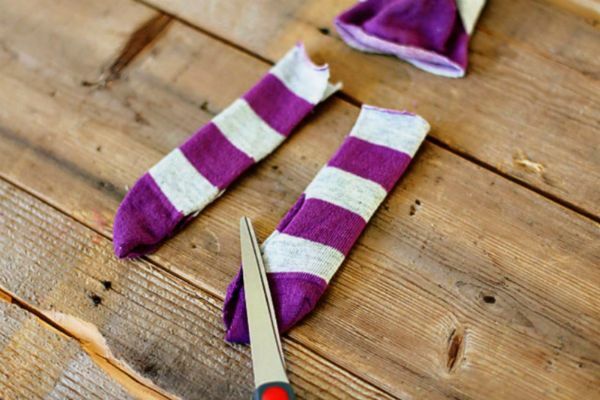
- Place the sock on a flat surface with the heel facing up.
- Cut the sock from both sides. On the one hand, there will be ears, and on the other - lower paws.
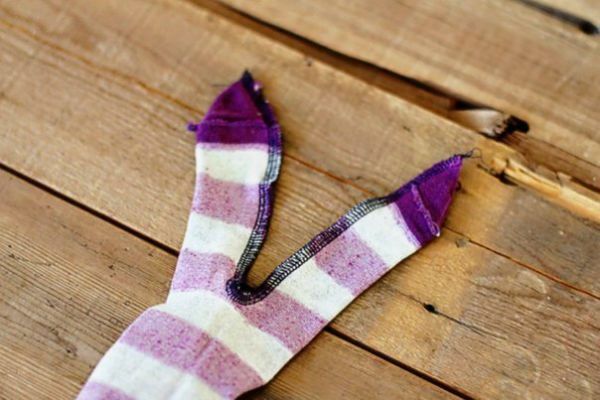
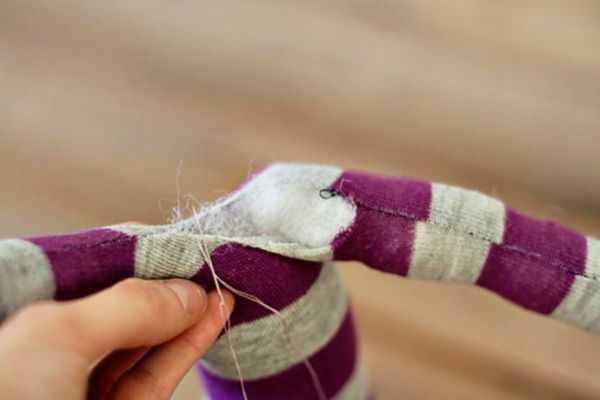
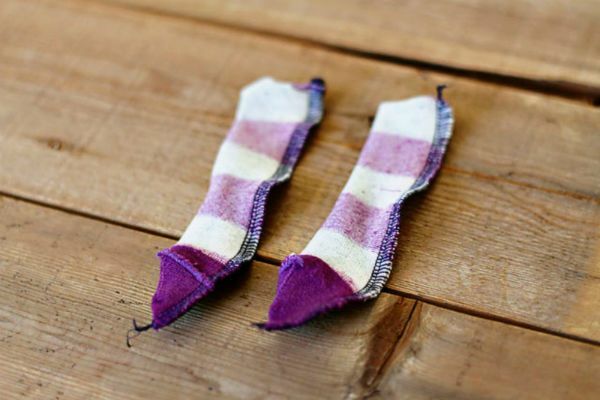
- Sew the cut, on the one hand, completely, but on the other - not completely. Fill the body with a sintepon and sew the hole left.
- From the second sock cut off the front part. Cut the fabric in half and sew each part separately. This will be the front paws of the hare.
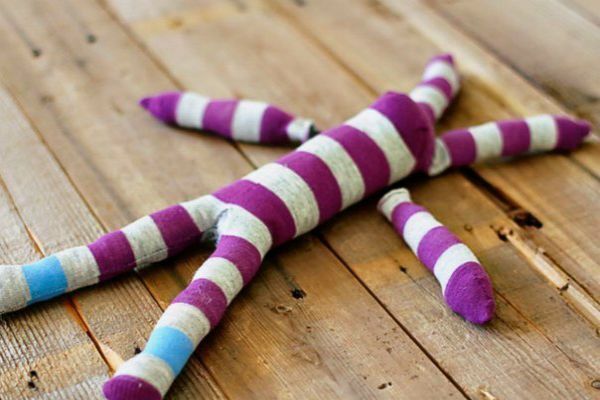
- Fill your paws and sew to your torso.
- To make out a muzzle. Sew on eyes, embroider a spout and mouth.
- You can sew buttons to the body of a hare for beauty.
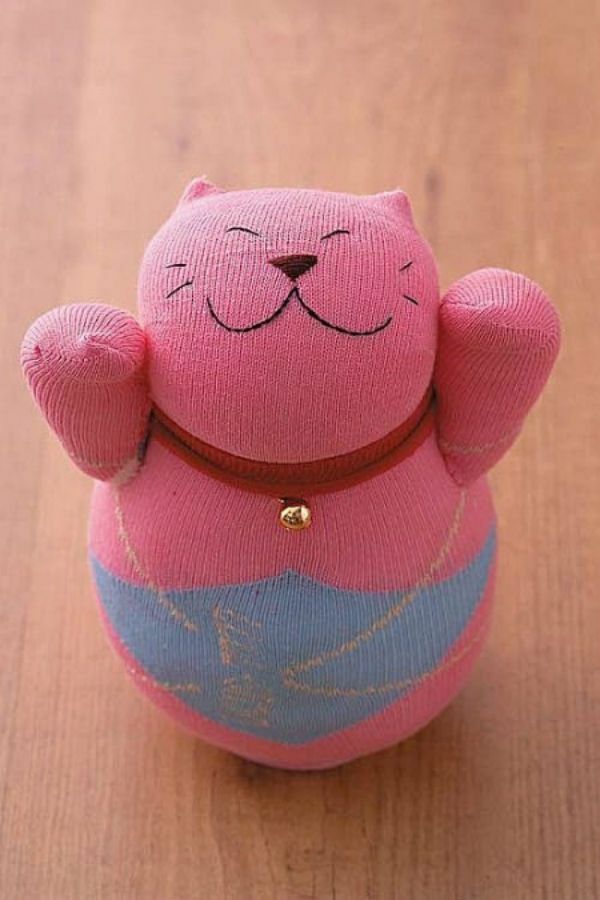
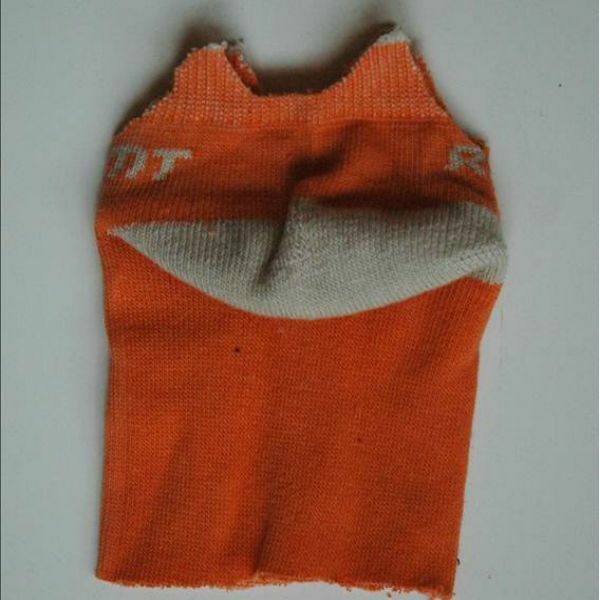
Cat

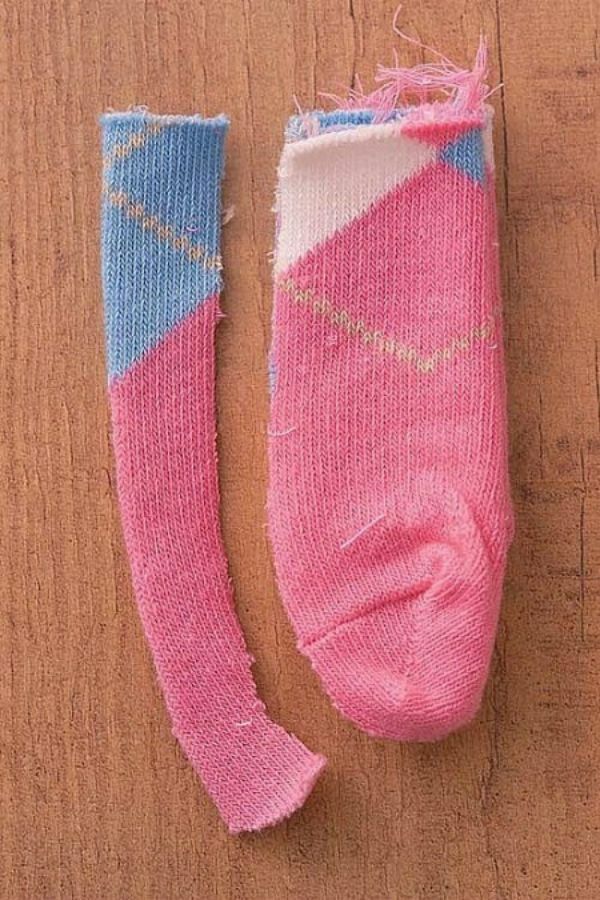
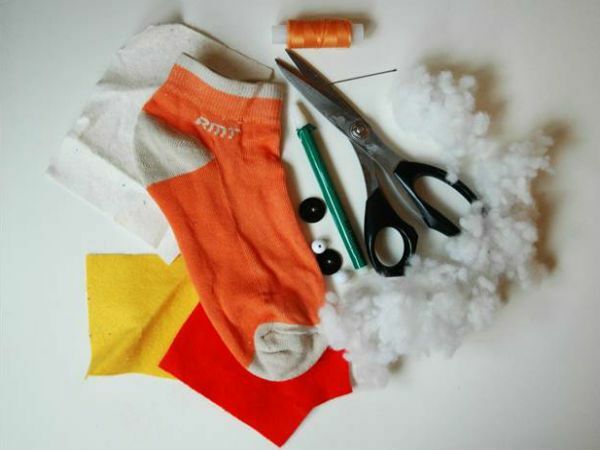
Required material:
- 2 identical colored sock with low gum fit;
- colored thread;
- needle;
- scissors;
- satin ribbon or elastic band from the toe of contrasting color;
- small decorative bell;
- filler - sintepon, holofayber, pieces of fabric;
- marker.
Creation process:
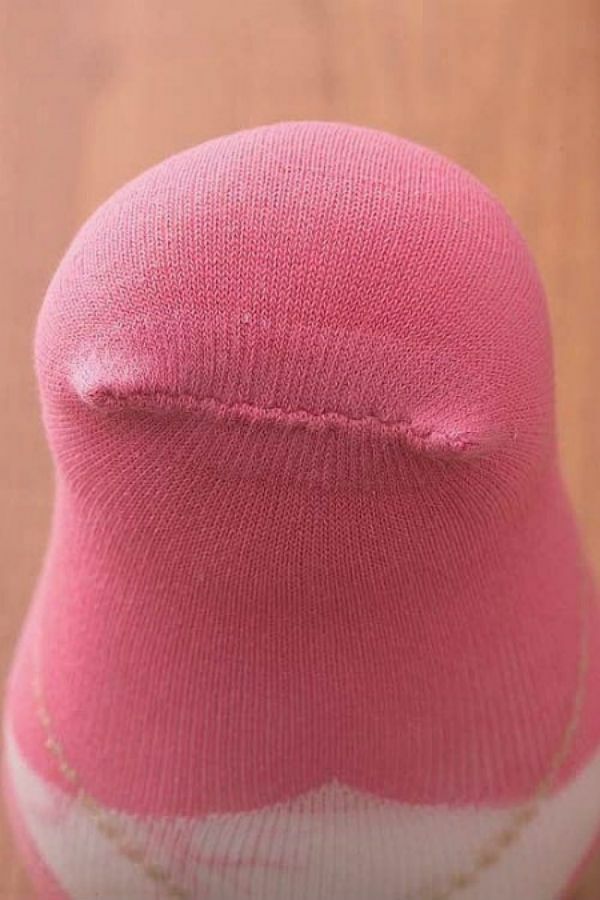
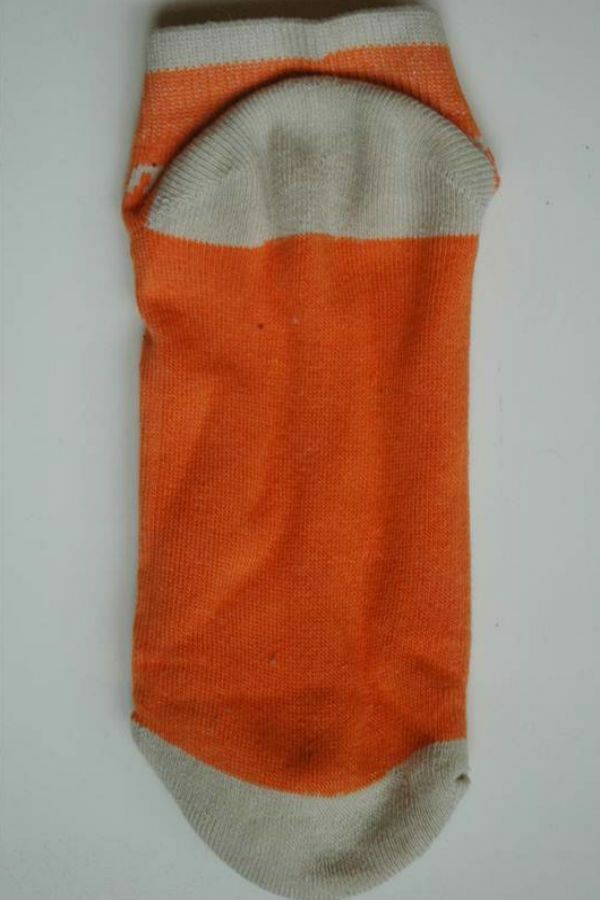
- The first sock is densely packed with filler more than up to the middle.
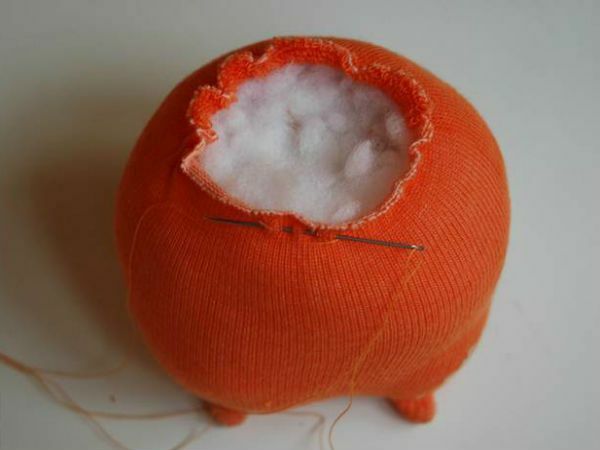
- Tightly trample the filler so that the cat stands and does not fall. The heel of the sock will be the muzzle of the cat.
- We form from the filler with a tight ball.
- Fill the emptiness of the toe with a formed ball, so that the elastic band from the toe goes to the back of the cat's head. We need to make sure that the transition from the trunk to the head is formed, and the neck is formed.
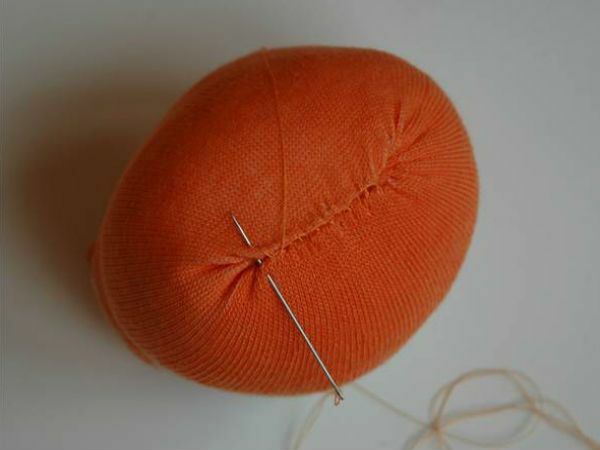
- Sew a sock elastic with a hidden seam. It is necessary to make so that the ends on each side of the seam stick out - these are the ears of the cat.
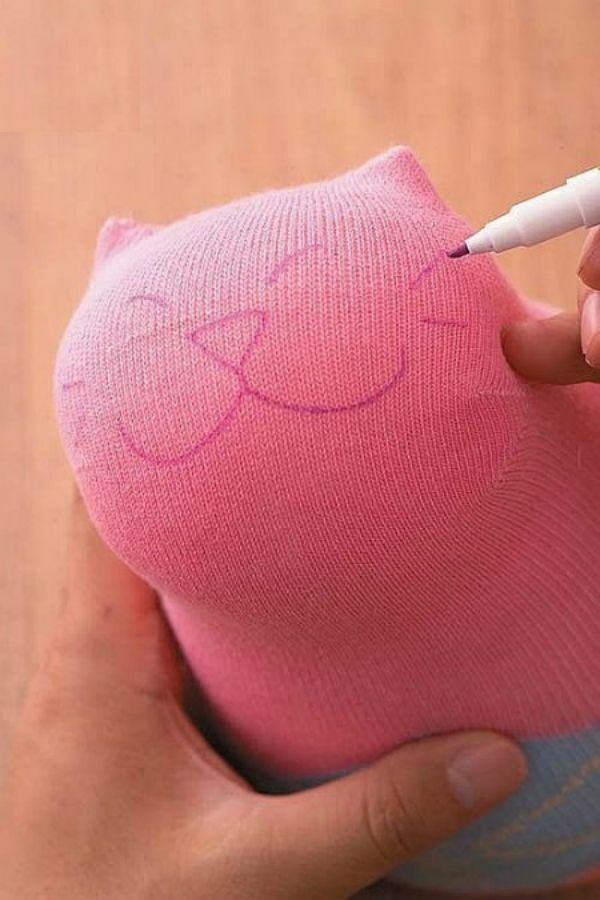
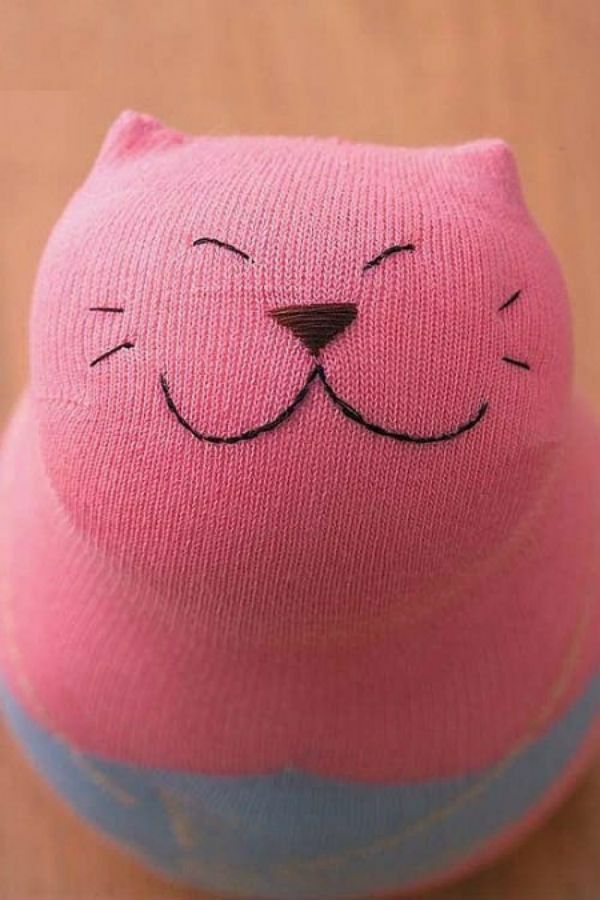
- Draw a muzzle with a marker.
- On the painted lines to embroider with black thread, you can make different colors of the eyes and nose.
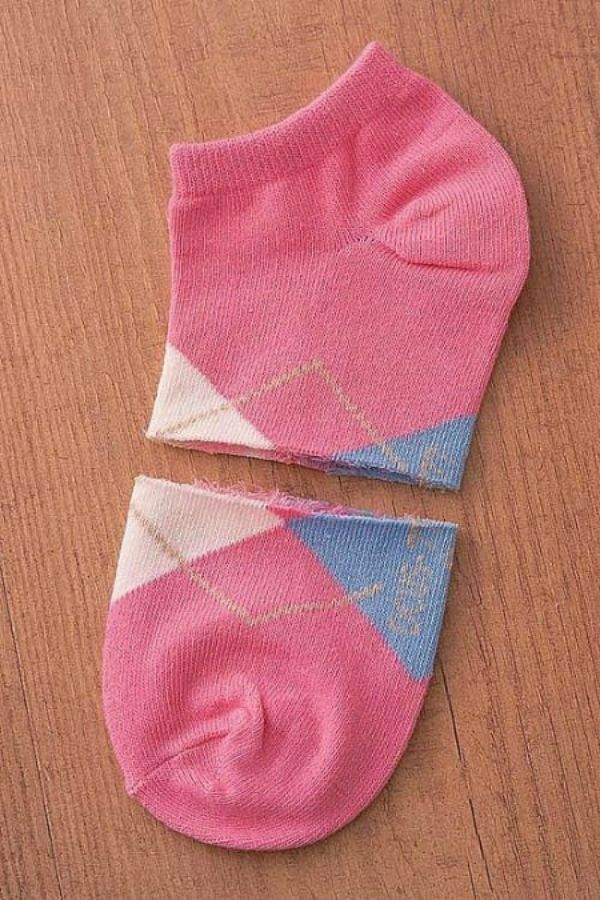
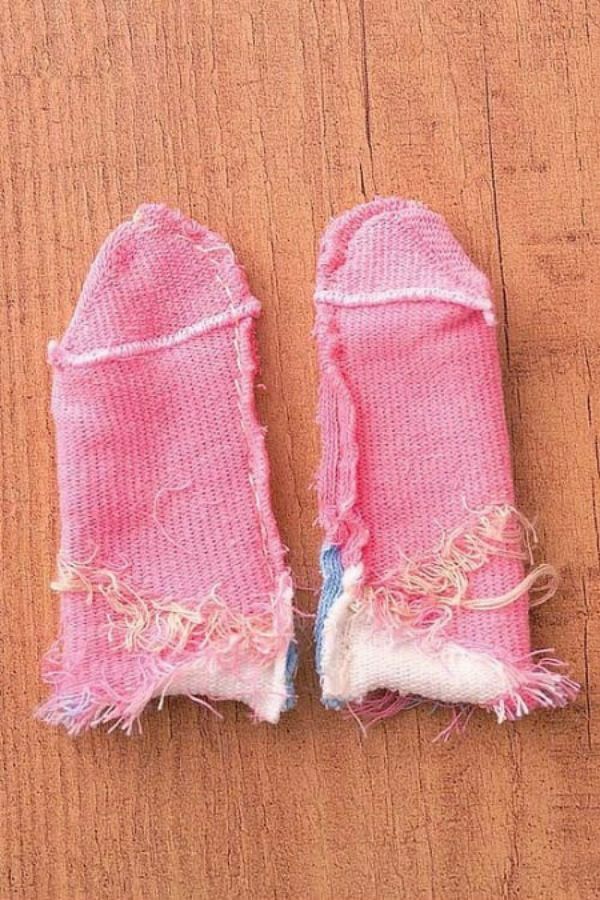
- Take the second sock, put it on a flat surface vertically and cut it horizontally in half.
- Part of the fabric from the sock fold vertically in half.
- Cut an arc of a piece of double-folded fabric.
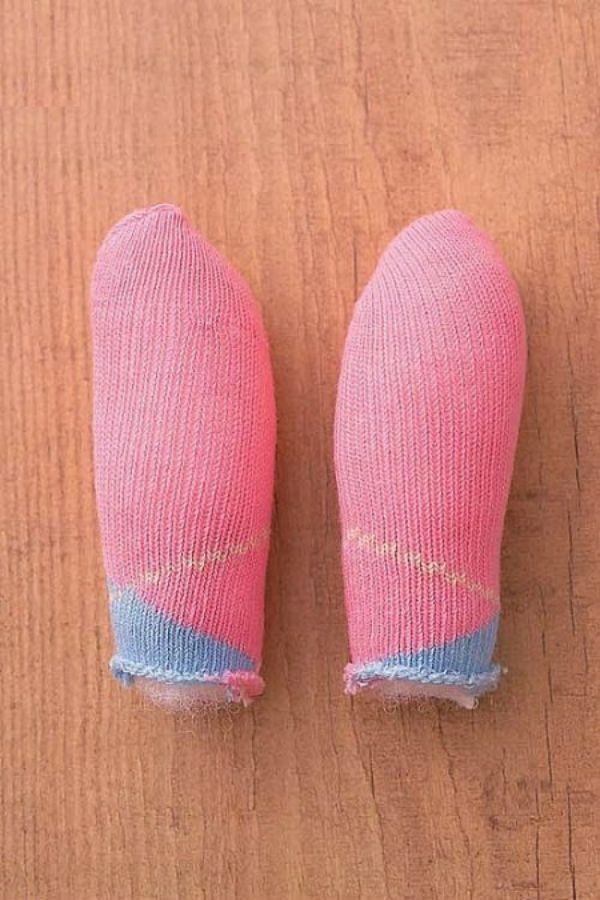
- Unscrew the parts obtained on the wrong side and staple.
- Turn it to the front again and fill the parts. These are the feet of the cat.
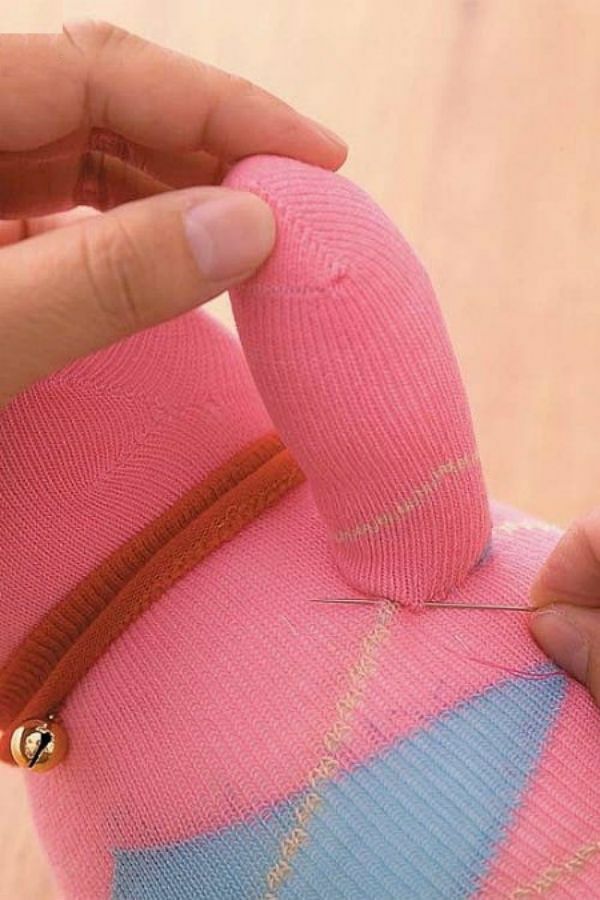
- Sew the resulting paws to the trunk of the toy.
- From the contrasting color of the elastic band from the toe or satin ribbon make the collar for the kitten with a small bell and put on it.
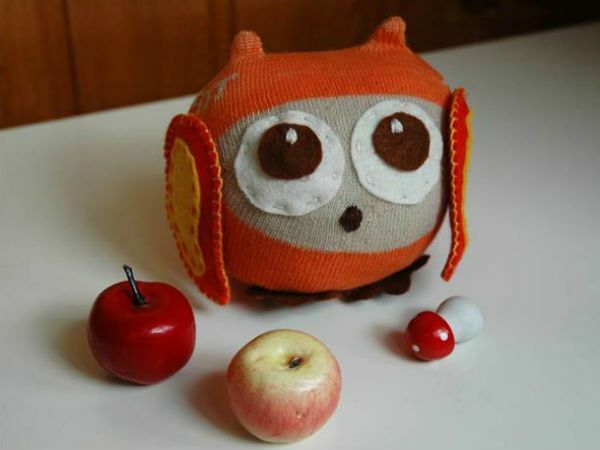
Owl
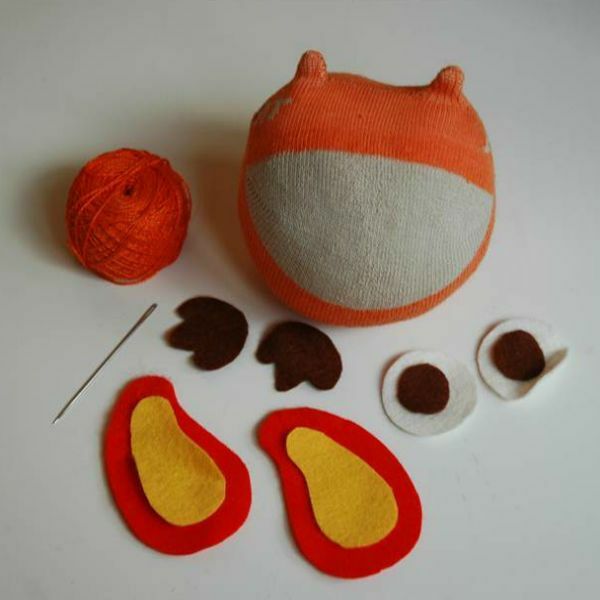
Required material:
- one sock, the desired color of the owl;
- scissors;
- colored felt or pieces of cloth for the eyes, wings and paws;
- thread and needle;
- buttons or beads;
- cardboard;
- pencil;
- chalk;
- filler - sintepon, holofayber, pieces of fabric;
- dense colored knitting threads.
Creation process:
- Spread the sock on a flat surface, heel on itself, rubber band up.
- Cut out the toe of 2 pointed ears. Trim the free edge of the toe.
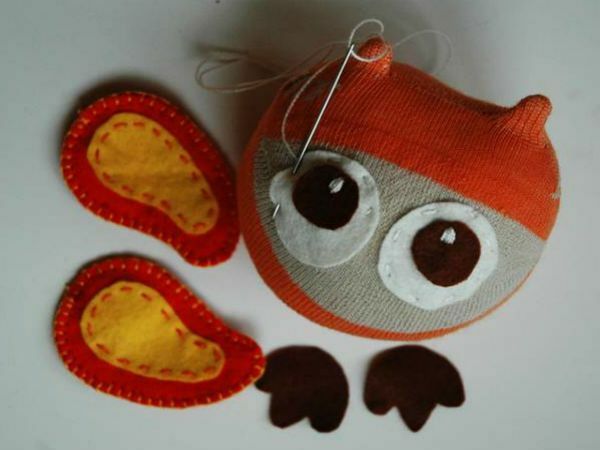
- Stitching the ears of an owl. Unscrew the product on the front. Fill the body.
- Sew the hole in the underside of the owl with a hidden seam.
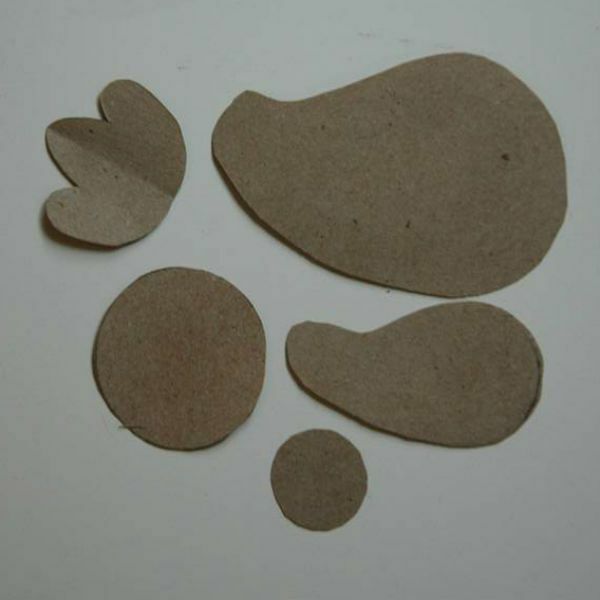
- Draw on the cardboard and cut out the blanks of the paws, eyes and wings of the bird.
- Circle the cardboard patterns in shallow on felt or colored fabric and cut out the details.
- Sew the parts together. Decorate them with a decorative contour seam from knitting colored threads and sew to owl.
- Embroider the tip and the pupils. Pupils and nose can be made from beads.
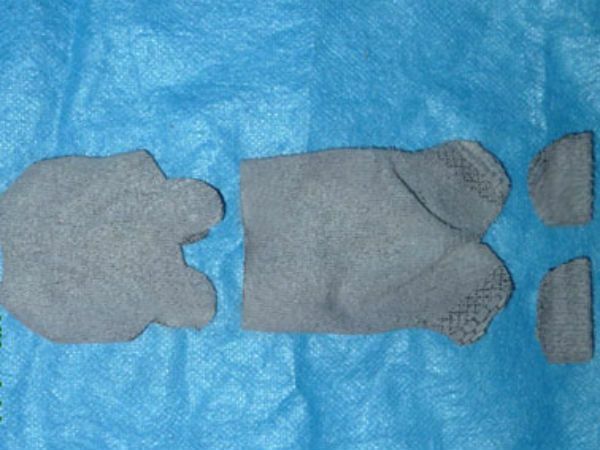
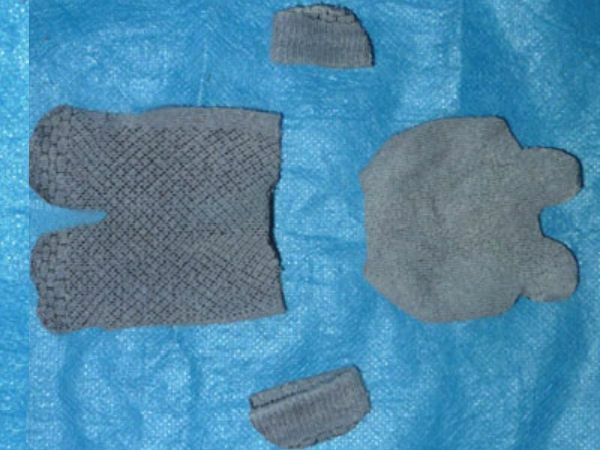
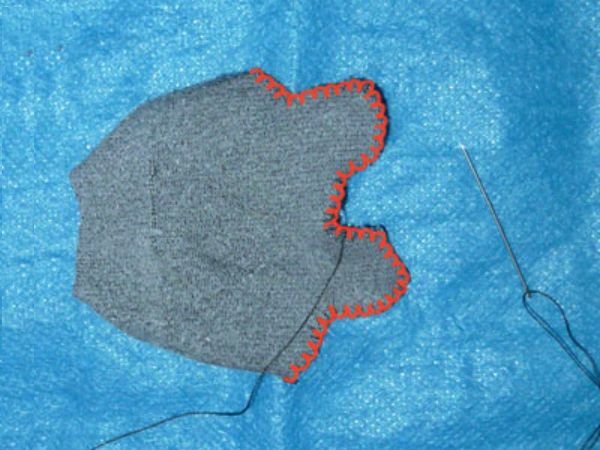
Puppy
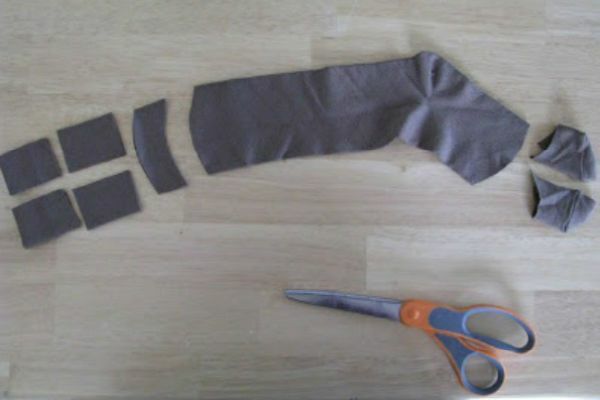
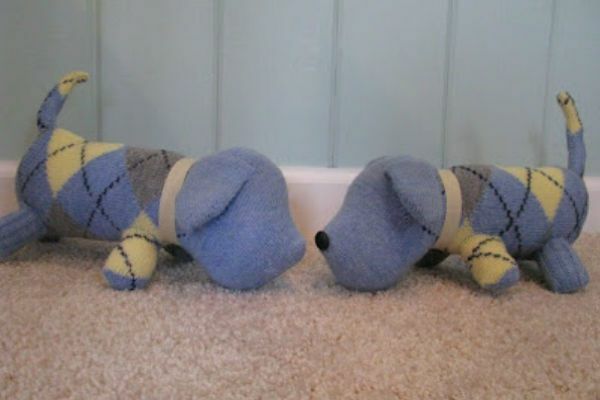
Required material:
- golf;
- scissors;
- chalk;
- needle and thread;
- filler - sintepon, holofayber, pieces of fabric;
- decorative ribbons, bows, beads, eyes, spouts.
Creation process:
- Expand the golf on a flat surface and level it as much as possible in its natural form.
- Fine draw on the golf fabric, from the gum and from the toe, all the necessary details of the puppy - tail, 2 ears, 4 legs, body.
- Sew the trunk, on the one hand, from the wrong side, turn it out and fill it. Sew on the front side of the hole with a hidden seam. Align the filler, shaping the puppy's body.
- Sew and fill all small details of the dog. Sew the details to the body.
- Stick the puppy eyes and nose-beads or purchased ready-made decorative elements. You can tie a puppy's collar or bow.
Bear

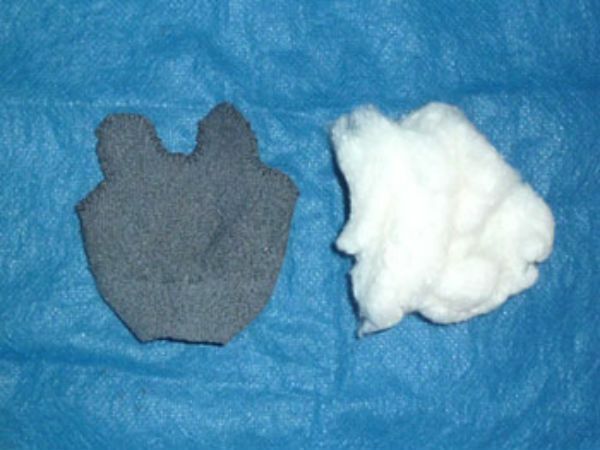
Required material:
- sock of the desired color;
- white fabric or felt for the face;
- black thread;
- needle;
- scissors;
- button in black;
- filler - sintepon, holofayber, pieces of fabric;
- chalk.
Creation process:
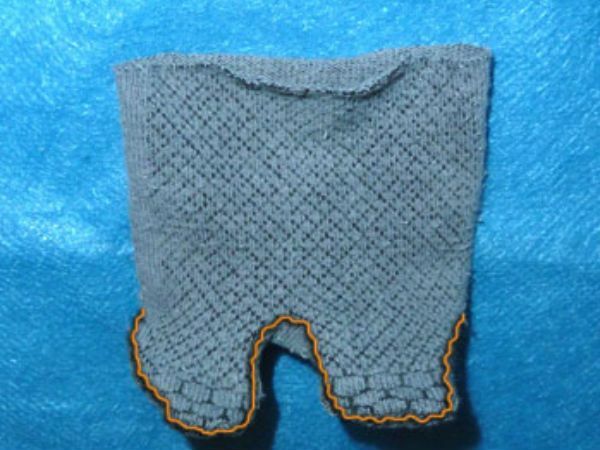
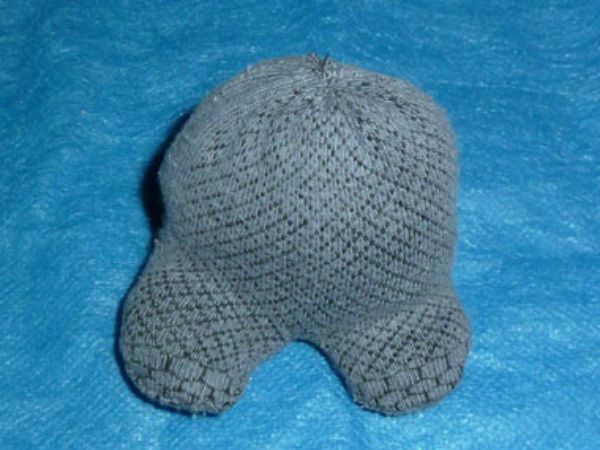
- To spread the sock on a flat surface, upwards with an elastic band, heel on itself.
- Fine mark the details of the bear, and cut them.
- Expand the parts in the order they are sewn, if something does not converge, trim.
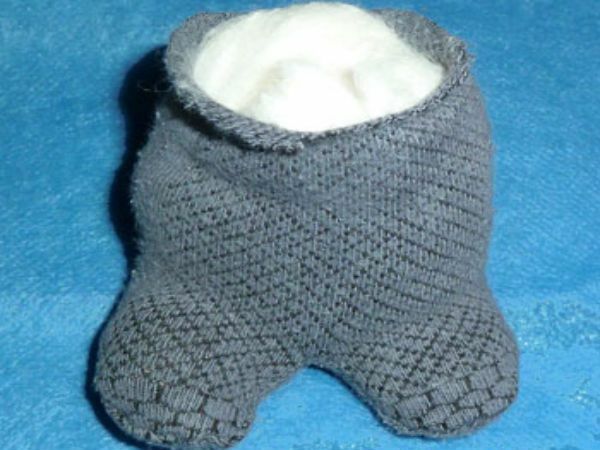
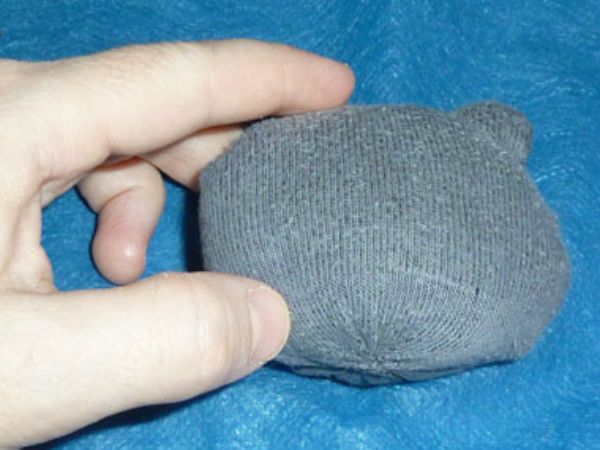
- Take the part of the head, turn it to the wrong side and sew the part with a suture seam.
- Unscrew the head with sewn ears on the face and fill with filler.
- Sew the legs of the bear also with a suture seam.
- Fill the lower part of the bead with filler. It is necessary to form the relief of the tummy and the separation of the legs in the process of packing.
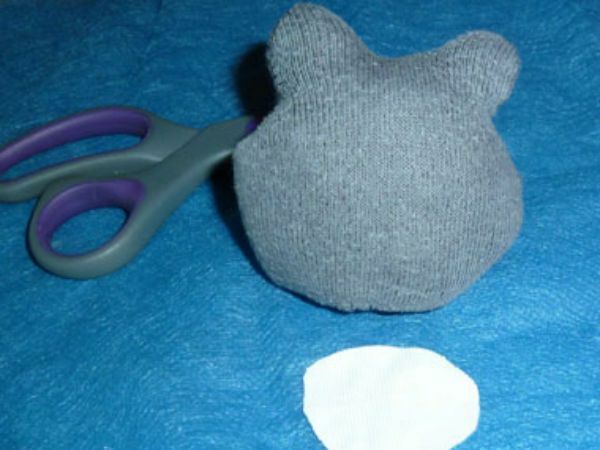
- Pull a hole in the head of the bear's head from the front.
- In the same way as the head, pull the thread of the torso of the teddy-bear.
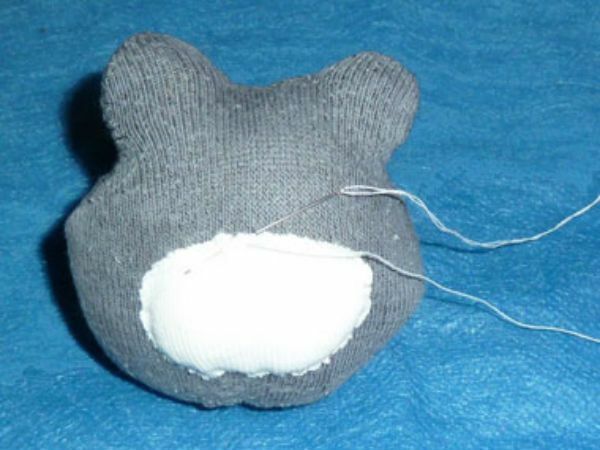
- From white felt or cloth, cut a circle to form a bear's face.
- Sew a white circle-muzzle to the head.
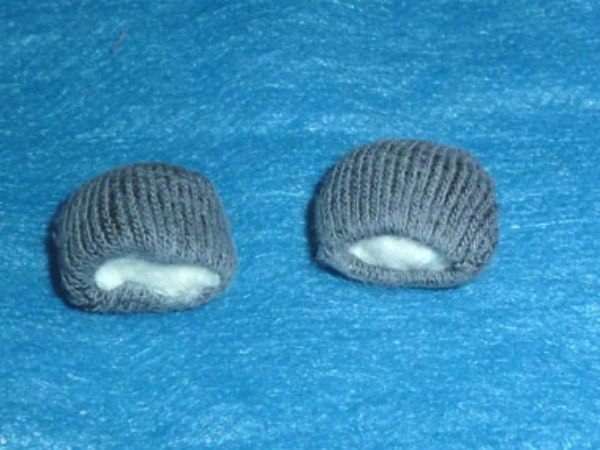
- Fill the small front paws of the bead with filler.
- Sew all the details of the bear.
- Sew a spout-button, embroider a mouth and eyes of a bear.
- Put on a bear cub a white bib, carved from fabric.