Point-to-point technology is very beautiful, similar to embossing or embroidery. It is sufficiently simple to perform and even if you do not have artistic ability, the technique will be available to you. In this lesson you will learn the basics of this technique, what materials you will have to work with, and in what order, and also learn the principles of working with acrylic contours, which are considered the most acceptable in the world of handmans for working out many ornaments and patterns.
- Basics of
- technique We make a snowflake in the point-to-point technique
Basics of the
technique To work in this work, you will need the following materials and tools:
- For permanent use: acrylic contours, both conventional and with different effects, tofor example, under metal, silver, with sparkles and so on. For the elaboration of the ornament, two shades will sometimes suffice, but, nevertheless, if you are keen on this hobby seriously, it is better to have a complete set of contours from the basic and additional shades at hand.
- Also always near at hand should be a medical alcohol or acetone for processing the decorated surface before applying the paint.
- Optionally, but it is desirable to have a special acrylic primer on the list of materials so that the surface of the object can be leveled before starting work.
- Simple acrylic paints and brushes with synthetic fibers can also be used.
- In addition, depending on the idea, glitters, aerosols-paints, polymer clay, varnishes for covering finished articles and so on can be useful.
- Almost all household and souvenir items made of glass, wood, metal, stone can be used as decorating items.
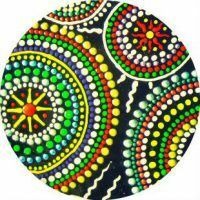
The original dot technique looks like an ornament for dishes, decoration of bottles, painting of mirrors, caskets, frames for paintings and the like.
Only at first glance it may seem that in point-to-point technology there is nothing complicated. The most common mistake among many beginners is work without preliminary sketches and incorrect use of contours, as a result of which the dots are smeared, and the pattern is distorted.
You can draw a drawing or pattern of a painting using an ordinary pencil. Also suitable are special stencils and templates. They, too, should be reserved for the future, if you seriously take a great interest in this creativity.
You should also follow the uniform extrusion of paint, so that the dots are also of the same size. If you are doing this for the first time - practice first on paper, do not go straight for something complicated.
As a rule, the drawing is worked out gradually, due to the formation of line-chains of dots. The work proceeds either from the contours or from the center of the drawing. If you work with several shades of contours, it is best to finish first with one, having worked all the areas of its color, and then move on to other contours. So you will clearly see where its place is, and do not get confused.
We make a snowflake in the point-to-point technique
If you have a desire to make an original hand-made for the New Year decoration of the apartment, we suggest you try your hand at decorating the snowflake bracket in the point-to-point technique.
For work we will need:
- The workpiece is the basis of our snowflake. In principle, it can be made from any material of glass, gypsum, leather, plastic. In this lesson we will use a workpiece made of wood, similar in shape to a star-shaped snowflake.
- Acrylic paint for toning workpieces. The color will suit anyone, we chose the silver one.
- Sponge or piece of foam rubber for applying the main tone to the workpiece.
- Acrylic contours of desired colors. In this lesson we will apply the contours of the firm "DECOLA" in blue, white, green and bronze colors. They can be purchased at any store of creativity, they have a good value for money. Such contours are very convenient to use, especially for beginners. The tube is easily squeezed, the paint is ideal in density and uniform in consistency. In addition, the tube has a removable long, sharp nose, which facilitates the convenient arrangement of points.
- Alcohol, cotton swabs, wet wipes. They are useful for removing possible initial flaws.
- Ribbon, lace or chain for fixing the finished product.
So, let's get to work.
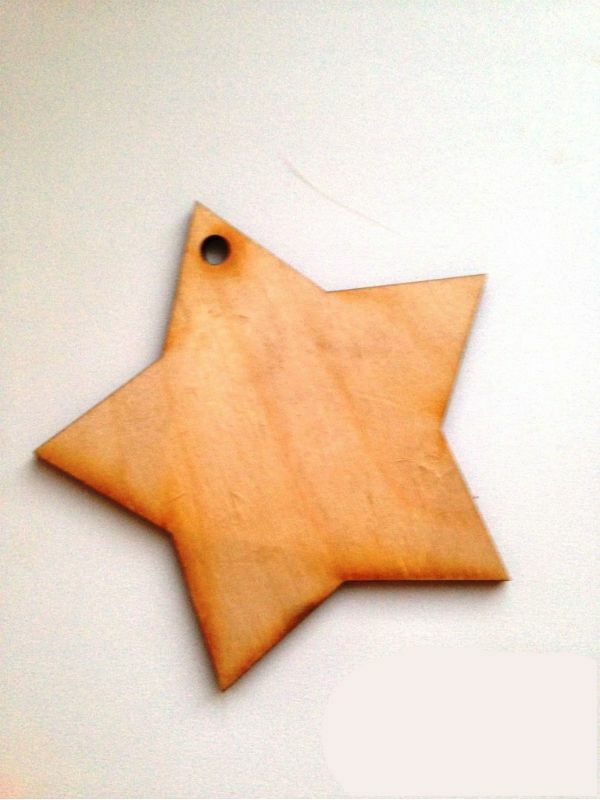
Take the wooden base of our suspension and apply it to acrylic paint with a sponge or foam rubber. This should be done with light patting movements, thus, as if driving a paint into a tree. Tone the workpiece from two sides.
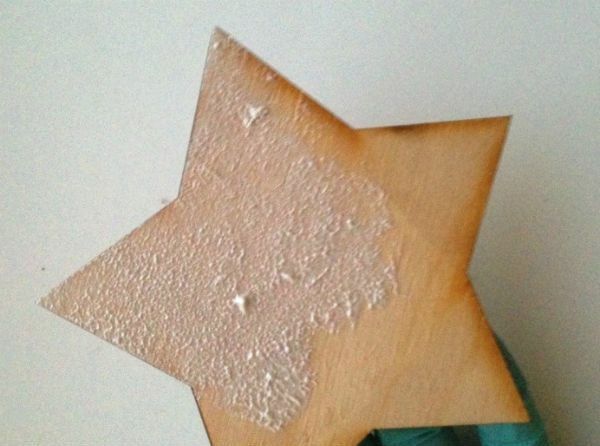
Leave it for a while for drying. To paint does not stick to the hands on the average enough from 30 minutes to an hour, but it is better to test it by experience.
When the paint is completely absorbed, we proceed to create the drawings directly.
On the one hand, we will make the design independently without using a stencil.
Now you need to achieve uniformity in the contour drawing. Try to put several points in a row, they should be at an equal distance. Give the hand a rhythm: lower the hand - put the point - tear off - move the hand - lower it again and put a point.
Evenly press on the tube, then all points will be the same size. The stronger the pressure, the larger the points will be obtained.
Try to make a dotted chain, wavy line or circle, if the movements are sure, and the result you like, then you can proceed to the design of our wooden workpiece.
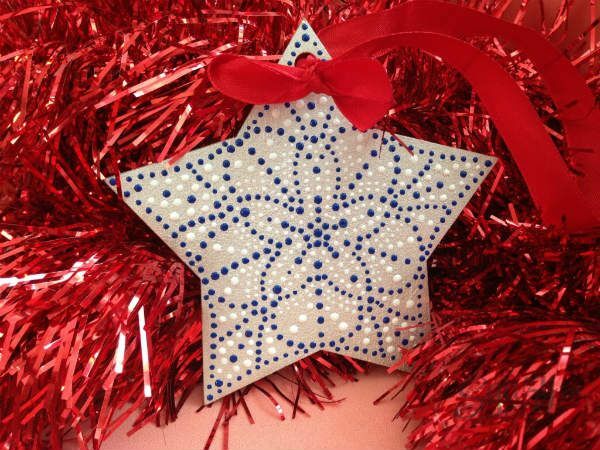
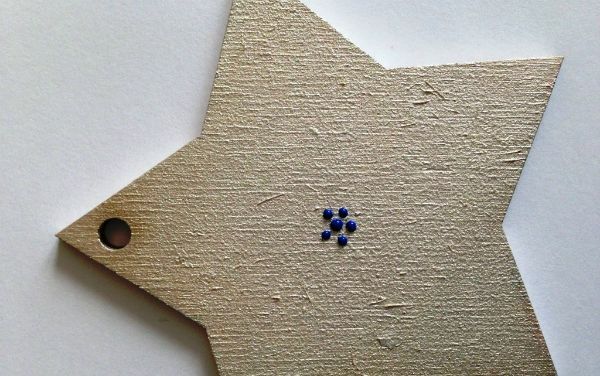
Use a blue outline to place a large dot in the center of the snowflake. Around her, put five smaller dots.
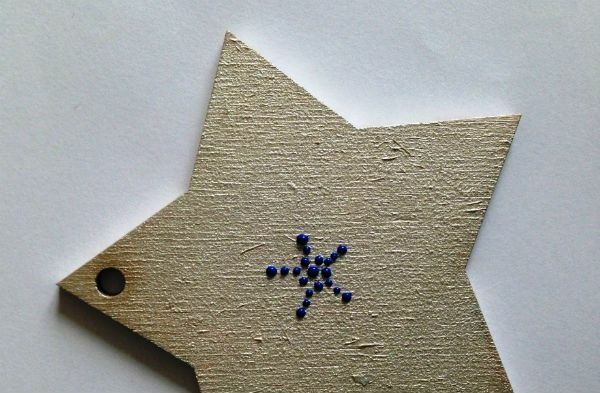
Now apply the pattern like rays, following from the center to the edges of the suspension. If you suddenly make a mistake, then with the help of a cotton swab and alcohol, you can carefully correct it. Just do not tighten with the correction, acrylic dries quickly.
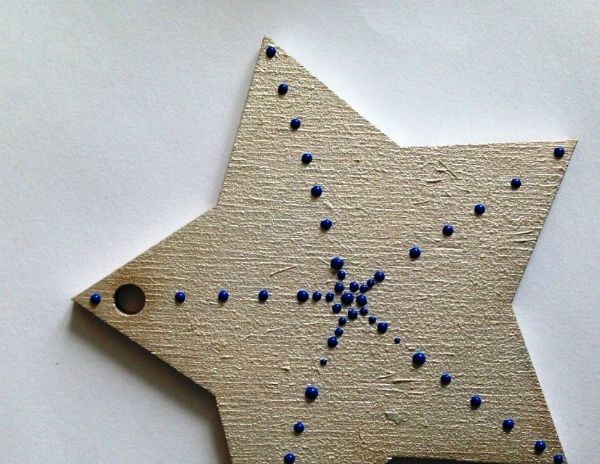
Next, decorate each edge of the snowflake, putting the points at an equal distance from each other throughoutperimeter of the workpiece.
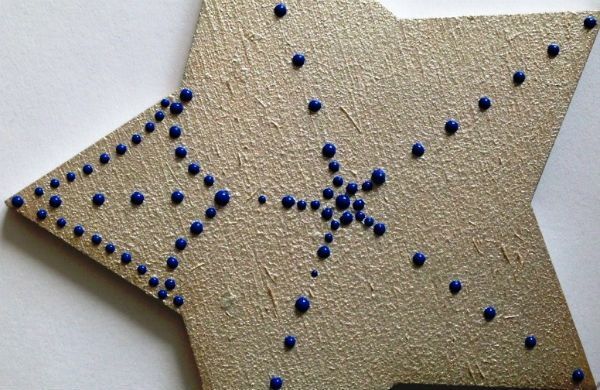
If done correctly, a flower-shaped pattern should appear in the center.
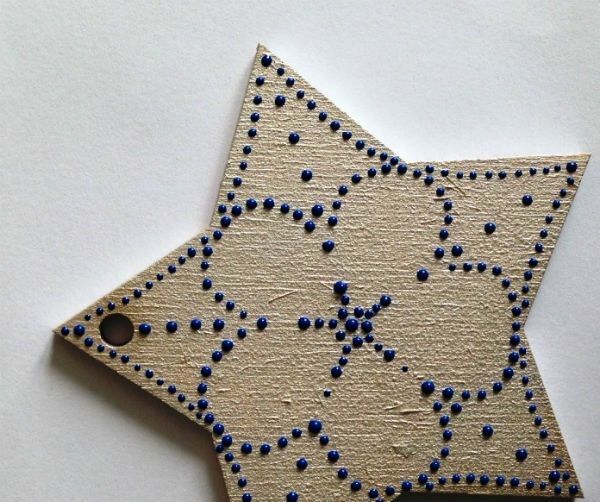
We continue to fill the petals of the flower with a blue outline. It turns out very elegantly.
Now take a tube with a white outline. White and blue are ideal colors for snowflake design. We continue to fill the remaining space with white color.
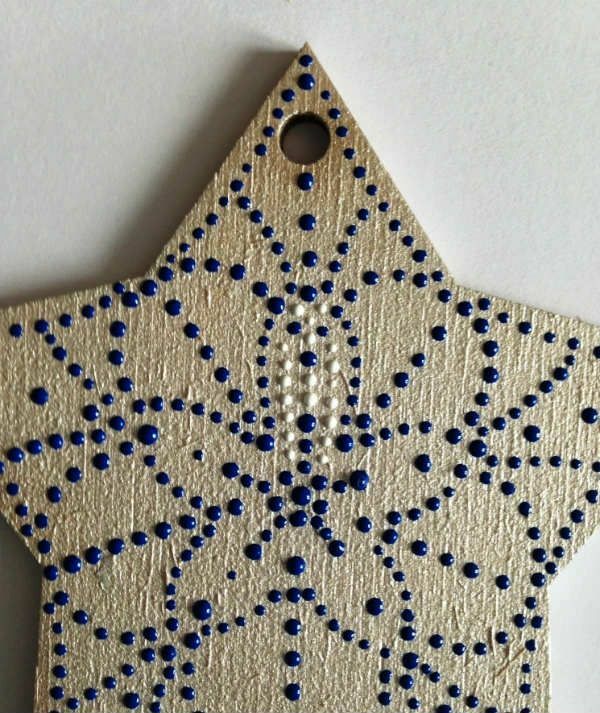
You can play with the size of the points, do more or less, most importantly, arrange them so that they do not spoil the overall picture and all parts of the ornament look evenly. Work neatly, so that the hand does not smudge the already created pattern.
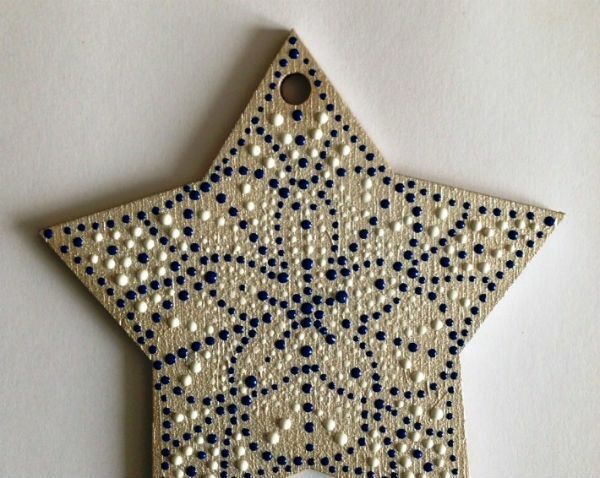
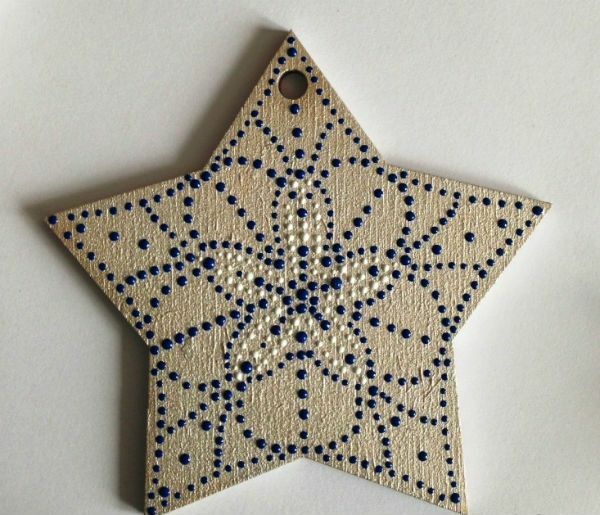
When one side of the snowflake is ready, it should be left to dry for 24 hours.
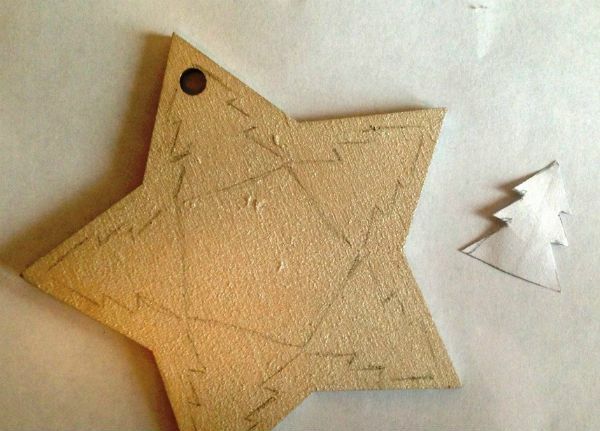
After this time, acrylic will become hard, and we can work with the back side of the workpiece.
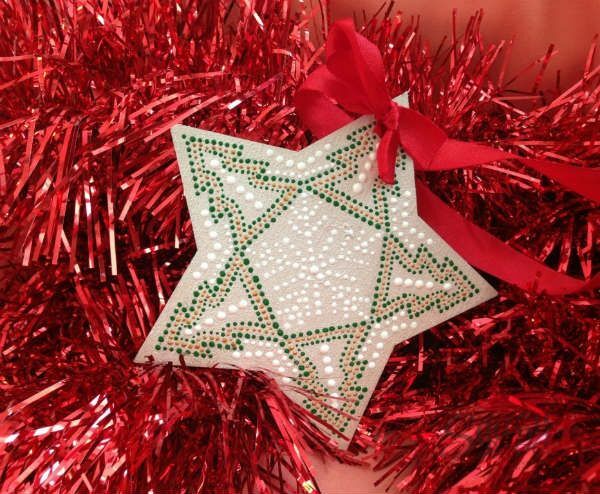
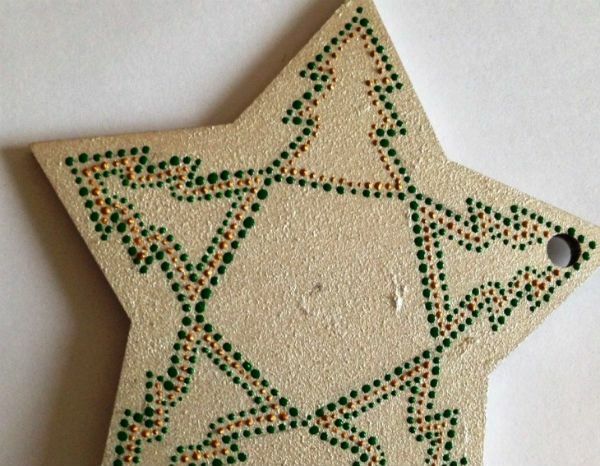
Here we will apply the stencil in the form of a Christmas tree. Circle the stencil with a simple pencil, placing it on the beams of the workpiece.
Take a green outline and draw a Christmas tree.
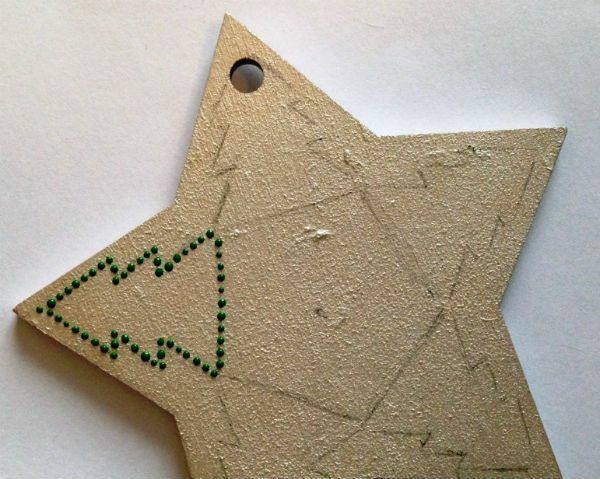
Bronze color we place a smaller number of points in the middle of each tree.

Again, take the green outline and repeat a series of green dots.
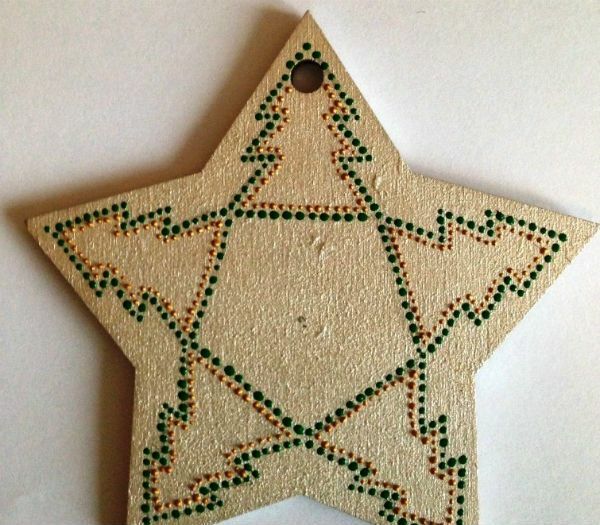
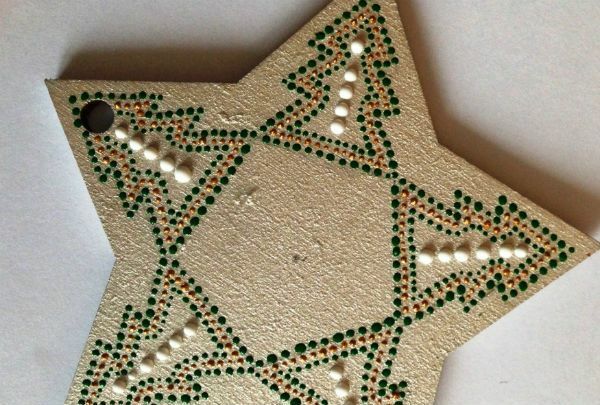
Now decorate our Christmas trees with large white balls, using strong pressure on the tube with white acrylic. And in the center of the workpiece we draw a snowflake, putting the points from the center to the edges.
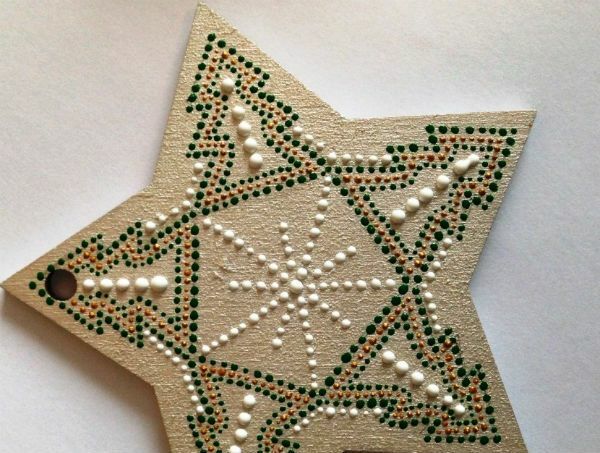
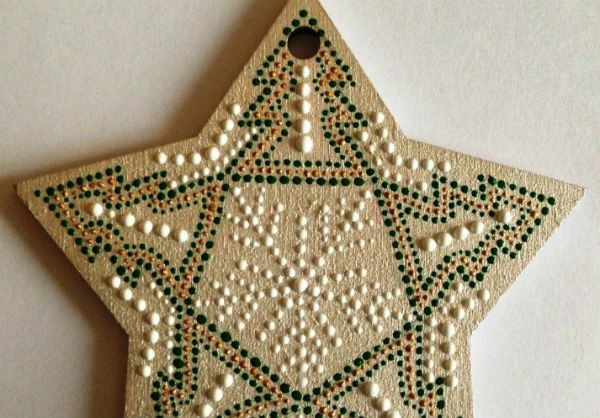
Suspension ready. It remains only to dry the drawn pattern and add a ribbon to hang a snowflake on the tree.