
Knitting is the most ancient kind of applied art. How long ago knitting did not know anyone, since such products are not stored for a long time. But archaeologists find works that belong to the nineteenth century BC.Most likely, knitting was invented in Egypt and only men were engaged in this business. In Europe, they began to do this already in the IX century AD.And after several centuries knitting became a popular home craft.
- Basics of
- Technique of knitting
Basics of
technique Who invented the knitting technique on a fork has not yet been established.
A plug is a wire or a piece of wood that is bent or made in the form of an English letter U, with which it is convenient to work with a hook.
There are two basic ways to use a tool such as a fork. In our master class is an illustrated example of one of them. As a result of its use, free knitting is obtained. It is these knitted ribbons used for decorating things or for creating, for example, flowers.
For beginners in this skill it is best to train on thick yarn and a fork with wide teeth, so you are more likely not to get confused with the pattern and the transition of threads.
to table of contents ^Knitting example of
The technique is based on the development of loops from yarn. This is done due to the prongs of the plug and the hole between them. The instrument itself while you work with it is best to fix it directly, for example, between the knees, if you can not yet work with one hand. But usually the fork is held in the hand, the left-hander in the right, the right-hander, respectively, in the left.
Please note that the width of the banded tape will depend on the distance between the prongs of the plug. So, if you are engaged in this creativity, it is best to purchase several instruments, with different distances between the teeth.
So, thread the yarn through the hole in the fork on yourself and fix the tip of the thread with your finger. Always try to keep the tool in the same position in which you started work.
Next, wrap the yarn counter-clockwise around the right tooth, coming from the back, between the teeth. After this, wrap the yarn clockwise between the teeth and around the other tooth.
Visually it should look like you are writing "8".
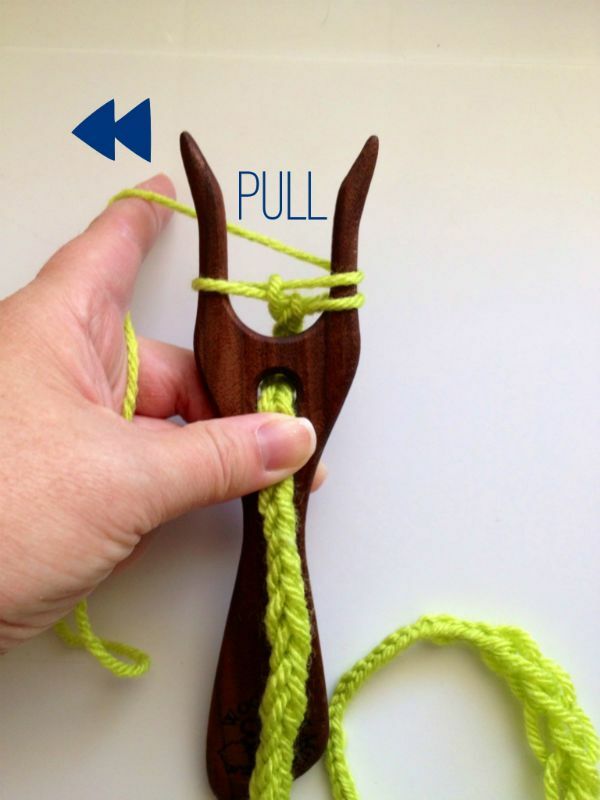
Now repeat the wrap again. Then lift the lower loop over the upper loop above the right tooth and then over the left and, as it were, plant the two loops on the walking thread between the teeth. Gently pull to tighten the stitch and free up space for the next pattern element. After you discard the first stitch, there must be one "8" left on the teeth.
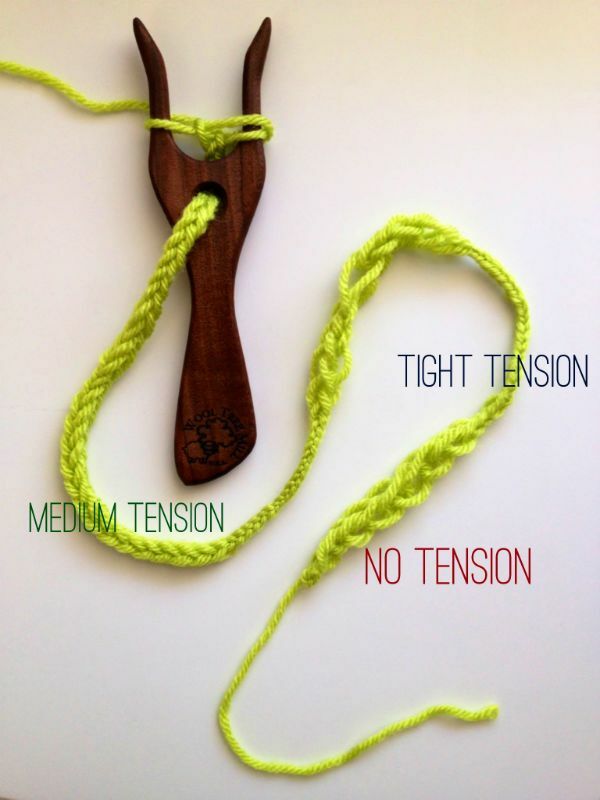
Then everything repeats in the same sequence, until the length of the tape you are not satisfied. Then just cut the yarn, leaving about ten centimeters.
Pull to tighten and secure the end and make the fixing assembly for reliability.