
Most often, many festive events and celebrations involve gift giving. And often the best present will be the one that is made with love with their own hands. After all, in such a gift is enclosed a piece of the soul, and it's worth a lot. If you are determined to create an article for a gift, but do not know how to implement the process, for you the following master classes on making exclusive gifts.
- Making a candle
- Gift from candies
- Creating a gift from the skin
Making a candle
A suitable gift for almost every holiday can be candles, but not simple candles, but candles decorated in a special way with your own hands. By the way, you can make such candles not only for a gift, but for yourself. Use them to decorate the house and create a romantic atmosphere during dinner.
Prepare the things you need to create candles:
- wax candles( we took high candles of white color);
- salt;
- adhesive;
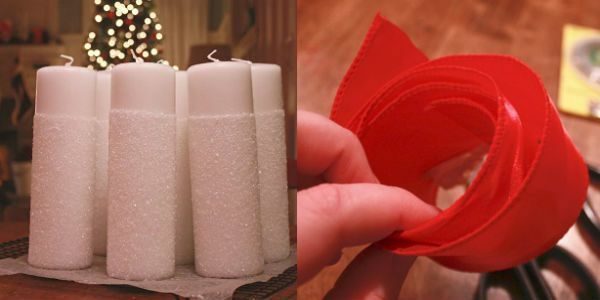
- bright satin ribbon;
- deep capacitance;
- rubber bands;
- pins;
- wire;
- wish card;
- scissors and nippers.
Getting started with the preparation of the basics. Approximately at a distance of ¾ from the bottom of the candle, arrange the elastic band to cover not the entire candle, but only a part of it. Instead of a rubber band, you can use a thread, but with an elastic band, there will be fewer problems.
Now prepare the surface on which you will lay the salt-covered candles. Simply take the mesh, cover it with parchment paper, which in case of an overabundance will absorb excess glue.
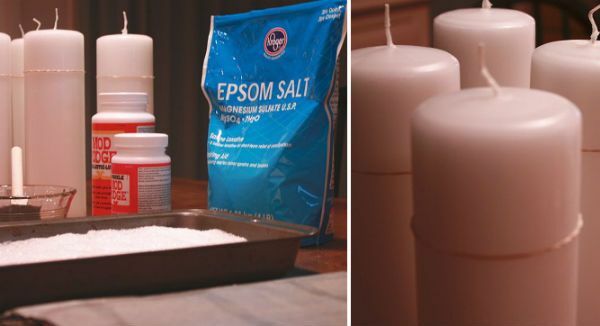
Then pour the English salt into the prepared deep container. Do not pour too much salt. Firstly, with the collapse of the candles, it will emerge from the container, and secondly, it is by no means a fact that you are using it all. Apply glue on the surface of the candle to the gum and roll each candle in the English salt, doing this very carefully and slowly. After this process is completed, remove the elastic band so that it does not accidentally stick to the candle, otherwise its appearance will be spoiled.
Place the candles in an inaccessible place so that they do not accidentally damage them until the glue is completely dry. Leave them to dry for the night. In principle, if you use quick-drying glue, you can continue working with candles within an hour and a half.
When the candles dry, you can proceed with their further decoration. To do this, take the tape red and cut off a piece equal to the diameter of the candle( plus a few millimeters).
Wrap the tape around the candle and prikolite to the candle with pins. The segment must cover the place of transition from the smooth structure of the candle to the area covered with salt.
Now take a small postcard with wishes for the person you want to hand this candle to, make a hole and draw the wire into it.
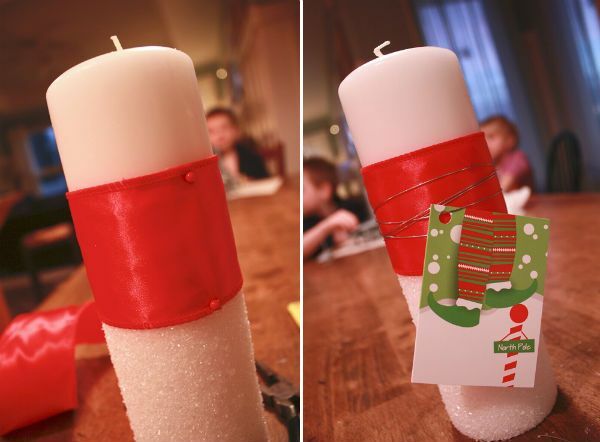
Your candle is ready.
In fact, candle decoration options are a lot. So, for example, instead of tape you can use yarn or twine, which need to wrap the place of connection of the smooth and textured surface of the candle. Decorate the candle can also be various decorative elements, their theme depends solely on the nature of the holiday and taste preferences of the person to whom you will present this gift.
Whatever it was, when creating gifts yourself, the most important thing is to show imagination and do all the work with love and with a piece of the enclosed soul. Then your gift will not be dismissed, like many others, in the far corner, but will please the one to whom you gave it.
to the table of contents ^Gift from sweets
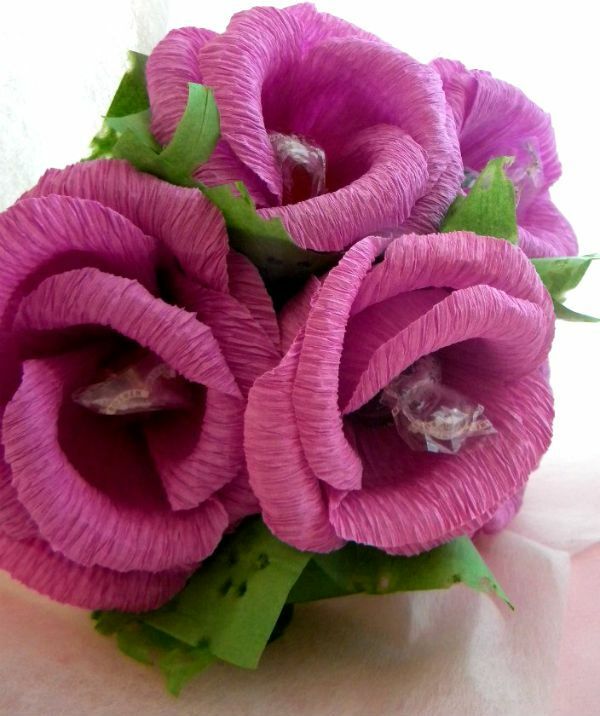
This master class will be devoted to making a bouquet of chocolates.
This is not just a banal gift, but a unique surprise created by yourself, because this bouquet will never fade and will not lose its shape unless one day you want to disassemble it and eat it.
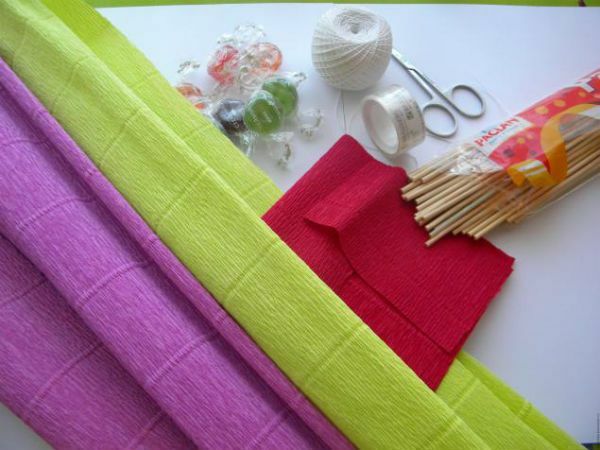
To design a sweet bouquet, you should prepare:
- favorite candy( suitable for chocolate and caramel);
- colored corrugated paper;
- wooden or plastic skewers or strong wire;
- thread;
- narrow adhesive tape;
- cones for decoration of flower bouquets from organza, cellophane, paper, felt;
- ribbons and beads;
- scissors.
Let's get to work.
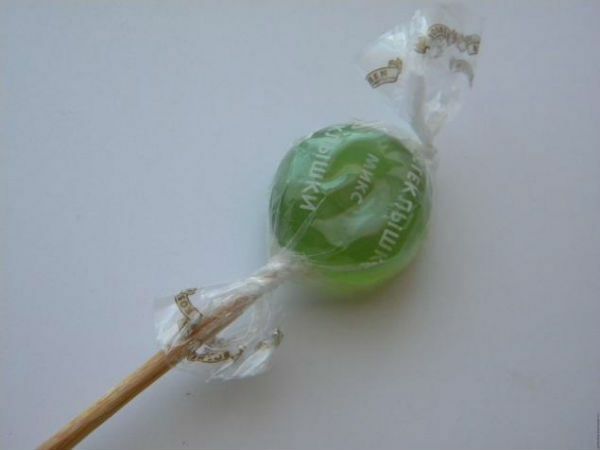
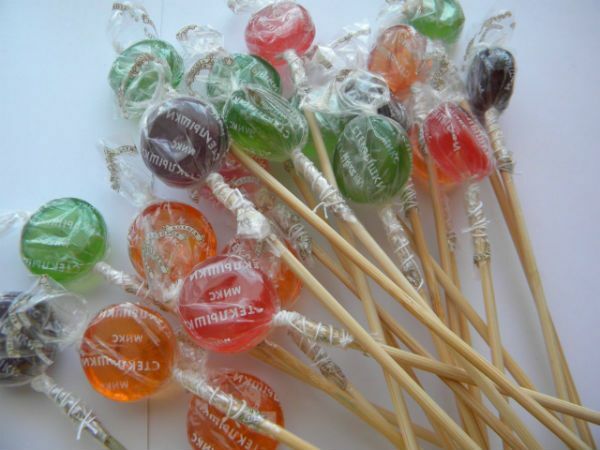
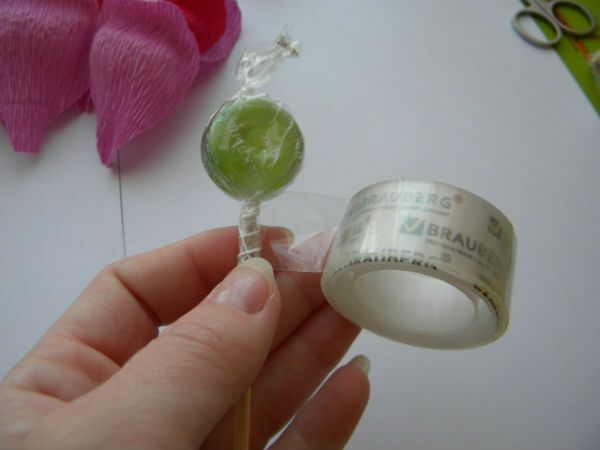
First, fasten the sweets on the skewers. They will become the core of our flowers. In order for the candy not to hang out or accidentally fly off, it is necessary to slip the pointed part of the skewer under the wrapper of the candy and fix it tightly with a thread. You need to make as many candies as there are flowers in your bouquet.
Now we turn to the preparation of the petals. For our bouquet they need a large number, so to save time, we advise you to cut them not one at a time, but all at once.
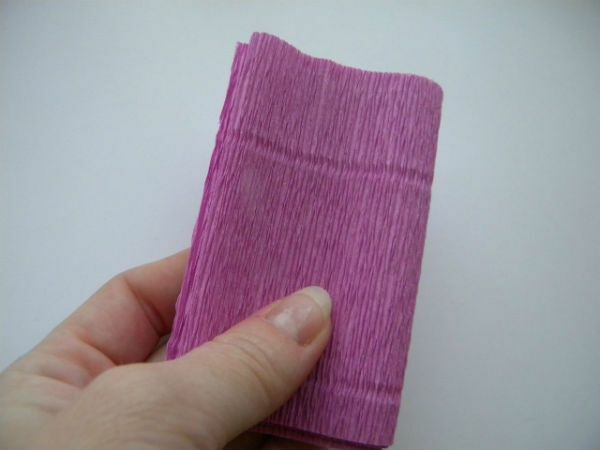
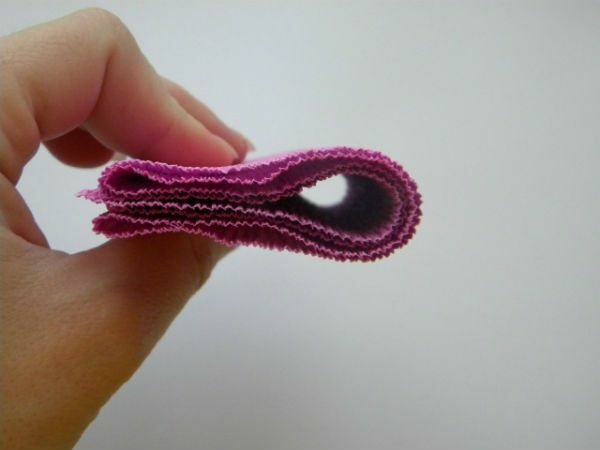
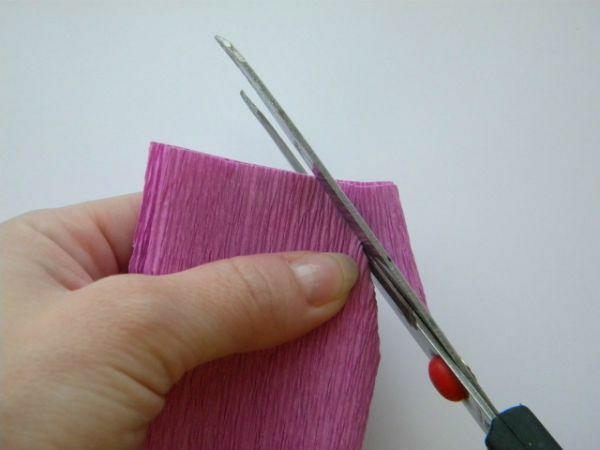
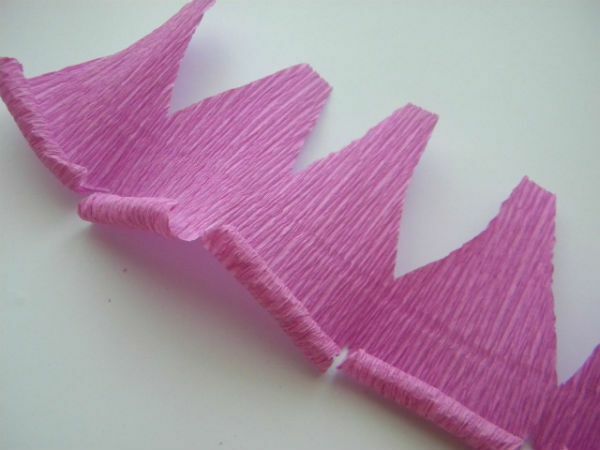
Take a longitudinal strip of pink corrugated paper 30-50 centimeters long, fold it several times in half along the length. The resulting rectangle will be equal to the width of each petal. We take the scissors and form petals, giving them a rounded shape.
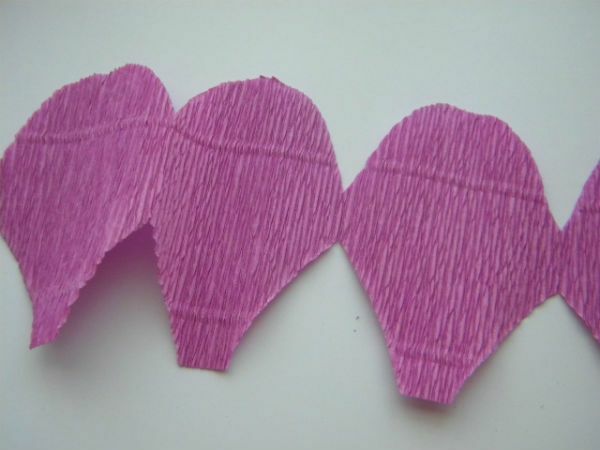
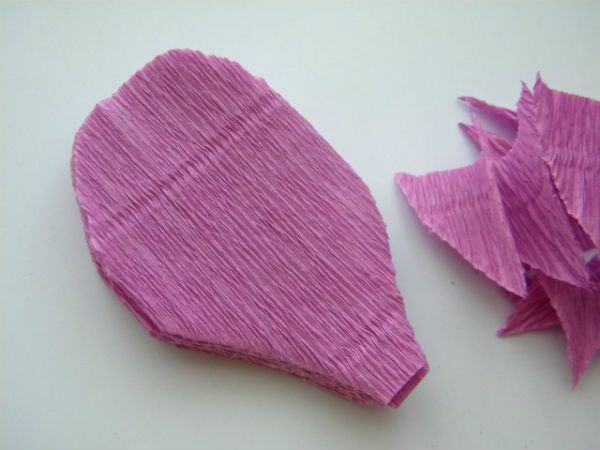
The garland of blanks of petals turns out. One flower needs about 6-8 petals.
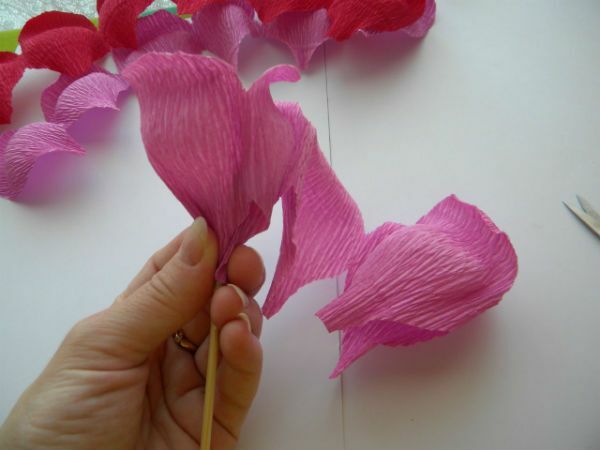
Now add realistic lobes. To do this, you need to wind the edge of each petal on a toothpick or skewer. And then with your fingers stretch them from the middle to the edges, to give a rounded shape and add volume.
First, wrap the skewer at the base of the candy with a scotch, necessarily turning it upside down with a sticky side. If you have double-sided scotch, then you better use it.
We collect garland of 6-8 petals around the candy and fix it with a strong thread.
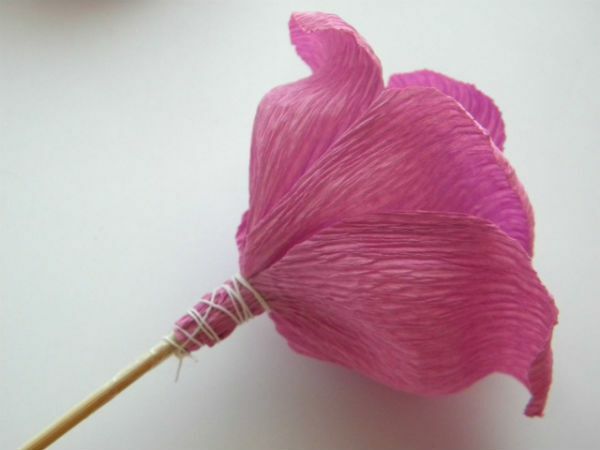
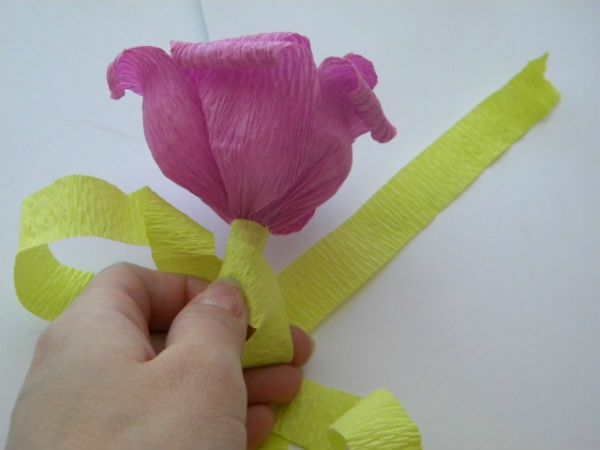
To make the flower look quite like a real one, the stalk should be wrapped in green corrugated paper. To do this, cut a narrow and long strip of paper, and slightly skew the skewer with PVA glue. Now, having fixed the beginning of the long green strip at the base of the flower, start rotating the skewer, gradually wrapping it with paper. A beautiful stalk is ready.
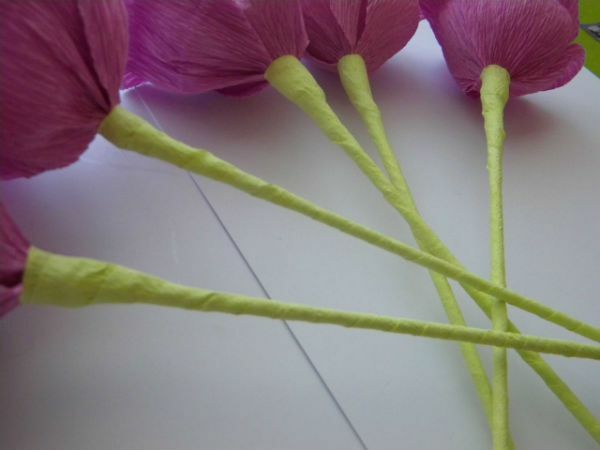
You can assemble a bouquet in a general composition. For beauty and splendor, we recommend adding green petals from corrugated paper.
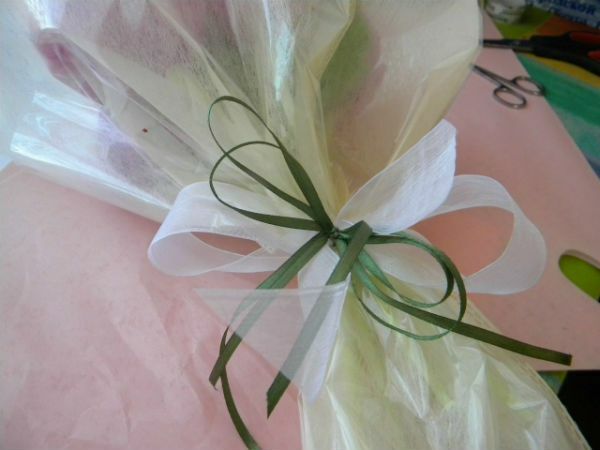
Bunch a wrap with a cone of cellophane and steal with colorful ribbons.
There are many other techniques for processing sweet gifts in the form of floral and candy compositions, but in order to try them, you need to have a desire, a good imagination and an extra kilogram of chocolates in reserve.
Create a gift from the skin
If your interior has pictures of leather, then, without a doubt, it looks decorative and very stylish. And if you do not have such a picture yet and it seems to you that it can cost very much, we suggest that you make it right now with your own hands and make yourself or your loved ones happy with a wonderful gift.
Each of us has old leather things or bags that just dust in the chests. Their time has come. With the help of our master class you will breathe new life into them and learn how to create amazing things that will become the original decorative elements of your apartment or a great gift for your friends.
From the necessary materials to create a picture we will need:
- leather( any color);
- buttons;
- frame for picture format A4;
- plywood, compact cardboard or fiberboard;
- acrylic paints( shades of your choice);
- brushes;
- universal adhesive or glue gun;
- scissors, clerical knife;
- ruler;Tweezers or forceps.
Begin by preparing the basis for the picture.
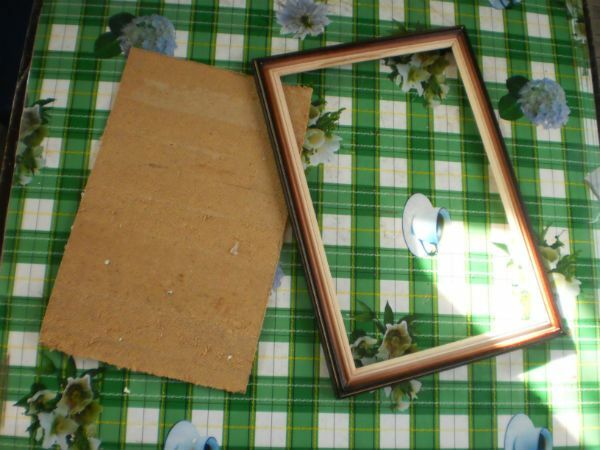
Measure the frame around the perimeter, now take a piece of plywood and cut out of it a rectangle of the appropriate size. Note that the plywood will be stretched from the skin, so its length and width should be 10 mm less than the groove in the frame, then you will easily collect your work.
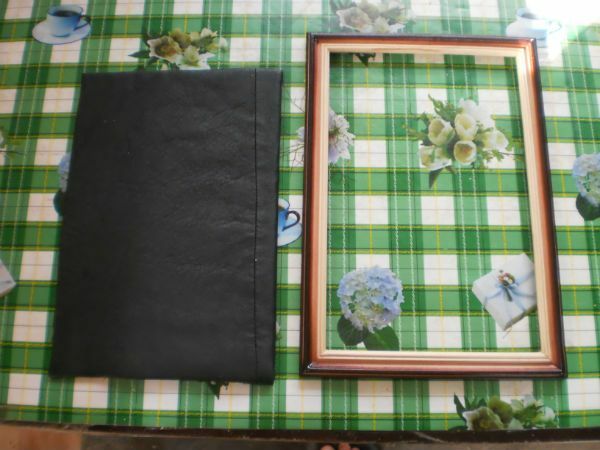
From a piece of leather, we cut a rectangle 20 mm larger around the perimeter than the plywood base. Stretch the skin on the backbone and glue the protruding edges of the skin from the back side.

We paste the prepared base into a frame and fix it with glue and nails.
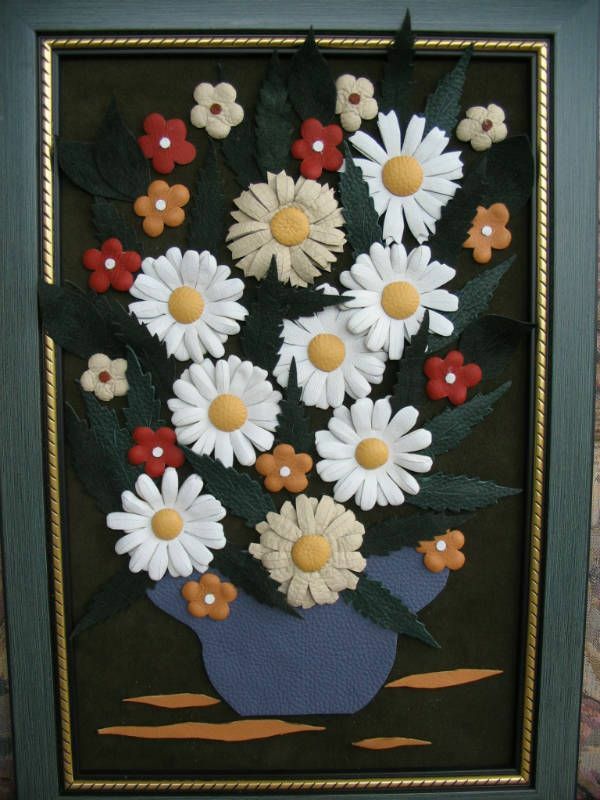
From small pieces of skin we cut out the elements of the picture in the form of flowers and leaves.
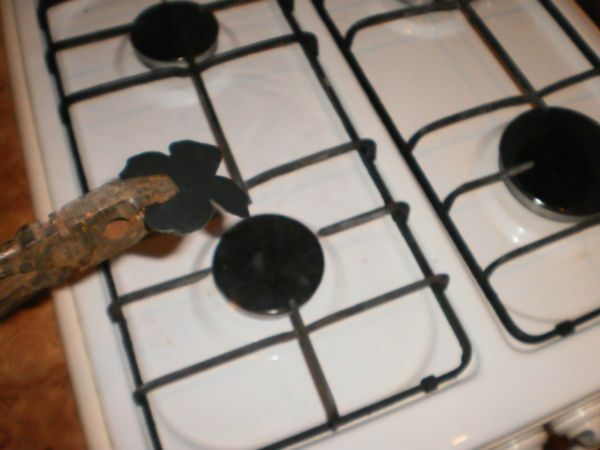
Heat the prepared elements by holding them with forceps over the open flame of the gas burner, until the edges of the workpiece are curved. Note that the edges of the part are wrapped around the fire, so the workpiece needs to be held upside down.
The resulting shaped petals are glued together, starting from the larger to the smaller.
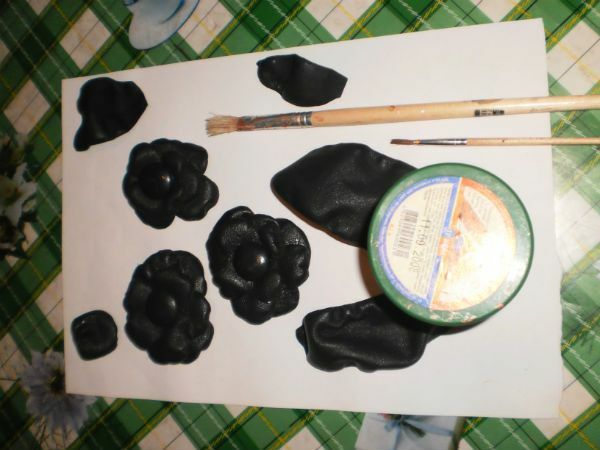
Using acrylic colors, we color flowers and additional decor in the colors that you want. For example, for daisies you need white paint, and for roses red. If you have buttons they can also be painted and attached to the picture. The branches and leaves were painted in a dark green color.
It remains a matter of small - to include imagination and place the elements in the picture, and also, if desired, paint the frame itself. No matter how you do it, it's still quite original.
Some may think that such pictures are primitive and fairly simple to perform, but this is only at first glance. In the world there are special schools teaching this ancient needlework. Thanks to special artistic approaches and painstaking work, you can create real works of art. And such a gift will take a worthy place both in the recipient's home and in his soul.