Pillow is one of the most intimate and important attributes of everyday life that has been with us since the first days. This is an immediate component of the comfort and coziness of every home, no matter whether it is used for sleeping or as a decorative element for decorating the interior of the room. In today's master class, we will show simple ways to sew pillows, spending a little time and effort on it.
- Decorative cushion
- Pillow for needles
Decorative cushion
You will need:
- cardboard;
- 3 types of fabric contrasting colors( for pillowcase and decoration details);
- paper cloth;
- filler for pillow( at your discretion);
- iron;
- scissors;
- ruler;
- pins;
- sewing machine.
In order for your new pillow not to become another faceless thing, but to carry a positive and perform a decorative function, we suggest adding to it the initials of your name or a cheerful alphabet - different letters, from which you can later add words.
In principle, in the same way, you can apply any desired pattern to the pillow.
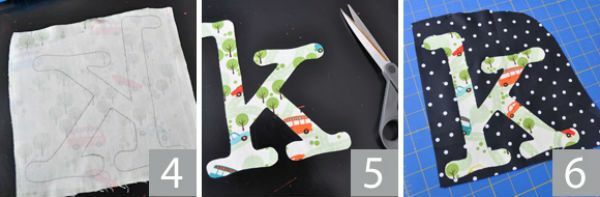
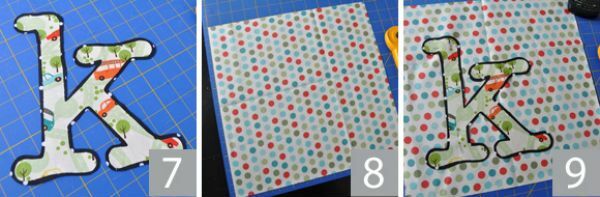
So, choose the desired letter, print it on thick paper, and preferably on cardboard. Naturally, the font should be large. Cut out the template.

Take the paper cloth and translate the letter onto its smooth side. Put this stencil on the wrong side of the fabric that you have chosen to make out the letter and iron it. Cut out the letter. After that, remove the paper base, place the letter on a darker or more contrasting fabric.
Again iron and cut out the letter, leaving a wide rim around the edges, thereby adding a beautiful contour to the letter.
Now on the main fabric, from which you planned to sew a pillowcase, measure out two squares measuring 30 x 30 centimeters and cut out. This will be the front and back of our pillow.
Although you can use different fabrics for each half of the cushion if desired.
Prepare the prepared letter with pins to the front. Choose its location on your own - in the center or by sliding to the sides.
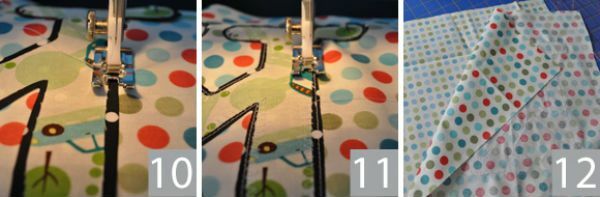
Stitch the letter on the sewing machine first from the front and then zigzag from the wrong side. Fold both squares face-to-face and sew on all sides, leaving a small hole 10-15 centimeters in size so you can fill the pillow.
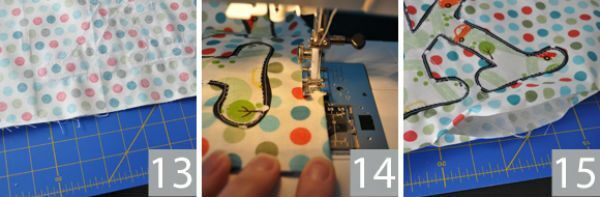
Unscrew the pillow through the left hole to the front side, pushing out all corners with blunt scissors or chopsticks.
Now starting from the left side of the hole left, stitch the pillow again. Do not sew a hole!
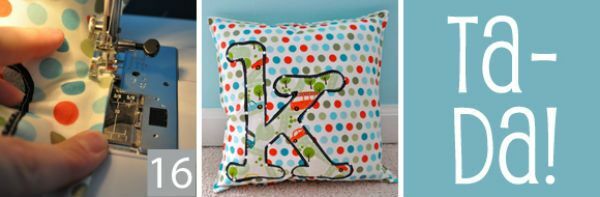
It remains only to fill the pillow with the desired filler. Today, the most common material for this is synthetic balls that perfectly hold the shape of the product, and unlike feathers and feathers do not cause allergic reactions.
After you have filled the cushion to the desired volume, you can sew the hole.
to the table of contents ^Pillow for needles
Earlier in schools, the production of soft needles was very popular. The girls at the lessons of the labors made such pads, in the form of flowers or animals, to present them to their mother or grandmother, who were fond of sewing. Now such a present will suit rather for a professional seamstress-maker or needlewoman, who is fond of embroidery.
In today's master class we will sew a pincushion for needles "Mushroom".So, let's begin.
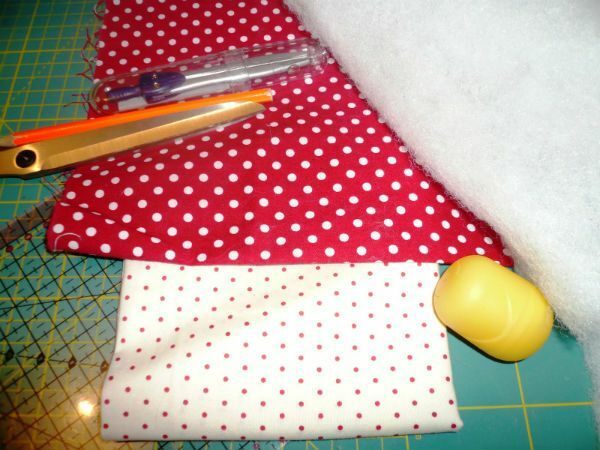
Take:
- cloth is red in polka dots and white in polka dots;
- wooden disc with a diameter of 5 cm for the base( if desired, the base can be made soft from the fabric);
- wooden workpiece in the shape of a mushroom foot or an old coil from under the thread( if desired, the leg can be made of fabric);
- braid;
- wool or foam rubber for packing;
- scissors;
- needles and threads.
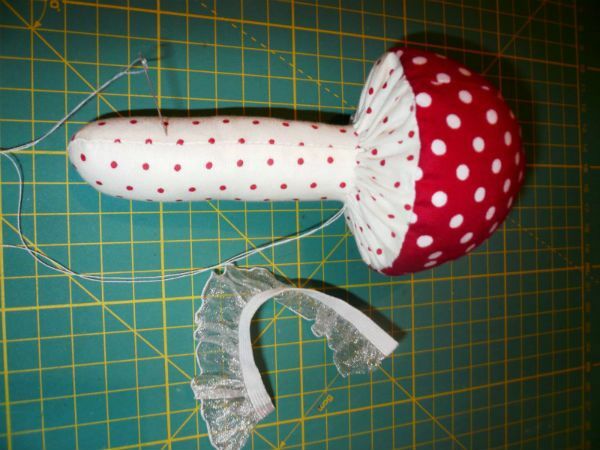
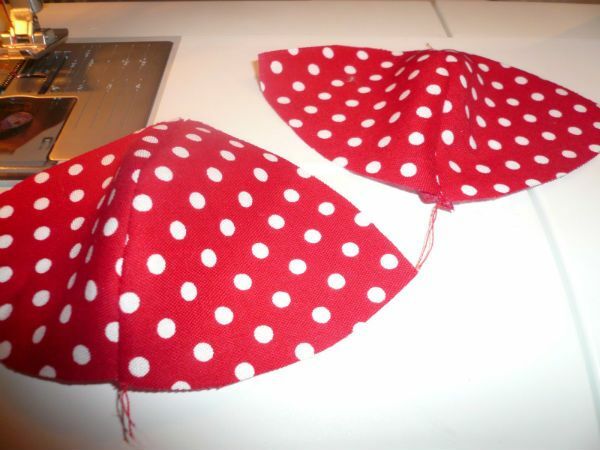
Note that the mushroom cap will consist of 4 fragments.
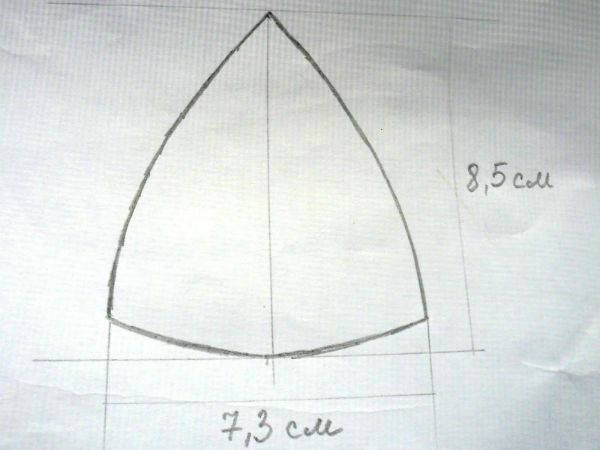

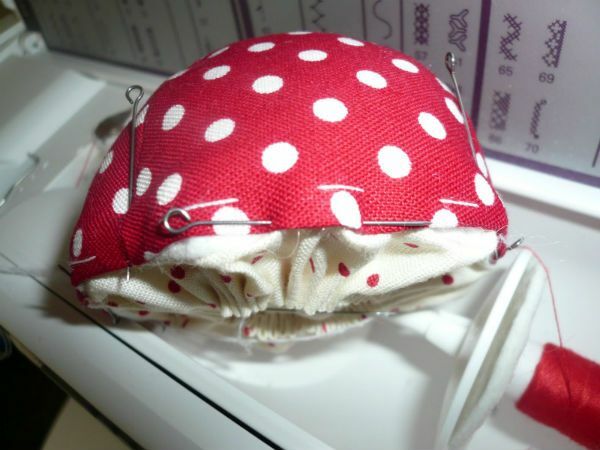
From the fabric, cut out the fragments of the mushroom cap and sew them together. On the edge, sew it with an assembly seam. At the end, pull the thread to create a three-dimensional mushroom head.
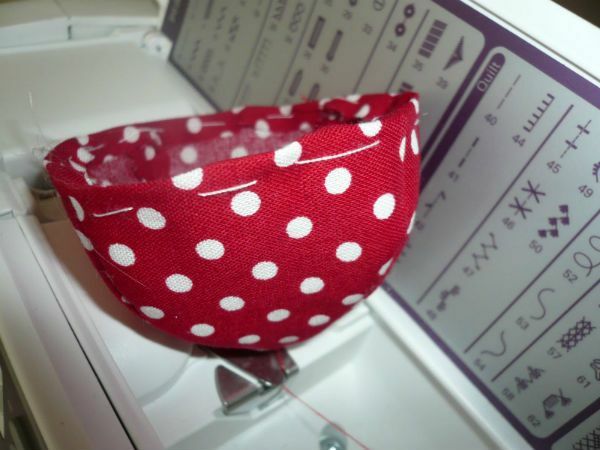
Tightly stuff the hat with wool or foam, it should hold the needles well. Strongly tighten the thread, tie the knot. Now we need to make the bottom of the cap using the following diagram:
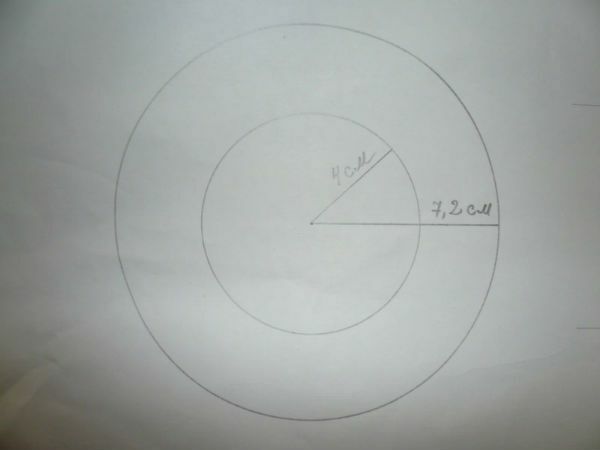
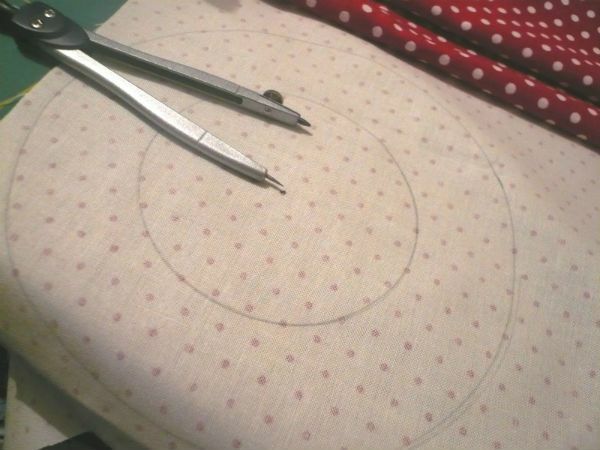
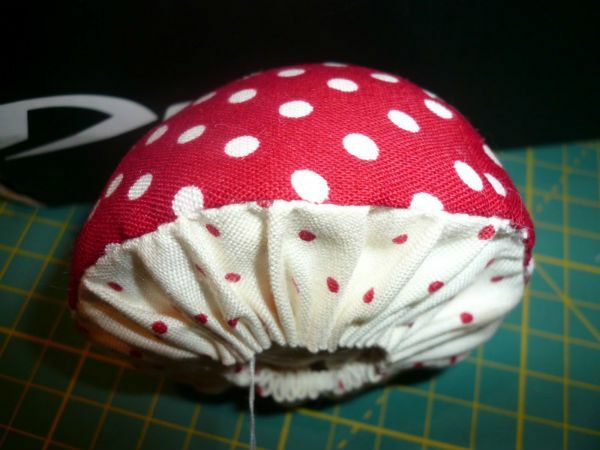
We connect the hat with the bottom blank.
Now make the foot of the mushroom. For this we use the following scheme:
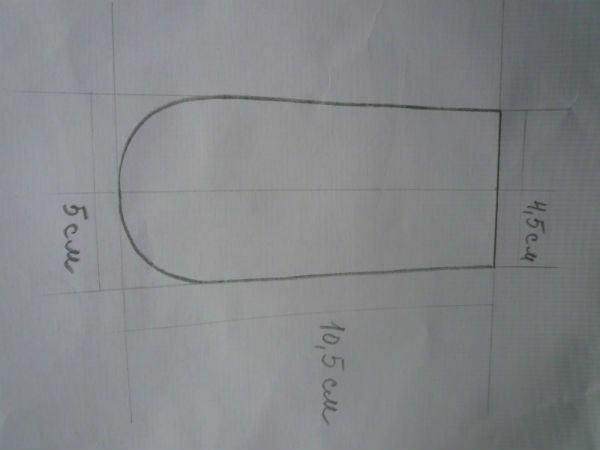
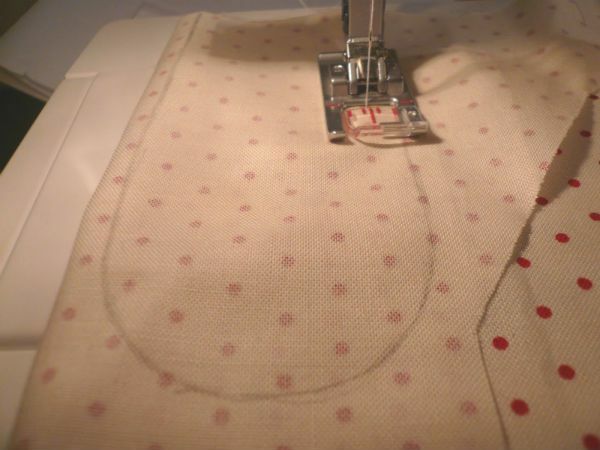
We transfer the scheme to the fabric and connect the two sides of the leg.
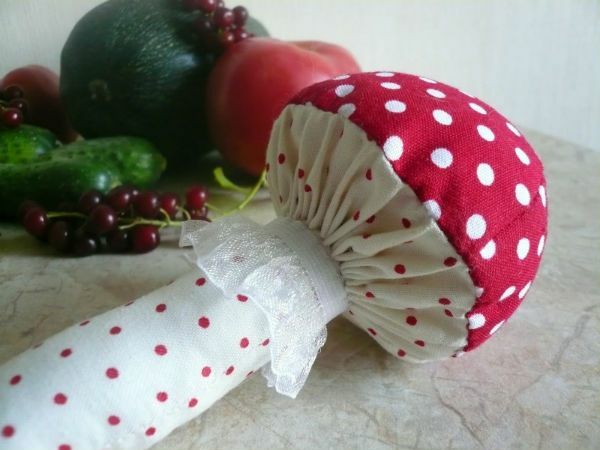
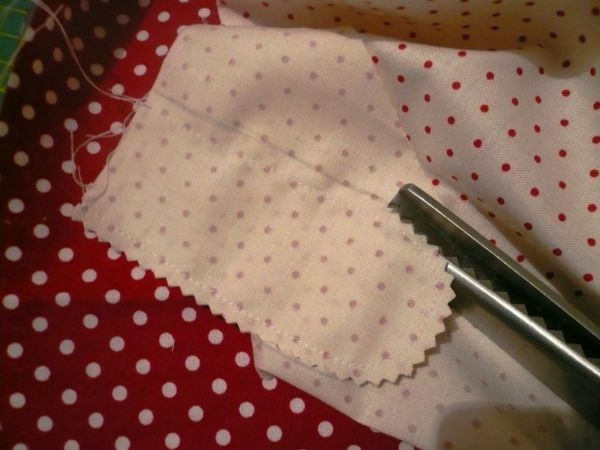
Cut and stuff the leg.
Take the mushroom stem preform and insert the cap into the remaining hole of the mushroom.
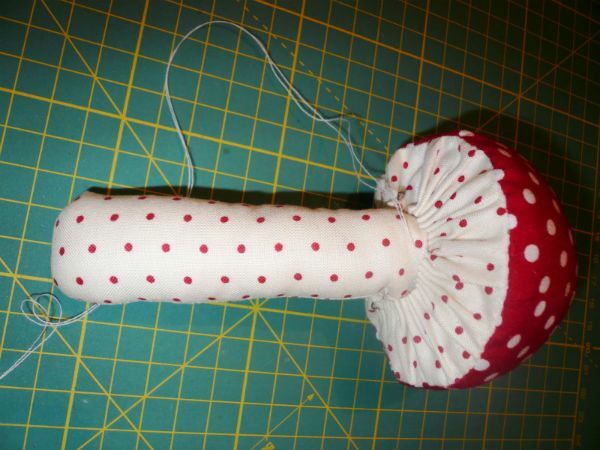
It only remains to hide the junction and your pads for the needles are ready.