Butterfly made of paper will be a special addition to the decor of the walls and ceilings of the room or individual items and handicrafts( albums, postcards, compositions with flowers, notebooks and so on).There are many ways to create paper butterflies. The most popular of them are given in this master class.
- Butterfly-postcard
- In the technique of quilling
- Openwork butterfly
- Butterflies on the wall
- Origami butterfly
Butterfly-card
Take a thick paper, colored on both sides. It is better not to take cardboard. It's inconvenient to work with him.
Fold the paper in half. In this lesson, the size of the workpiece after bending is 9x14 cm.
Draw a silhouette of a butterfly with a pointed pencil. Cut out the workpiece. This will be the main double part of the postcard on the turn which you can write a wish.

Now you need to enrich the look of the craft.
Draw a silhouette of another butterfly, which should be 20-30 percent less than the previous one. Cut out this butterfly. It will be single.
Make another butterfly. Its size should roughly coincide with the first butterfly, only it will be single.
Ready-made butterflies should be added to the card. To make the postcard look more voluminous, unfold the workpiece and bend the wings of one of the butterflies. To her, glue that single butterfly( also bend her wings), which is more. And on top of it glue a small one( bend the wings quite a bit).
In the quilling technique
To create a butterfly in the quilling technique you will need:
- strips of paper for quilling( you can use both special and office cut yourself);
- adhesive;
- needle for quilling( you can use a skewer or a toothpick).
The process of creating a butterfly does not imply the use of any form or element in the quilling technique. Here everything depends on your personal wishes and preferences. You have the right to choose the shape of the butterfly, its color and the elements from which it will consist.
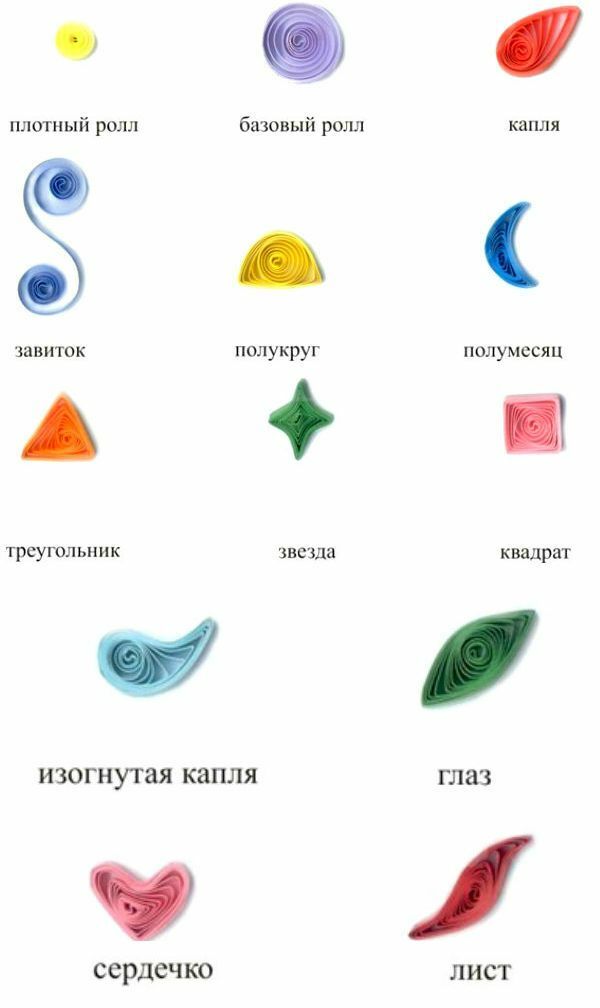
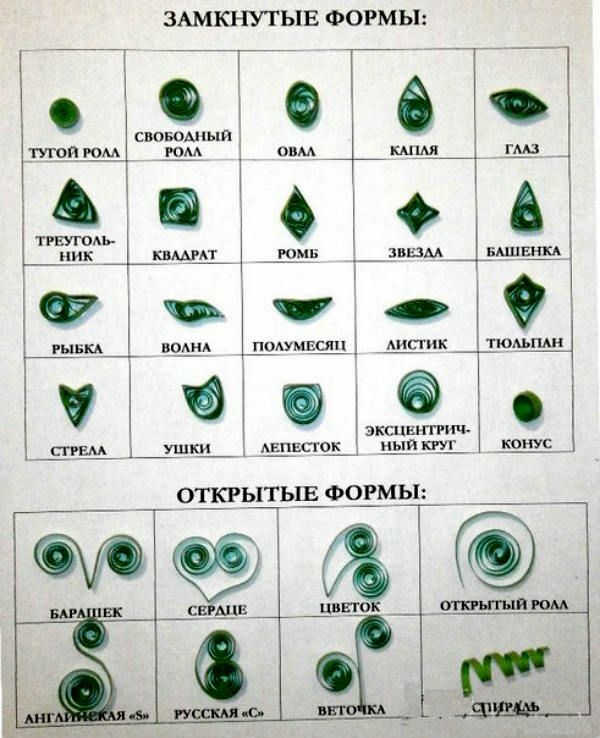
For your reference we offer you a picture with the most common forms of quilling. There are both closed and open elements.
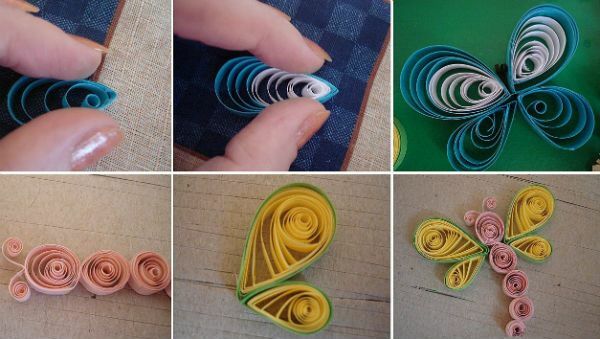
To create a butterfly, you need to twist the strips of paper with the help of a quilling needle or a tool, and give the shape the necessary shape. Using adhesive, fasten all the elements.
Composite figures begin to do from small to large, or from center to edge.
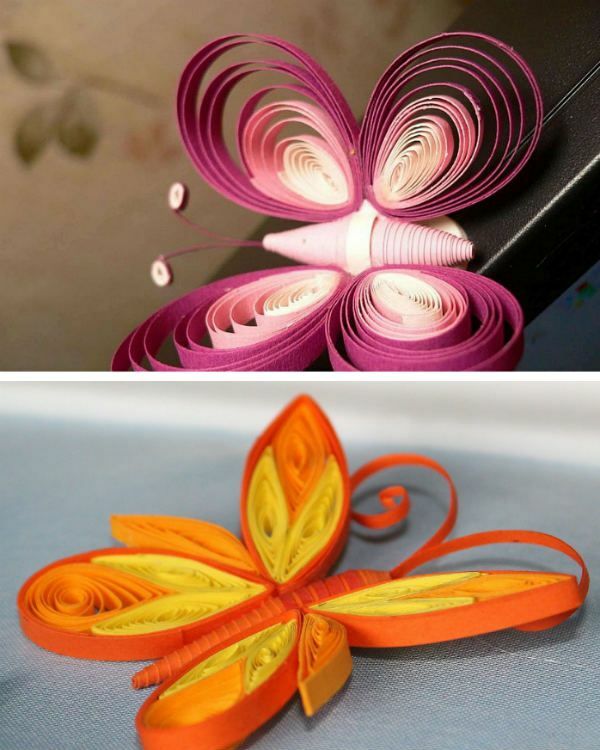
Butterfly decoration can be made as per individual wishes.
The pictures show variants of ready-made butterflies, your butterflies can be completely different from them and exclusive.
to the table of contents ^Openwork butterfly

To create an openwork butterfly from the paper you will need:
- thick paper of the desired color( you can use half board or whatman);
- mock knife;
- scissors.
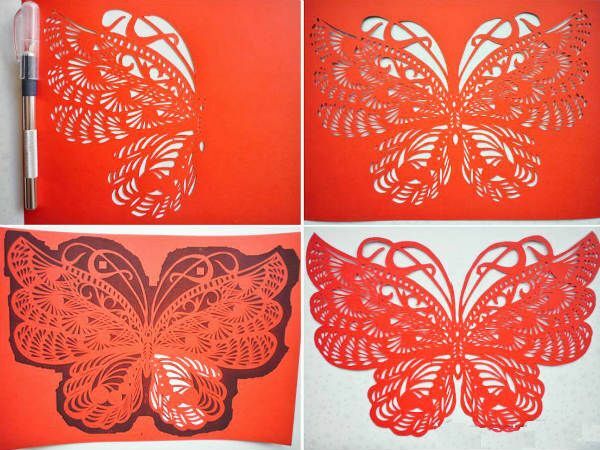
The first thing you need to do is print on paper or draw a butterfly pattern( stencil).
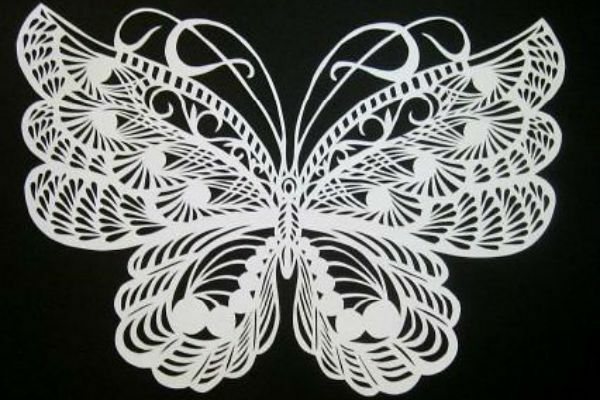
Using the layout knife you need to cut all the inner lines of the future butterfly.
The outer contour of the butterfly can be cut with a protruding knife or with ordinary scissors.
Working with this version of the butterfly butterfly requires special care and caution. Begin to cut from the middle, so it will be more convenient. Try to first work out large areas, then cut out small elements.
A ready-made butterfly can be glued on to the contrasting color of the paper if desired.
Also it can be used for decoration of bulk cards and albums in the scrapbooking technique.
And if you take a large mock-up and thick paper, then these butterflies are suitable for decorating walls.
to contents ^Butterflies on the wall
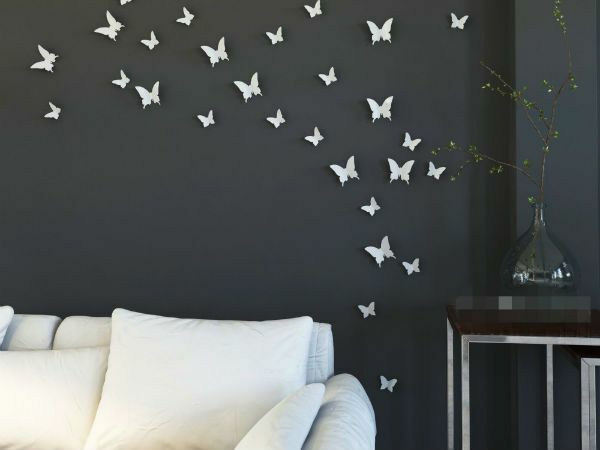
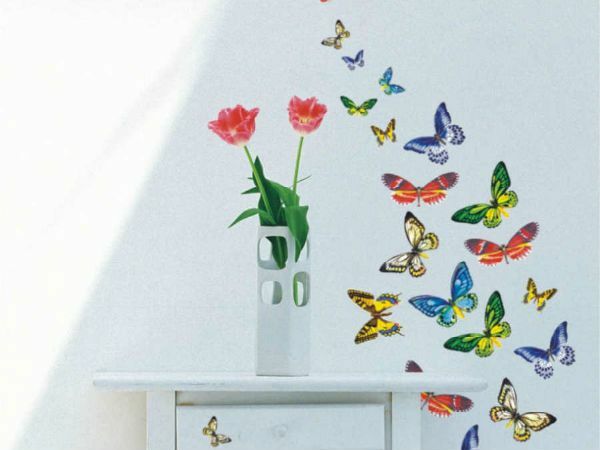
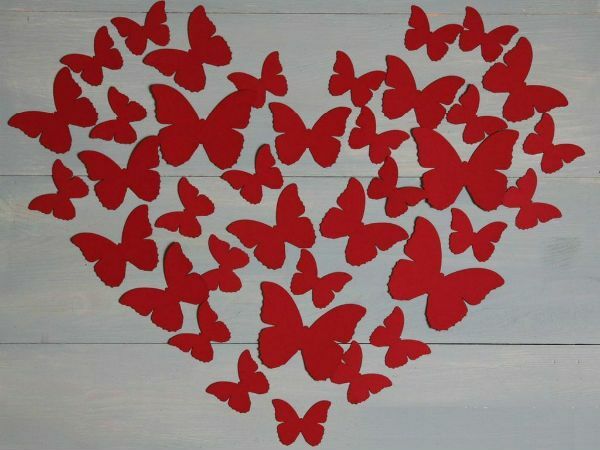
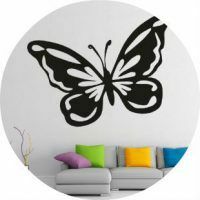
For the decoration of walls and ceilings in the room it is necessary to use butterfly stencils. Depending on the idea, the number of necessary elements varies. It is not necessary that butterflies are of the same size or color.
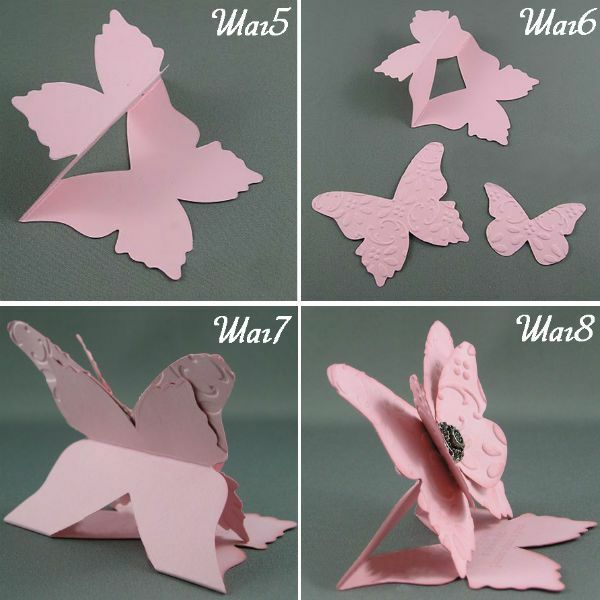
To create a panel, use two-tone thick paper. First, sketch in the notebook an approximate plan of the panel( the number of elements in it and the size), then make the necessary templates. And for these patterns, begin to cut out the required number of butterflies.
Before you can attach butterflies to the wall, you can bend the wings, but you can leave them flat.
to the table of contents ^Origami butterfly
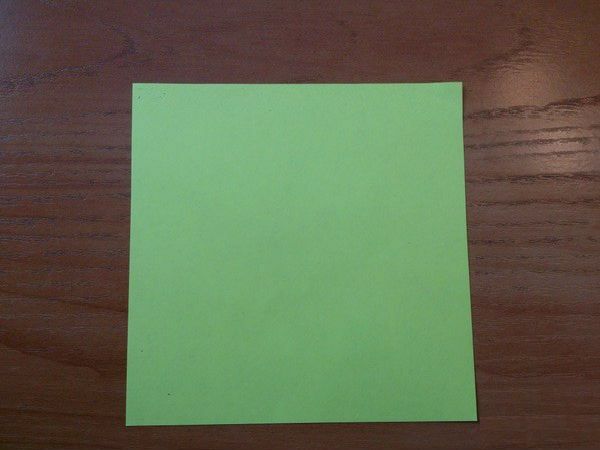
To create a butterfly in origami technique, it takes a little patience, a great desire and a square of paper. For the ideal option, it is best to use two-sided paper of the same color. You can choose the color according to your own preferences.
The process of creating a butterfly in the technique of origami.
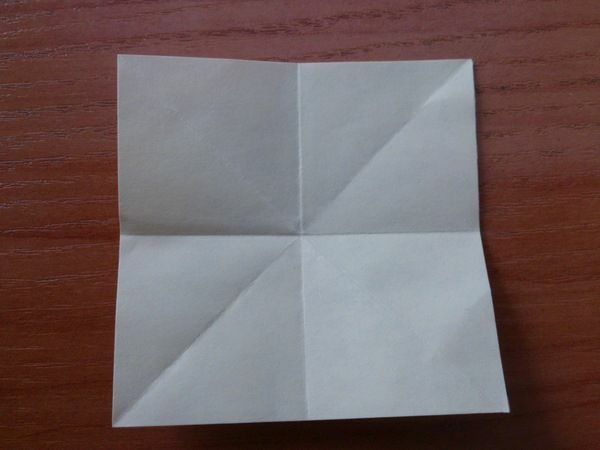
It is necessary to bend the square in two diagonals. Well iron the bends.
Bend and unbend the square in half horizontally and vertically, do not forget to iron the bends.
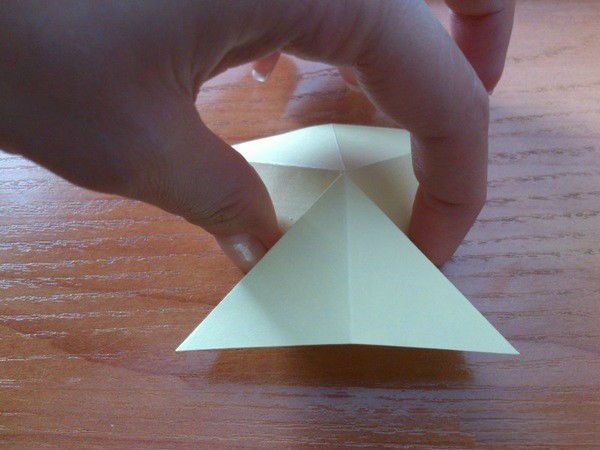
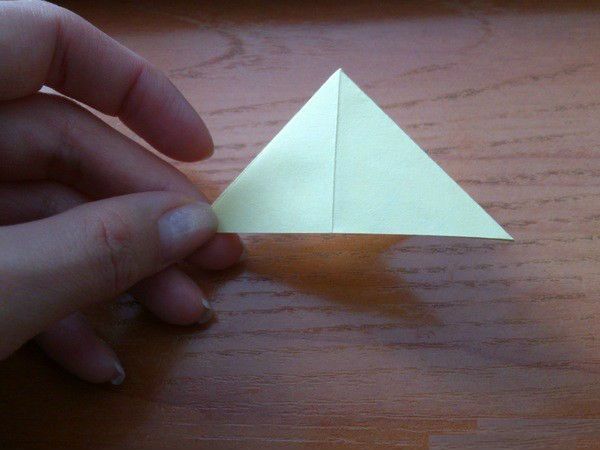
It is necessary to fold the part directly on all the lines that are planned. It is necessary to bring together the two halves of the previously folded horizontal. Thus, two triangles should form at the top and bottom. Should be obtained by folding the part of a double triangle. For convenience, use the hints on the pictures.
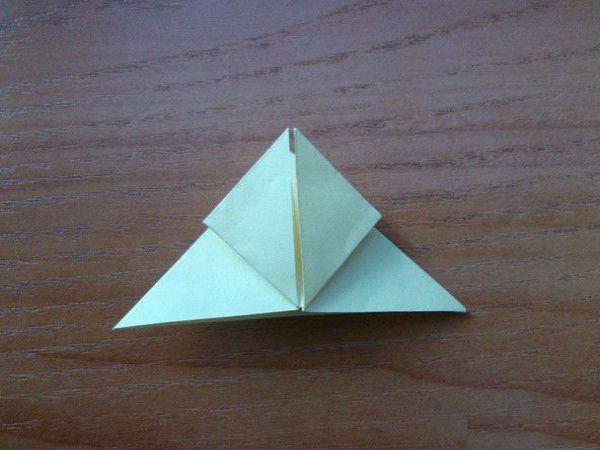
Fold the two corners alternately.

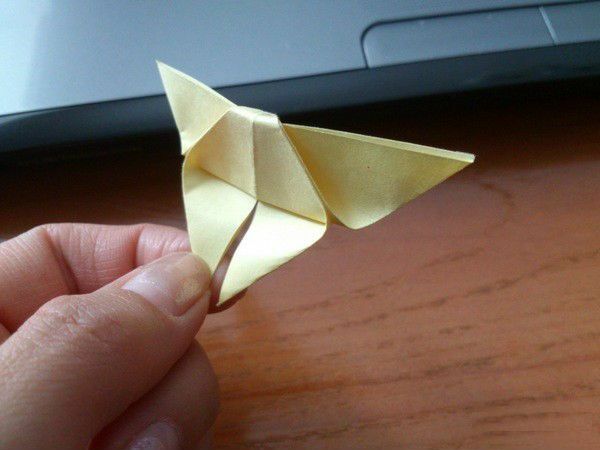
Now turn the resulting triangle upside down and bend up the triangle below, as shown in the picture.
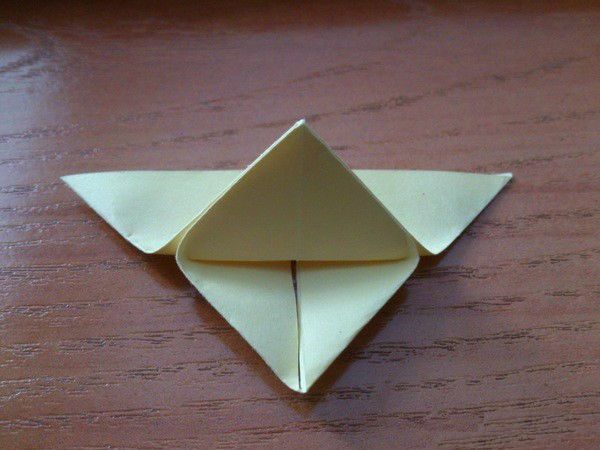
This manipulation must be done so that the folded triangle slightly protrudes beyond the edge of the base of the large triangle.
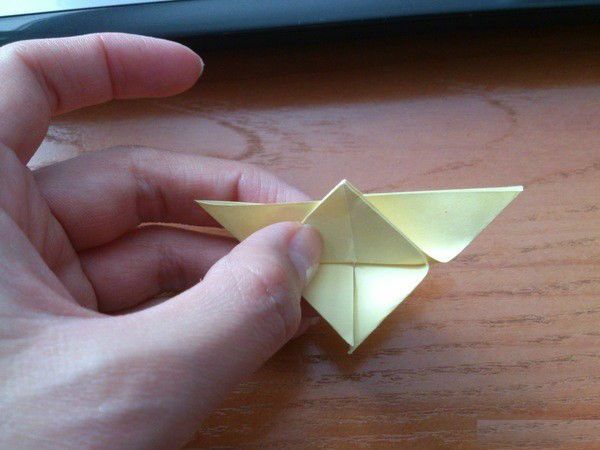
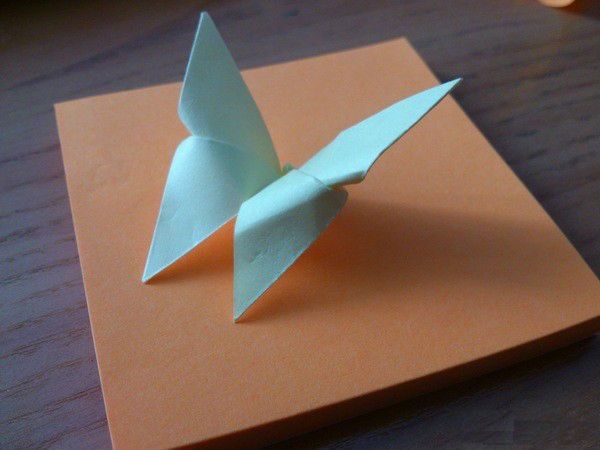
The last action is the bend of the origami butterfly wings as shown in the picture.