Airy, fluffy pompons made of paper are a wonderful and budgetary way of decorating the room and decor of any elements to which they will give an elegant and festive look. They can decorate a banquet hall, a place for a photo shoot or hang over a baby's crib.
- Method # 1
- Method # 2
- Method # 3
Method # 1
To create a delicate and delicate pompon made of paper, we will need:
- corrugated or any other thin paper;
- two sheets of thin cardboard;
- two colored felt-tip pens;
- adhesive;
- scissors;
- needle and thread.
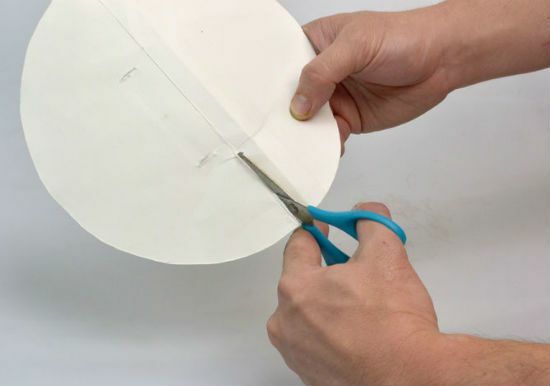
Take a sheet of cardboard, fold it in half and on one side draw a semicircle. It should be noted that the diameter of the finished craft will depend on the circle of cardboard, which will serve as the basis. Cut out a circle of cardboard.
Then the circle-base is cut in half.
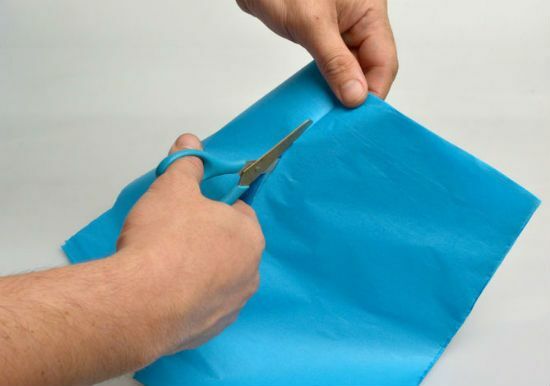
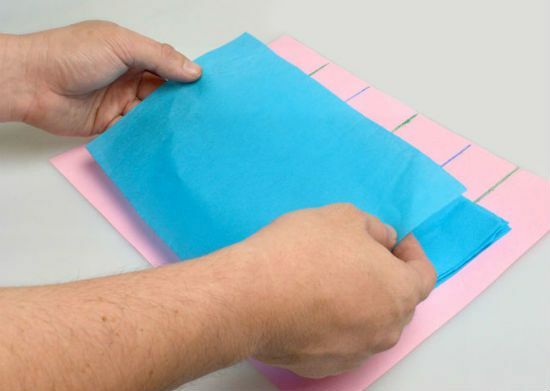
Now take a stack of paper and, if it is wide, cut off the excess part.
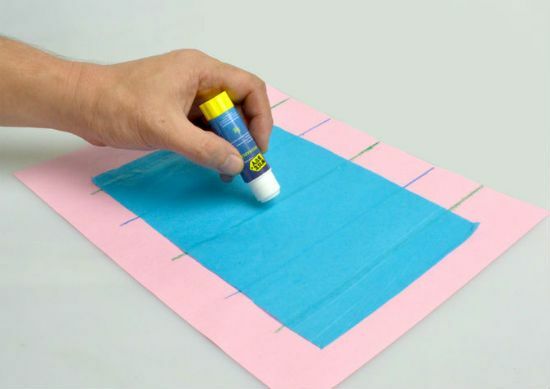
On the second sheet of cardboard we draw vertical stripes with different markers. The number of these bands and their frequency will depend on the density of the cells on the ball. We draw 5 bands, the blue ones of which are glued with glue and we glue the first sheet of paper.

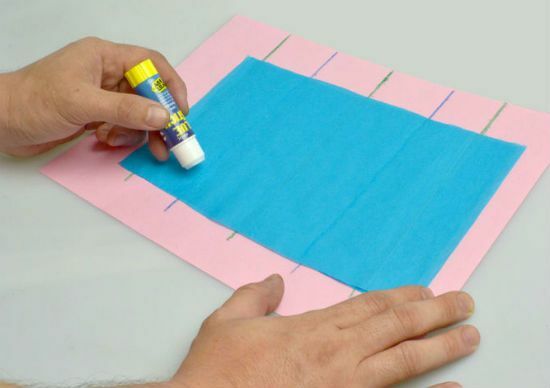
Then grease the green stripes with glue.
And overlay the next sheet of paper.
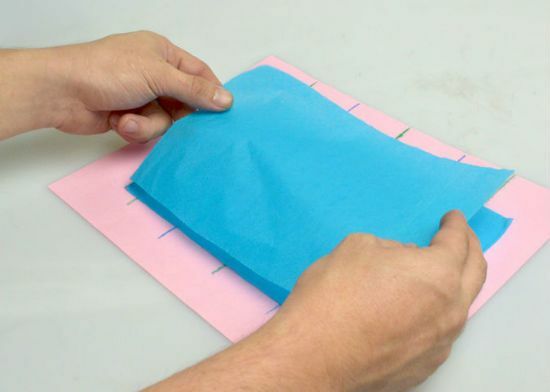
Then take the next sheet of paper and repeat the procedure, this time connecting the bands of blue.
We glue the next sheet. In this way, you need to process all available paper rectangles. Fold all the leaves with a neat stack.
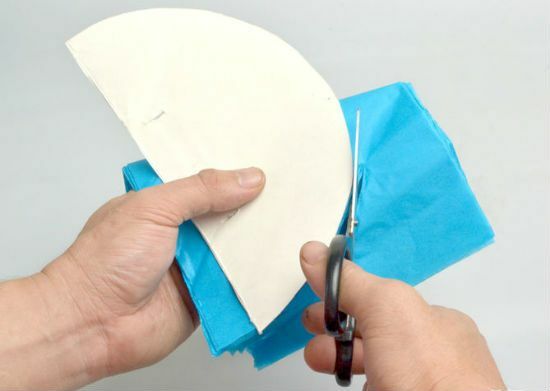
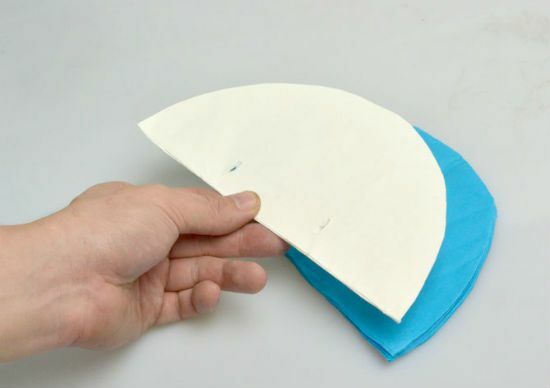
Now on the finished stack we put one of the cardboard semicircles and cut out the future ball.
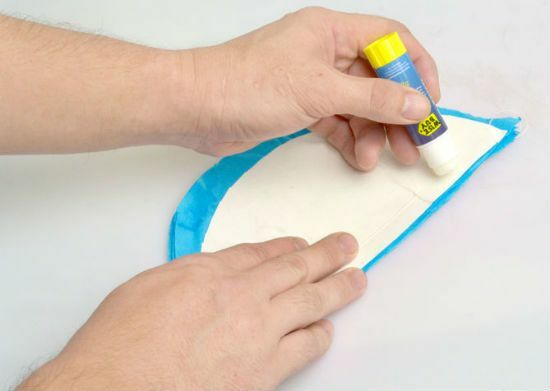
Cardboard paste to the last piece of paper.
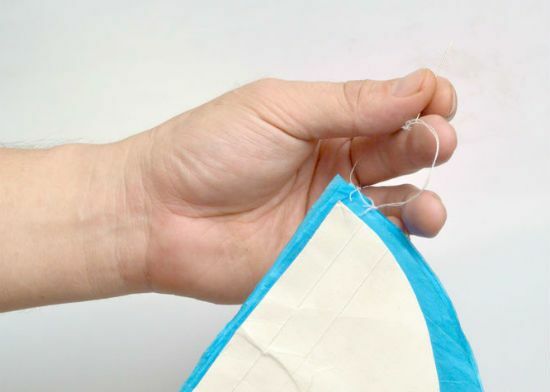
In the corner of the craft, make a hole with a needle and pass a thread through it. To sew too hard is not worth it, otherwise the ball will not open. We tighten the thread in the form of a loop, so that later we can hang our work as a decoration of the room.
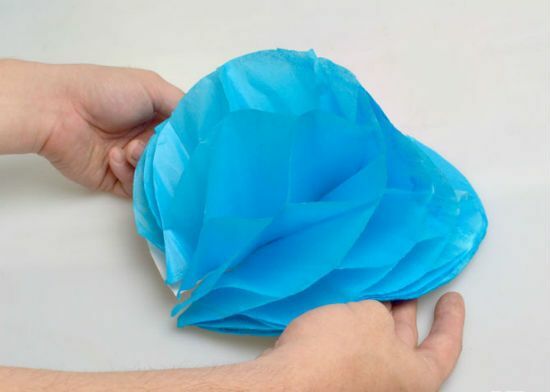
Now comes the most crucial moment in the work - we deploy our ball. We take the handicraft for both cardboard parts and gently bred them in the sides. We are very careful not to tear the thin paper.
To make the ball integral, cardboard joints must be glued together.
As you can see, it was quite easy to make such an unusual openwork ball of paper.
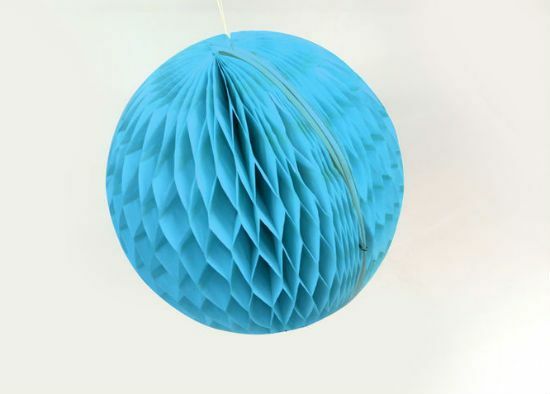
These balls can be made not only in different sizes, but also in different colors and even two or three colors. Such crafts are suitable for decorating a living room or a nursery, they will also look original as Christmas decorations.
Method number 2
To create one "fluffy" pomponof paper you will need:
- 8-9 sheets of thin plain or multi-colored paper( ideal packaging paper);
- sharp scissors;
- thin wire or strong thread;
- lace or hank of thick thread for hanging.
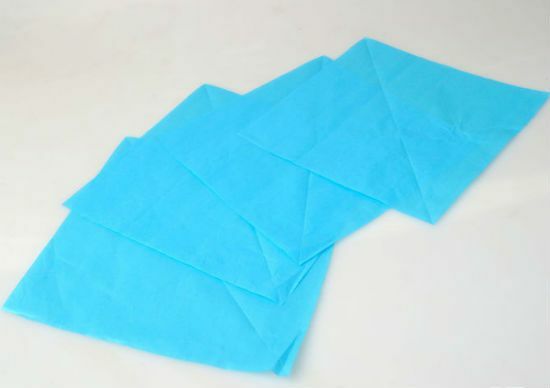
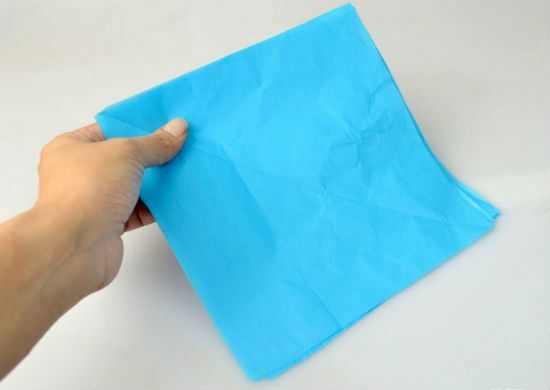
If the paper you took consists of one large canvas, cut it into A4 sheets( 20 * 30 cm), or any other size. Note that the width of the leaf will depend on the diameter of the finished pompon.
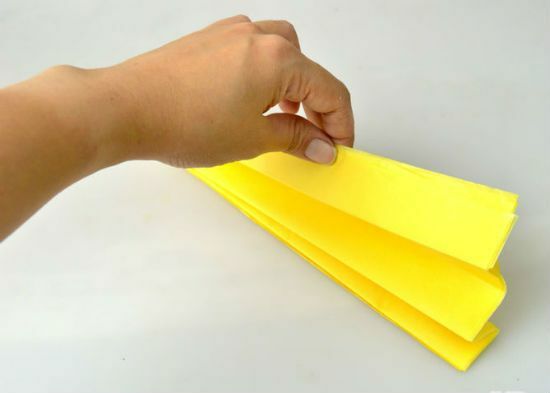
Put the prepared sheets in a neat stack.
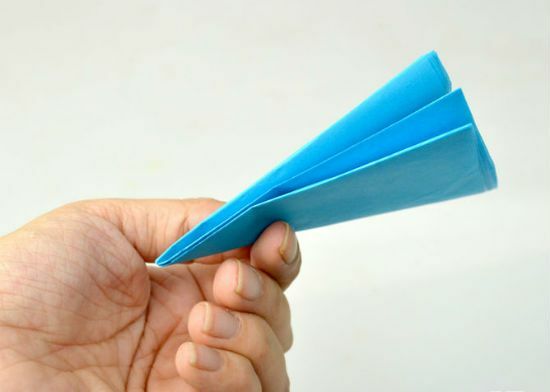
Next, you need to stack the entire stack with an accordion. The fold width should be about 1.5-2 cm.
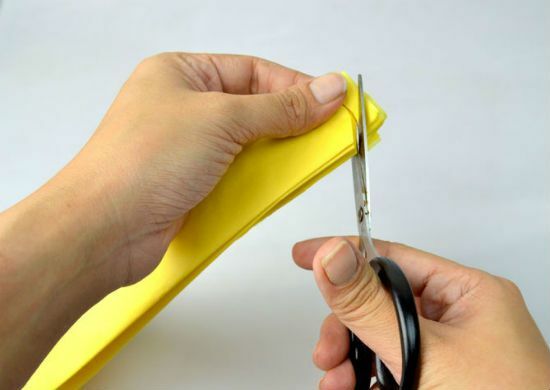
The next thing we need to do is process the edges. Depending on what shape the ball you want to make, its edges can be jagged, ragged, sharp, trapezoid, in general, such as your fantasy tells. We make a ball with rounded edges. To do this, we cut the corners of the paper with scissors, giving the edges a rounded shape.
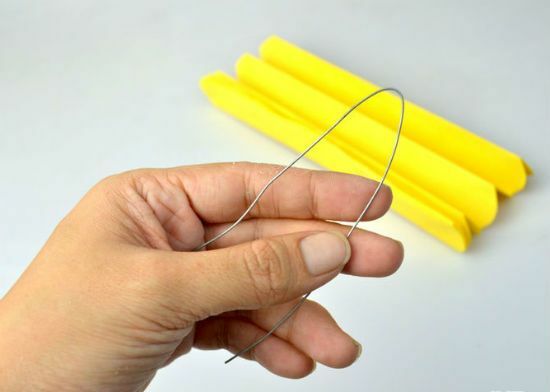
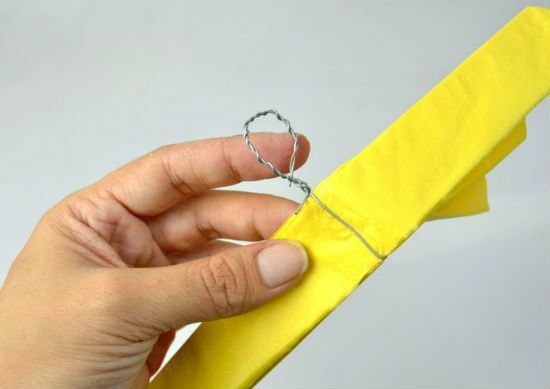
Now you need to take a thin wire and bend it in half.
Take the "accordion" and put a wire in the loop.
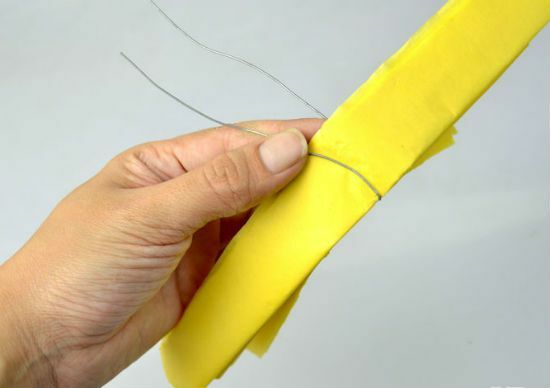
Wire exactly in the middle of the craft to tighten so that the pompom does not crumble. The edges of the wire are twisted into a loop, which can be used to suspend hand-made articles.
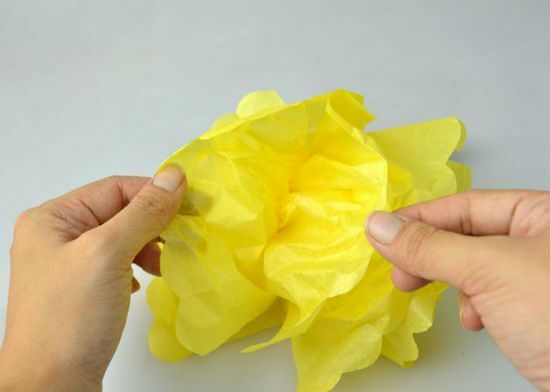
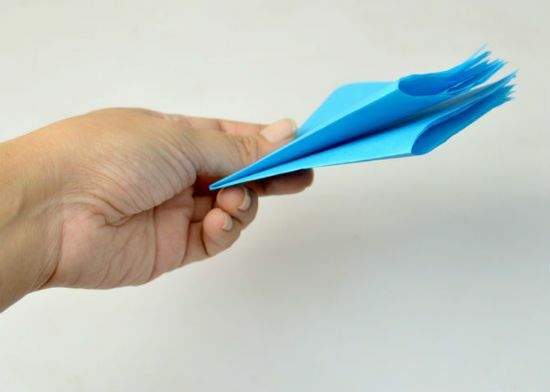
After the preparatory work is over, we proceed to the most important moment - straighten the paper accordion. To do this, each leaf is carefully separated and straightened first with one, then on the other side, thus forming a fluffy pompon ball.
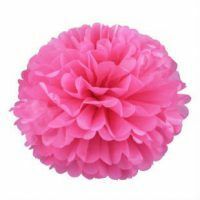
As a result, you should get such a beautiful decoration, which can be used for a variety of purposes.
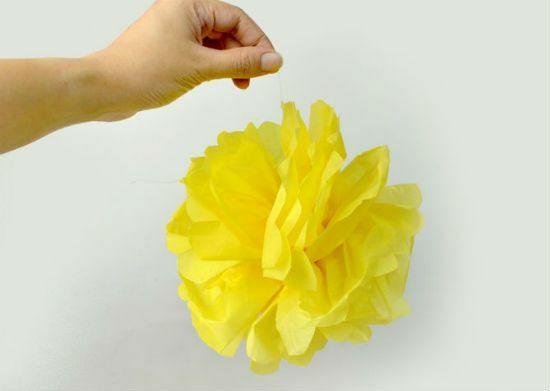
Similar pompon balls will be a perfect addition to the festive decor of the room. You can also use not only large pompoms, but small ones, which can be attached to toothpicks or skewers and decorate them with dishes.
Method number 3
Pom-poms can be used not only for decorating rooms,but also for decorating small objects. Let's consider one more variant of creation of an article made of paper napkins, which you can decorate a gift box. For this we will need:
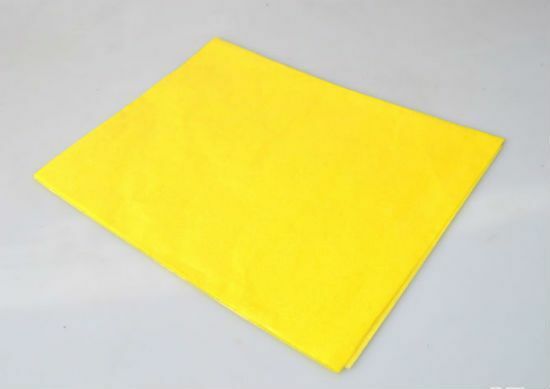
- thick paper napkins of two different colors;
- scissors;
- handle;
- thread with a needle.
We take four wipes of the same color.
Now we need to fold each napkin separately in three times.
To do this, take a napkin and first add it diagonally, so that the opposite corners are in contact.
Now add it horizontally, so that again the two opposite corners are together.
And the third time we do the same, folding again the two far corners together.
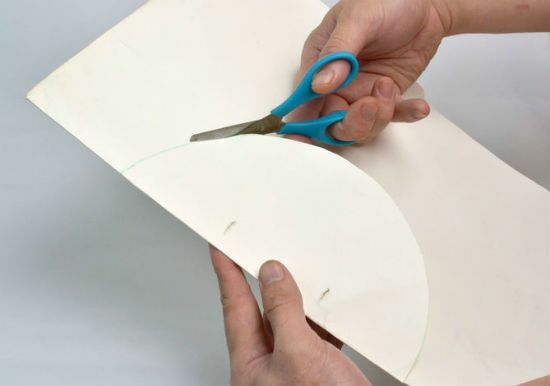
Now with the handle on the edge of the folded napkin, draw a semicircle, as shown in the picture.
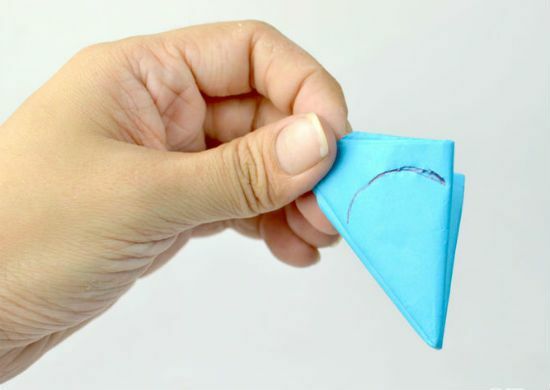
With sharp scissors along the drawn line we cut off the excess part of the napkin.

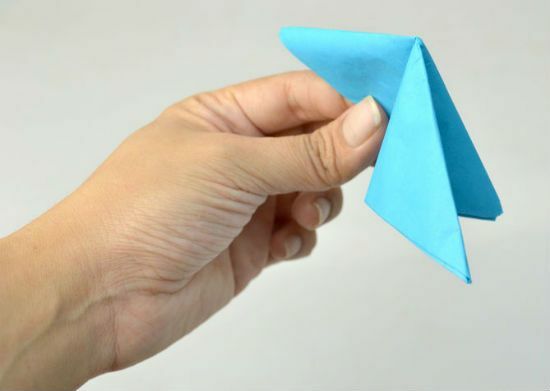
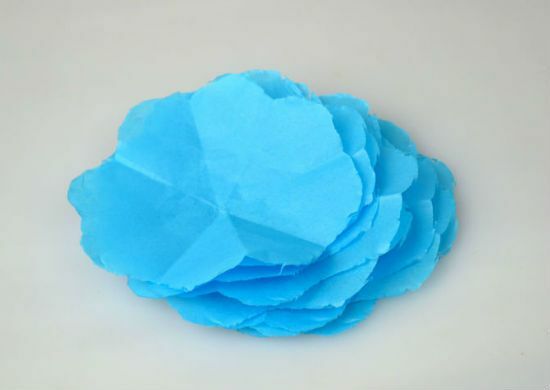
We unfold the handicraft and see that we have got four neat flowers. Now all the above actions need to be repeated with each of the napkins, so that the flowers were many. So our pom-pom will be fluffy.
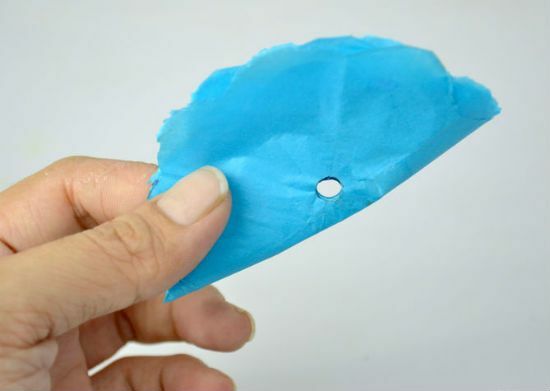
To collect all the flowers, take a punch or thread with a needle, fold the craft in half and make a through hole in the place indicated in the picture.
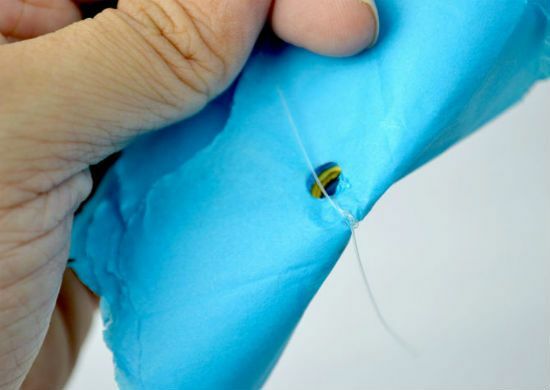
Now we sew the flower with a thread and tighten it tightly so that when it is unfolded it remains as if it is half-dissolved.
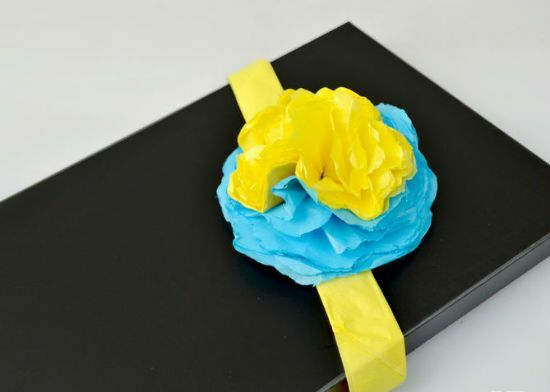
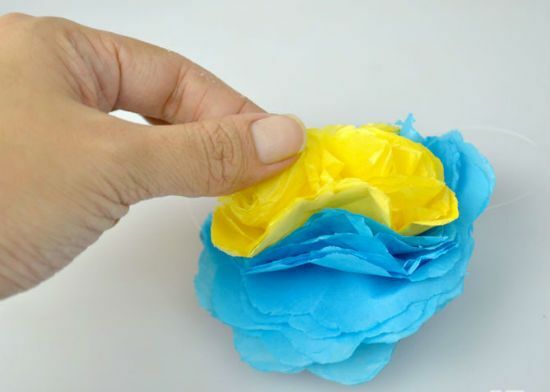
To pompon looked more elegant and interesting, it is better to make it from several colors. We, for example, decided to make the bottom blue, and the top is yellow. To do this, we took four more yellow napkins, cut out exactly the same flowers as those from the blue ones, and when they collected the pompon they were placed upstairs, and then they were threaded. Here we got such a bright and elegant pompon.
To complete the composition, take a yellow napkin, turn it into a thin strip and glue it on the corner of the gift box lid. Then in the center we glue our ready pom-pom. That's all, beautiful, original and very inexpensive decoration for the gift box is ready!