
It's no longer a problem to make an interesting hand-crafted article in our time. Thanks to the world wide web, many master classes became available to fans of handmade. In this article, we will consider in detail one of the most popular techniques in decoupage, transforming with its help a simple wooden box into an original gift.
- Required Materials
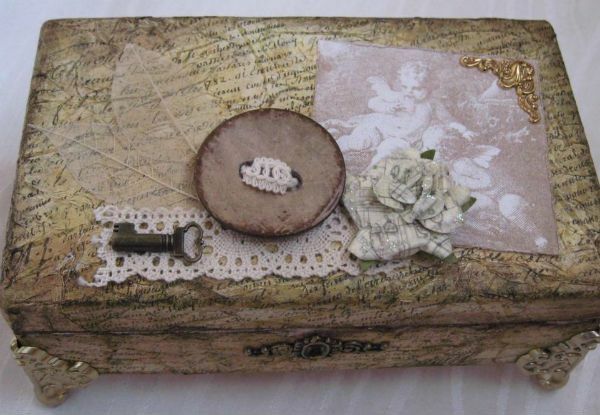
- Box in decoupage technique
Required Materials
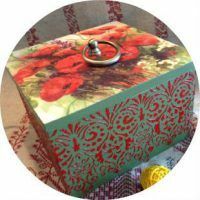
The ready-made box will look as if painted and slightly aged.
To transfer the pattern to the surface you will need:
- conventional PVA adhesive;
- acrylic white primer;
- brush with synthetic fibers;
- wipes with a pattern or special paper to apply it yourself.
Cask in decoupage technique
Before starting work, the surface of the cask must be degreased and cleaned of dust. Wipe it with a cotton swab dipped in alcohol or peroxide. After that, immediately proceed to the main actions - decor.
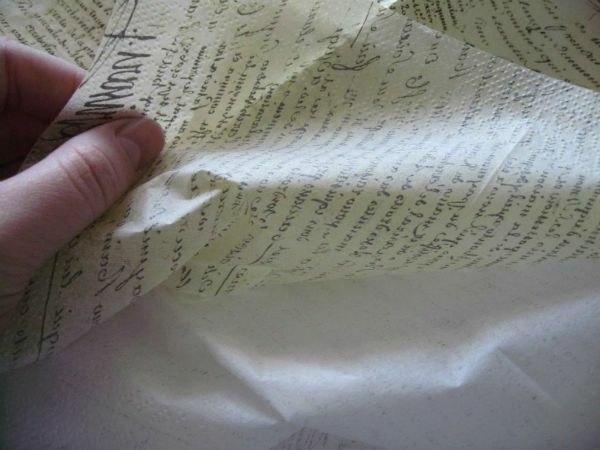
Separate the layers of the napkin, leaving the one on which the picture is located.
In the technique with a primer, a conventional acrylic primer is used.
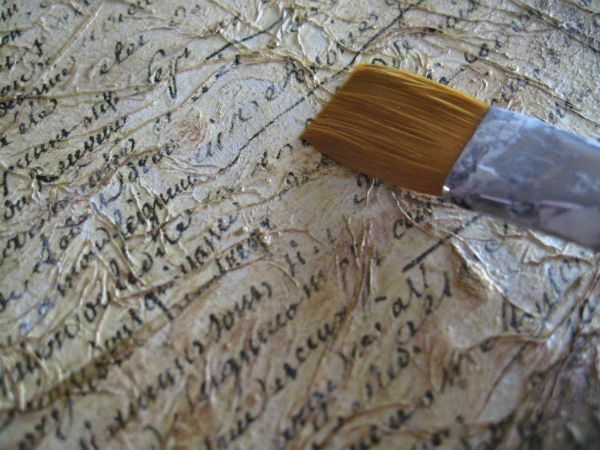
Apply it with driving movements on the entire surface to be decorated.

Now the moment of transferring the pattern: if you do not want to wait for the primer to dry, you can add some glue to it and immediately put a napkin on the not dried primer. But, if you want the primer to dry out, after which you can level it with grinding paper, then PVA is already necessary for transfer.
Dilute PVA with water in a ratio of one to one. Prepare all the elements of the drawing. In this case, all the fragments. First, lubricate the surface of the box in the place where you will glue. Then, gently attach a napkin or paper.
When you glue the entire surface to be decorated with the first layer, begin to glue the second one. There must be at least two layers, but not more than five. Failure, like brute force, can spoil everything. As a result, patterns will intersect, some will be brighter, those from below are not so noticeable. This will create an effect of bulkiness. The most beautiful ornaments should go to the top layer - it is the main one, and it will be seen best of all.
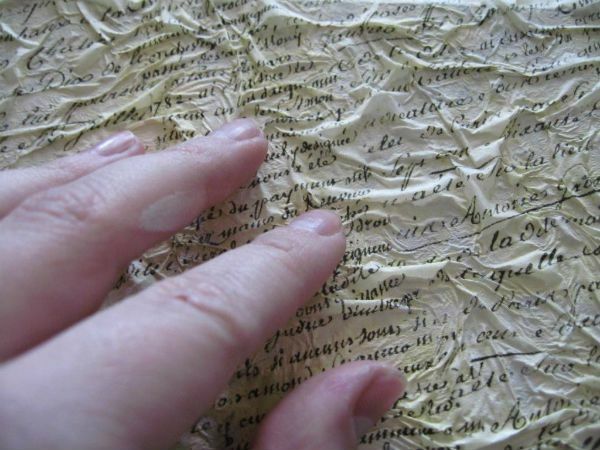
For the paper to lie evenly, do not bubble, gently smooth each element-pattern with a brush lubricated in the glue solution, making it from the center of the paper to its edges. Then, wipe the brush and gently pat it over the surface of the newly glued element.
It is important not to allow the lower layers to dry completely. To glue it is necessary on still damp layers. Therefore, if you decide to do this kind of creativity, keep in mind that it will not be possible to get distracted to the finish.
When the box dries, a white background will appear. If you want a different background from the beginning - choose a primer, paper or napkin from those shades that suit your design. You can use this technique for any ornaments or drawings.
There will be no nudity. Even if you take a multi-element drawing, it will still work out harmoniously. After all, as it was said above, the main background remains the main one, and all the lower ones will give only a weak effect. For example, against the background of saturated colors, will be the same, only faded and blurred. Against the backdrop of the landscape, the same, but barely noticeable.
Upon completion of work and after drying, the box should be covered with a thin layer of varnish, and also after adding an additional decor.