
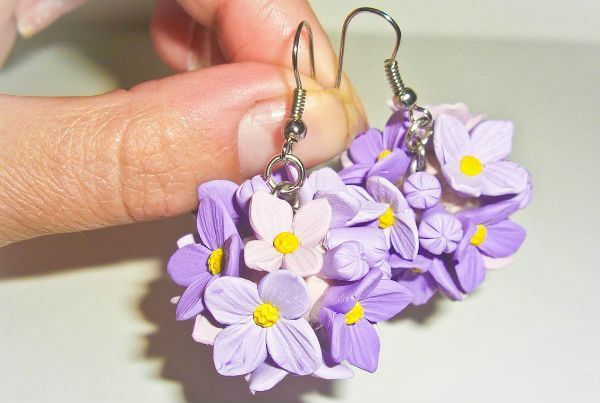
Flowers are loved by women of all ages. It is difficult to remain indifferent to such exquisite and real natural beauty. Some men are not indifferent to them. And love extends not only to fresh flowers, but also to artificial ones, and even those that are made with their own hands from various improvised materials.
- What you can make flowers
- Make a magnolia
What you can make flowers
Handmade flowers are popular not only because they are beautiful and accessible, but also because they find a wide range of applications.
Depending on what kind of technology and what the flowers are made from, their application also varies. Most often, fabric is used to create flowers, as dense( corduroy, jeans, mohair, leather), and loose( silk, organza, satin).
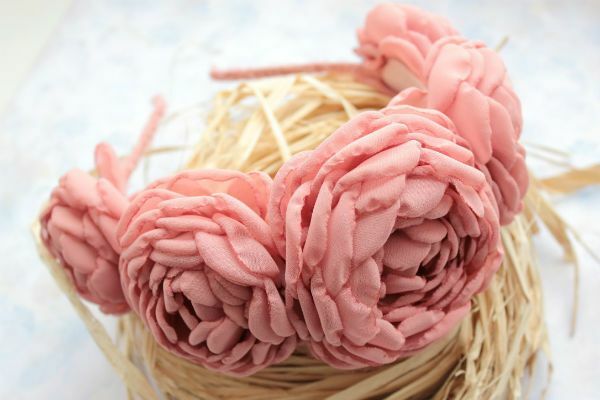
Fabric flowers are suitable for creating jewelry for hair, for finishing belts, gloves, hats and other accessories. Suitable for such flowers and to create voluminous compositions, paintings and so on.
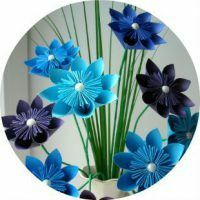
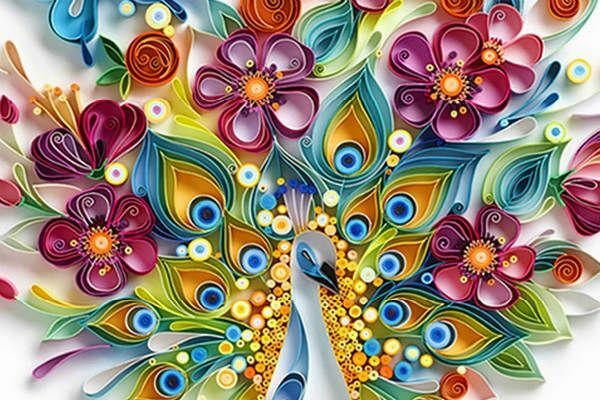
In second place on demand is the paper.

Bumagoplastika colors includes such techniques as: quilling, origami and many others.
Finished the same craft paper can be used as a decor for a room, to create jewelry, pictures, postcards, albums and the like.
Also popular material for creating colors is polymer clay, edible mastic and salted dough, the work with which is generally similar.
Flowers are created in the technique of modeling.
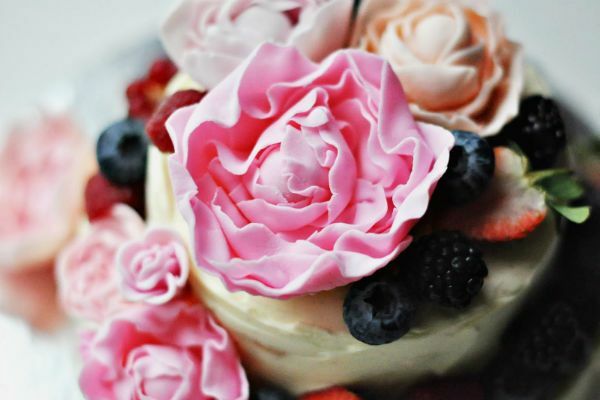
In the case of mastic, such flowers go to decorate confectionery, and in the case of polymer clay and salt dough, ready-made flowers are suitable for making compositions and ornaments.
This master class is dedicated to creating a beautiful magnolia flower from tight paper.
Make magnolia
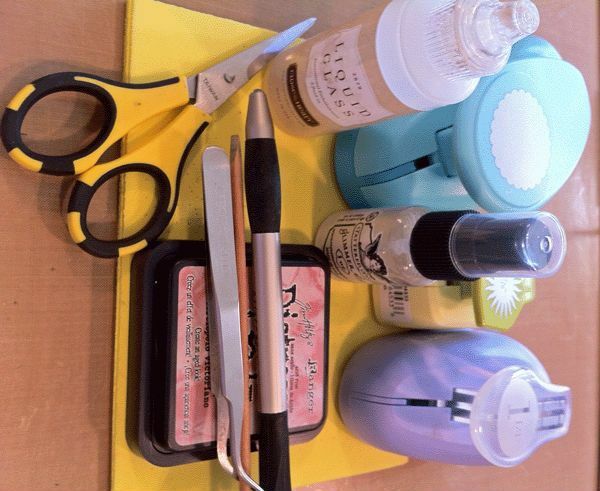
The master class presented below will require the following materials and tools from you:
- punch hole( hole diameter - about 5 centimeters);
- punch( hole diameter 3 centimeters);
- punch with a diameter of about one centimeter;
- paper;
- white or shiny paint in aerosol;
- color ink( color of your choice);
- scissors;
- mat;
- quick-drying adhesive.
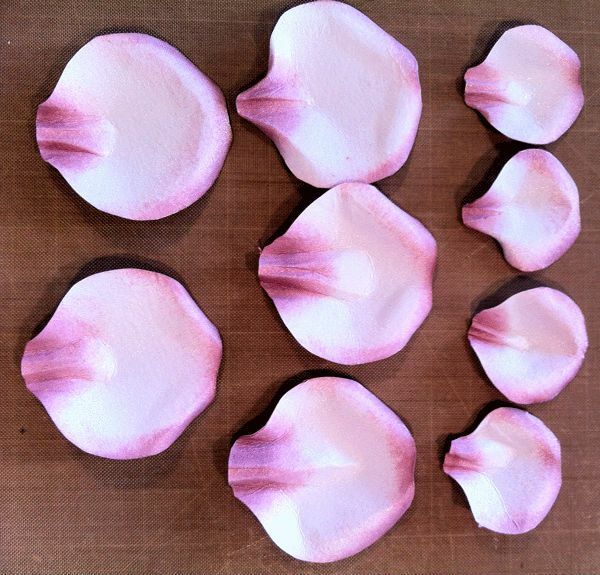
Step 1. Petals and stem. You need to do with the largest hole punch 5 large circles, and also using a punch less than four circles. Also make one big circle that you need for the base.
Put it off. With the rest you will work.
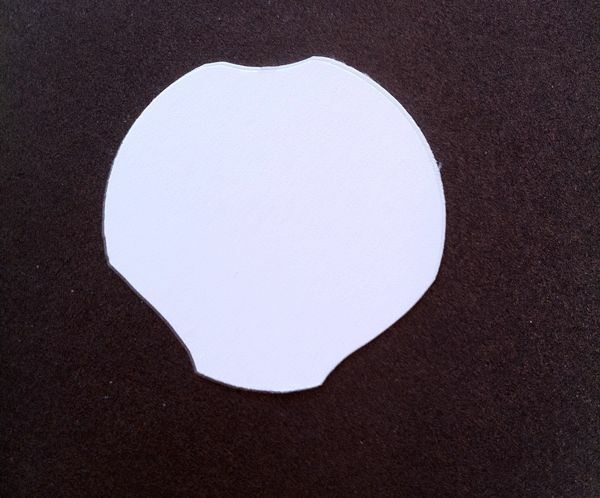
Trim all the petals as shown in the picture. You need to cut off the top and each lower part of the circle a little.
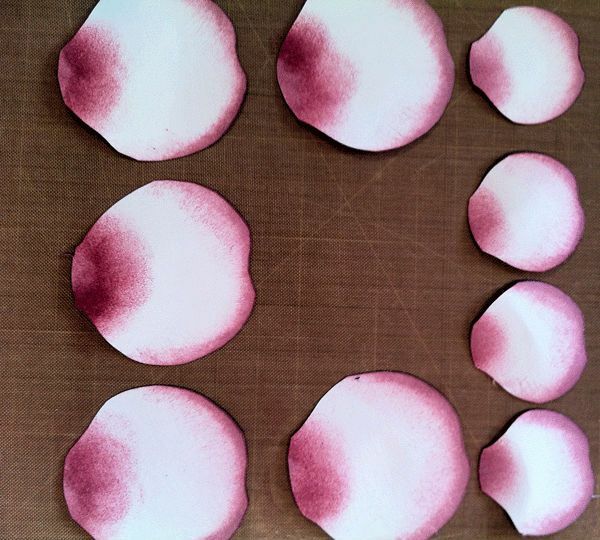
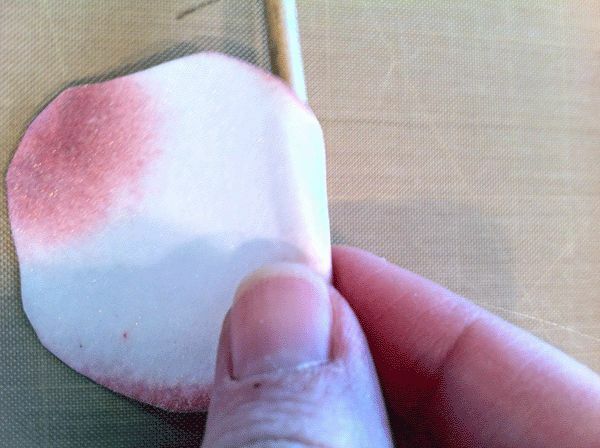
Step 2. We paint the petals. Paint the petals with ink or paint of the selected color from above and below. Apply the paint preferably in the same way as shown in the picture, this will give the flowers a more realistic look. After that, spray on the petals white paint or sparkles in the spray.
Step 3. We form the form. Give the petals a shape, as shown in the picture. Using a stick( or any other object of a similar shape), wrap the cut off sections of the petals.
Try to give a petal of realism and the necessary natural curves. Better not overdo it, take as an example photos of these magnolias.
After this, using a special clip, make a flower-specific groove in the lower part of the petals. As a result, you should get so that the top of the petal is bent in one direction, and its bottom is bent into the other. When all the petals are ready, you can proceed to gluing.
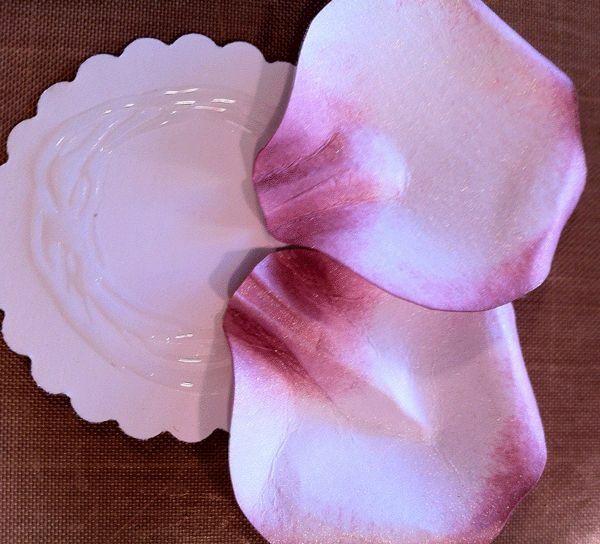
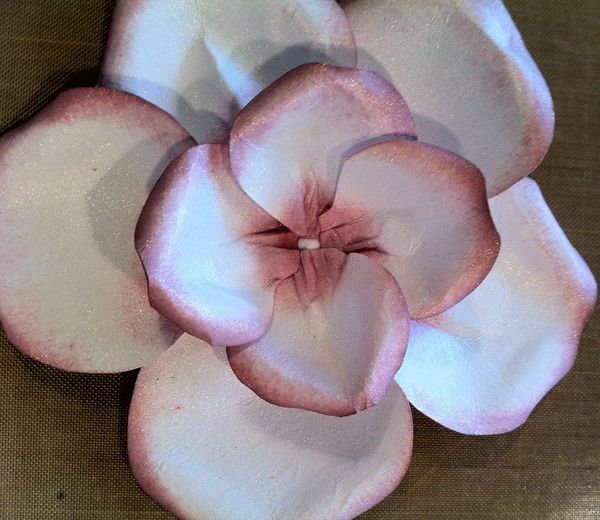
Step 4. Gluing the petals. Take the five large petals and the large circle that will serve as the base. Apply glue to the substrate, and start gently sticking the petals. Attach one petal one by one, gently flipping one over the other. You should get a vicious circle of five petals.
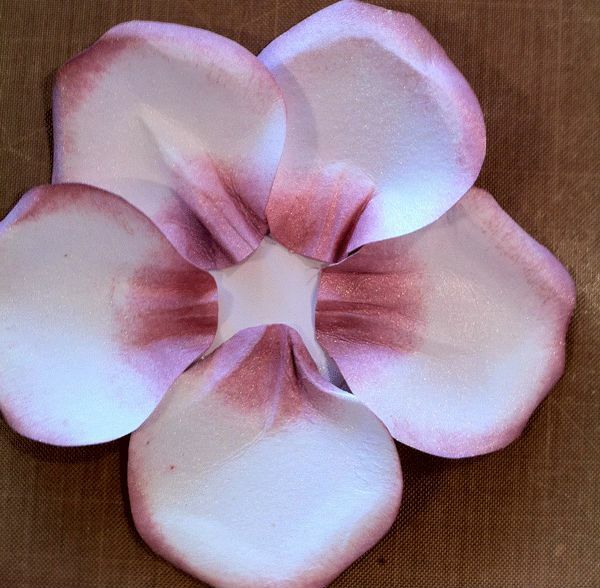
Step 5. Stick the inner petals. Now you need to paste four smaller petals. Slightly bend the lower part of each petal to make it "semi-stand".In the center of the circle, drip a small amount of glue. Glue the petals slightly overlapping them. After you paste, leave the flowers for a while to dry out. Meanwhile, make your own heart with your own hands.
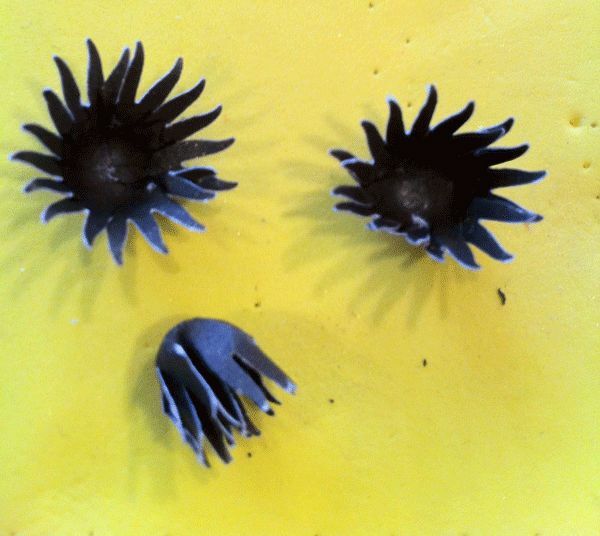
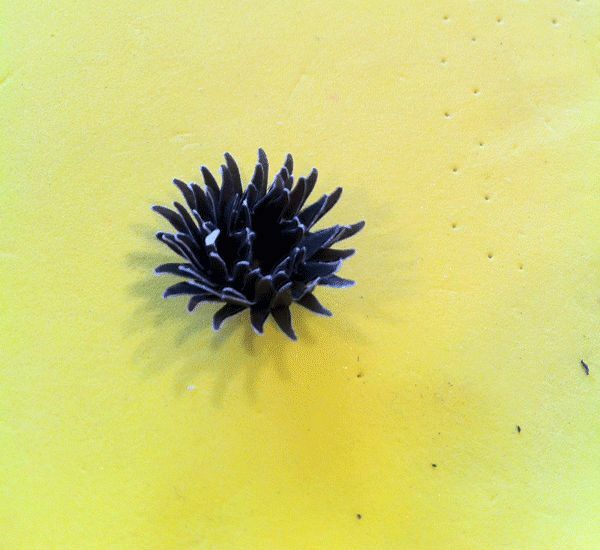
Step 6. Do the core. With the help of a special punch, cut out three details in the form of "sun".Apply a small amount of aerosol( shiny) paint on them. Now each of the details of the core should be folded inside. In this case, each of the following should be bent more than the previous one. After that, the details need to be glued together - the least curled will be at the very bottom, the most curled - at the very top. Allow the core to dry a little( if you use quick-drying glue, it will not take more than a few minutes).
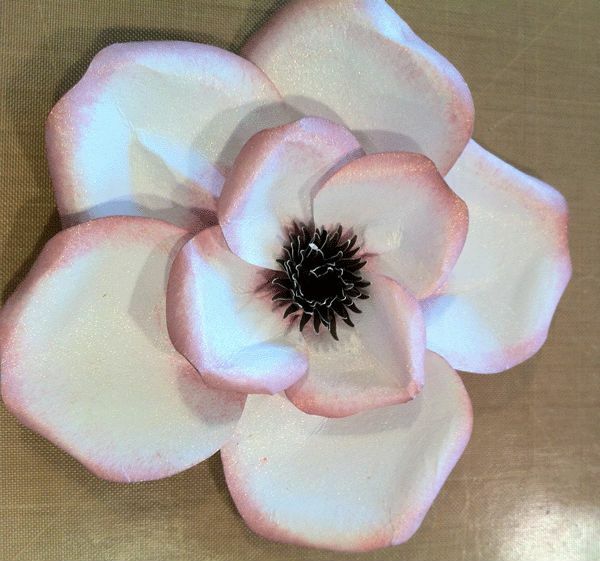
You just need to paste the middle in the flower itself, and wait until the glue dries dry. In the end, your flower should look something like this, almost like a real magnolia. Such a flower can decorate a postcard or a gift wrapped, and also make it an accent part of your desktop.