
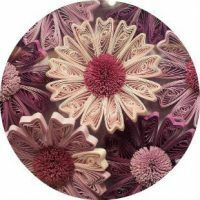
Quilling is a foreign word, which stands for a fairly simple technique of paper-rolling. With the help of this technique, original flat or unusual voluminous compositions of paper strips are created, which are previously twisted into spirals of long and thin strips of paper.
- Features of the
- Technique We make the twisting tool
- The principle of the design of the elements
Features of the
Technique Quilling is best suited for paper with a density of one hundred and sixteen to one hundred and sixty grams per square meter. Ready-made sets can be purchased at specialized stores, or you can prepare strips yourself. The main thing is to take into account the dimensions of the strips: width from one to fifteen millimeters, and length - from fifteen to sixty centimeters. The color of the strips each one chooses at his own discretion.
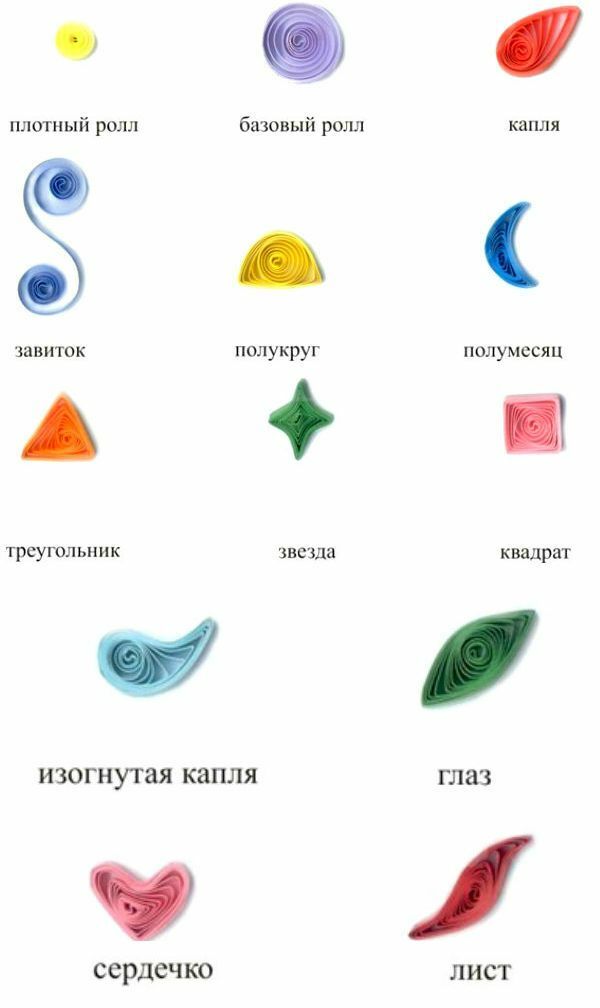
Options for quilling elements:
As for tools, the main thing in the quilling technique is a special device called 'Quilling stick' - a tool with a plastic, wooden or metal handle and a thin "fork" on the end. Also use a thin awl. For "advanced" masters - rulers with circles( used to create the same elements), machines for corrugating and cutting paper and paper fringe.
You can make a tool to twist the strips yourself, the next master class will help you in this.
to the table of contents ^Make the tool for twisting
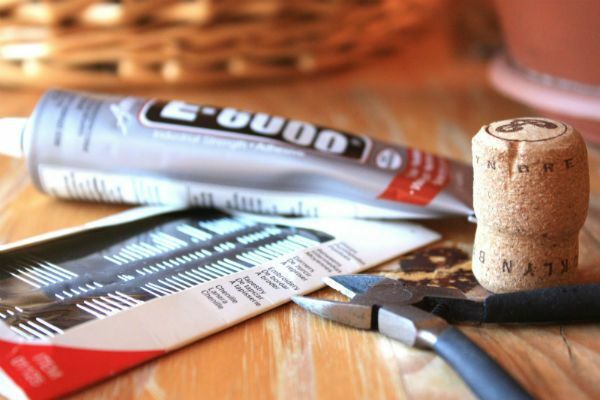
To create it you will need the following materials:
- glue with very strong fixation;
- conventional needles;
- cutting pliers;
- bottle caps;
- nail file;
- several strips of paper to test your tool.
The first thing you need to do is to choose the strongest needle that you have. Also pay attention to the hole - the more it is, the better.
Insert the needle with a sharp end into the middle of the prepared plug.
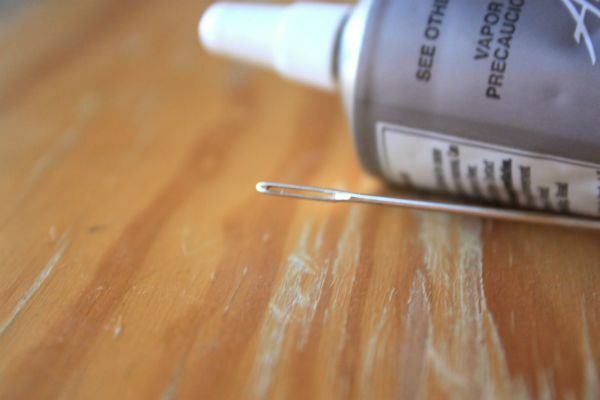
After making a hole, take out the needle and drip some glue into it and onto the tip of the needle, then again insert the needle into the center of the plug. Wait for the time required to dry and fix the adhesive.
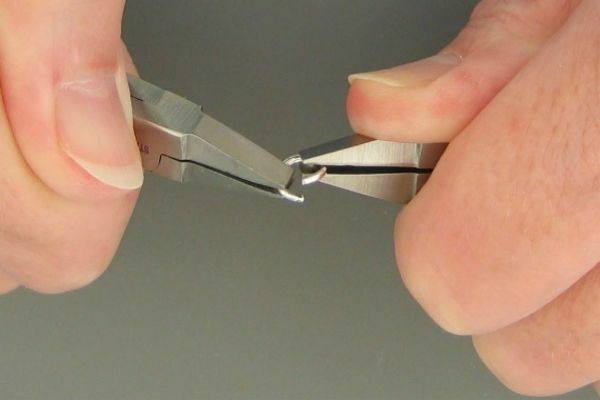
When the glue dries, cut the tip of the needle with the eyelet with the help of nippers. You'll have to make some effort, but do not worry, the metal will certainly succumb. Using a nail file, treat the cropped end so that you do not get hurt later. For this purpose, you can also use sandpaper.
It remains only to test the work of your instrument on the prepared strips. Insert the strip into the hole and bend, wrap around the end of the needle.
Now with this tool you can create modules for work in quilling technique.
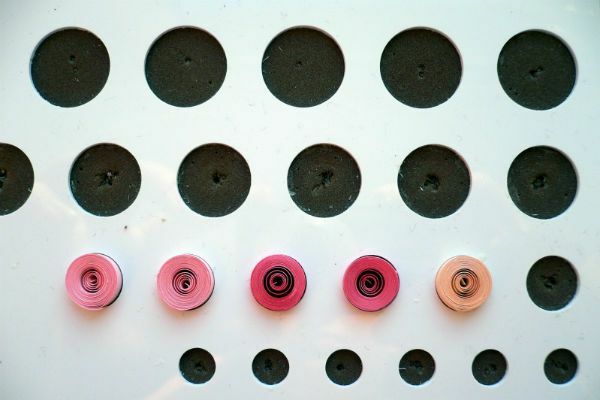
If you seriously take a great interest in this creativity, you better get a special ruler-template for creating template blanks.
Principle of design elements
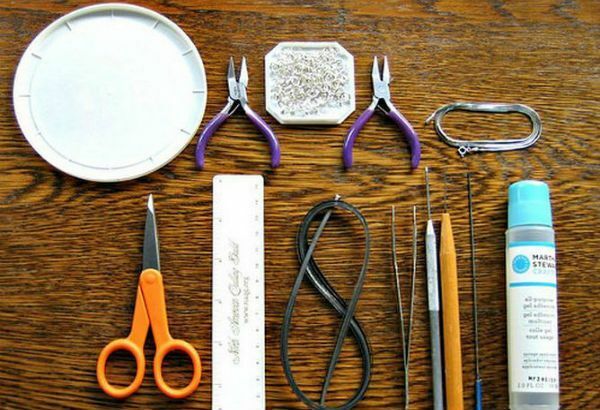
To create it you will need the following materials:
- Quilling paper with golden edges of standard width;
- tool for quilling, which you did earlier;
- transparent adhesive;
- universal adhesive;
- ruler;
- scissors;
- tweezers;
- toothpick or glue stick;
- plastic cover;
- two rings with a diameter of 5 millimeters;
- pliers for jewelry;
- lace with bronze tint.
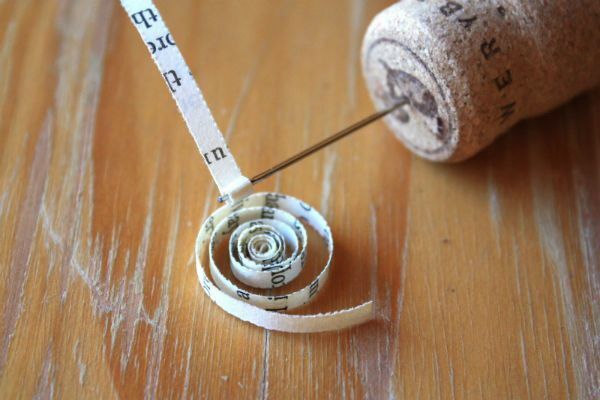
Take a piece of paper, make a turn with a twist tool. To do this, pull the end of the strip into the hole and rotate the tool with one hand, holding the strip of the other.
Now you need to wrap the strip around the tool, and not vice versa. Do this with your forefinger and thumb, not pressing too hard to not break the structure of the module.
Allow the curl to turn slightly and remove it from the tool. This is the basis for creating the module. You will create modules for the suspension in the form of tears.

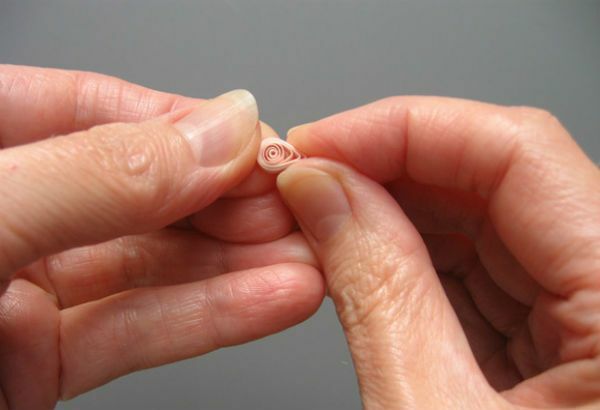
For this, you need to twist the strip and press down one of its end a little to make it pointy.
Using a small amount of glue and a toothpick, seal the end of the strip. Hold it for a while so that it can fix itself.
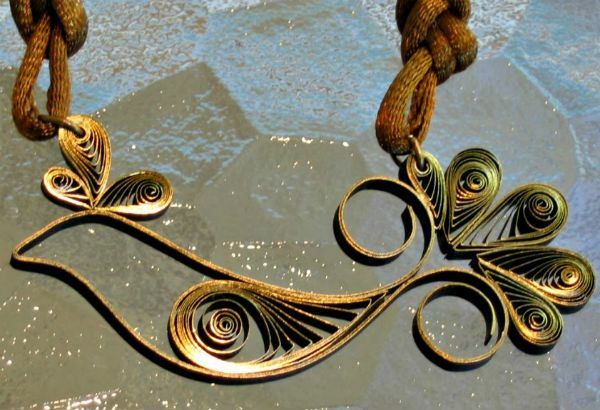
The principle of operation should be clear, now we turn to the creation of a pendant in the form of a bird.
After this, make three feathers for the bird's head and glue them. They should differ in size: large, medium and small. Now make 5 feathers for the tail, also different in size. Glue it.
Make one big module in the form of a drop, and paste the birds into the center of the trunk.
Attach the rings to the middle feather on the head and to the first feather on the bird's tail.
Due to them and will hold the suspension. Tie a string to the rings, as shown in the picture, and your suspension is ready.
Now it needs to be coated with metal spraying.