
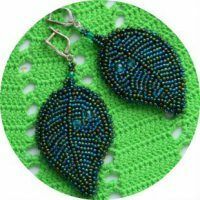
The bead flowers themselves are original and beautiful, but for a more complete picture they do not have enough leaves. That's why the creation of such handicrafts, as a rule, goes in tandem. But not uncommon, when the leaves can also be elements of an independent composition. There are so many varieties of them, as well as forms, that there would be a desire, but there will be no shortage of ideas.
- Principles of weaving of pine leaves
- Making a serrated bead sheet
- Creating a spiked bead sheet
Principles of weaving of pine leaves
The density of pine leaves will depend on the number of repeats of the elements. You can skip fringe every two / three beads of the base, this if you want a more dense composition. And you can also make gaps in five / ten beads, which will also look beautiful, but more airy and free.
It will be interesting to look a composition of beads of two shades, for example, dark green and light green beads. So, you can make a series of fringe in one direction through five beads, and in another by another color, but letting each branch between two branches of the first color.
The combination of contrasting colors, yellow and green, white and green, and so on, will look original.
Each element of the sheet is processed immediately and then you can not return to them.
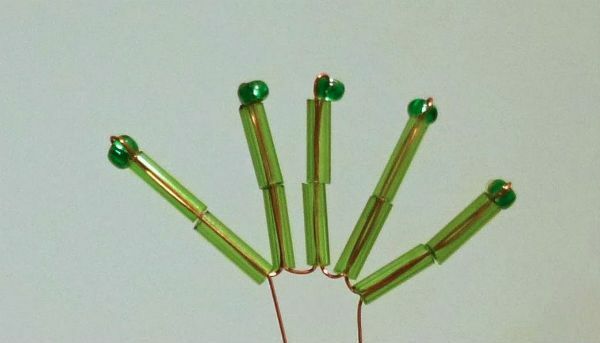
Naturally, to create realistic pine needles, oblong beads are better, and round beads are needed for tips of needles.
Cut the wire length about 15 centimeters.
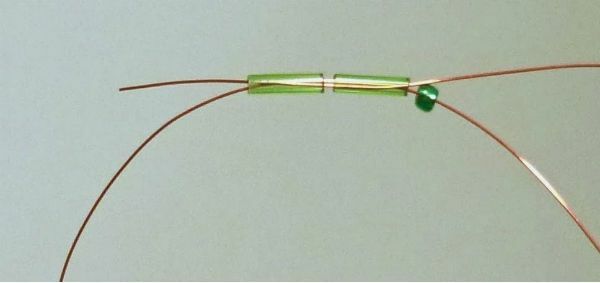
Dial two oblong beads on a thin wire and one round bead. Pass the second end of the wire through both oblong beads, bypassing the round one. The first needle is ready.
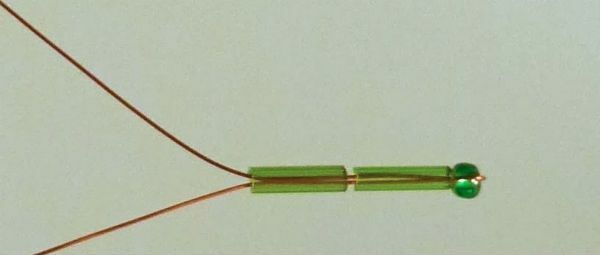
Next to her in a solid type again two oblong beads and one round. Again stretch the end of the wire through the oblong beads, bypassing the round one. Now two needles are ready.
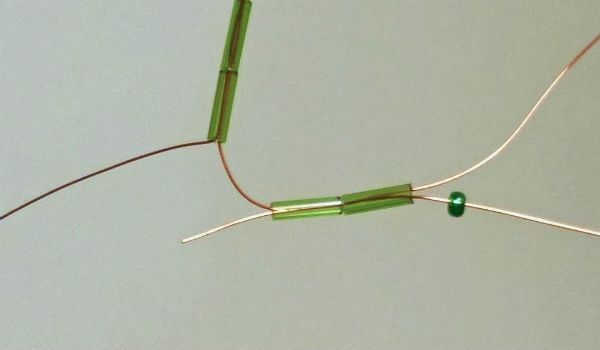
Continue to repeat this sequence until the needles become five or six.

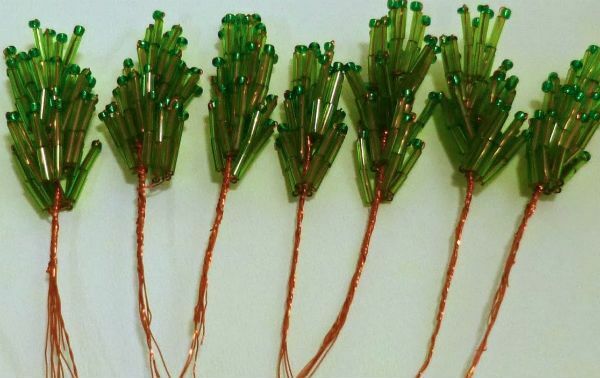
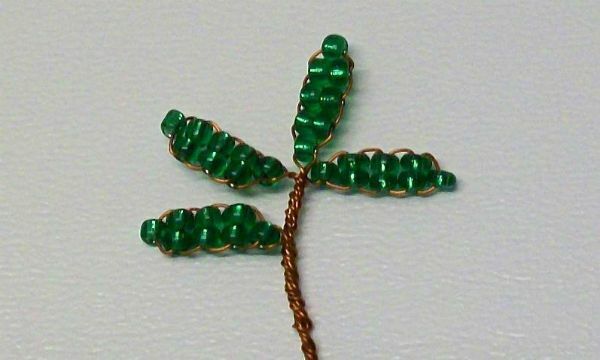
In order to make a full pine branch, it is necessary to create three such blanks in which there will be five needles. And already from such connected blanks it is possible to form a large branch.
We make a serrated leaf from beads
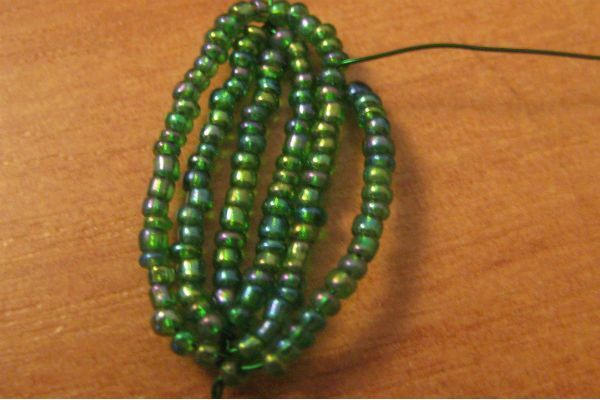
We propose to make a serrated leaf with the help of the French technique of braiding with arcs.
For work you will need: green beads and 80 cm of wire with a diameter of 0.4 mm.
For convenience, check with photos of our master class.
Take the wire and twist the loop from one edge. We get two axes: the shorter one is the main axis( the center of the figure), the long one is the working arc.
On the main axis we collect 15 beads, and on the working arc a little more - 17-19 pieces. Fix the side arch to the right of the main axis, with one turn of the wire.
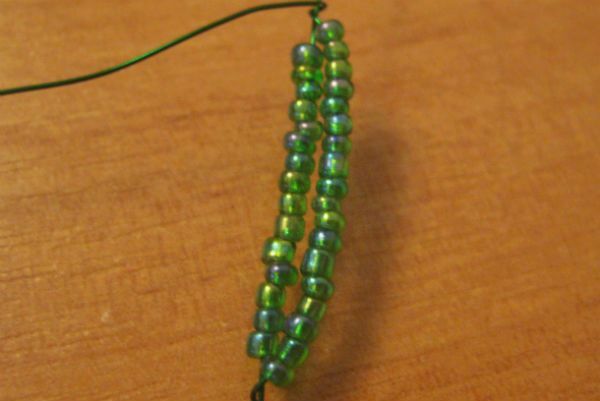
On the left we string the same number of beads and fasten in the lower part of the main axis. Note the angle of the bead between the right and left half of the arc with the center.

It is this arrangement that gives the tip of the sheet a pointed shape.
We repeat the same actions, but with each addition additionally adding to the arc beads for 2-4 pieces. You should get 2 turns of beads around the central axis.
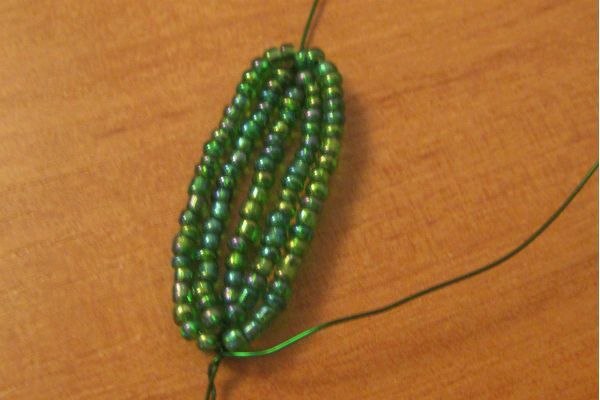
Forming the next arc, do not reach the top point by 6-8 beads, pass the wire under the arc from the wrong side to the front. Replace the work bowl with beads and return it back, back to the main axis. You should have the first tooth on the sheet.
Next, fix on the central axis and similarly with the plait denticles on the other side of the sheet. Make sure that both sides of the arc are fixed at the same level, then the sheet will turn out to be symmetrical.

Depending on the desired size of the sheet, create the required number of denticles using the return arcs.
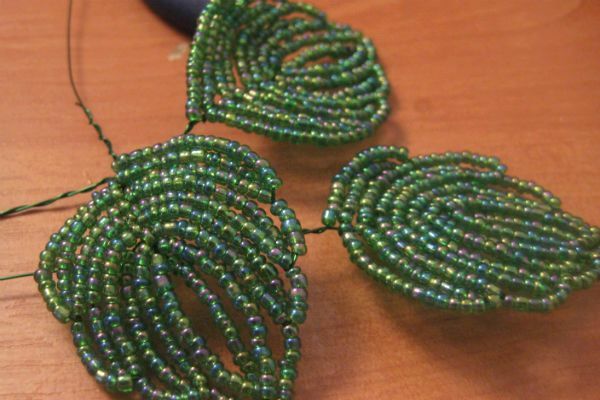
To complete the work, twist the wire around the sheet foot. And the upper end of the axis is bent on the wrong side and cut, leaving about 2-3 mm.
Your first jagged bead is ready.
to the table of contents ^Create a spiked bead sheet
You will need the same materials for weaving a sheet of pointed shape as in the previous master class - green beads and wire.
For one piece, 25 cm of wire will suffice.
Each sheet is made in the technique of parallel weaving in a simple scheme: 1st row - one bead;2, 3, 4-th series - two;The 5th row is one.
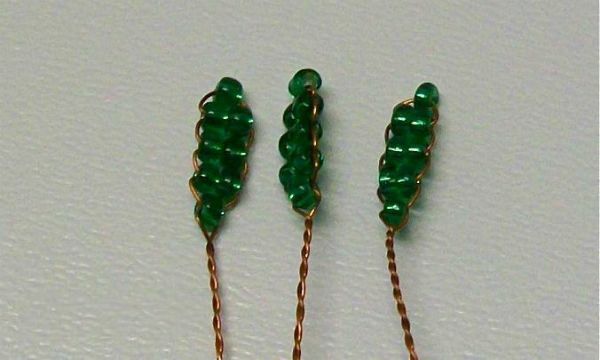
The resulting leaf has a pointed shape, it can be seen clearly in the photo.
By analogy, we need to weave 9 similar leaflets.
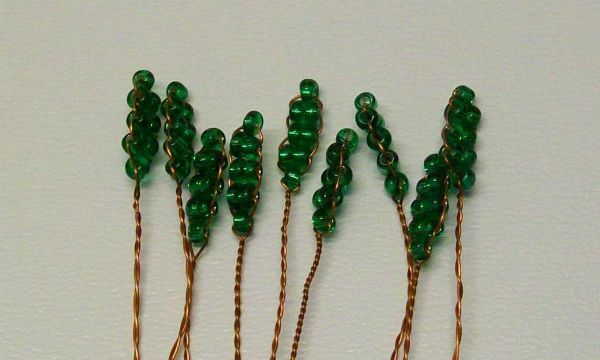
When everything is ready, you can proceed to collect a large composite sheet. The first three leaves must be twisted together, combining at the base.

Be sure to straighten them, so that the center sheet is directed strictly upwards, and the side sheets are to the sides.
A few millimeters below we attach the fourth leaf. Screw it to the main axis and align it parallel to the upper row.
The fifth leaf is screwed on one level with the fourth, but we direct it in the opposite direction.
Similarly, just add the remaining elements a little later.
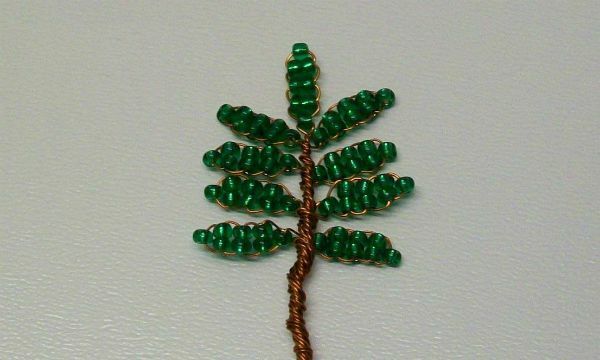
As a result, you should get one large sheet, consisting of 9 small pointed leaves, in appearance in no way inferior to the present.
Accordingly, the more such sheets you make, the more beautiful and splendid your branch of mountain ash will be.