
Machines made from chocolates will be an excellent gift for boys and men at any age and on any holiday. The subject of handicrafts is diverse. So, children will cause a storm of emotions hand-made candy kinder. You can create a variety of themed gifts, such as: an ambulance from candy, a retro model or a fire truck.
- From different sweets
- From sweets in wrap
From different sweets
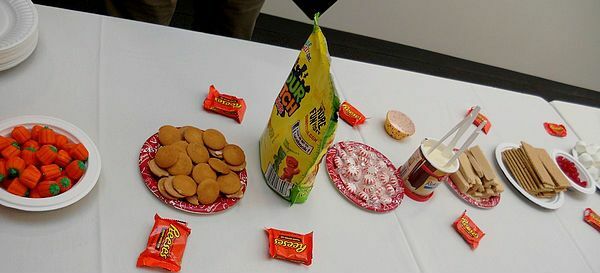

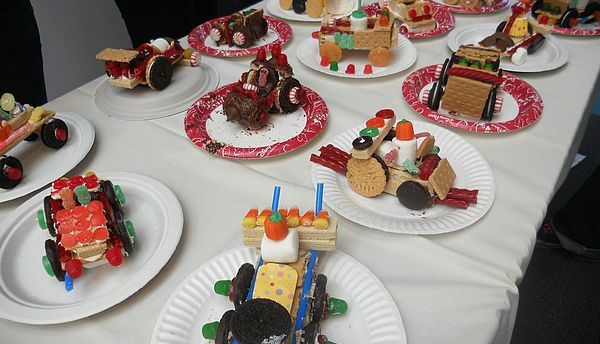
For the formation of sweet machines, square crackers or biscuits, round cookies, marshmallows, pastilles, wafers, marmalade, toothpicks of different sizes, including sticks forcanapé.
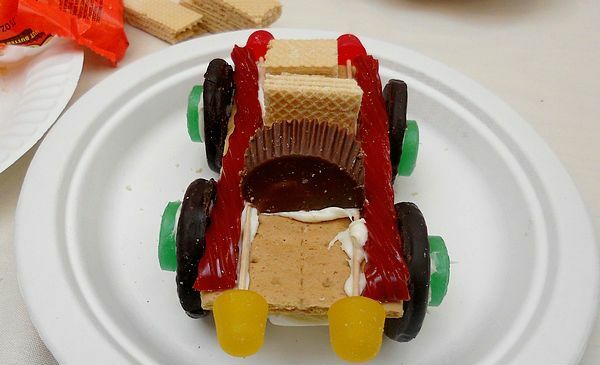
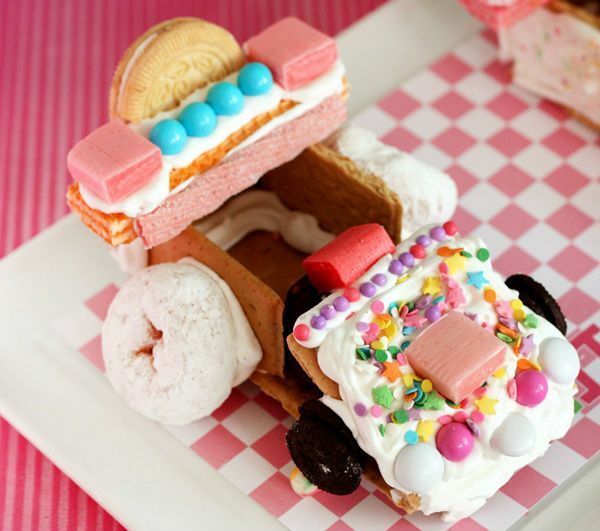
The main thing is to form a stable frame. For the wheels are suitable double round chocolate chip cookies or round chocolate candy. Between them sticks for canapés are inserted. On top of the sticks, you can put a biscuit biscuit. The cab is most conveniently formed with the help of wafers.
Now you need to decorate the car.
In the role of headlights fried jelly, in the role of the helm - marshmallow or round candy.
As a driver of our car can come sweetness in the form of a small animal, for example, a jelly bear.
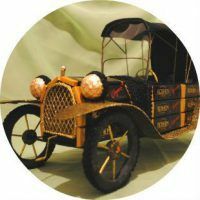
to the table of contents ^Of candies in a wrapper
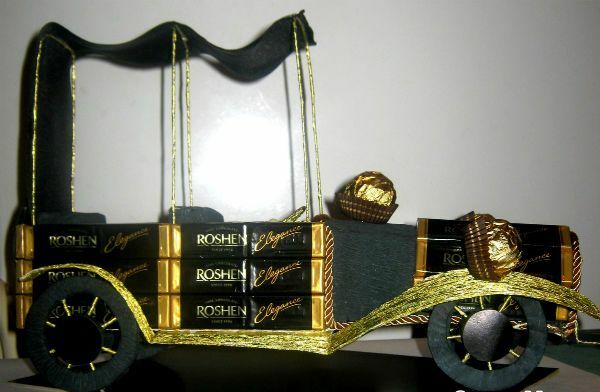
This piece of art is an order of magnitude more complicated than the previous one.
Required tools and materials:
- cardboard;
- thin cardboard;
- wire;
- corrugated paper of gold color;
- small Roshen chocolate or any other suitable size;
- toothpicks - 40 pieces;
- two golden round candy for headlights, you can take the brand "Korcunov";
- golden decorative cord;
- black braid;
- black cloth;
- ruler;
- compasses;
- pencil;
- scissors;
- stationery knife;
- glue gun;
- double-sided adhesive tape;
- fine sandpaper;
- two skewers;
- film;
- polystyrene foam or foam foam.
The order of creating a retro car of sweets:
Cut out of a thick cardboard two rectangles measuring 18x6.1 cm.
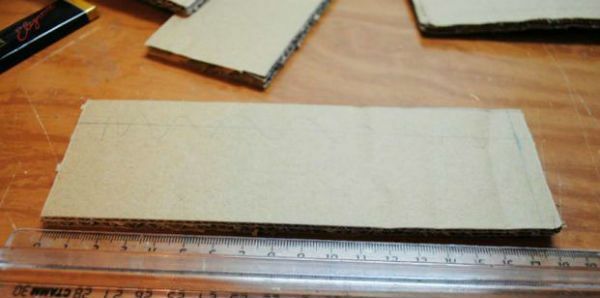
Cut out the back wall of the machine body with a size of 7.9x6.1 cm from the thick cardboard.

Use a glue gun to glue the cut out parts.

Cut from the thick cardboard the front wall of the body of a machine measuring 6.1x9.3 cm.
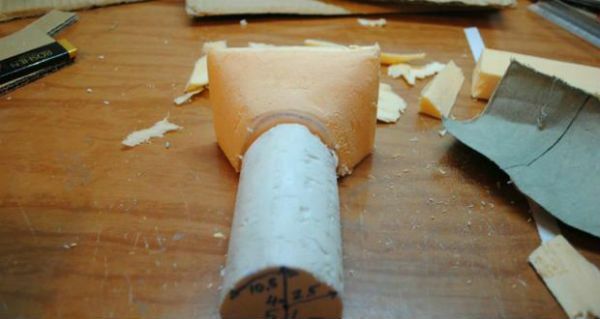
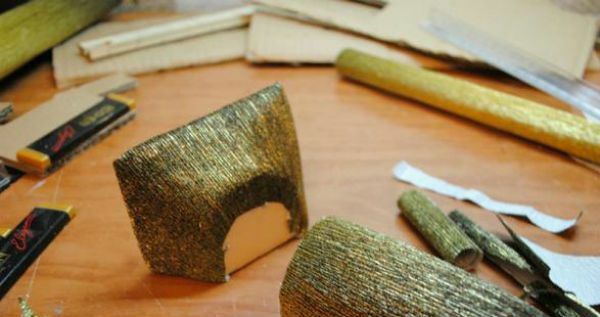
Cut out a piece of foam or foam foam that will serve as the nose of the machine. Fit its length to the size of the selected chocolates.
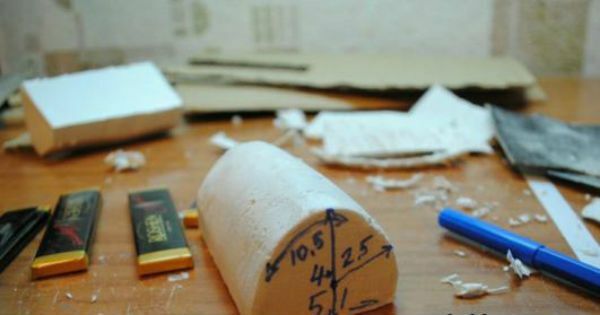
Also from the foam plastic cut the second part for the hood of the machine, as shown in the picture.
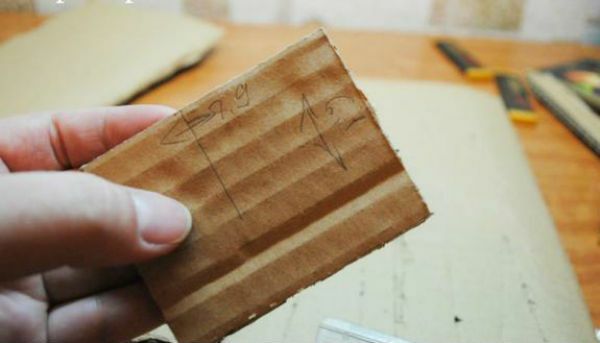
Add to the main size of the half of the cylinder and the length of the chocolate, outline with a pencil, this will be the necessary wall size.
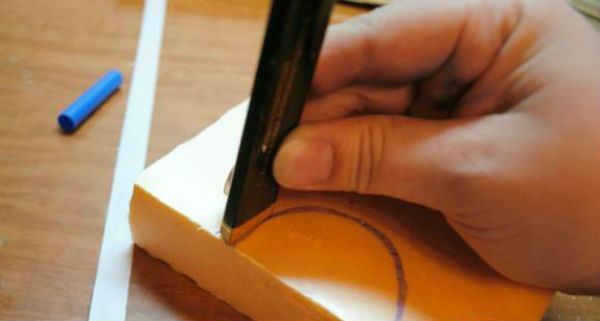
With a clerical knife, cut out the future wall part, the nose of the machine will be attached to it.
Use sandpaper to carefully grind roughnesses of finished parts, glue them with corrugated paper.
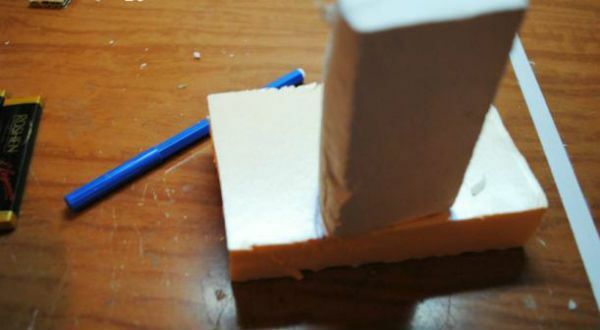
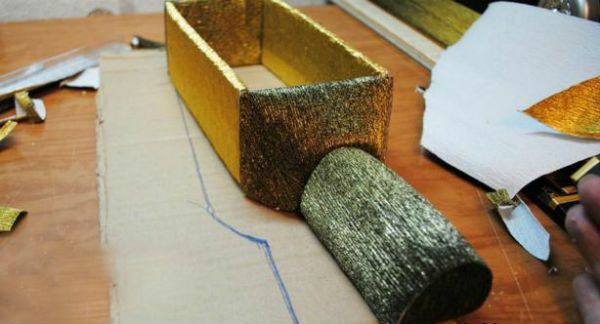
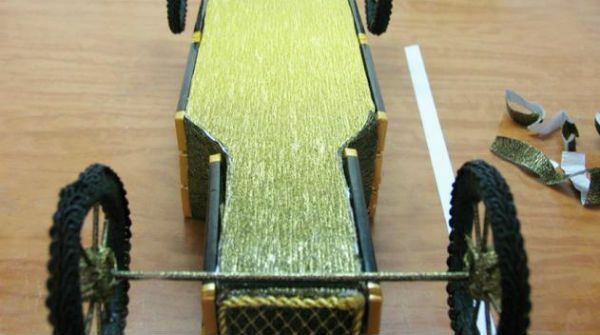
Assemble all prefabricated and glued machine parts together
Cut out the bottom of the cardboard from the dense cardboard, as well as glue it with corrugated paper and connect it to the already assembled parts.
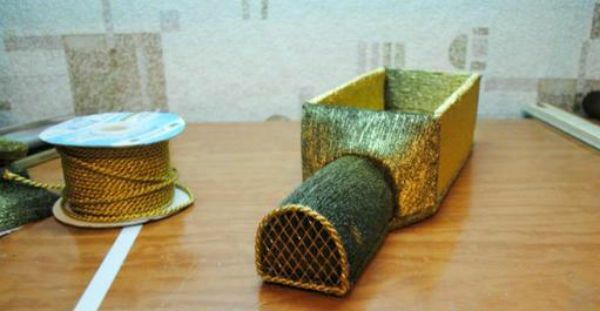
On the nose of the machine you need to glue the mesh and decorate the contour with a cord.
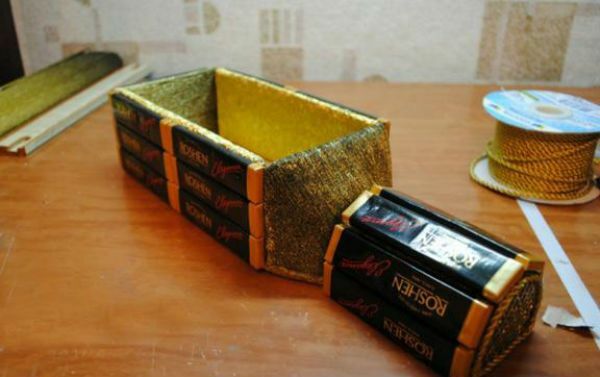
Gluing the nose and sides of the machine with chocolates.
On a thick cardboard draw five circles with a radius of 4 cm, and inside the circles still in a circle with a radius of 3 cm
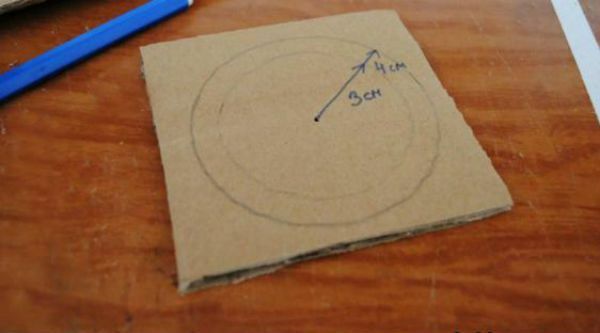
Cut circles with a stationery knife.
Cut five small circles around a penoplex about 1 cm in diameter.
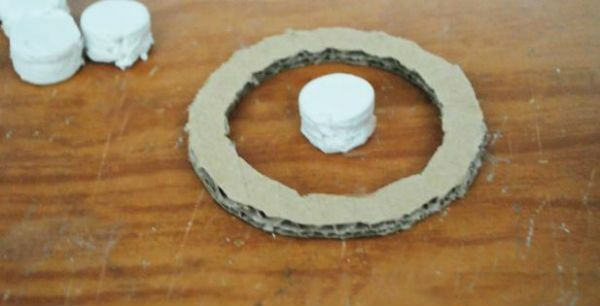
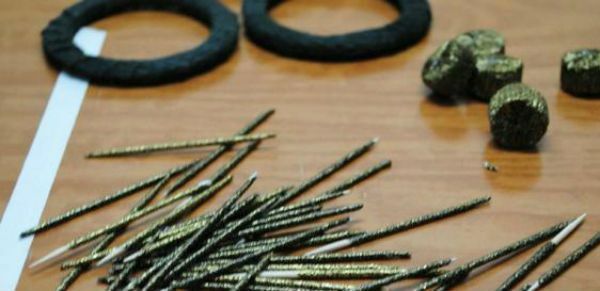
Prepare ringed rings and small circles with corrugated paper.
All 40 toothpicks are also wrapped in paper.
In each ringlet and circle it is necessary to pierce 8 holes and insert 8 golden toothpicks. Cut the ends of the toothpicks.
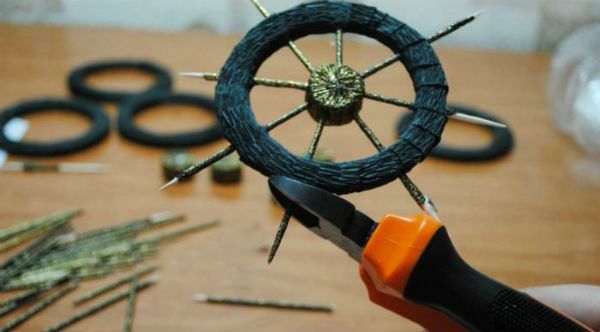
Cover the resulting wheel around the contour with a black braid.

The wheels are glued to the two ends, wrapped with corrugated scrap paper, and the entire structure is glued to the bottom of the machine.
From thin cardboard it is necessary to cut out wings for the car, preliminary having tried on all design that well adjoined to sides of a car.
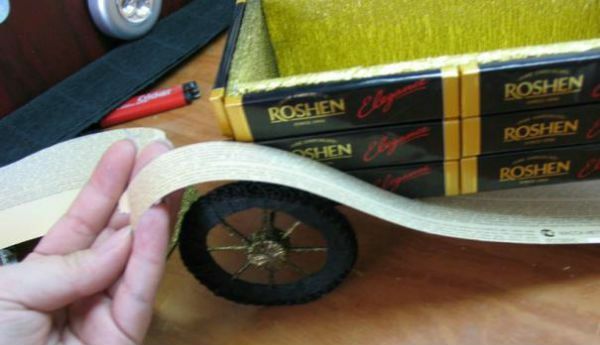
Both parts are pasted with corrugated paper.
Glue the wings to the machine, pre-shaping them.
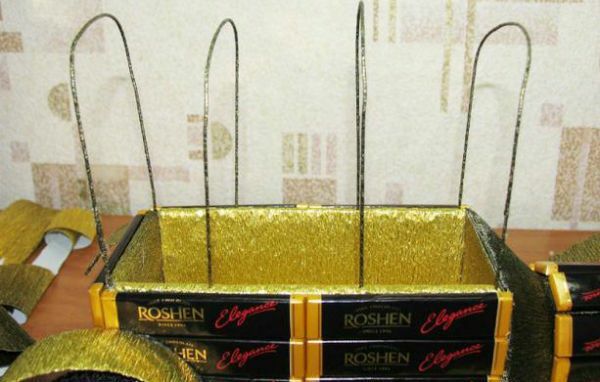
From the wire, also wrapped in paper, bend 4 loops and insert into the machine design.
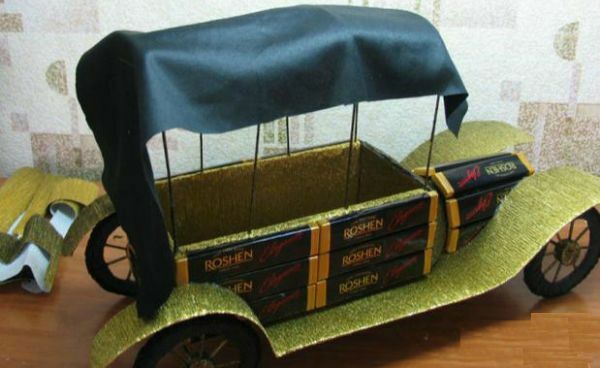
Cut out the necessary piece of black cloth from the black fabric, which will serve as a cabin.
From polystyrene cut 4 parts for seats in the car, measuring them by the size of the resulting design.
Put the woolen pieces and wrap the black cloth around the resulting chairs.
Insert the seats in the car, by placing on the glue.
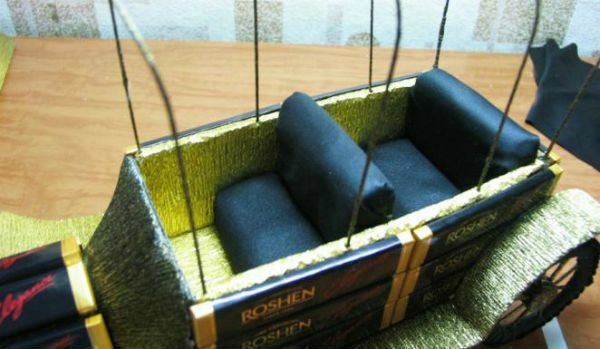
Steering wheel and levers make of paper-wrapped wire.
Cloth on the cab glued to a double-sided adhesive tape, gently draw all the edges.
Decorate the machine with a cord of your own choice.
Make a windshield from the film wrapped around the wire, as shown in the picture.

Set the round candy-lights.