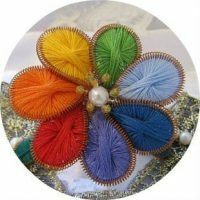
Historically, not all European arts have succeeded in seeping into the culture of our country, even in its European part. Their integration occurred much later, in some cases this "later" stretched for centuries. So it was with the ancient Maltese art of the Hanseatic, whose roots go back to the distant XVII century.
- Features of the
- Technique We make the earring of the Hanseatic
Features of the
technique At the same time, this decorative and applied art is given a special place in the heart of every second handmaker. You can and do not work in this technique, but do not try it at least once - just unforgivable. Ganutel - an amazing art that allows you to create no less amazing compositions of wire in tandem with hand embroidery.
The following materials are also suitable for this technique: silk threads, beads and beads, crystals, laces, patches, blanks from polymer clay and much more.
This master class is dedicated to creating original earrings in a simple, concise design. On this example you will be able to appreciate all the advantages of the art of the Ganutel.
to the table of contents ^We make earrings of a chisel
The simple design of earrings was chosen for a reason. After all, the main thing that you need to take out of this master class is an understanding of the fundamentals of the Ganutel technique. For this decoration, you need a thin wire, it is better not to take from copper, but from metal. Threads of silk of any shade. Nippers, scissors and pliers.
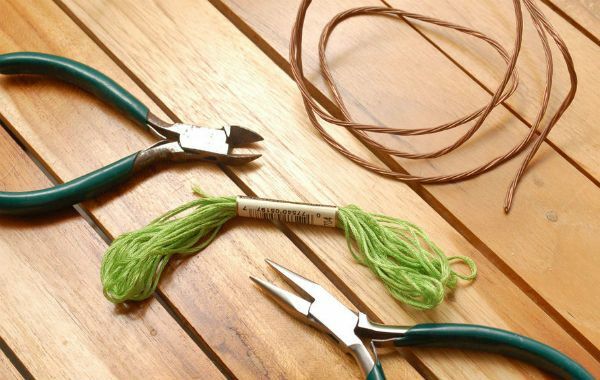
First of all, you need to make the blanks for earrings. Decide on their size. For example, if you want earrings three centimeters high, the first wire cut should be about three and a half / four times longer, the second cut, respectively, is longer than the first by five / seven centimeters.
Total, for earrings with a height of three centimeters, we cut two wire cuts into twelve and seventeen centimeters. That wire, which is more genuine, will go to create a spiral over the wire, which is shorter.
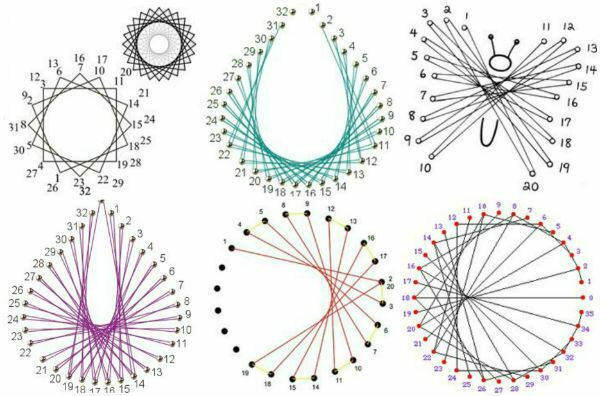
Earrings can be made in any shape using one of the variants of the schemes presented in the photo.
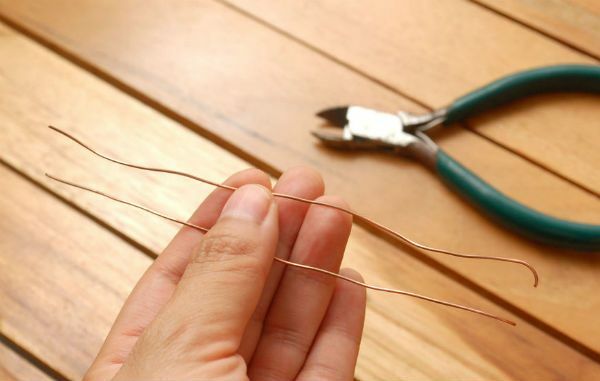
The easiest way to make such a spiral is with a handle, nail, hook or any other long round object. Simply thread the wire on it, and then remove the workpiece and extend it into another wire.
Of course, you can wind it all at once and on the main wire, but this is not all obtained from the first time. So it is necessary to be trained.
Now it is necessary to form the skeleton of the future decoration. Connect the two ends of the wire forming a droplet. Use the pliers for this. Cut off excess wire with wire cutters.
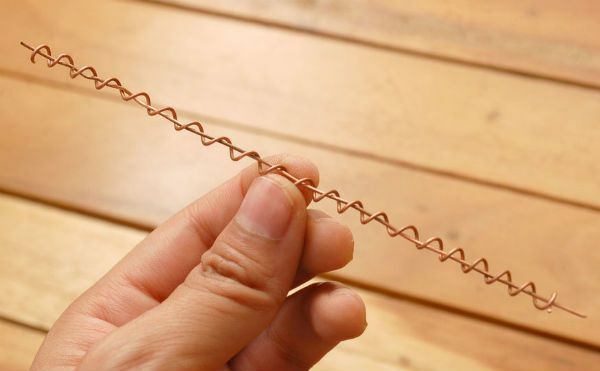
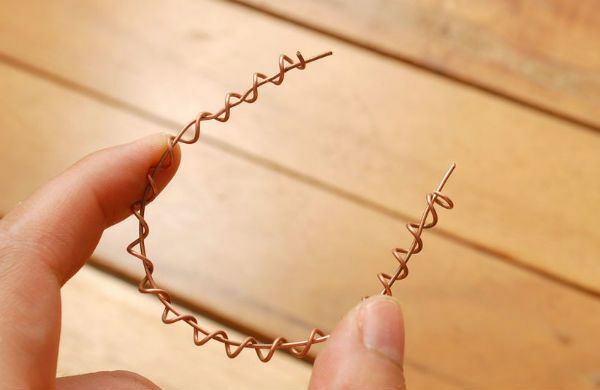
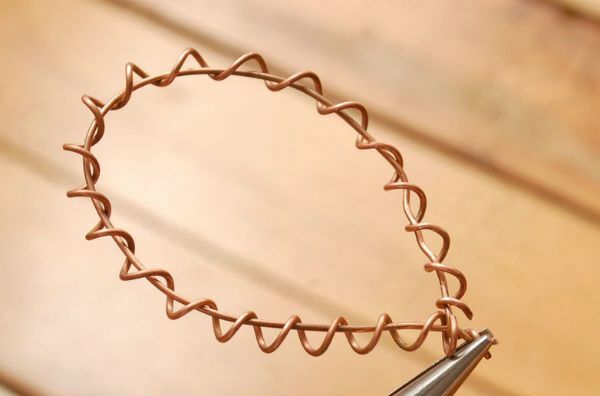
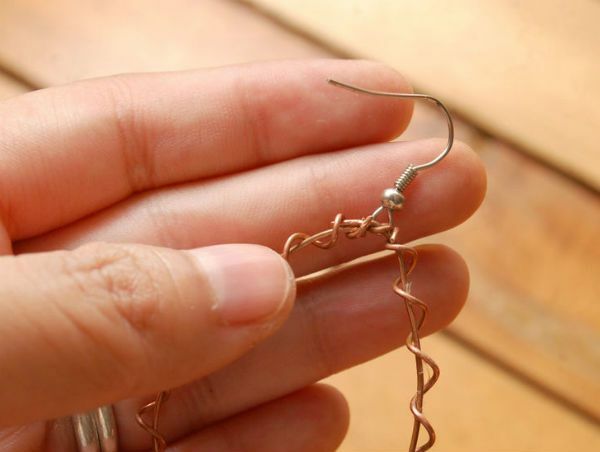
Proceed to the design of the pattern with threads. The most common pattern in this art is criss-cross.
You can make both a single pass of threads, and in several layers. Then the pattern will be more expressive. It is also appropriate to use threads of different shades.
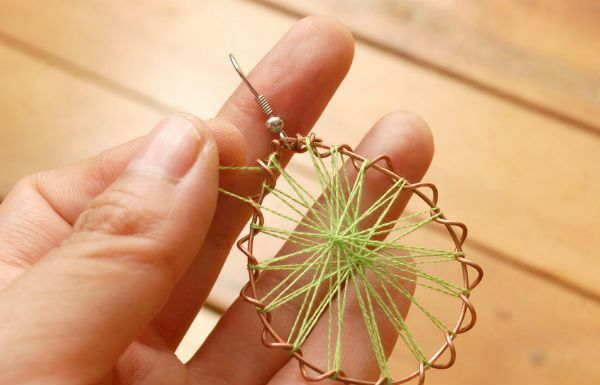
By and large the ready-made decoration does not need an additional decoration. However, with this art beads get along well. So, you can make a beaded thread and use it to work out the pattern. If you do not want to topically overload the composition, then it's enough to add the beads only in some crossings or on the bends of the spiral.
