
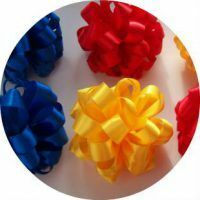
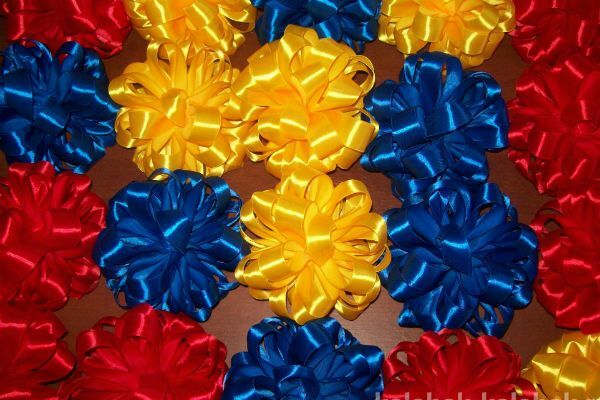
Bows made of satin ribbon have become one of the most universal and indispensable decorations for many. Bows perfectly complement the gifts, bandaging flowers, in principle, they will be able to decorate any thing that needs to add a cheerful holiday mood. And, of course, we should not forget that satin bows can act as a wonderful independent accessory as a bracelet, brooch or hair clip.
- Technique of execution
- Doing bows for hair
Technique for making

There are a lot of ways to tie bows from satin ribbons, it all depends on the technique. The simplest way, which everyone can do, is a classical bow, which you can perform by tying two or more loops to a node. It is not much harder to make a strict or long bow. Interestingly enough, these bows look if you combine two or more different in color and texture of the material.
A more complicated variant is to tie a bow-fan, bow-flower or a terry bow.
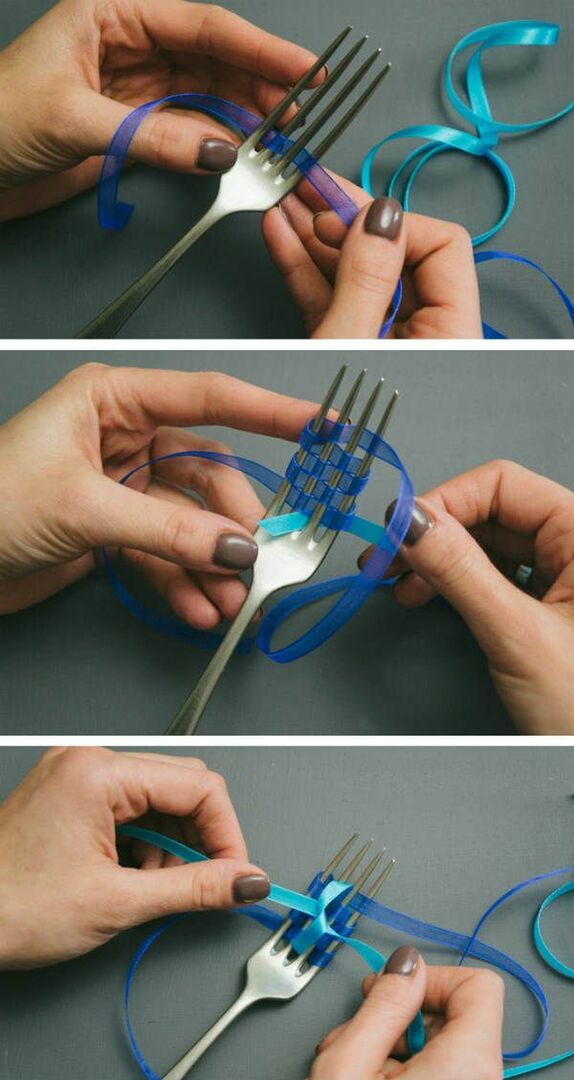
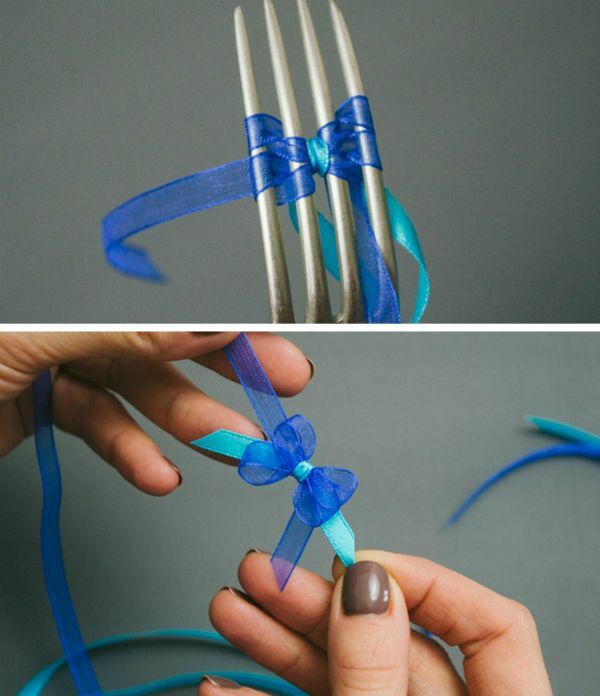
It's also easy enough to tie a bow on the fork:
Since childhood, many know the version of the bow-accordion, in which the edge of the tape is pulled together on the thread, forming a lush bud.
Pretty original look satin ribbons, arranged in the form of the letter "F", in the shape of a star or twisted as a blossoming rose.
In addition to these options, the Japanese canvas technique will help you learn how to create wonderful bows. It is characterized by the formation of an elegant product for the hair of many independent small parts, made of satin ribbons in the form of petals.
to the table of contents ^Doing bows for hair
Materials needed:
- satin ribbons;
- cardboard for the template;
- scissors;
- needle and thread;
- elastic band;
- glue gun.
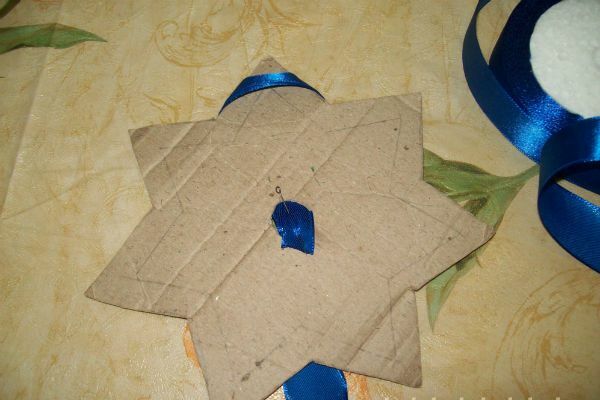
Draw a star with seven equal beams on the cardboard and cut it out. In the center of the star make a small hole. The size of this stencil will depend on the size of your bow. The diameter of our stencil is 17 cm, and it is based on a fairly large bow.
For convenience, in order not to get confused in the number of turns, it is better to number the beams.
Take a satin ribbon about 6 meters long and 2.5 cm wide. If you have a tape on a reel, do not cut it beforehand, but form the bow straight from the reel to avoid making a mistake with the length. If you suddenly want to make a smaller bow, then it's better to take the tape narrower.
Take the end of the tape and fold it in half along. One-sided satin ribbon is better to fold the front side inward, then then at the stage of the bow's spreading, it lies down beautifully.
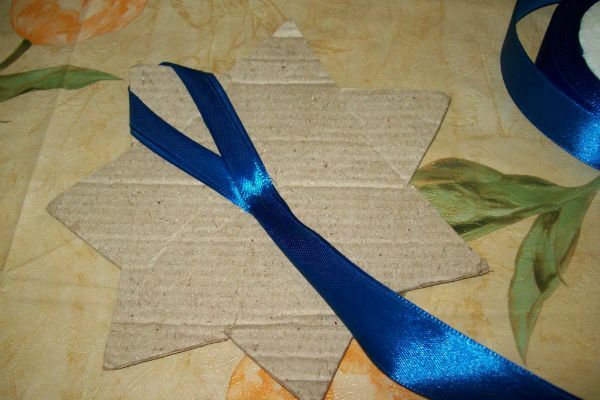
Double fold the edge of the tape through the hole in the center of the base so that the folding line of the tape is on top when the beam is twisted.
After wrapping the first beam, we direct the tape back to the center of the star and from the wrong side through the hole we fix it with a needle, so we get the first loop.
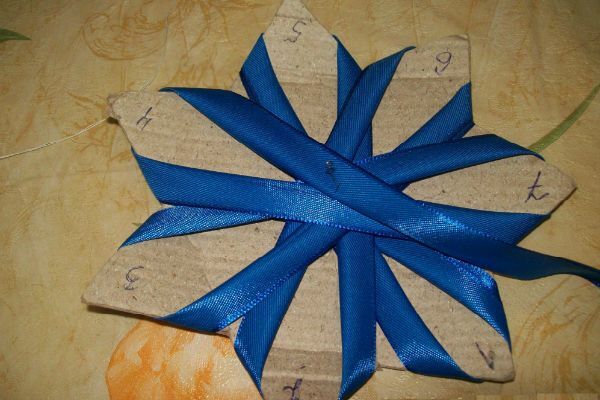
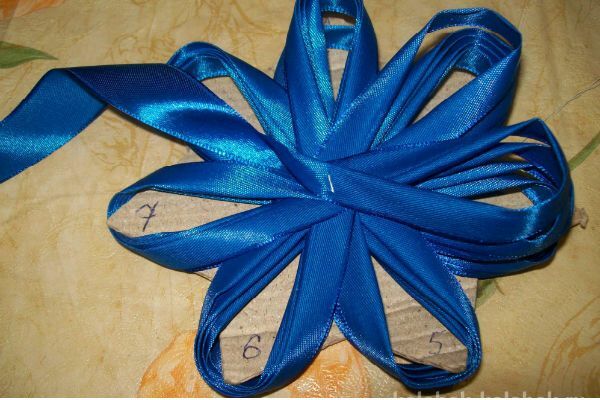
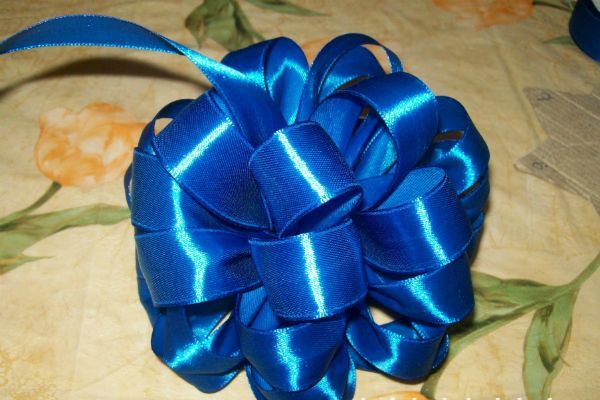
Next, consistently wrap the tape with all the rays of the stencil according to the following scheme: 1, 5, 2, 6, 3, 7, 4. This is one circle of the winding. Repeat this action 5 more times to get 5 loops on each ray. The more luxuriant you want to get a bow, the more you make a loop. In this case, it turned out 35 pieces.
Then leave a piece on the tape about one loop long and trim the edge of the tape.
Align all layers of the tape near the center of the star, aligning all the rows as much as possible, and fix them with a pin. Then sew this place with one stitch there and back. But be extremely careful, otherwise if some tape does not fix, then after removing the cardboard backbone, the loops can bloom.
Now you can take out the needle that fixed the first loop and remove all the loops from the base.
In order for the loops to be located not one above the other, but more chaotically, you need to slightly shift all the layers of the bow relative to each other. It was for this purpose that the center of the product was not thoroughly sewn, but only was fixed with a single stitch.
Now, when all the hinges have adopted the desired position, you can safely stitch the center of the bow.
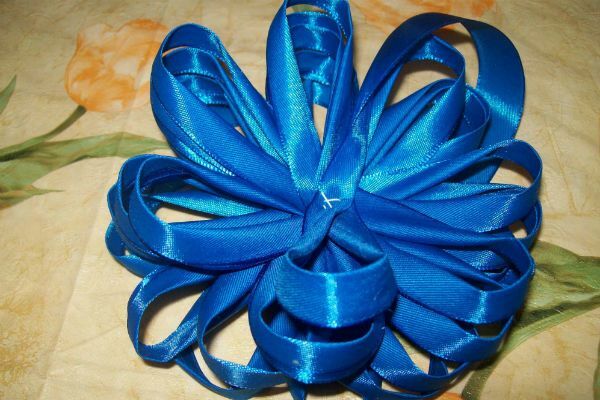
Next, straighten the bow, twisting the loops on the front side.
Fold the remaining edge of the ribbon in the form of another loop and glue it to the center of the product to cover the stitches from the threads.
To fix such a bow on your hair, on the back side you should stick an elastic band, a hair clip or a bezel.