
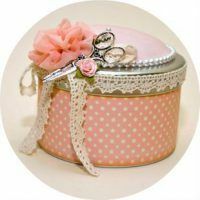
All kinds of boxes are simply irreplaceable in the life of any girl. After all, they can always find use. They fit for many purposes, especially if you are also a handmaker, then in such boxes you can easily hold any decorative material. And to make them yourself with their own hands will not be difficult.
- Required Materials
- Box made of cardboard
Cardboard, plywood, wood can serve as a starting material. But if the last two require special processing conditions, then the first - cardboard - is the most universal for our purposes. In this master class, it is from him that we will make the original casket.
The size, color, configuration of the product you choose yourself, just like the final decor.
Required Materials
For work you will need:
- carton-paperman with beautiful decorative coating,
- scissors,
- ruler,
- double-sided adhesive tape,
- pencil,
- optional decor( at your discretion).
To calculate the area of the required cardboard, simply consider the following: draw the diagonal of the largest side, determine its( sides) area - this is 25% of the size of the future product( suitable only for squares).The finished "window" or side will always end up being a quarter of the size of the original square when measured from corner to corner.
to contents ^Box from cardboard
In our lesson we suggest you try to make an original design of a casket that can be adapted to any size of cardboard, but only if the cardboard is initially with equal sides, in the form of a square. Before working with the workpiece, it is desirable to practice on unnecessary paper, waste paper. Just to initially understand all aspects of technology and not to spoil the cardboard.
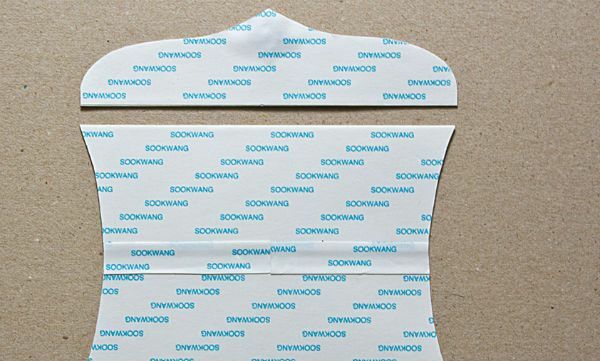
So, take a sheet of cardboard with a minimum size of 55 by 25 centimeters. Draw two lines diagonally from corner to corner. This will allow you to visually divide the cardboard on the principle of a capital "X".Do not worry about the fact that there are traces of a pencil or marker on the cardboard, they will all the same then hide and you will not see them.

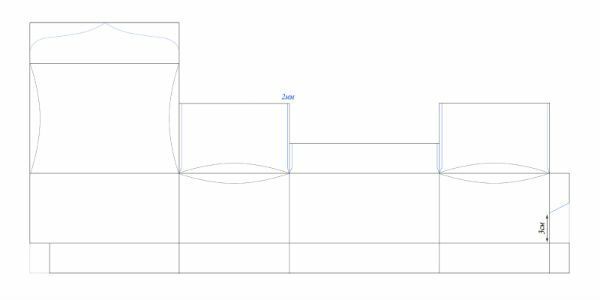
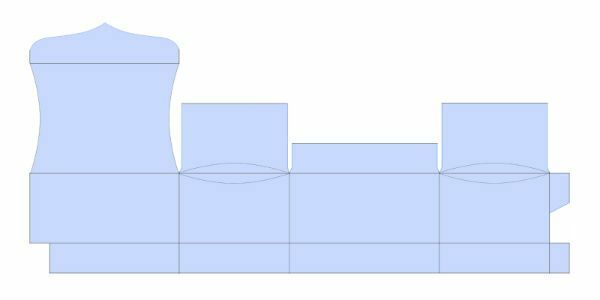
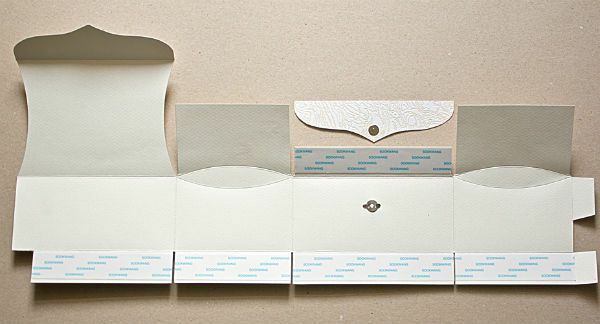
Now transfer the casket scheme to the back side of the cardboard, detail it according to the additional scheme and cut out the workpiece.
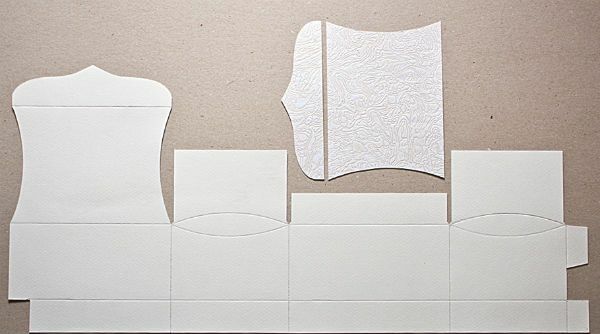
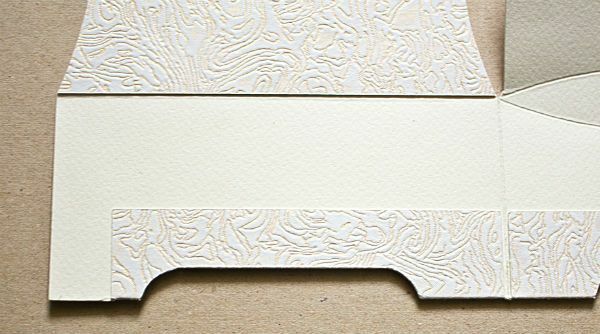
After it is necessary to make cuts where they are needed as indicated in the photo.
Try to understand the template before starting to cut.
Next, double-sided adhesive tape is attached where it is necessary, then it is convenient to fold the casket.
Now we turn to the folding of the box, but first we denote the bends.
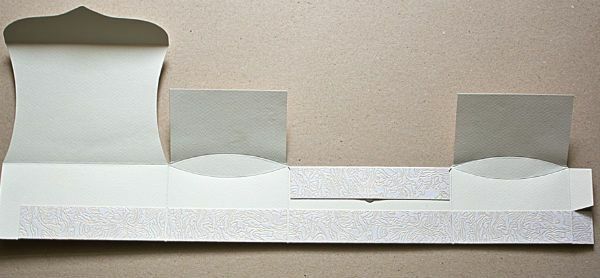
Connect a piece of the lid of the casket with the adhesive tape.
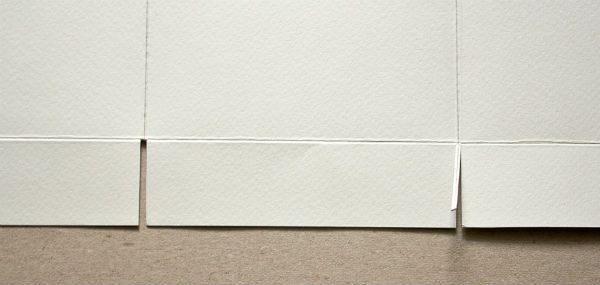
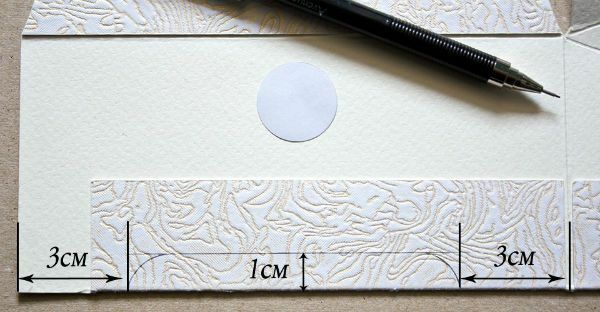
After that, make measurements at the bottom of the box as shown in the photo.
Cut the excess to form the legs of the box.

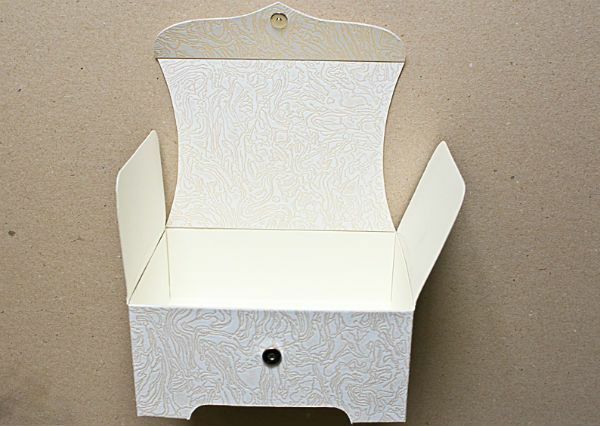
Now it is necessary to cut out the bottom of the box, which will be placed inside the glued product.

Form the box and insert the bottom.
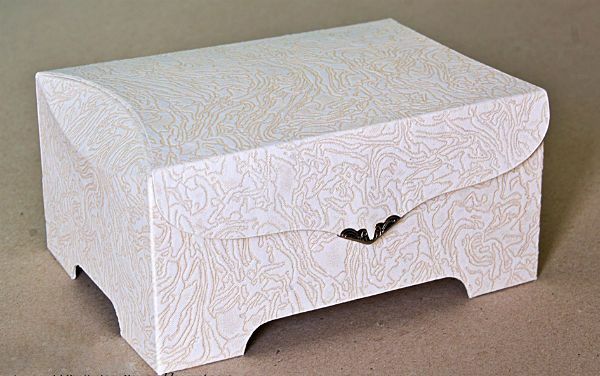
The ready box can be additionally decorated using different techniques, for example, decoupage, lace decoration, perhaps scrapbooking elements, fabric appliqués, volumetric ornaments from ribbons or paper that can also be made by hand.
If the cardboard is sufficiently dense, the painting of the product under the tree, the coating for silver, gold and so on will look very original.