Technique "Terra" provides for the use of all kinds of natural elements: dry plants, cereals, pebbles, shells, sometimes dried insects in combination with natural materials, beads and beads. Surprisingly, this technique is pretty easy to perform and gives the creator the opportunity to create works of art with the help of ordinary, sometimes even unsightly things.
- Bottle decoration
- Suspension from seashells
- Create topiary
Bottle decor
For work you will need:
- flat glass bottle;
- dried flowers, inflorescences, spikelets, cones;
- napkin with a pattern for decoupage;
- nail polish remover;
- acrylic primer or matt beige water-based paint;
- acrylic paints of bronze and light gold color;
- putty for wood;
- acrylic artistic varnish;
- fine sandpaper;
- plastic knife;
- brushes;
- sponge;
- satin ribbon.
First you need to clean the labels and wash the bottle.
All vegetable raw materials that you plan to use in your work are best dried on the windowsill.
The "Terra" technique involves the use of natural materials, so the pattern on the napkin for decoupage should support the relevant topics. In our case, this is a picture of the hedgehogs.
Bottle on all sides degrease with nail polish remover or acetone.
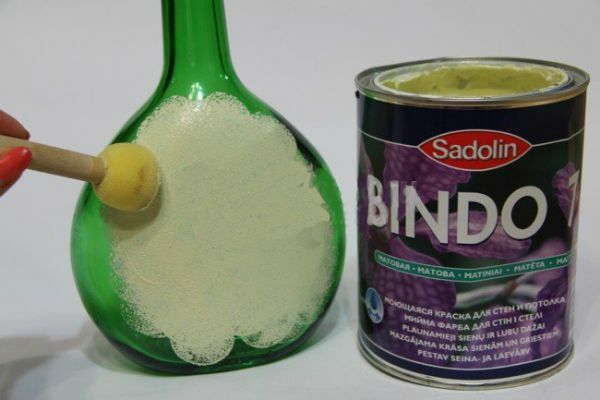
After the bottle has dried it is possible to start priming the product. Using a foam sponge, cover the bottle in one layer with a matte water-based paint of a light shade and leave to dry.
At this time, determine the desired for decoupage figures and cut them out of napkins. The top layer of the napkin should be removed. Images can be of different types and sizes.
When the first layer of soil on the bottle dries, onthose places where decoupage will be performed, you need to apply a second coat of paint.
Now, attach a piece of napkin to the surface of the bottle and with a soft brush gently cover it with acrylic artistic varnish. On the reverse side of the bottle decoupage is performed similarly, but only after the drying of the first side.
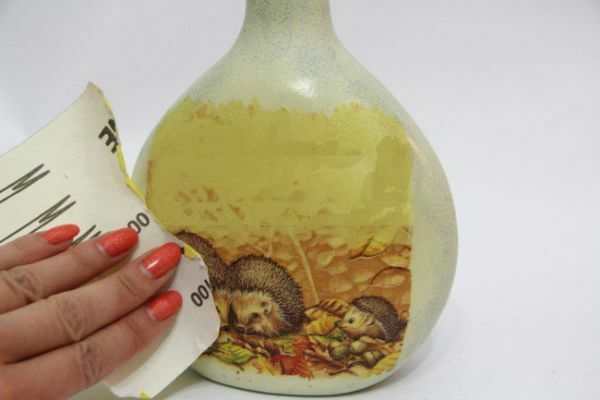
In order to create a more dense protective film, apply to the glued parts of the napkin, a few more layers of lacquer.
The edges of the fragments of decoupage need to be cleaned with a piece of sandpaper to get rid of small irregularities.
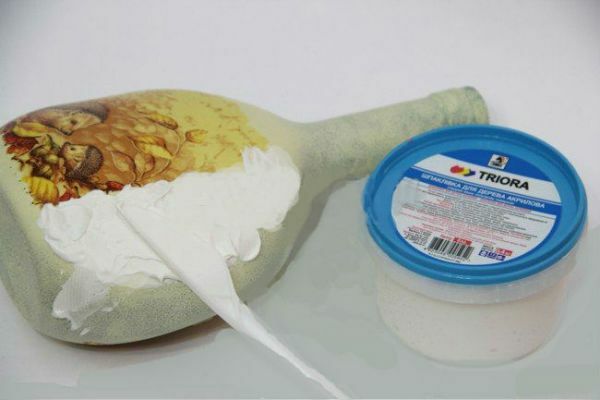
At this stage decoupage is over. We begin to perform a volumetric decor of natural elements.
Spread the fillings on the surface of the bottle with a plastic knife and level it on the empty places on the bottle surface. Do not make a layer of filler too thick, otherwise it may crack if it dries.
Until the putty has hardened, lay vegetable materials on it - flowers, twigs, blades of grass, squeezing them well into the mixture.
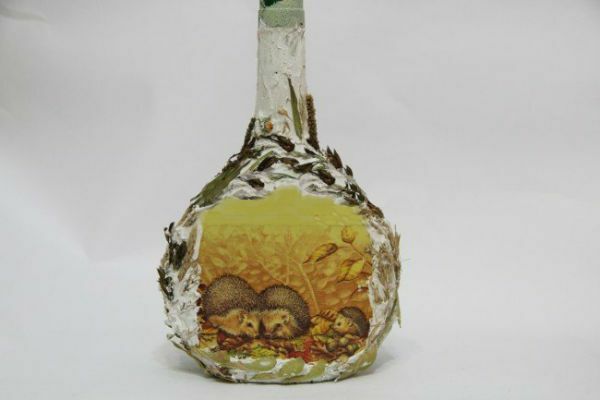
Now the craft should be left for about a day, so that the putty completely dried.
After drying, the artwork will look something like the photo.
Next, using a bronze acrylic paint, paint all the glued plant elements. Brush is better to take hard with a long pile, so she could get all the most in-depth places.
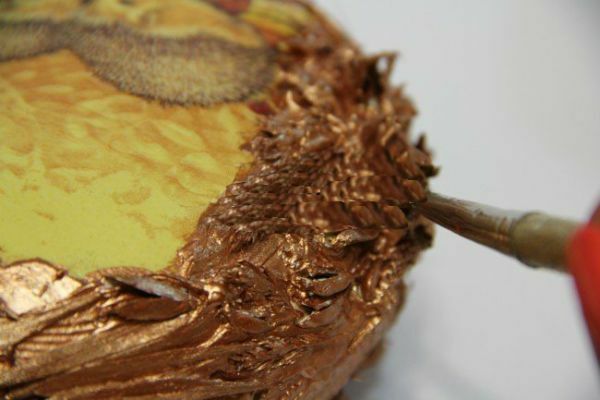
If necessary, the paint can be applied in two layers, paying special attention to the grooves in the putty.
After drying, the artwork in bronze color looks interesting.
But to add volume to the vegetable elements with light strokes, apply a light gold color acrylic paint to them using the foam sponge. Gold should catch only the most protruding parts of the product, thereby shading them.
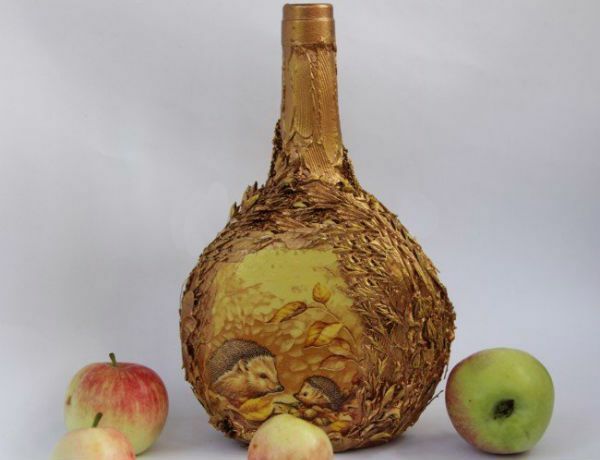
At the final stage, cover the bottle with several layers of acrylic lacquer.
Suspension from shells
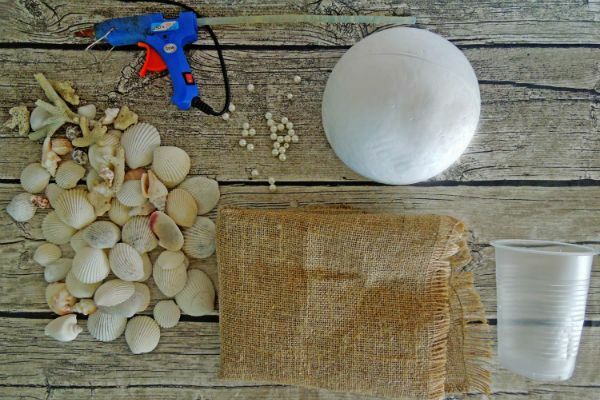
To create it you will need:

- shells of different size and shape;
- plastic ring;
- linen twine;
- fishing line or strong thread;
- beads;
- drill with a thin drill;
- adhesive.
The basis of the suspension will be a plastic ring, which must be tightly wrapped in twine. The ends of the rope for fixing need to be smeared with glue.
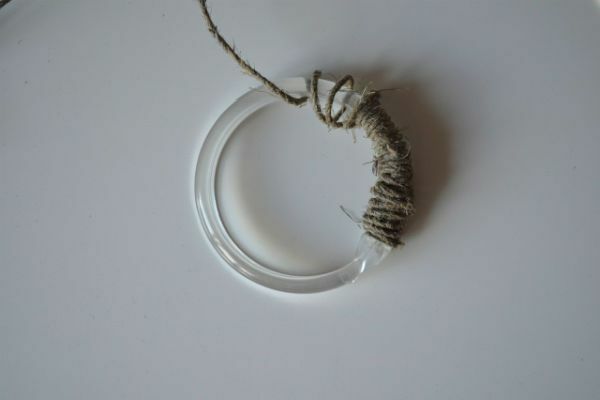
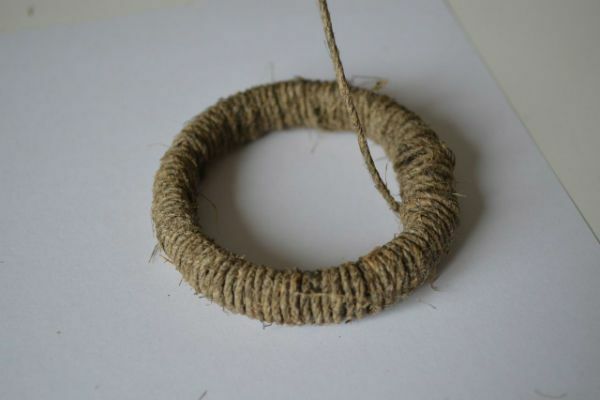
From a small piece of twine, make a loop fastener so that you can hang the product.
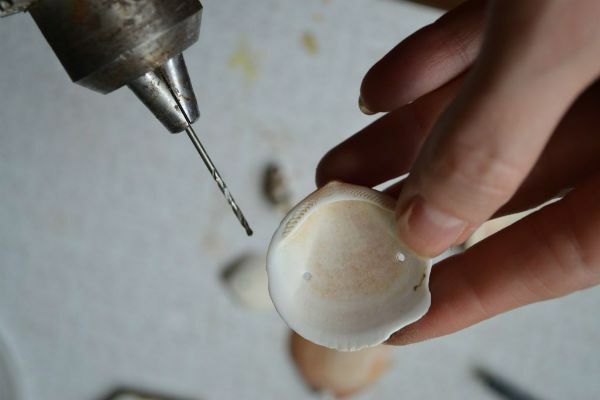
In each shell with a thin drill, carefully drill two holes.
Then string them on a fishing line and secure with knots and beads. For suspension it will be enough 4-5 similar woods with shells of any length.
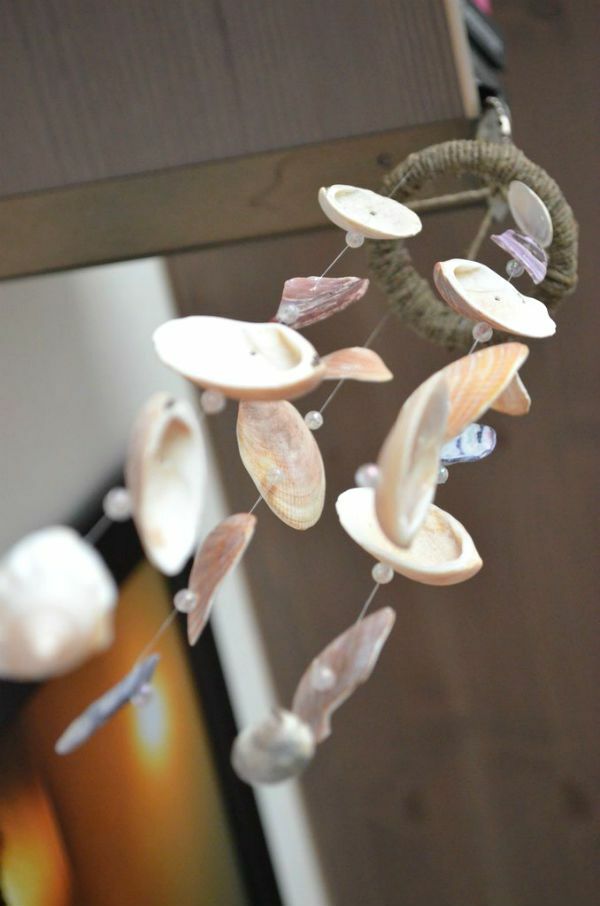
Tie the end of each line to the ring.
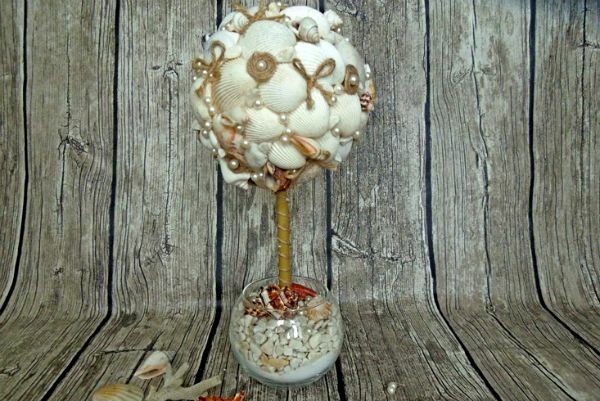
to the table of contents ^Create a topiary
If you are just starting to get acquainted with this branch of floristry, it is better to begin your acquaintance with the simplest materials and ways of creating hand-made articles. One of the most suitable materials are seashells.
For topiary, you will need:
- cone or ball of polystyrene of the desired size;
- shells of different sizes, colors and shapes;
- plaster;
- pots or other containers;
- various decorative materials;
- adhesive.
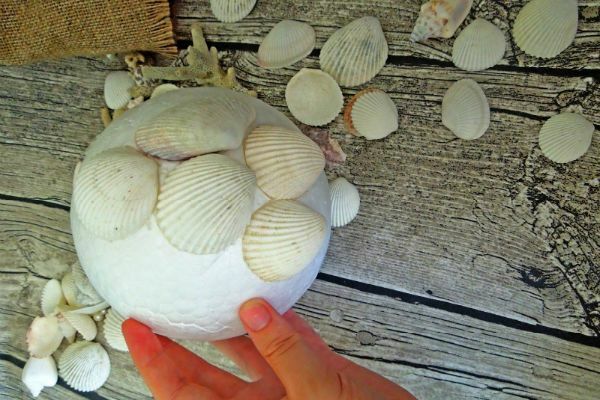
In this case, from shells you will make a simple applique. All you need to do is paste the shells onto the foam base, beginning with the largest shells, and filling the space between them with smaller ones.
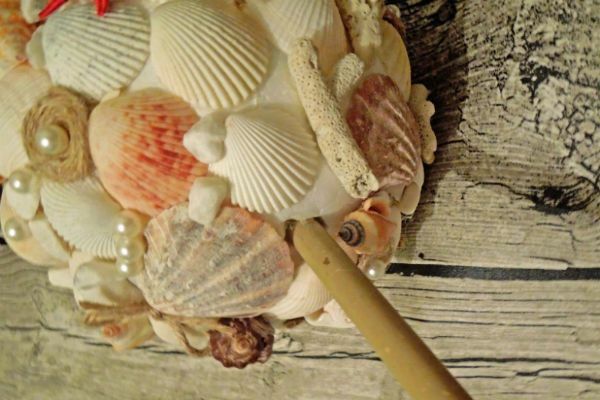
In the same way you can create other beautiful crafts made of shells. To create such balls, sand was additionally used, due to which the space between the shells will also be filled.
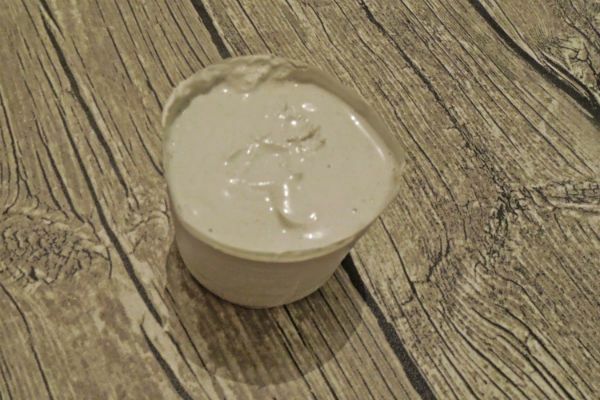
We fill pots with gypsum.
Also the space between the shells can be filled with threads, asterisks, beads and other decor material.