
Child safety is always above all issues. When the child starts to toss in the crib, her handrails and rails become very traumatic objects. In order to protect the baby from receiving unintentional bruises and abrasions, one should use "protection".Such protective beads are very expensive, but they can be sewn with ease at home without much money and time, and most importantly, they will be made with love.
- Simple edge
- Side rail
- Side boards
Simple edge
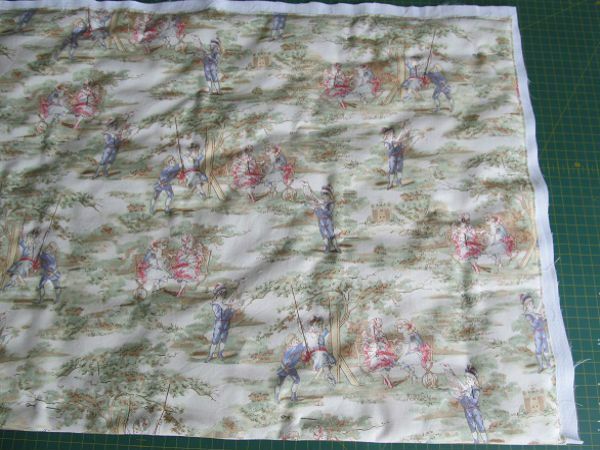
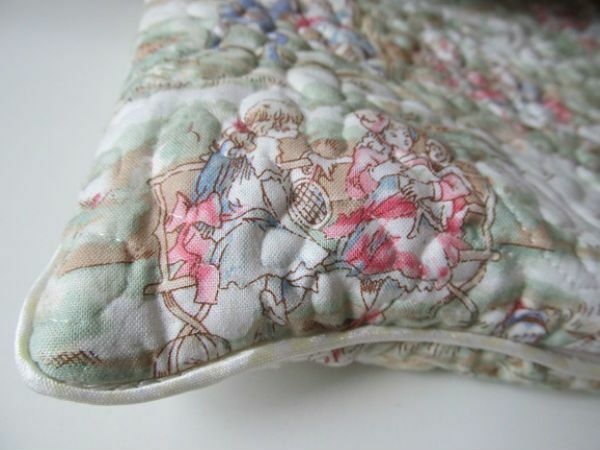
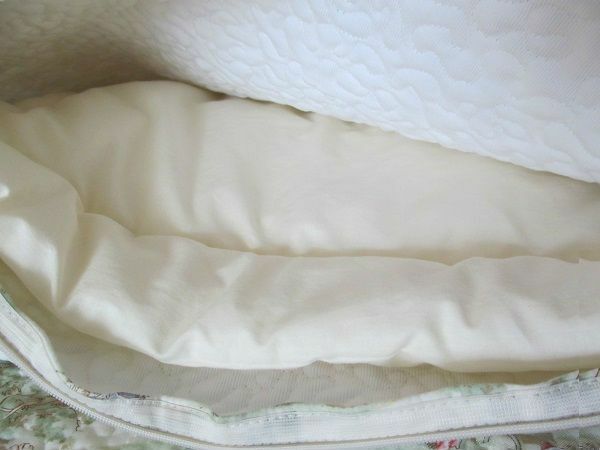
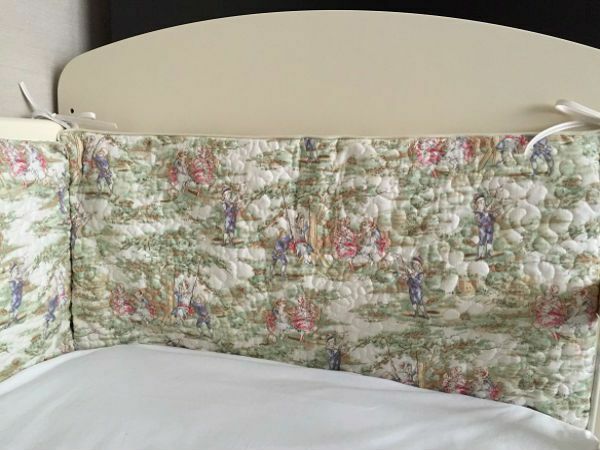
Required material:
- main fabric;
- plain backing fabric( cotton);
- long zipper;
- sewing machine;
- scissors;
- tapes;
- needle and thread;
- clothesline;
- bobbin beika;
- foam rubber or sintepon.
Tailoring process:
The size of one part of the sides: length - 60centimeters;height - 40 centimeters.
The size of one part of the sides in the pattern: 63 centimeters by 44 centimeters.
- Cut out the two fabrics of the right size and fold them flat on all the lines.
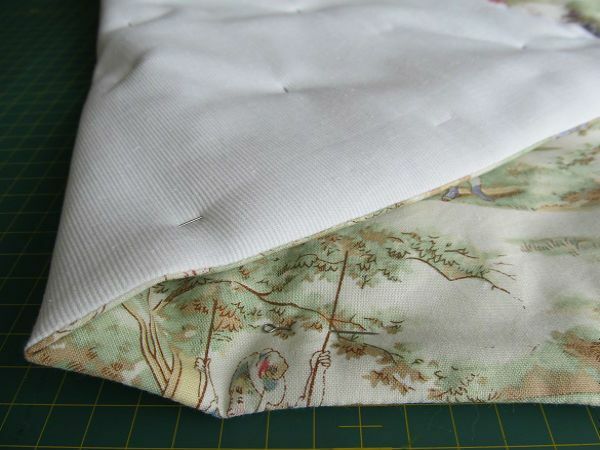
- Bottom edge of the two parts to sew from the wrong side and turn to the front. Such pieces need 2 pieces.
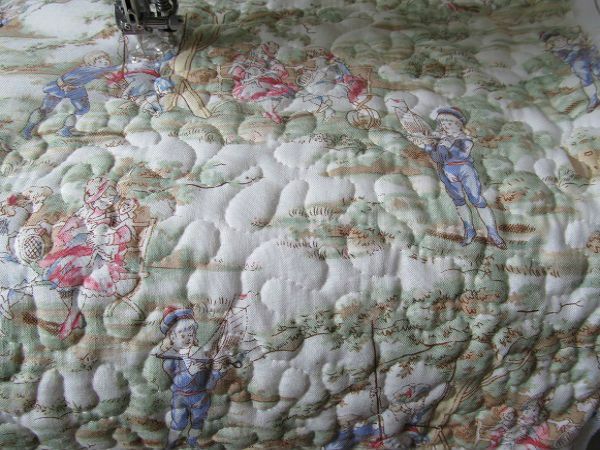
- Use a sewing machine to sew a zigzag stitch, the main fabric and lining together.
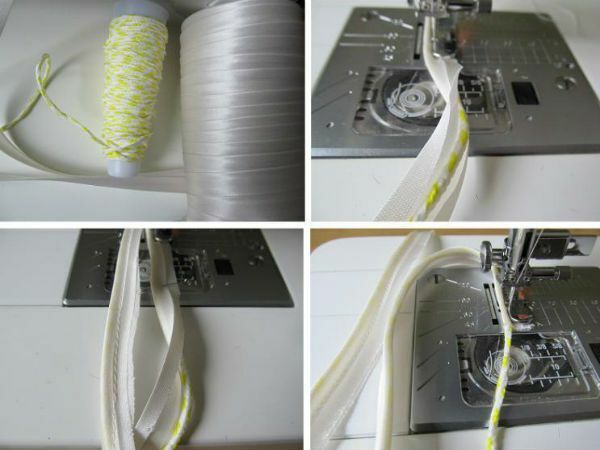
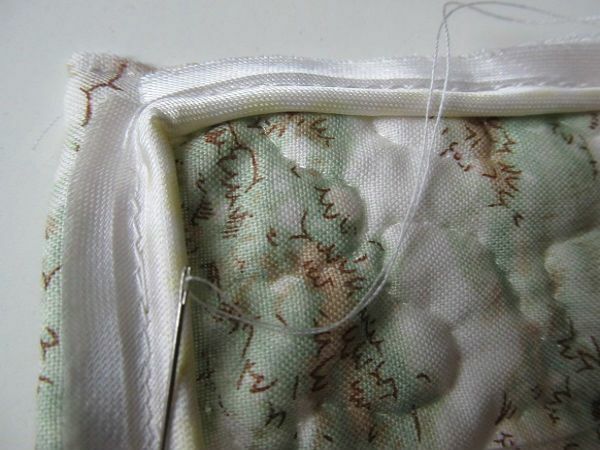
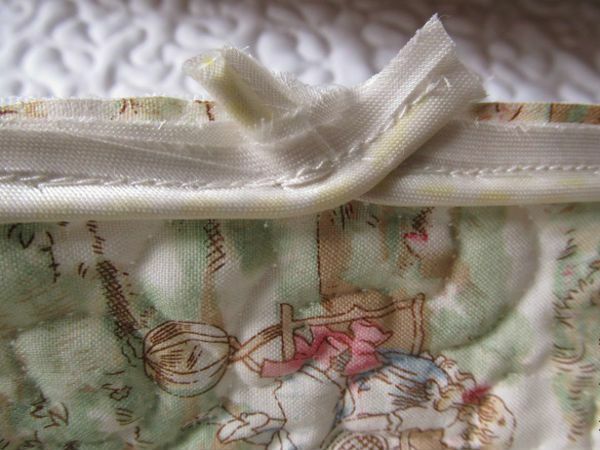
- Sew from the laundry rope and the bobbin case the fringing of the future cover by the circular size of the side parts.
- Embroider in the future cover prepared edging from the rope.
- Make edges of the rim cross crosswise.
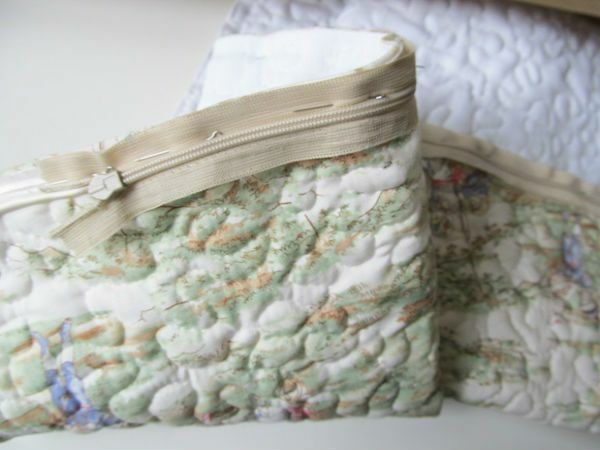
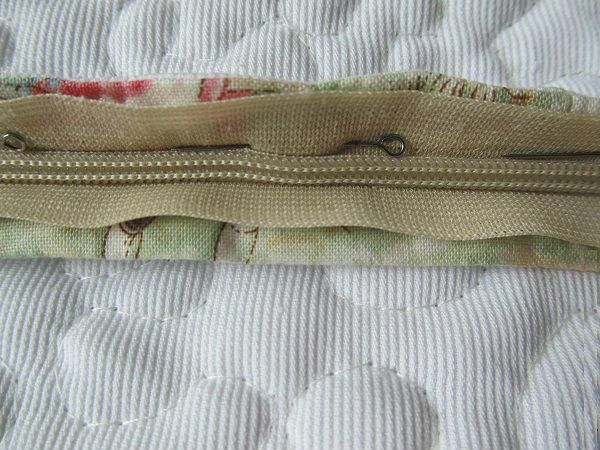
- Sweep the zipper to the cover in place of the desired fastener.
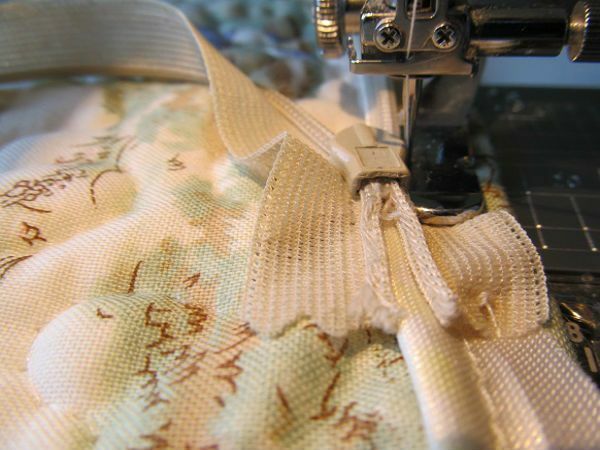
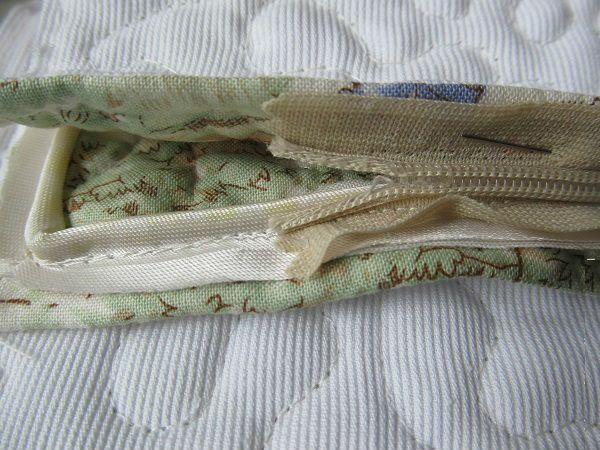
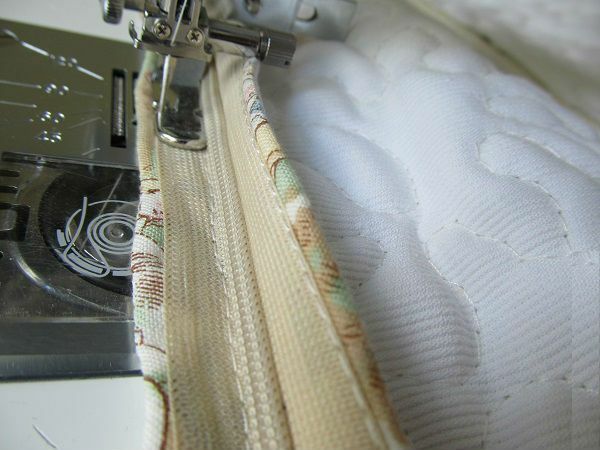
- Attach the zipper to the cover by overlapping the main seam on the bezel.
- The second part of the braid of lightning should be swept to the cover or fastened with textile needles.
- When one part of the zipper is sewn, you can see whether the cover fits in all corners.
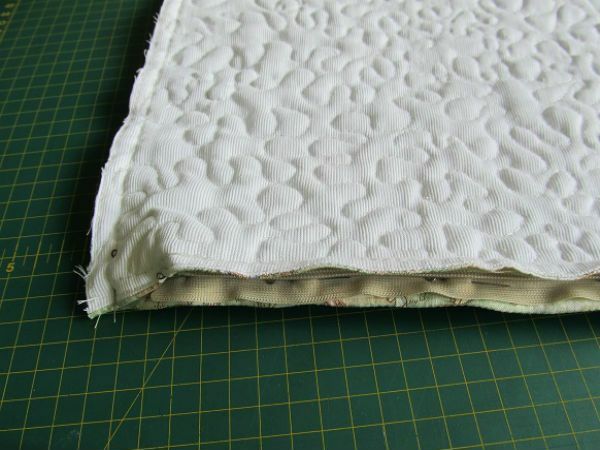
- If all angles are aligned, then attach the second edge of the zipper to the cover.
- Sew all the other parts of the cover to the trim.
- Remove the cover.
- Put the filler in the prepared cover and zip up. So, make the right amount of boards.
- We attach ribs to the cot.
Bead to the round bed
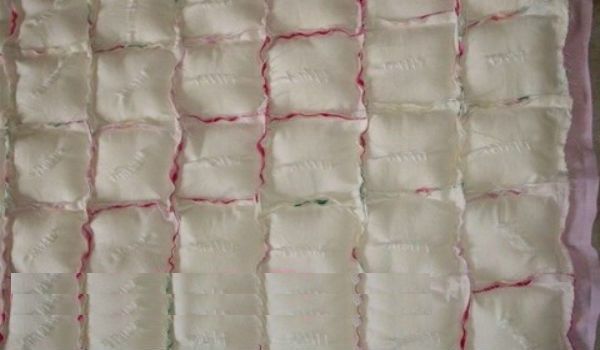
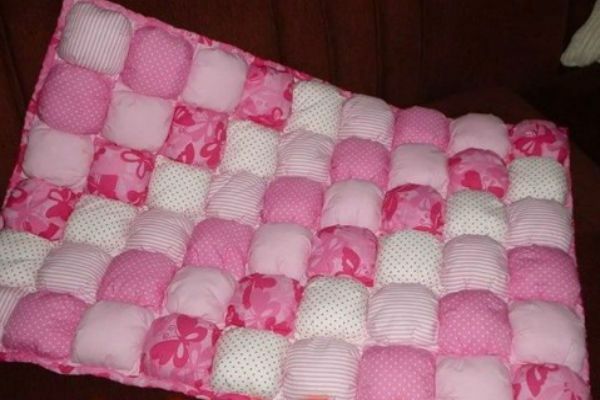
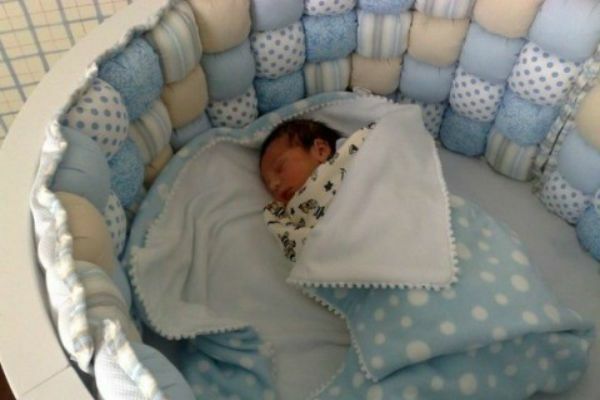
Required material:
- pieces of colored fabric;
- sintepon;
- textile needles;
- needle and thread;
- sewing machine;
- cloth for the back lining;
- scissors.
Tailoring Process:
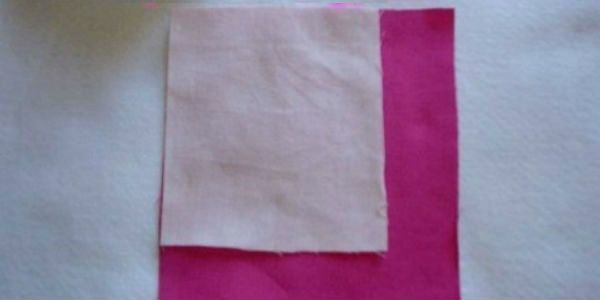
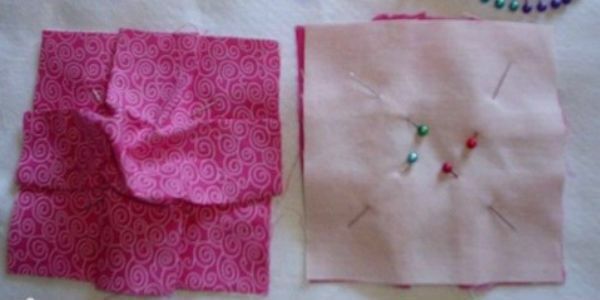
- Cut to 2 arbitrary sizes of a square( one square more than the second).
- Scrape( crumple) squares using textile pins.
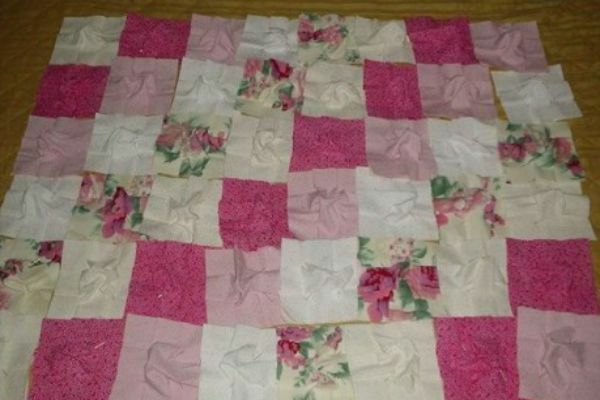
- Cut and chop into this way the desired number of squares in the size of the crib.
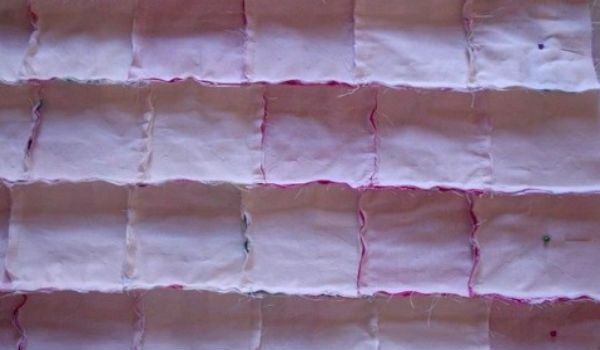
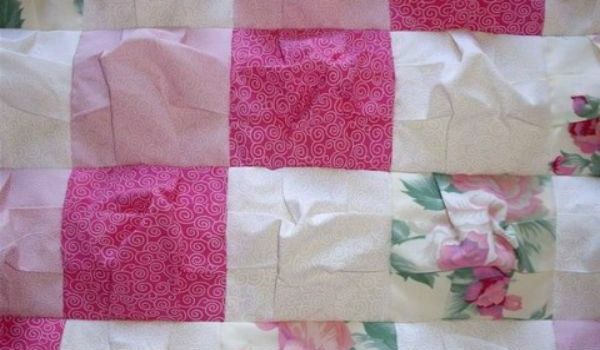
- Sew all the squares into one sheet and remove the needles.
- Fill the sector of the rim with the synthepon.
- Sew a lining fabric from the wrong side of the bead.
- To put the edge into the crib, he himself will take the form of a circle.
Cushion sideboards
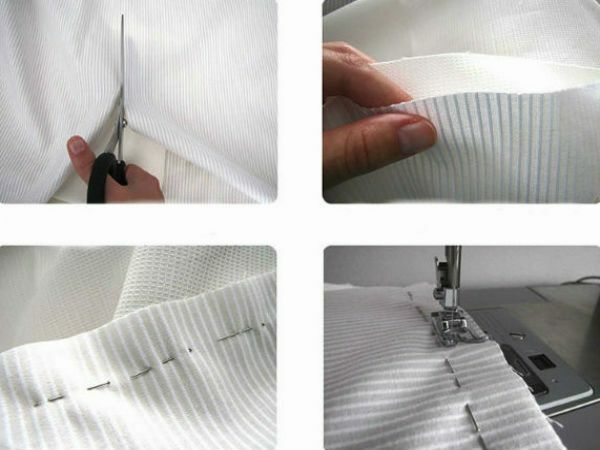
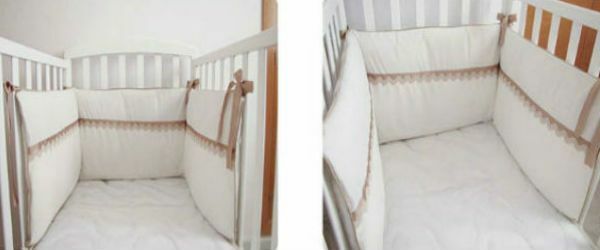
Required material:
- main fabric;
- plain backing fabric( cotton);
- long zipper;
- sewing machine;
- scissors;
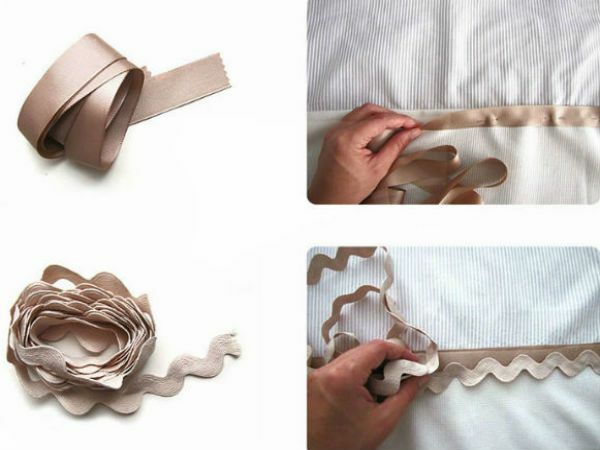
- tapes;
- needle and thread;
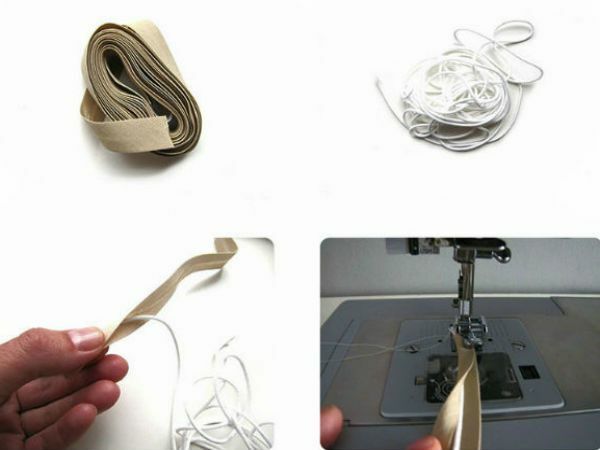
- underwear thin rope;
- bobbin beaker;
- the rim of the zigzag;
- foam rubber or sintepon.
Tailoring process:
Size for three fabric parts: the length of all is 185 centimeters;height of the main fabric - 45 centimeters;height of lining fabric - 30 centimeters;
The height of an additional piece of the main fabric is 15 centimeters.
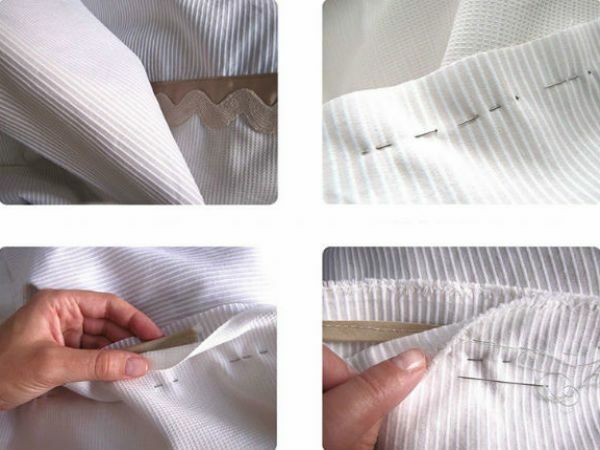
- Open details. Fold all the pieces together exactly. To sweep. Straighten according to the design.
- Sew a ribbon at the joint of the main fabric parts. Finish with zigzag edge.
- Bake and trim the clothesline to sew the fringing for the future cover.
- Sew the trim into the cover.
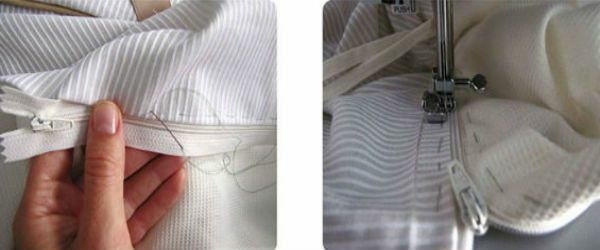
- Integrate the zipper around the bezel into the cushion cover.
- Unscrew the cover on the front side, insert the filler, fasten.
- Tie ribbons to the pillow-pillows to the bed grips.
