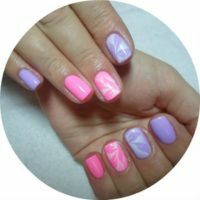
Required attribute of the external image of a woman - a quality and fashionable manicure. Rapid development of the nail industry promotes the introduction of new opportunities in creating unique images on nails. With the help of airbrushing, or airbrushing, a manicure is created in the form of an original painting, while you can master its technique even at home.
- Photos of work
- Kinds of airbrushing
- Materials for airbrushing
- How is airbrushing made
- Airbrushing without airbrush
Photos of works
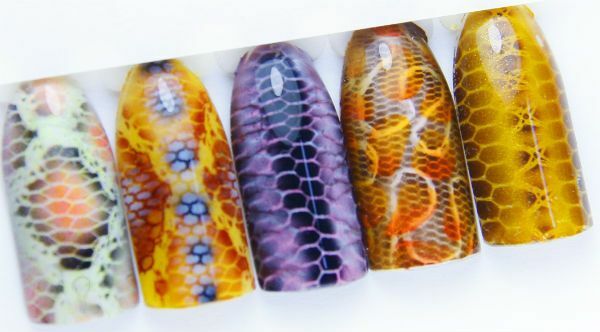
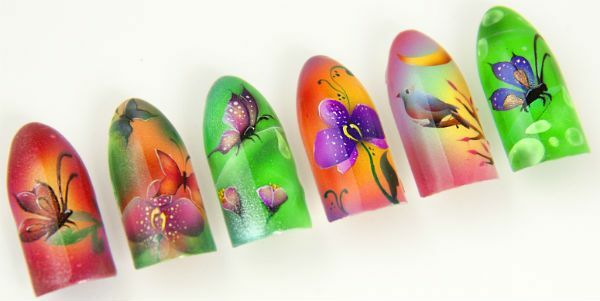
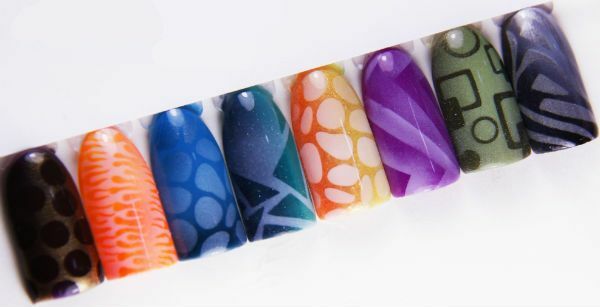
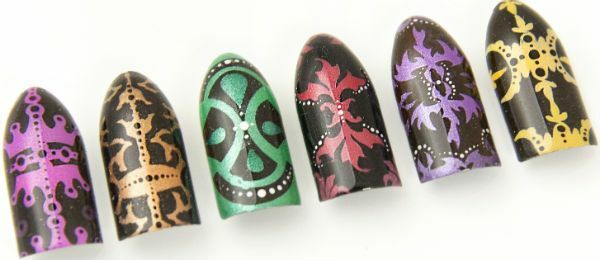
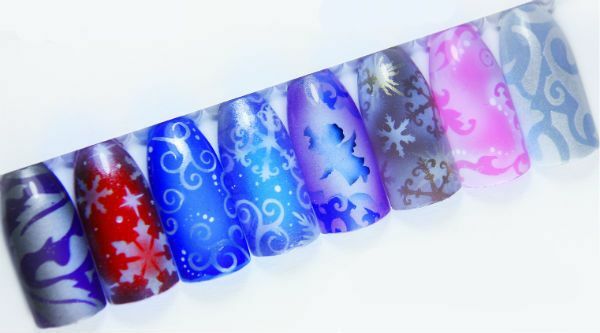
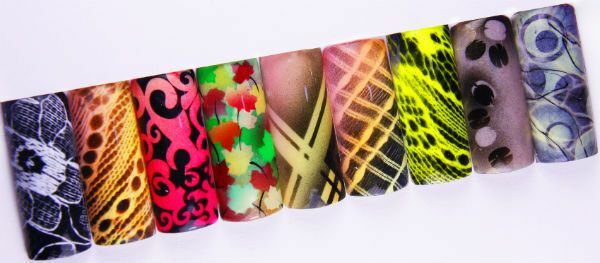
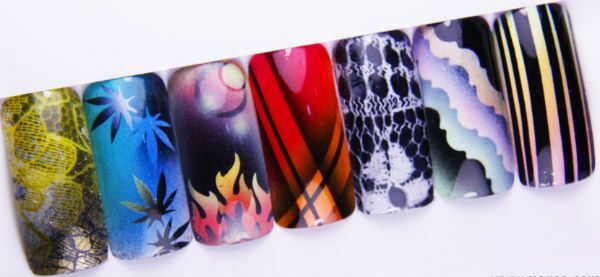
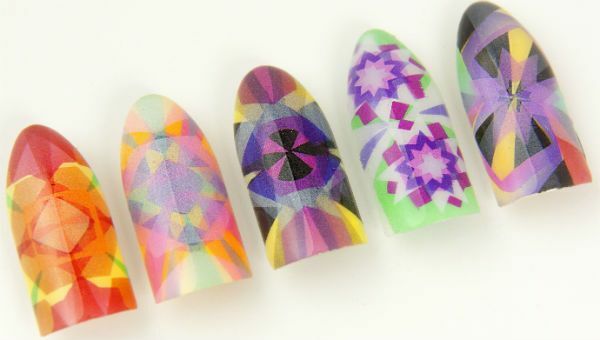
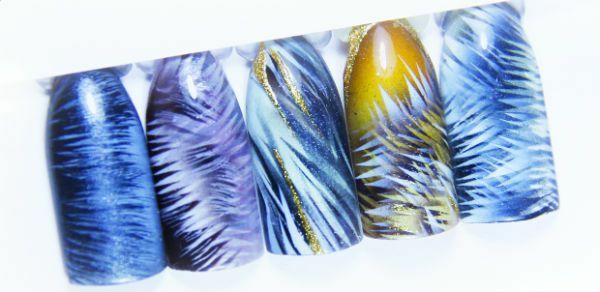
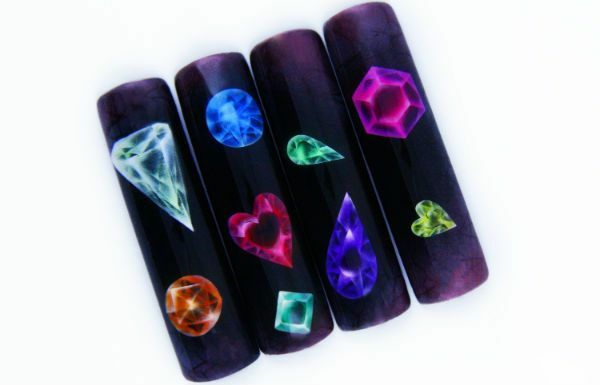
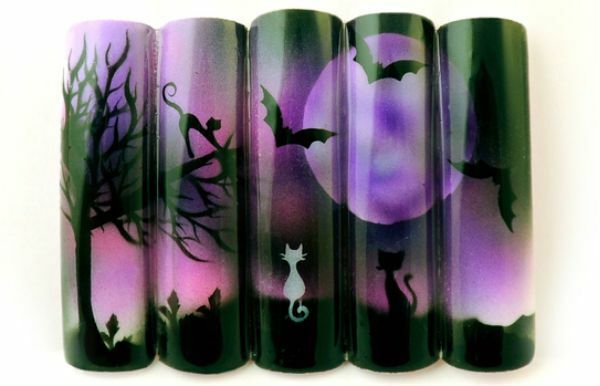
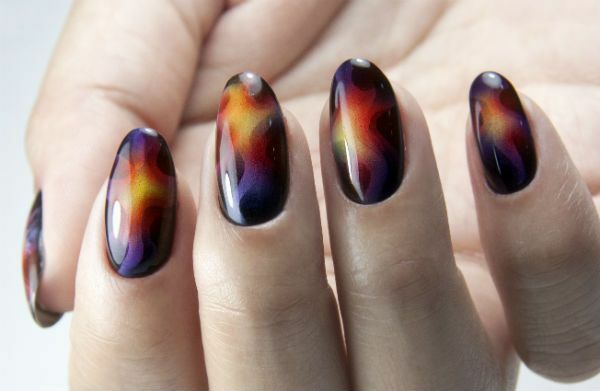
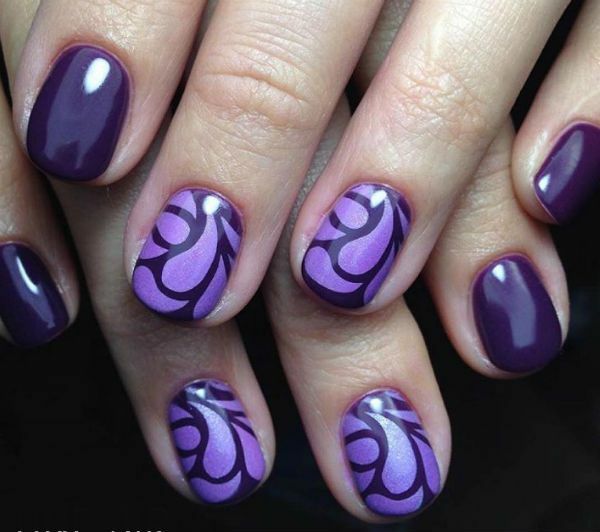
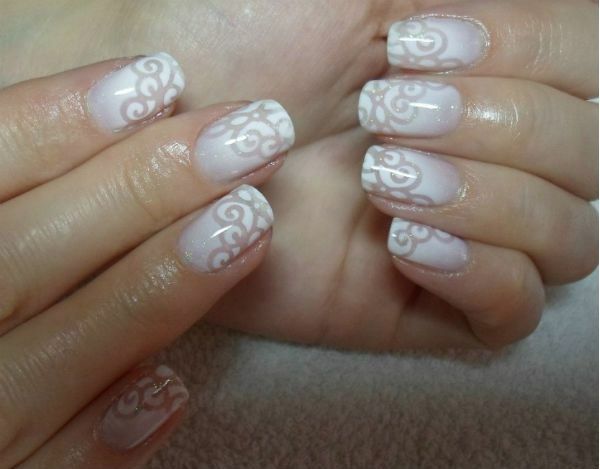
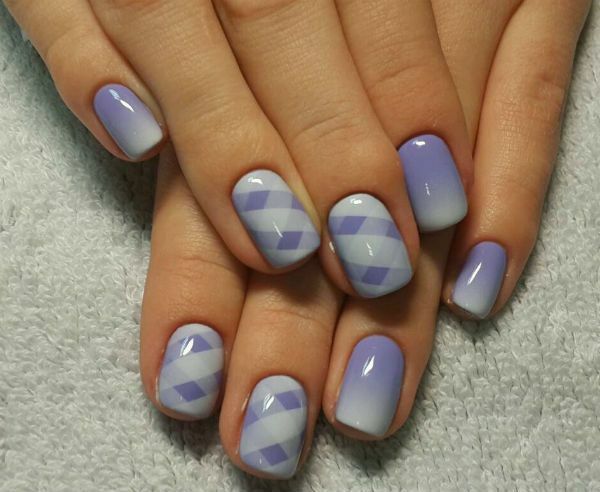
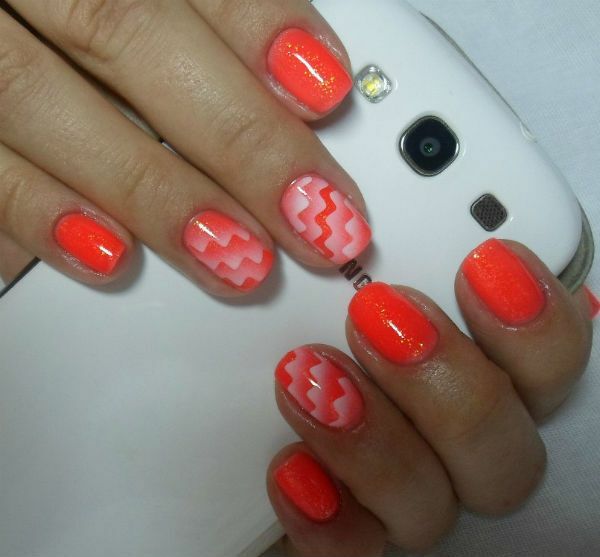
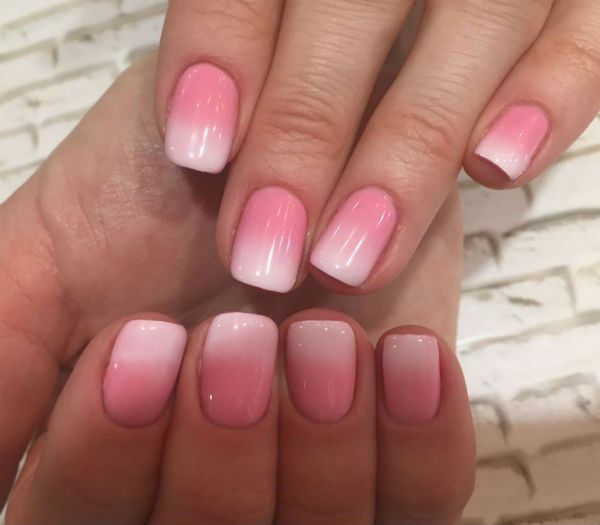
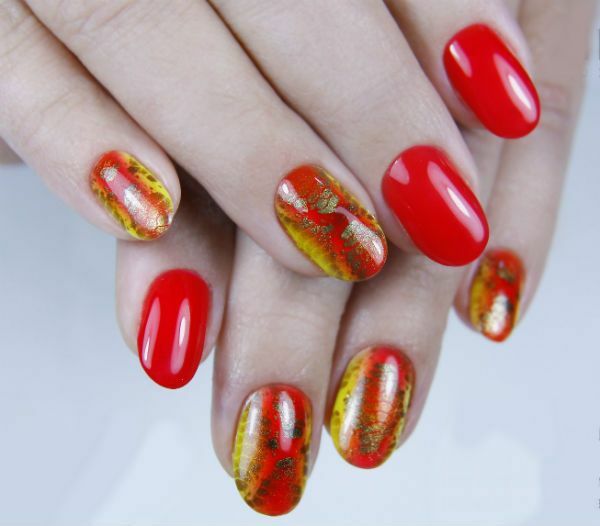
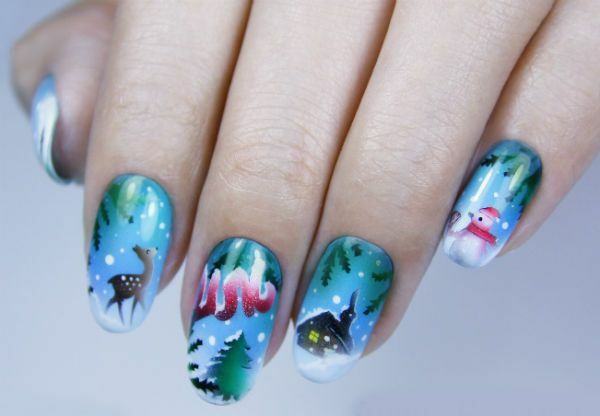
What is an airbrush
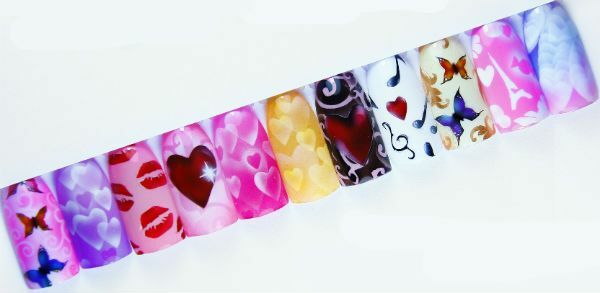
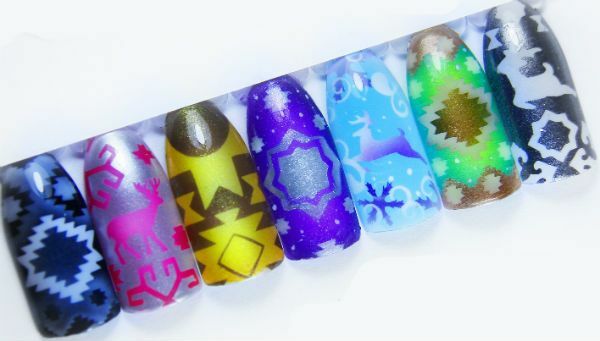
? To create artistic images on nails, the technology of automatic paint spraying is applied, thatis carried out by a special apparatus - an airbrush.
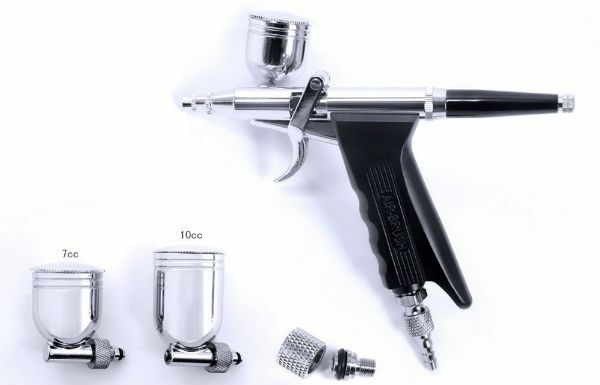
It is a gun with a paint tank, in addition, a compulsory set includes a compressor acting as a pump, as well as hoses connecting these two devices.
The mechanism of action is to inject already compressed air into the airbrush, where under the influence of pressure, the paint is sprayed onto the surface of the nail and a pattern is applied using various stencils.
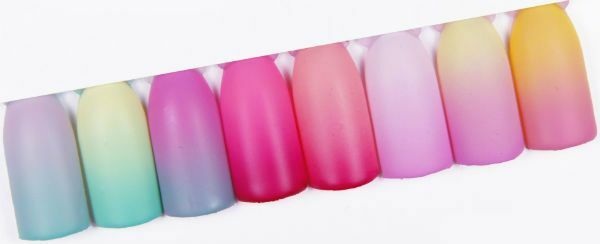
This device is able to create clear lines, geometric shapes, complex images, combine them. It is also used in the trendy direction of nail art - airbrush ombre on nails, or a gradient, the essence of which is the gradual transition of color from one shade to another.
Types of airbrushes
Airbrushes distinguish:
- According to the type of paint supply : in a simple airbrush, its flow is not regulated, therefore it is better to give preference to double, where by regulation it is possible to create lines of different thickness.
- According to the spray pattern: in some devices, air and paint mix only outside it, while others can be mixed inside the gun. The second option is more convenient, since it helps to create longer lines.
- By type of construction .The container for the paint can be on top, side, bottom - this is not of fundamental importance, but the preference is usually given to the upper location.
When choosing an airbrush, it is recommended to test its effect before buying, using water.
The following points deserve attention:
- Spread uniformity. This depends on the pressure created by the compressor. You can determine this by spraying the liquid on a paper - you should get a spot of a flat circle.
- Flare adjustment - this device monitors the pressure.
- Control of the paint supply.
- Easy and smooth operation.
- No drop of substance should remain on the needles and nozzle( the hole from which the paint is sprayed).
Materials for airbrushing
To get started, you need to purchase a set for airbrushing on nails.
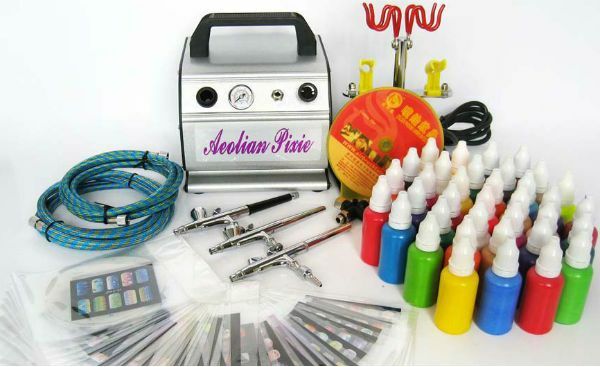
It usually includes:
- Airbrush, compressor, hose .Before starting work, you need to make sure that there are no paint residues from the previous procedures in the spray gun, for this it is enough to drive air to the paper sheet.
- Tipsy .Good use at the beginning of training for training, in the future - to test the design before applying to the nail plate.
- diluted acrylic paints for airbrushing on water-based nails.
- Acute tweezers .
- Gloves and mask .
- Stencils for airbrushing on nails. They are reusable or disposable, transparent and opaque, sold in sets and individually. Their huge variety: in the form of animals, flowers, geometric and abstract figures, laces for airbrushing on nails. Perhaps, to implement their own creative ideas. As a stencil, you can use plain paper scotch or real lace.
- Mat for cutting stencils .
- Paper towels .
How is aerography
made? Airgraphics is a technique that requires creativity and creative ideas, but at the same time cope withit can be a person who does not have artistic skills.
The initial stage of preparation for work will be refueling the airbrush with paint. Its consistency should be like milk, so that the spray does not clog the nozzle. It is necessary to avoid excess paint, the excess can be removed with a paper towel.
Nails should also be prepared for airbrushing. For this, a standard edging manicure is done, the nail area is degreased, a varnish base is applied.
Next, you can proceed to the very procedure of airbrushing.
- On the nail plate using an airbrush, apply one coat of paint with the color of the main background. You need to let it dry out.
- Afterwards a stencil is applied to the surface of the nail, and again the spray gun is applied with a chosen intensity.
- If necessary, you can correct or strengthen the picture using special brushes, lacquer, dots.
- Additional decoration is possible with rhinestones, foil, sequins, colored sand, stickers and so on.
- To complete the manicure on the nails you need to apply a finishing fastening layer.
When conducting airbrushing it is recommended to pay attention to the following nuances:
- When working with an airbrush for nails, the hand of the master should not stop, otherwise the result will be a bright spot on the nail.
- The closer the spray to the nail plate, the thinner and more precise the line.
- When the airbrush is removed from the nail, the lines become wider and the coating becomes more blurred, scattered.
- If you want to give the color more intensity, you should slow down the hand when spraying.
- At each change of color and after staining, the airbrush needs to be washed, for this purpose special means can be purchased.
- It is better for beginners at the first lessons to use simple colors and start with simple patterns, it is desirable to practice initially on tips before applying the image to the nail.
- If the manicure is poorly maintained, you need to pay attention to the technology of its conduct and preparation. You need to know the main points, how to fix the airbrushing on the nails. Before the procedure, it is necessary to degrease the area of the nail plate. In addition, when coating layers are applied, it is necessary to wait for them to dry completely. At the end, the fixing compound is applied. After the procedure, for some time you should avoid contact with water and detergents( at least 2-3 hours).This can also be the reason why airbrushing departs on the nails.
With the successful teaching of this technique, the murals in the future can be used to create more complex designs, combine patterns. Suggest ideas will help numerous videos on Internet resources, starting from which, you can come up with your own unique style. For example, a manicure is popular, where every fingernail is part of the overall picture.
to table of contents ^Airbrushing without airbrush
Aerography has become fashionable in the nail industry relatively recently. A manicure like it has existed for a long time, but using the device for spraying the ink has greatly simplified the process of its creation and improved the quality. However, applying a beautiful painting on the nails is possible without the help of an airbrush, for example:
- Creation of drawings with a needle. The essence of this method is to apply the points of the nail varnish to the main background and, until it is dry, stretching and giving it a needle of various patterns.
- Create an ombre effect with a foam sponge. On the base color with the help of sponge, changing the intensity of pressure, a contrasting shade is applied.
- Painting with a brush. To create images, brushes of different sizes and acrylic paints are used.
- Use of stencils( stamping of nail art).As with airbrushing, the lacquer is applied using a stencil, but with a normal brush, without a spray.
- Application of various varnishes that create patterns. These include halogen, craquel, magnetic, holographic, fluorescent, thermolacs, and so on, which form the design already when applied and dried.
