

It has long been noticed that a gift made for oneself by a close friend will be more important than a bought thing. In this presentation, more sincerity, attention and warmth. Yes, and he will be remembered for life. This master class is devoted to several lessons on creating original gifts for girlfriends, which can be presented both on the day of birth or on March 8, and on other solemn events.
- Notepad in the technique of sapbooking
- Foamiran necklace
- Bath salt
- Fragrant candle
Notepad in technology srabooking
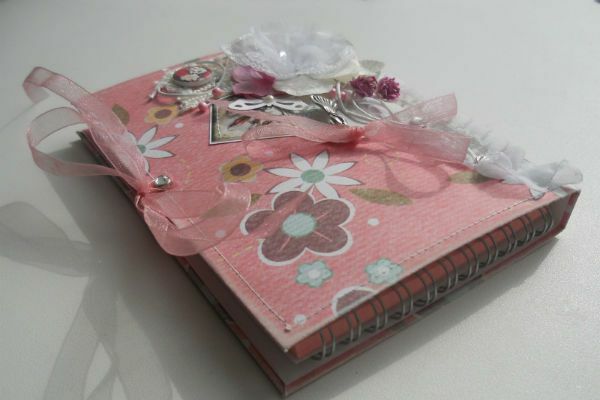
Diary can generally become a universal gift, because it can be designed in many styles. To create the design of this example you need:
- medium-density paper or cardboard,
- scrap paper,
- glue,
- sewing accessories,
- satin or kapron tape,
- punch,
- various decor material.
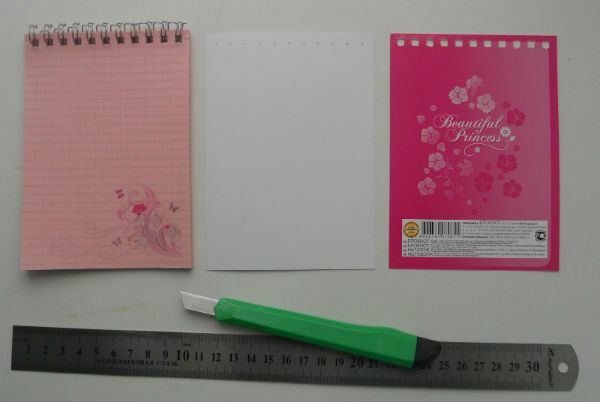
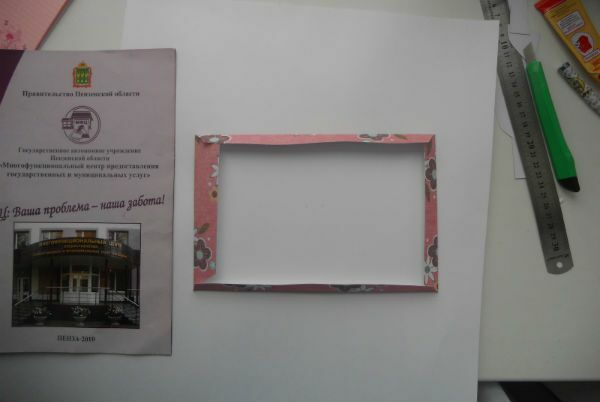
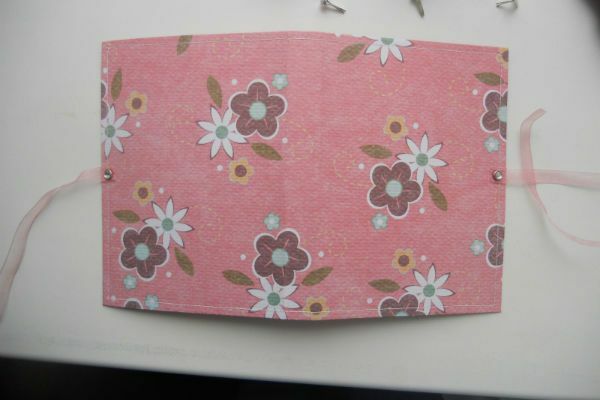
Step 1. Remove the cover. Carefully remove the original cover by unrolling the springs. After that, cut out a cardboard or heavy paper rectangle, the size of which is equal to the removed cover.
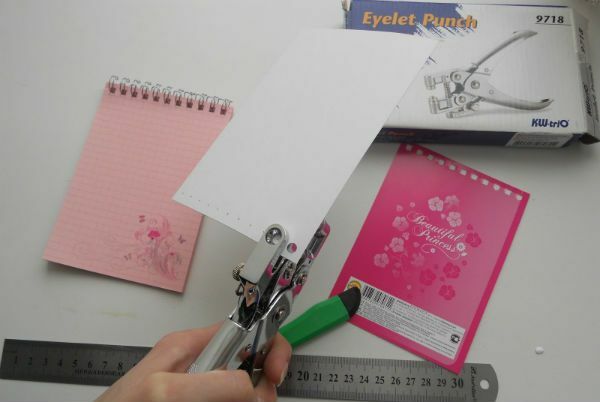
Step 2. Decorate the original cover. It must be glued to the carved rectangle, thereby sealing it. Make a hole hole and again add the cover to the spring.
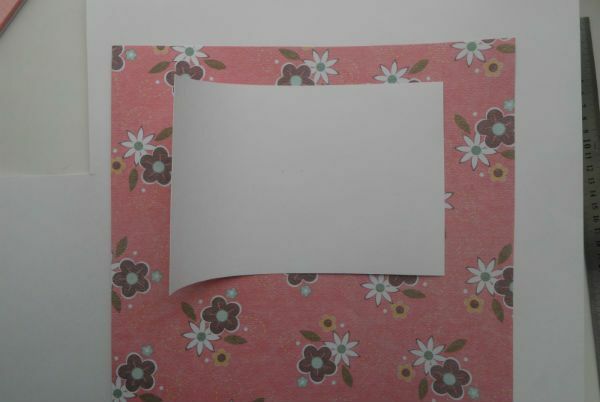
Step 3. We form the main cover. Now, separately, you need to make a book cover for a notebook. It will consist of heavy paper and scrap paper.
Thick paper will go inwards, and scrap paper should be started in advance, as if wrapping tight paper.
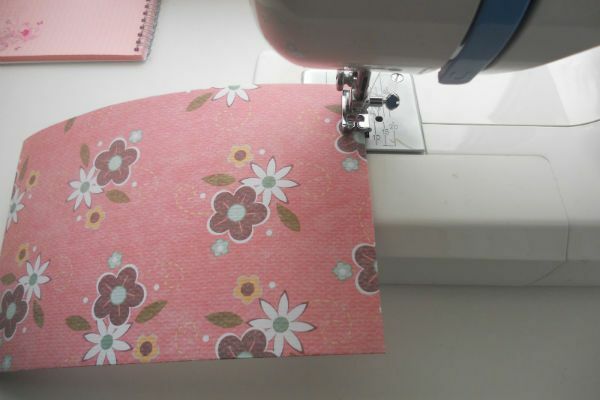
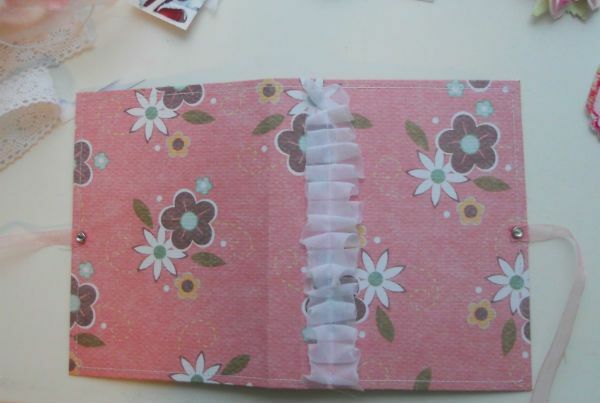
These two elements must be sewn and marked with stitches.
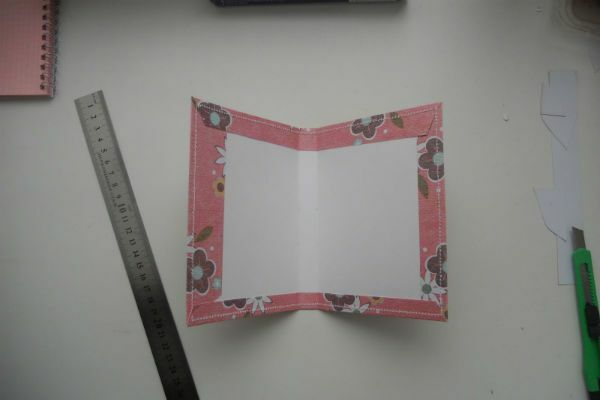
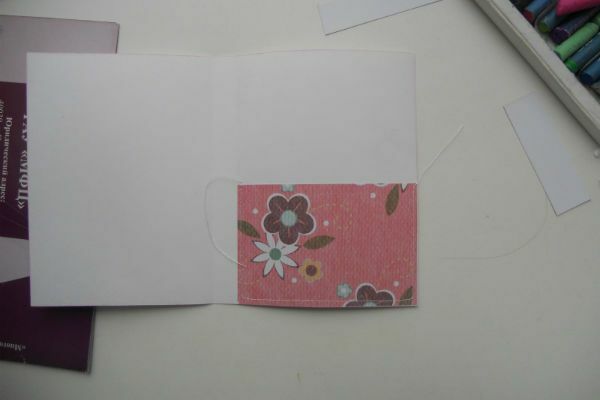
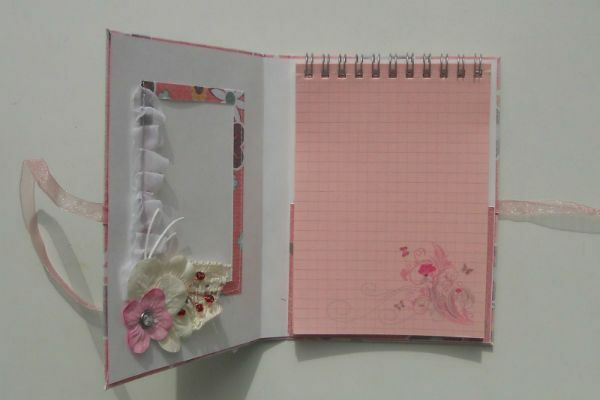
Step 4. Attach the notepad. To insert a notebook in the book cover, from the scrap of paper residues make a rectangle and paste it inside the book cover, forming a pocket so that a notepad is inserted into it.
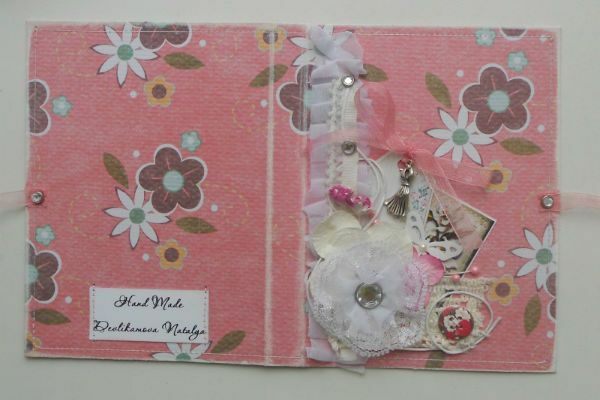
Step 5. Decorate. First, make holes for the tape-ties, so that the notebook can be tied. After that add the decor material, placing it at your discretion.
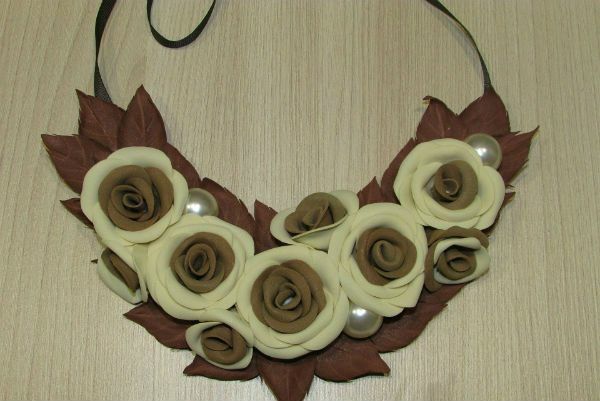
Foamiran necklace
To create such a necklace from the foyimir you will need:
- foiaran( in this example, chocolate, milk and coffee colors);
- tight felt;
- glue;
- iron;
- scissors;
- toothpick or needle;
- cotton swabs;
- stationery knife;
- rep. Tape.
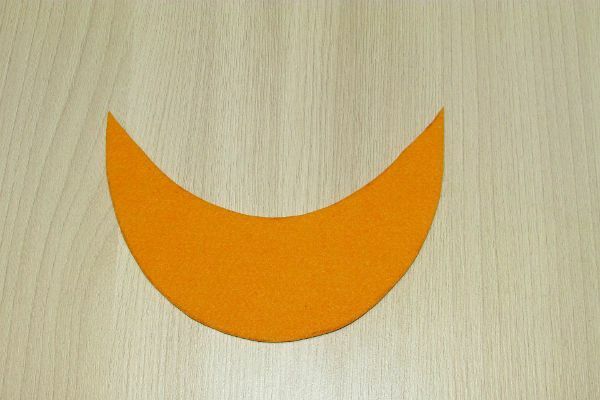
The first stage in the creation of the necklace is the preparation of the basis to which all the decorative material will be attached.
From paper you need to cut out a pattern, which after transferring to a dense felt. Dense felt will help the product to keep its shape. In order to make the necklace symmetrical and neat, try on a pattern to the neck.
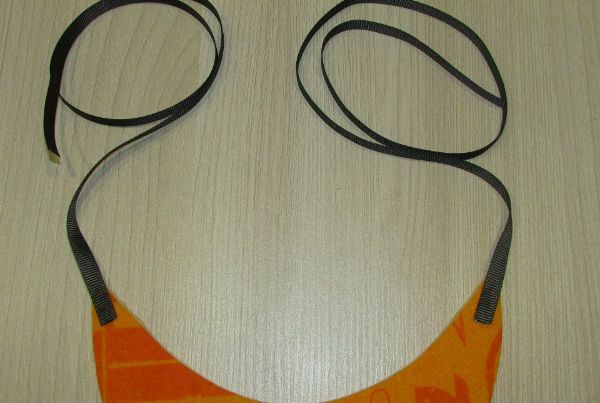
Immediately to the basis of felt we attach the rep ribbon( you can choose different kinds of chains, leather bands and stuff).
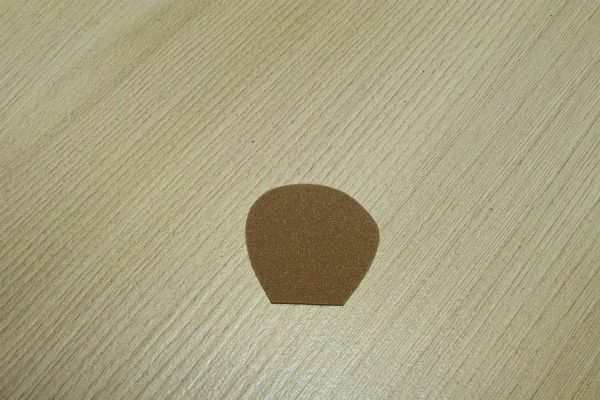
The second stage in the creation of the necklace is the preparation of petals of flowers and leaves from the fameirana.
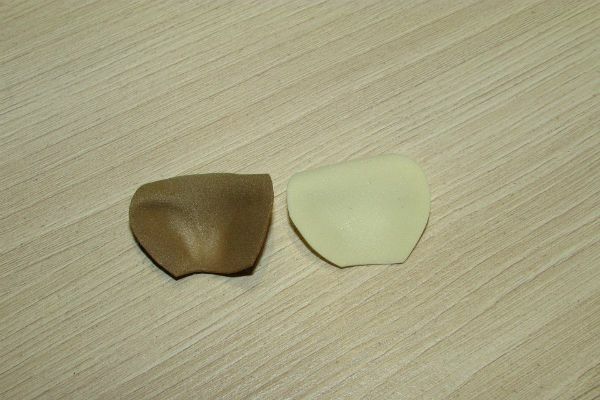
From foyamirana coffee and milk color, you need to cut the workpiece 2 to 1.5 centimeters, and from the chocolate - rectangles 4 to 2 centimeters.
Cut out the blanks from the cut pieces, as shown in the picture.
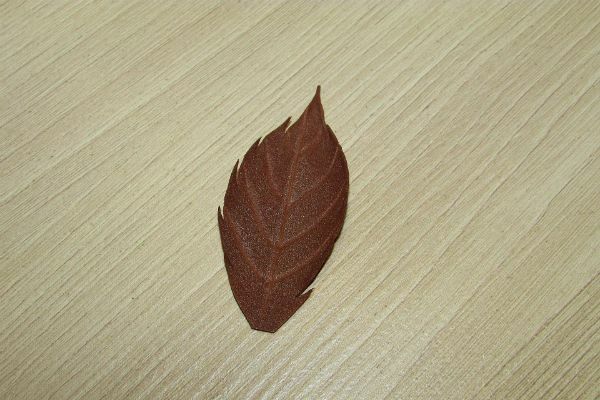
And from the rectangles we cut out the leaves. The edges of the leaves are made with thread carvings.
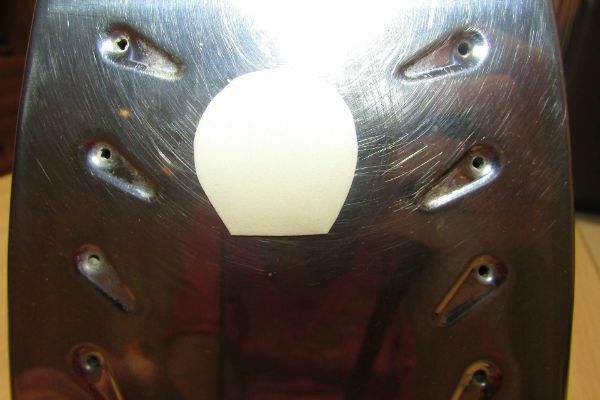
The third step in creating a necklace is the processing of all parts by heat( iron).
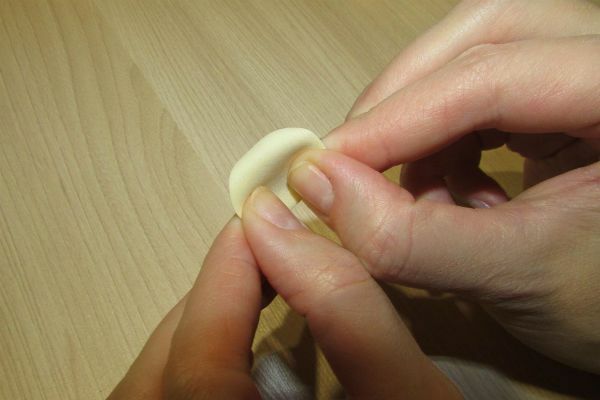
When the petal is processed with heat and has not yet cooled down, you need to twist it and bend it, as shown in the picture. So work out each petal.

When we treat the heat of the leaves with a toothpick or a needle on the heated foamire, draw the veins of the leaf.
The fourth and final stage in the creation of a necklace is the assembly of the main composition.
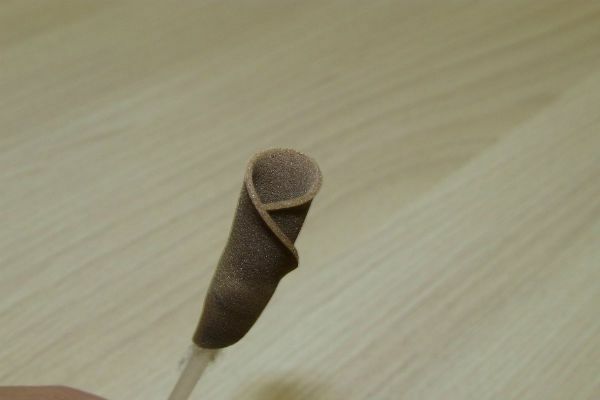
We start with the help of a cotton swab to form flowers. Twist the central petal and fix it with glue. All the petals are glued in staggered order.
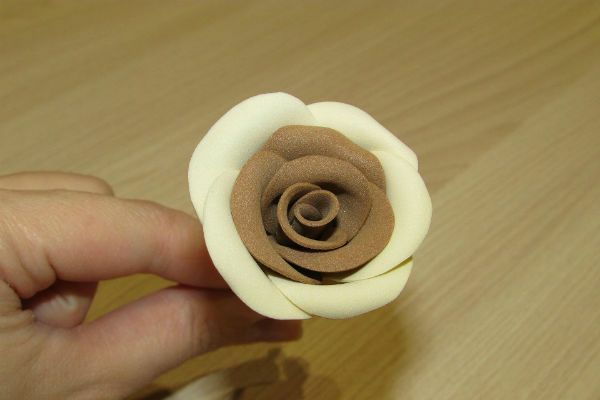
So you need to make as many colors as you want to attach to the necklace. The size of the flowers can be just as diverse. You can repeat the entire master class, or you can create your own individual variant.
When the flower is finished, you need to cut off the excess part of the cotton swab with a clerical knife.

Composition is formed from all the ready-made flowers and leaves, it is preliminary worth simply attaching flowers to their future places. Do not rush to glue at once, because then it is more difficult to correct mistakes.
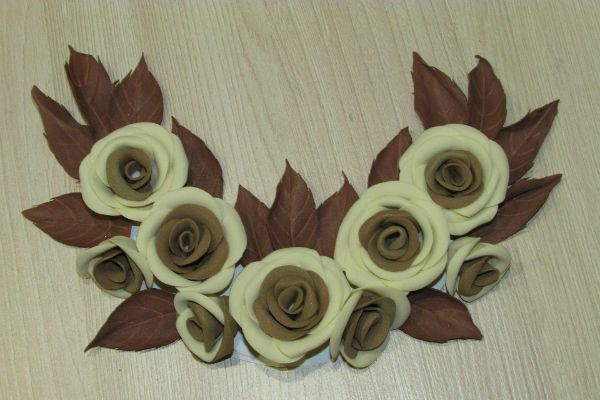
Gaps in the general picture can be decorated with any materials( beads, stamens, rhinestones and stuff).With the help of rhinestones on all colors, you can create droplets of dew.
Such a wonderful necklace will become a very original gift to a friend for a wedding.
to contents ^Bath salt
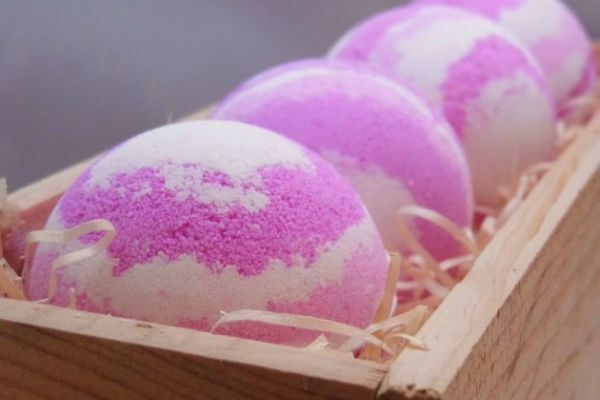
We bring to your attention a master class on creating "bombs" for a bath of the simplest kitchen ingredients.
We will need a number of ingredients and equipment.
Hardware:
- kitchen weights;
- rubber gloves for protecting the skin of hands;
- eye protection glasses;
- kitchen sieve for sieving the mixture;
- gauze dressing for mouth and respiratory protection;
- vessel for mixing all ingredients;
- sprayer with cold water;
- Molds for forming a mixture.
Necessary ingredients:
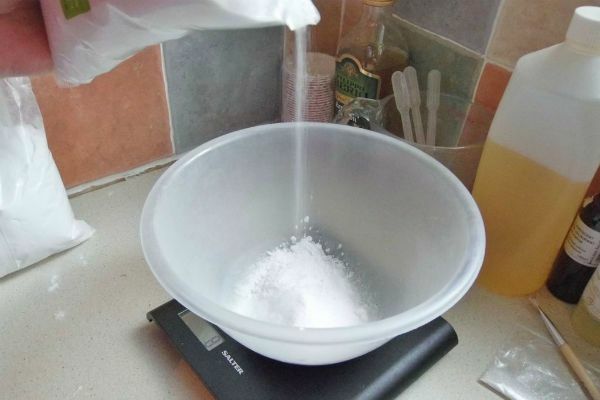
- 300 grams of fine soda or salt;
- 150 grams of citric acid;
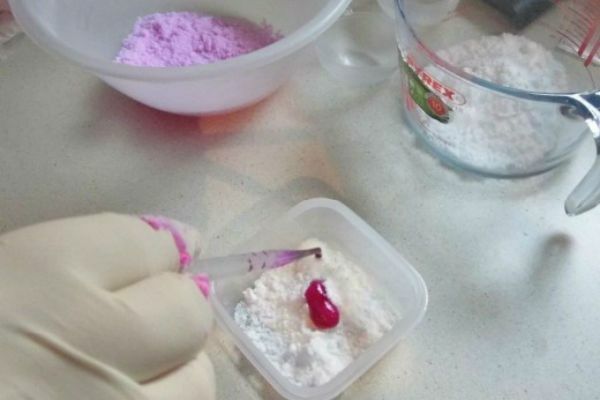
- food colors of the desired colors;
- 5 milliliters of aromatic or cosmetic oil( you can take simple table oils - olive, grape, sunflower).
It is best to make the data of "bombs" of small sizes, so that the mass is tight.
Soda or salt sift into a container through a sieve to get rid of all possible lumps.
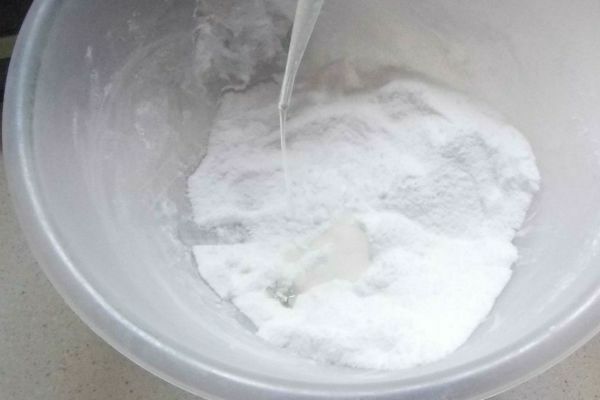
Add to the main ingredient citric acid. Mix the loose components together.
Add to the loose oil mixture. If the mass in this process hisses, it must be mixed very quickly.
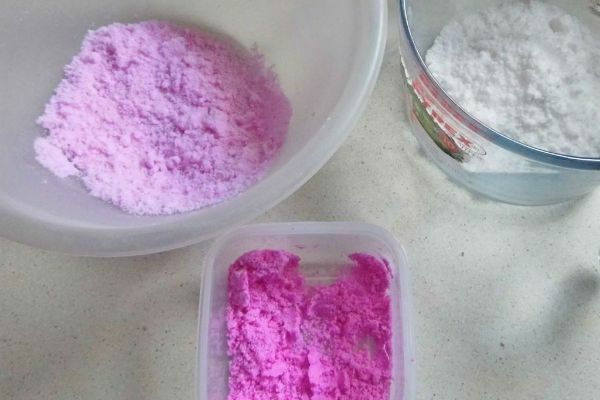
In this master-class the mixture is multicolored, you can make it monochrome or in tons selected yourself.
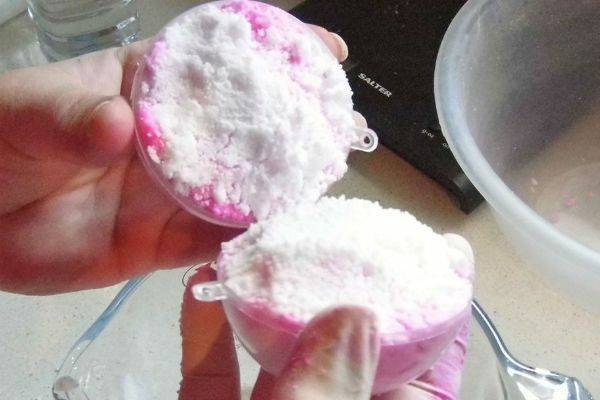
Divide the mixture into several containers, if there is not one color. Proceed to staining. It is necessary to interfere with the mixture with hands until it all becomes a homogeneous tone. Still need to try to do everything very quickly, so that the mixture does not settle and damp.

Use a sprinkler to add water, so that the mixture is kept together when stuccoing, but do not be too zealous. When a large amount of liquid is received, the mixture can begin to be shot, and in the end result simply to flow.
Fill in the desired pre-selected molds with the prepared mass. Wait until the mixture is tightly caked before removing it from the mold.
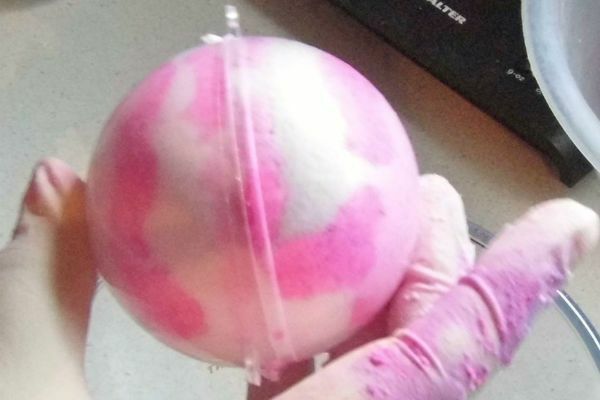
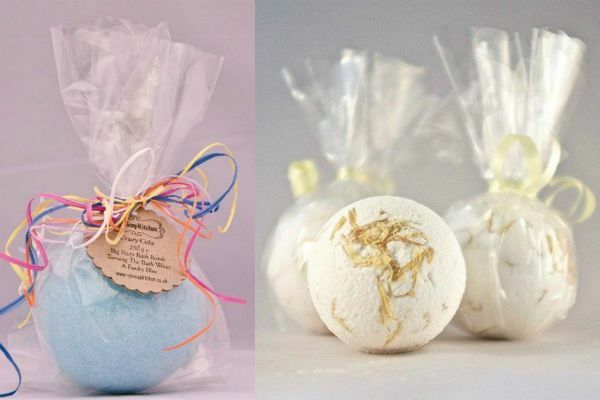
Leave the "bombs" removed from the molds for several hours to dry in a dry and warm place, then place them in gift wrapping.
Scented candle
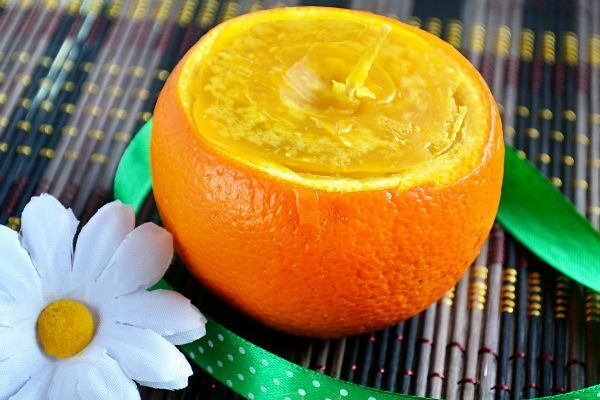
We offer you a detailed description of the creation of an aromatic candle in an orange.

Required Materials:
- paraffin candle( for a large orange it may take several);
- cutting board;
- sharp kitchen knife;
- wooden sticks or skewers;
- orange;
- fragrances( cinnamon, cloves, cardamom, rosemary and so on of your choice);
- design for water bath;
- teaspoon;
- metal dish, which will not be discarded( paraffin is not washed and not cleaned).
With candles, cut off all paraffin with a sharp knife, without damaging the core( wick).
Paraffin mode into pieces and add it to a metal container.
Put the paraffin to melt into a water bath.
When the paraffin melts, add the previously prepared flavors to it. Mix the mass with a wooden stick.
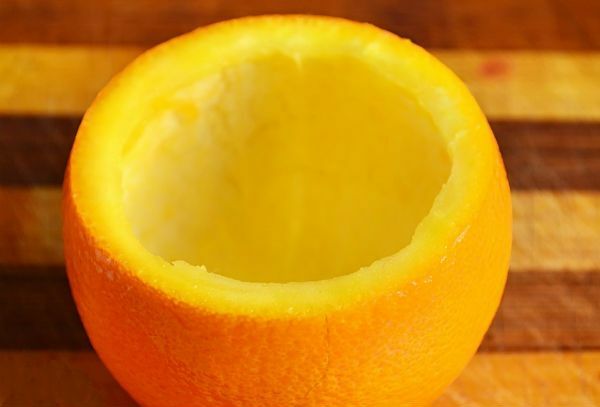
Cut the top( cap) from the orange.
Clean out the whole pulp from the orange with a teaspoon. Do everything very carefully, so as not to damage the future cup of orange peel.
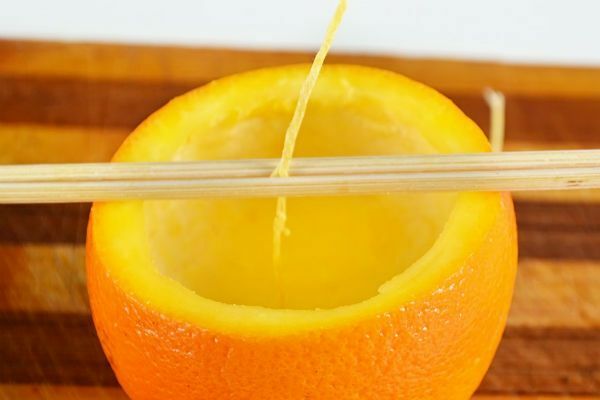
In the center of the received cup with the help of wooden sticks we insert the wick of the candle.
Fill the fragrant paraffin in the orange cup.
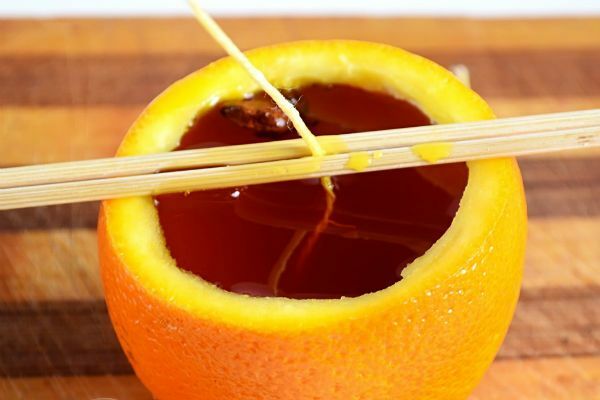
In the process of solidification, paraffin wax will settle, so it will be necessary to top up it several times.
Such a candle will become a very creative and fun gift for or just from the heart.