
Foil crafts are popular because they are absolutely not difficult to make, and they look terrific. Creating crafts will be an excellent occasion for a joint pastime of the whole family. Creation of such unusual things can interest both the smallest members of the family and adults. And the result will be an excellent decorative decoration that can fit into the home interior or make an unusual gift.
- Candlestick
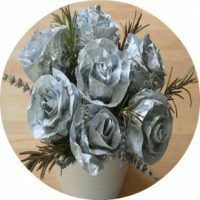
- Rose
- Antique effect
- Foil background
- Butterfly scrapbook
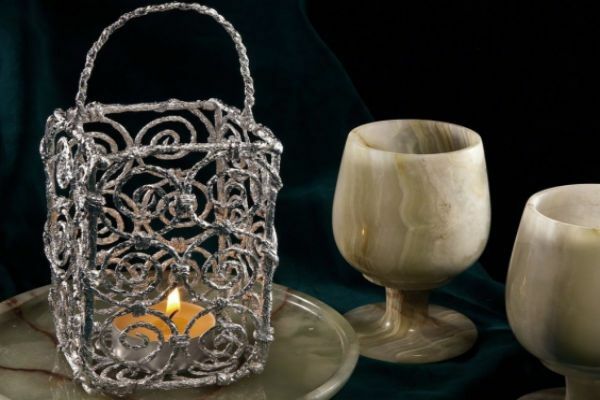
Candlestick
Required material:
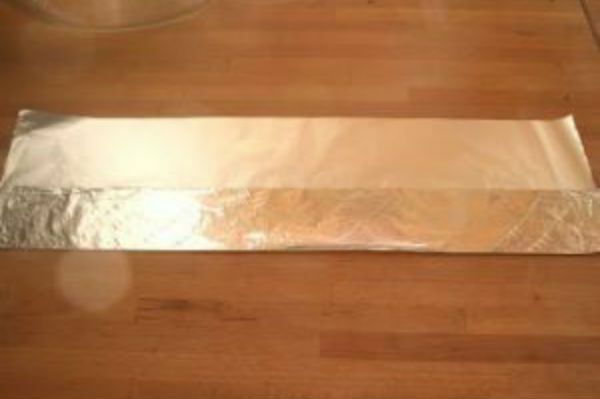
- foil measuring 200 centimeters by 21 centimeters;
- white cardboard;
- ruler;
- scissors;
- pencil.
From cardboard we will produce a template-ruler measuring 21 centimeters by 3 centimeters. The width of this ruler will be cut strips.
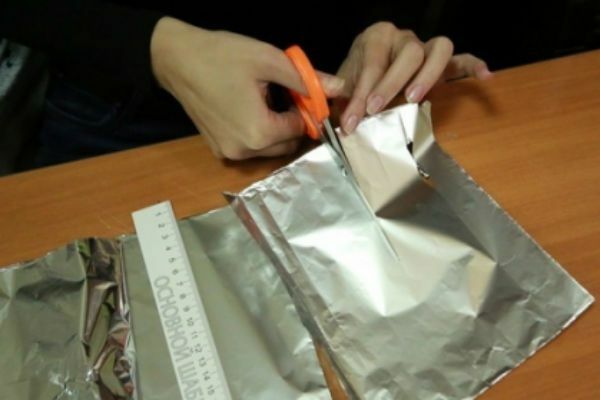
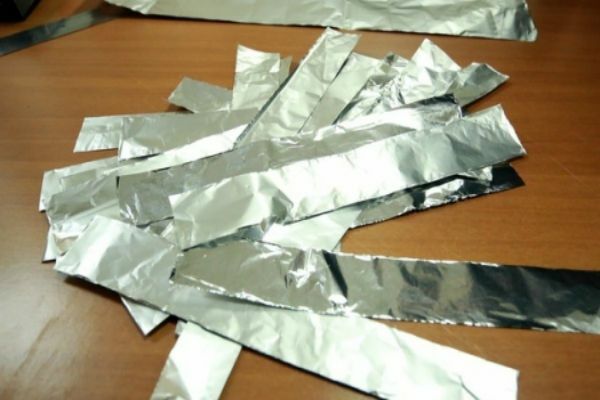
From the foil we cut 6 strips 21 centimeters by 9 centimeters.
The rest of the foil is measured by strips according to the size of the template.
We cut the strips neatly, trying to maintain the integrity of the foil.
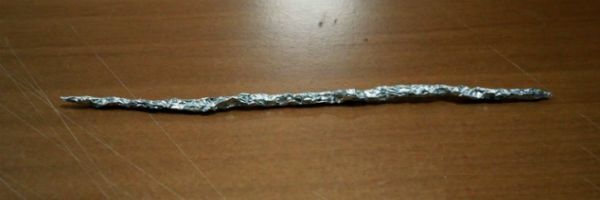
From thin strips we twist flagella( crumple and roll like "sausage").
For the skeleton of our torch we twist the same sausages from wide strips of foil.
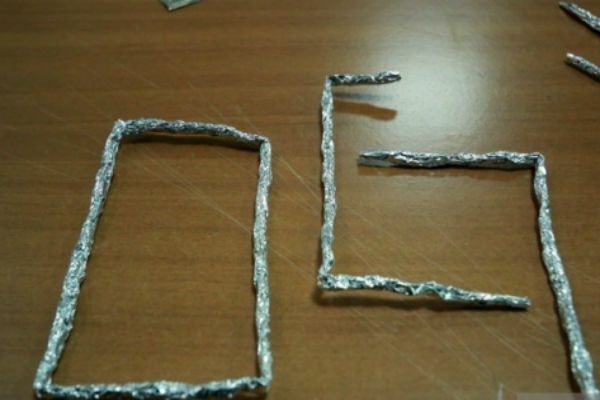
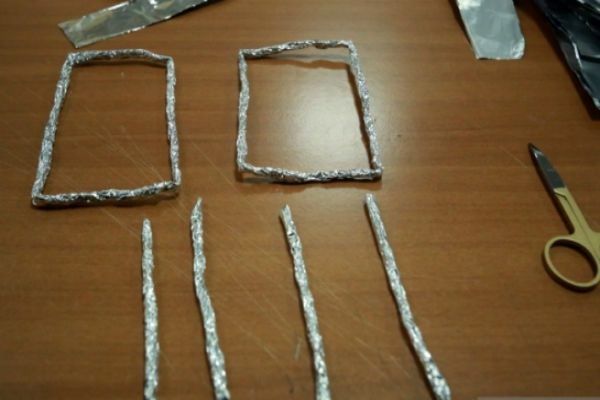
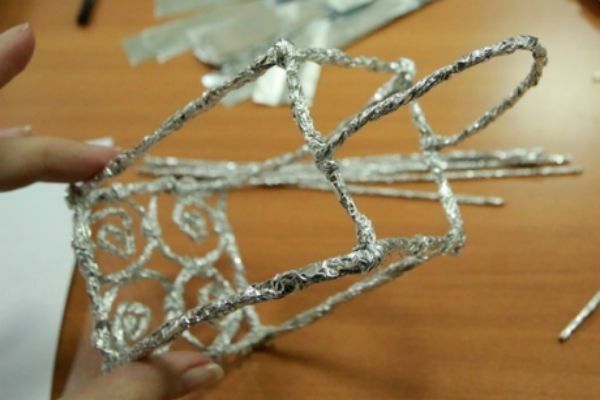
Make skeleton:
- Take a thick flagellum, retreat from the edge of 6.5 centimeters and make a right angle bend. After 10 centimeters from the bend, we make one more.
- By the same principle, bend one more wire and connect them together.
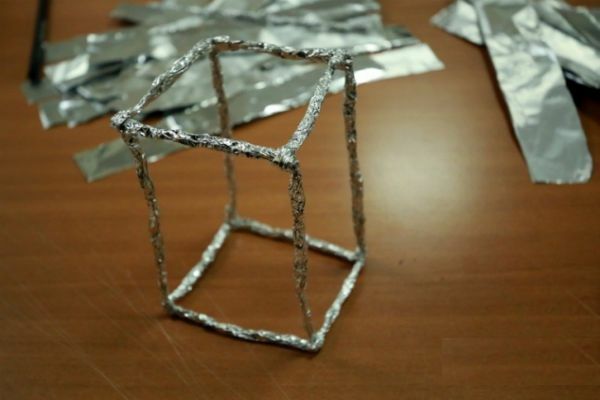
- There are two such rectangles.
- Two thick flagella that are left, divided into two identical parts and cut. These halves need to fix our rectangles, attaching them to the tops.
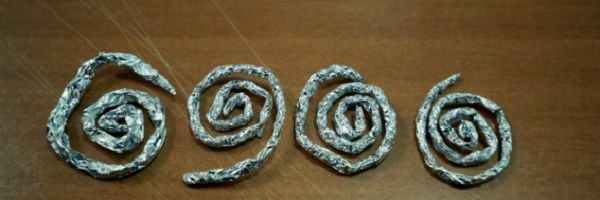
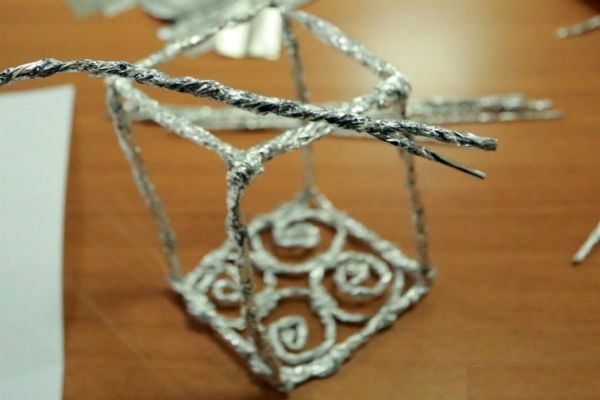
After the frame is ready to decorate it. To do this, out of thin flagella make 4 spirals 3 cm in diameter. To make fasteners for spiral, it is necessary to cut 2 flagella into 6 identical parts.
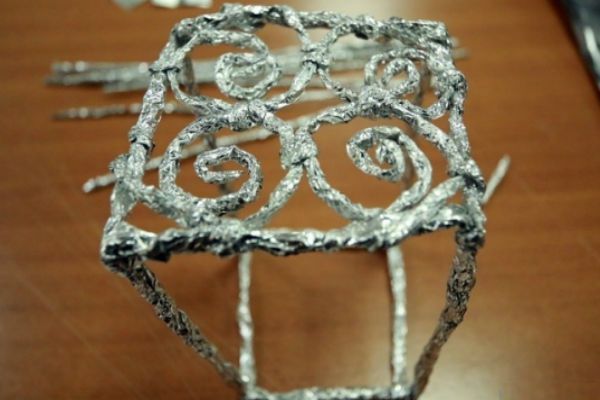
One of the square faces of the skeleton is chosen by the bottom. To the bottom it is necessary to attach all 4 spirals previously prepared by fasteners.
For the handle of the flashlight you need to twist two thin flagellates between each other, leaving the edges( not more than 1.5 centimeters) free. We fix the handle on the square opposite from the bottom.
We make spirals from thin flagella and adorn them with the walls of a flashlight in the same way as the bottom was decorated. On one wall you need 6 flagella. The surface with a handle is not necessary to decorate.
After the flashlight's decoration is over, you can put a small candle inside and enjoy its beauty.
Rose

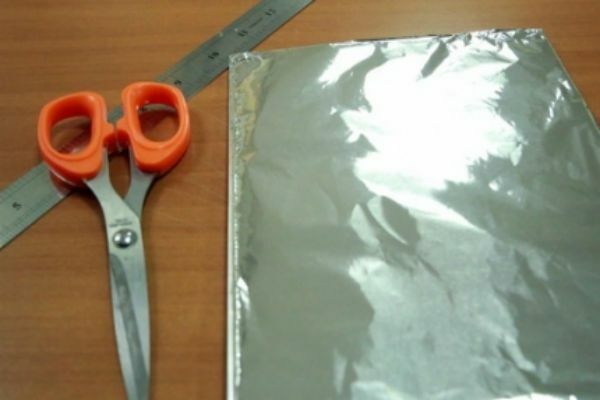
Required material:
- food foil;
- bowl;
- decorative twigs;
- ruler;
- wire;
- adhesive.
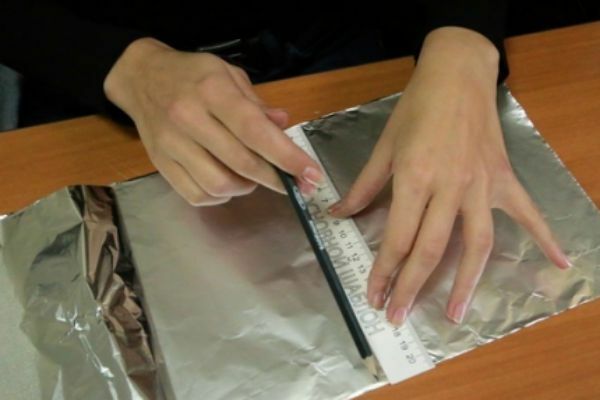
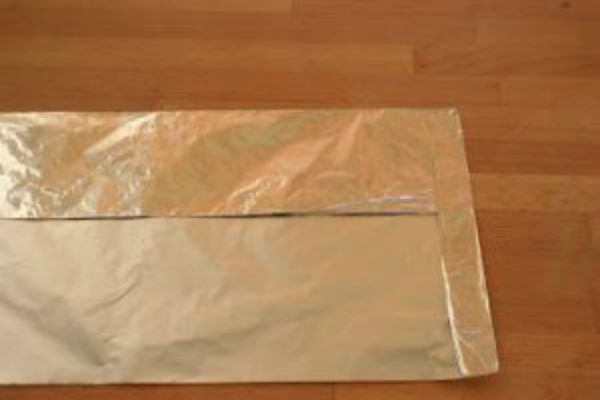
From the foil, you need to carefully tear off long strips of 50-60 centimeters with a ruler. Align the foil on a flat surface with a matte side up and bend the gloss on one side, up and iron it, you can glue it.
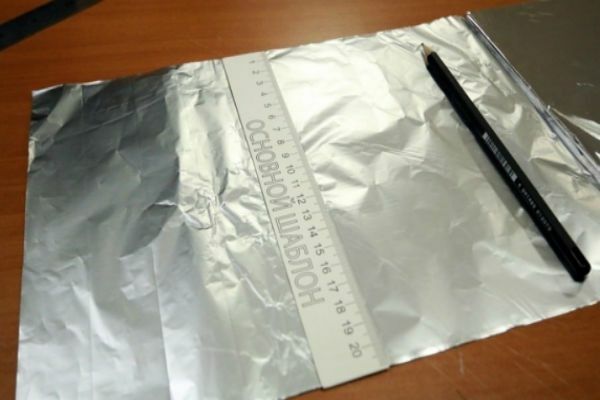
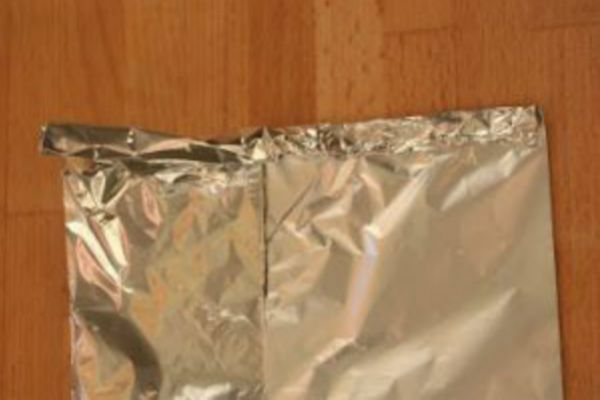
We form a lateral thin bend 1-2 centimeters wide.
The upper part of the foil sheet is wrapped up to the middle.
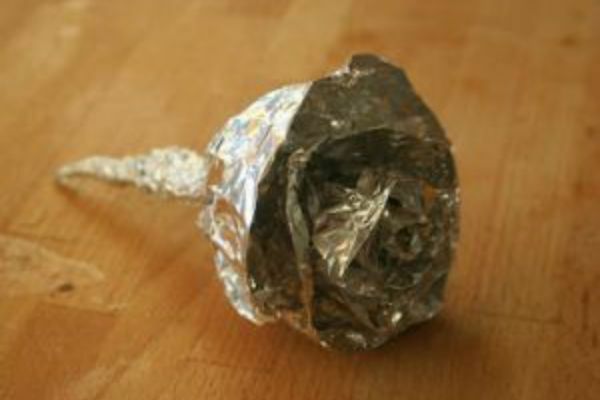
Each resulting strip of foil is folded into a rosebud in a spiral. And from the remaining free edge we form the foot of the flower.
Gently separate the bud with the fingers, shaping the petals.
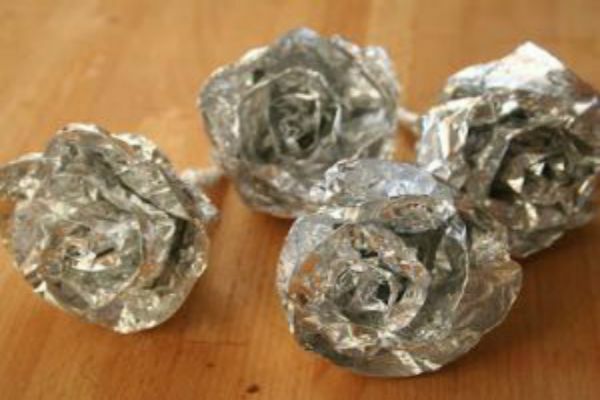
All created flowers can be put in a bowl and complemented with decorative elements, you get the whole composition.
back to contents ^Antique effect
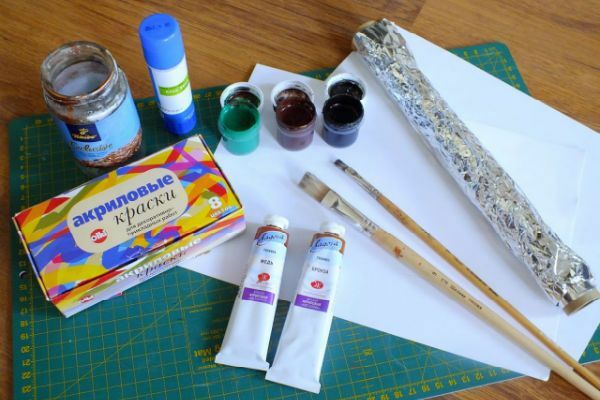

Required material:
- acrylic colors of colors: copper, bronze, black, brown, green;
- art brushes( mostly hard);
- foil;
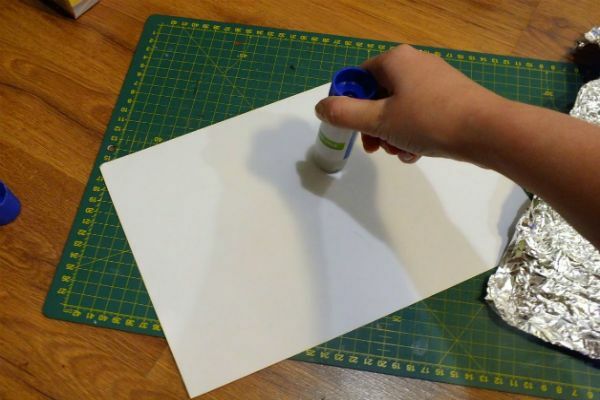
- glue stick;
- A4 paper - 2 sheets;
- water jar;
- hairdryer;
- scissors.
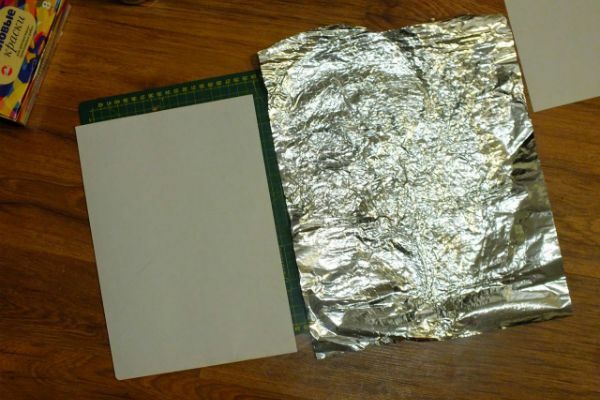
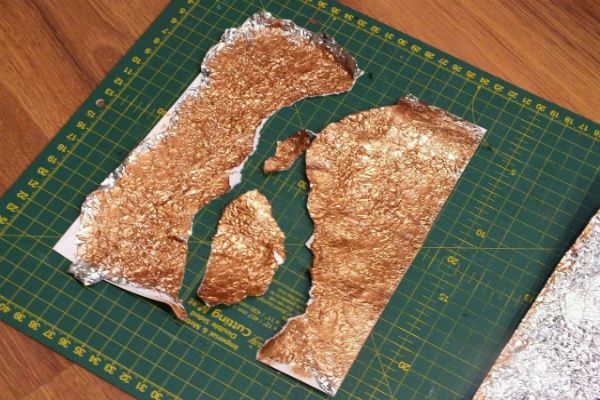
We cut out a rectangle from the foil, a little more than A4 sheet.
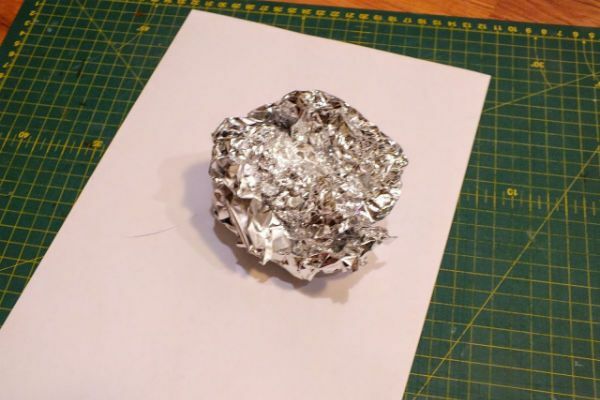
Roll the rectangle into a loose lump.
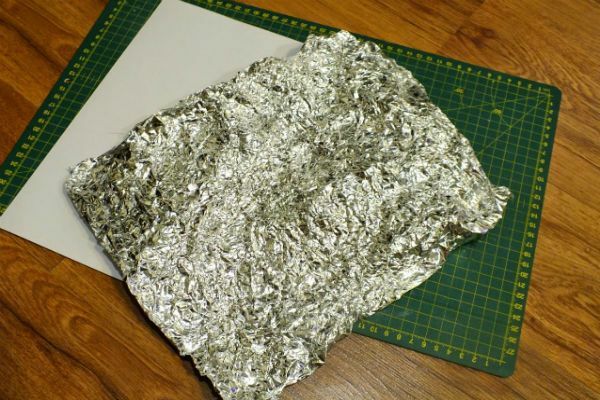
Straighten the foil back without smoothening.
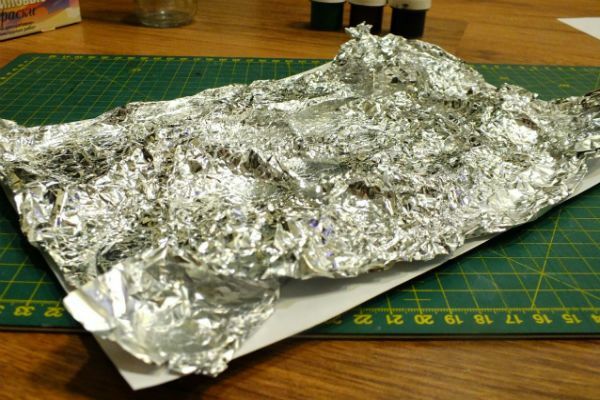
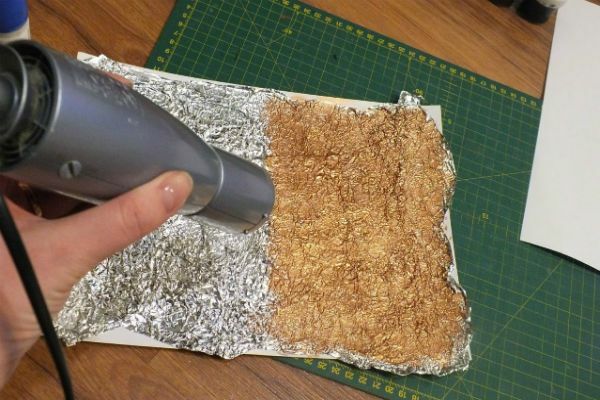
Sheet A4 is well lubricated with glue, then glue the foil on it, spreading it a little to the size of the sheet.
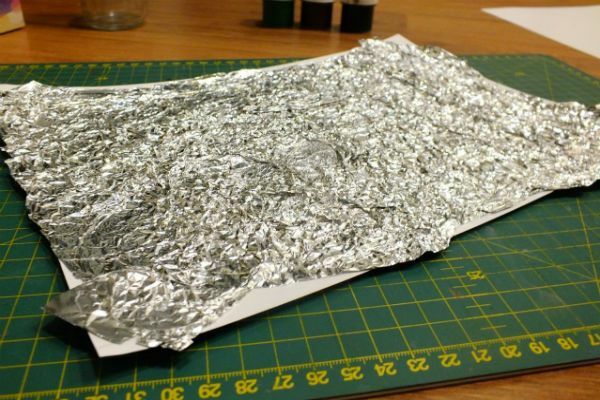
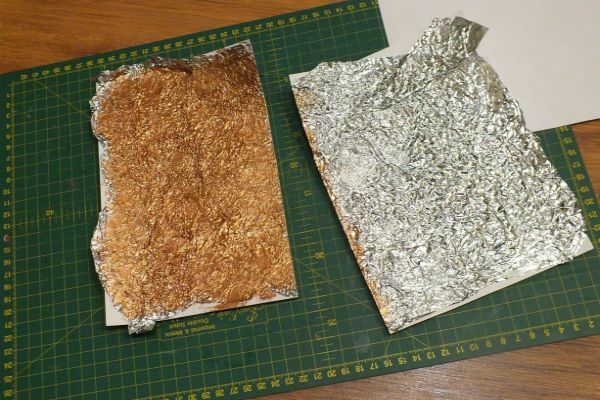
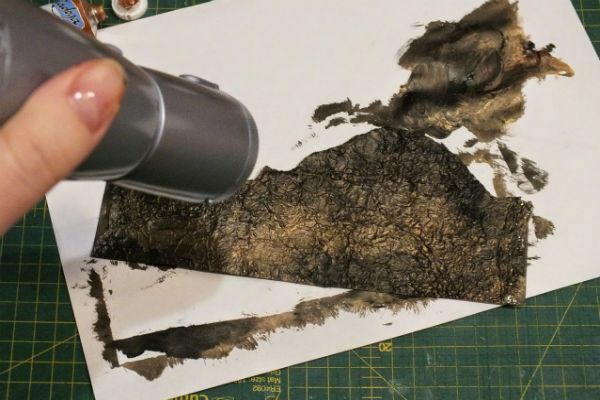
The resulting folds are slightly pressed against the sheet of paper to glue, but do not straighten them. Priming the foil surface with a thin layer of bronze paint. Dry naturally or with a hair dryer.
Cut out a piece of the required size or use the entire sheet. You can make tears with fuzzy outlines.
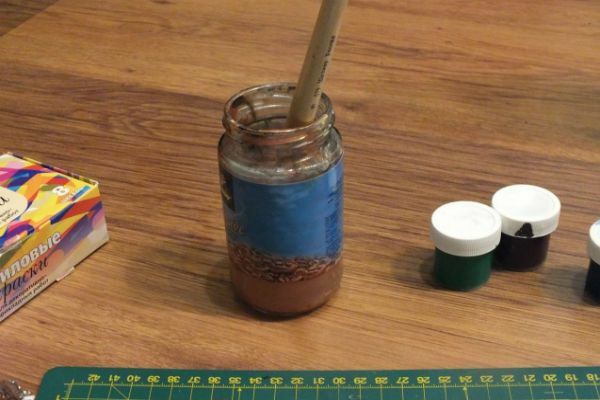
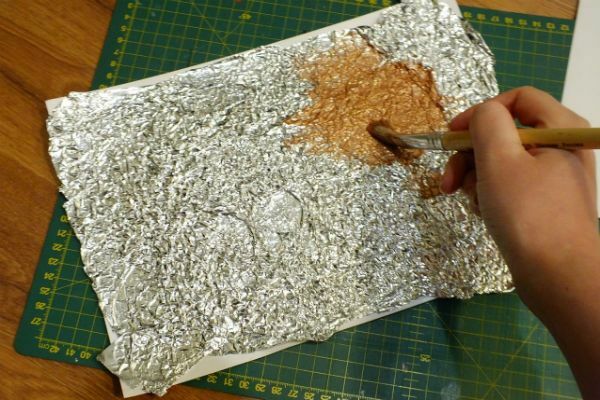
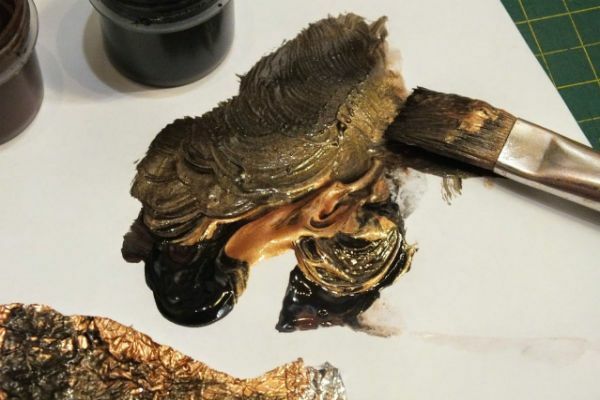
We spread on the second clean sheet A4 on slightly a paint of all colors( bronze, black, green, brown) and we mix among ourselves. But not completely mixing, but slightly connecting. There must be a clear transition from lighter shades to darker ones.
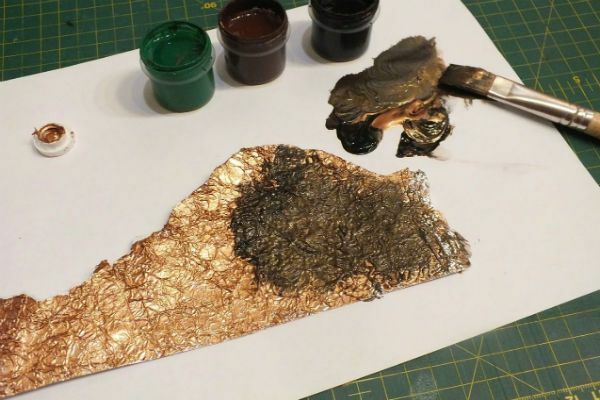
This mixture stains our foil. In the center it is better to lay out lighter shades, and on the edges - more dark. It is not superfluous to add around the edges of the black pigment.
As a result, we get a color reminiscent of marsh.
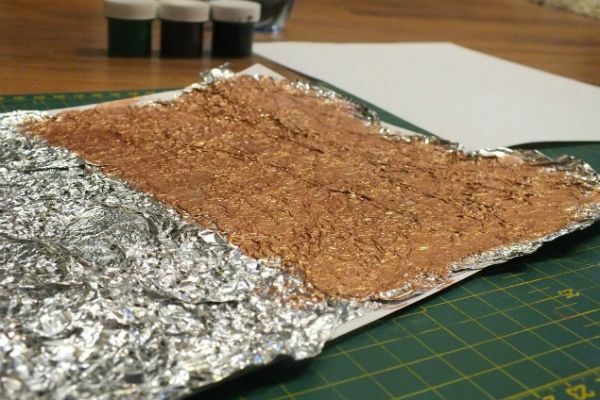
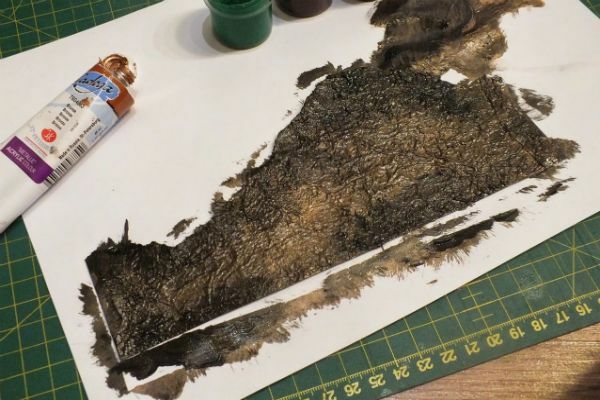
After the entire surface is painted, proceed to drying.
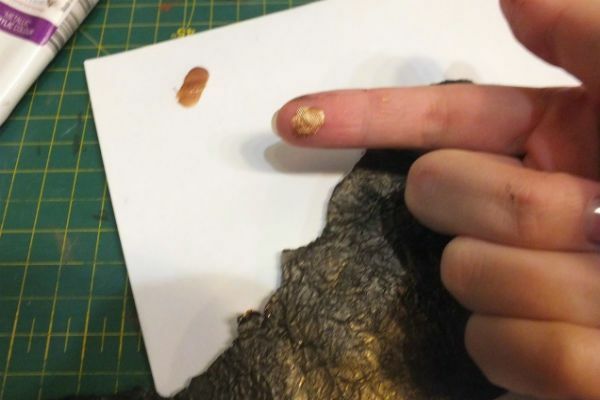
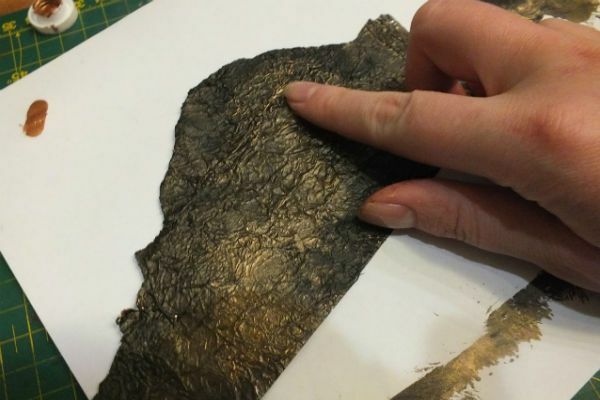
To give the relief, it is necessary to squeeze a drop of bronze paint on the finger pad.
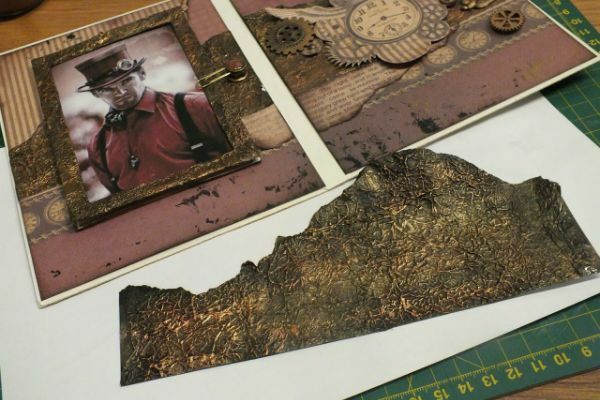
We spend accurately finger on the painted foil. This will allow all the bulges to be painted in bronze, and the cavities remain black. Thus, it is necessary to cover the entire surface. After drying, the workpiece is ready for use.
to contents ^Foil background
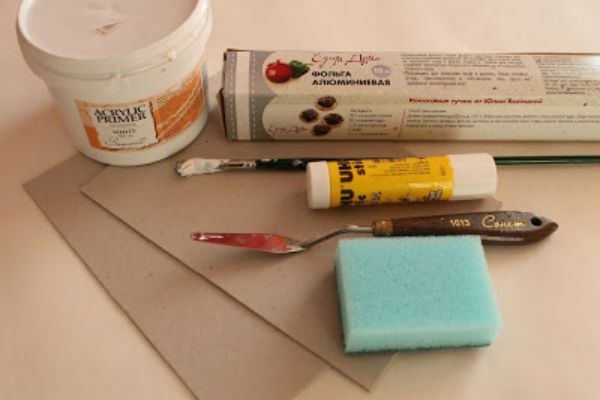

Required material:
- foil;
- cardboard of the right size;
- acrylic primer;
- sponge for ware;
- adhesive.
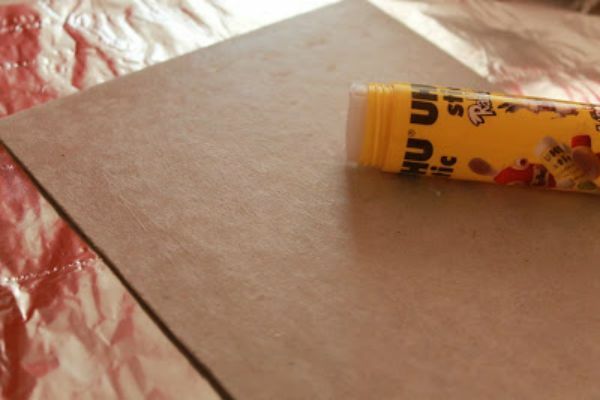
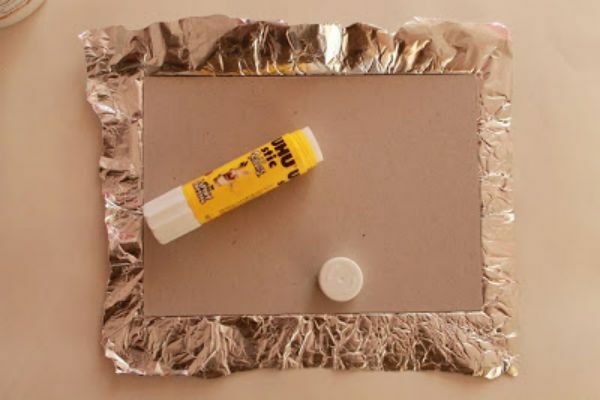
We spread the cardboard with glue very carefully.
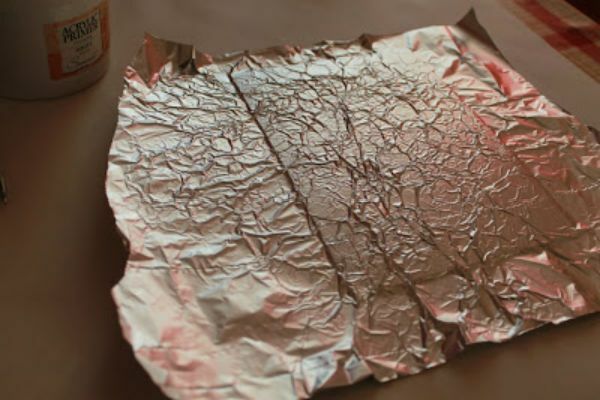
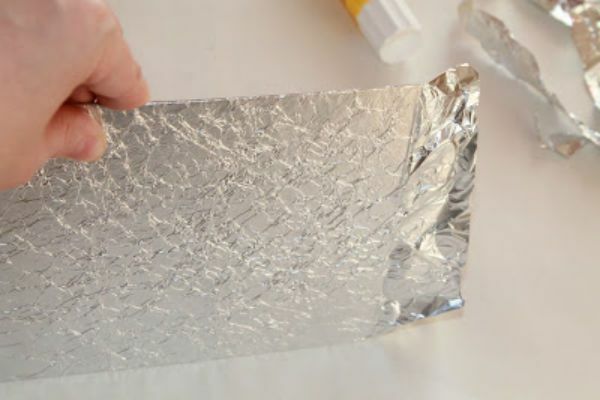
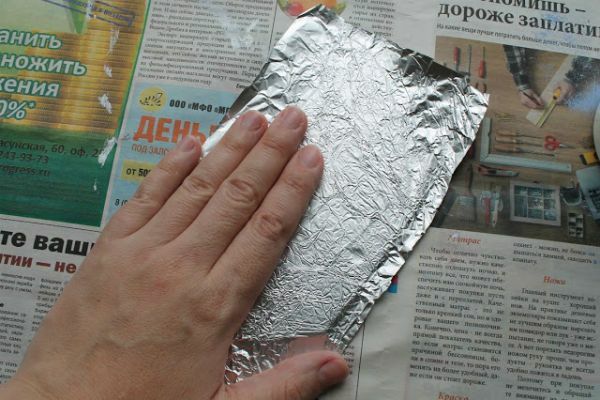
We take a piece of foil larger than the cardboard blank, we crush it. Then glue the slightly crumpled foil to the cardboard.
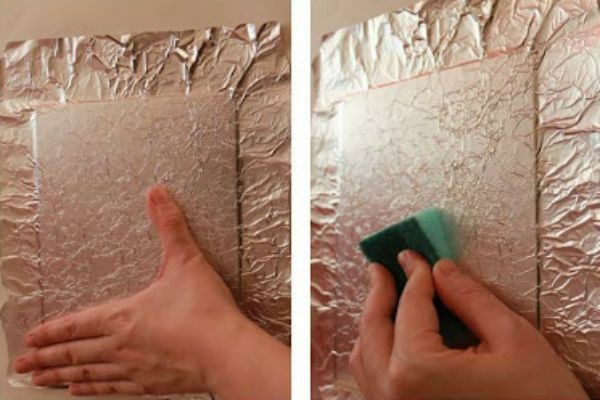
We fix it to the workpiece first with hands, then with a sponge for the dishes. The main thing is not to smooth it on the cardboard, but to paste it, leaving the creases.
We wrap the foil around the edges and go through the edge of the table, so that the edges have clear boundaries.
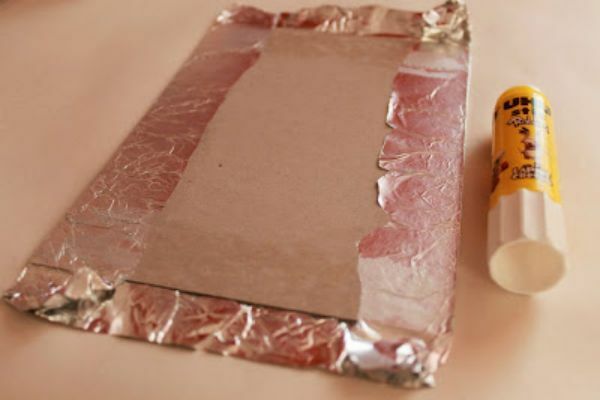
Apply glue to the wrong side of the cardboard.
On the wrong side of the workpiece, you need to maximally smooth the foil and glue it to the cardboard.
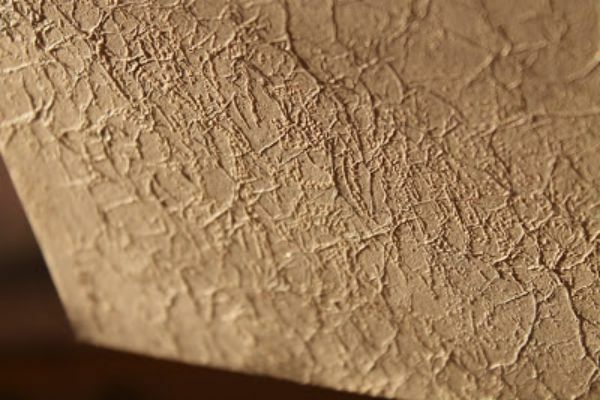
Wet the edge of the sponge in the acrylic primer and gently rub it on the front side of our background.
After the entire surface has been treated, we moisten the sponge once again in the ground and pass it again the background, only not rubbing it, but trampling it into the foil.
Wipes on the surface can be made a hard side of the sponge. The background can also be made from colored foil.
to contents ^Butterfly scrapbook
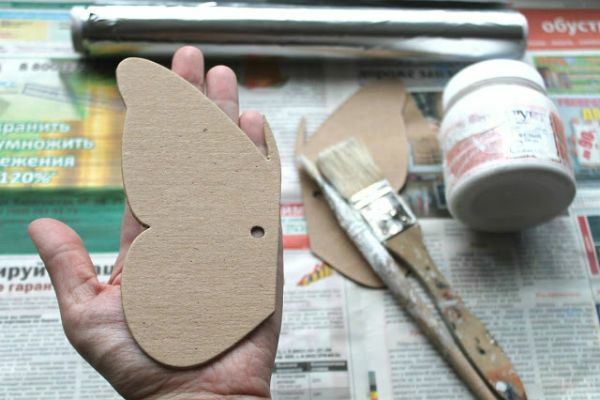

Required material:
- foil;
- acrylic paints;
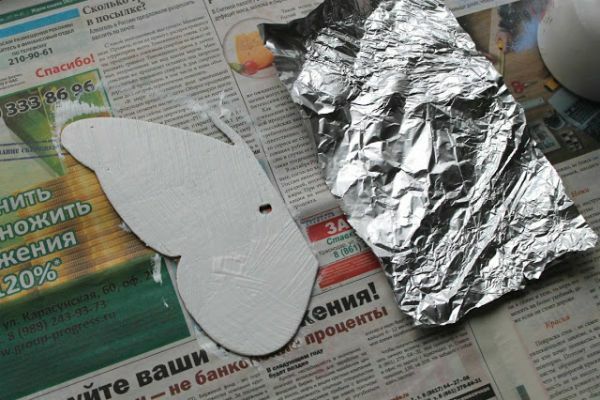
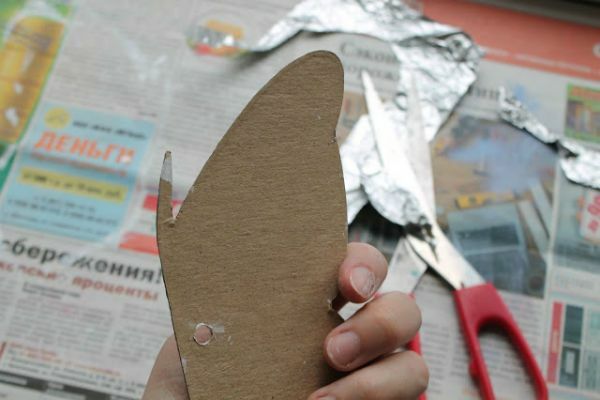
- two pieces of cardboard in the form of butterfly wings. Priming one of the halves of a butterfly. Foil slightly crumple and glue to the surface. It is important that no bubbles remain on the surface.
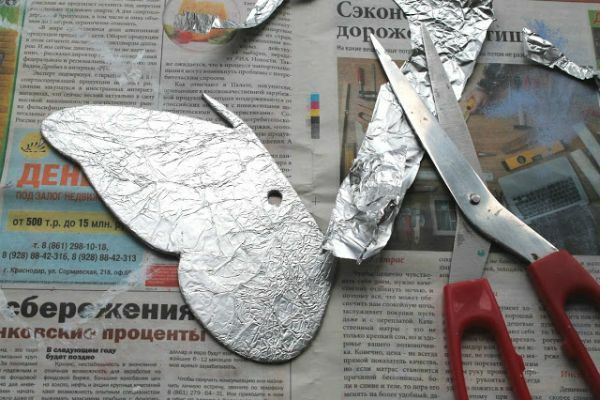
Cut unnecessary foil strictly along the contour of the workpiece.
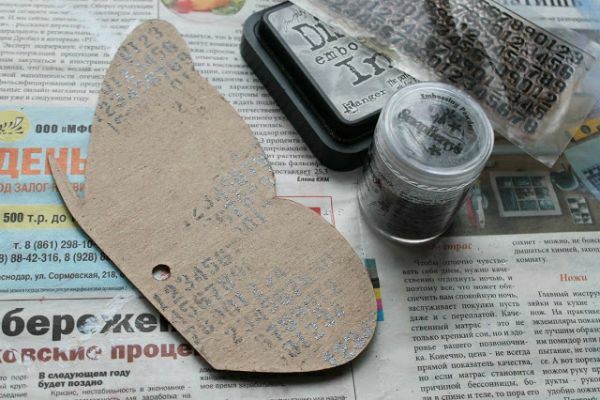
On the second workpiece, we put numbers or symbols on the rough emulsion embossing powder.
We ground the second workpiece.
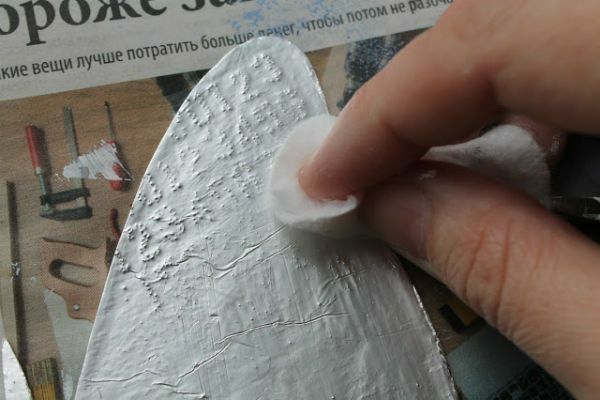
Similarly, we glue the second workpiece. But, this time, carefully smoothing the foil so that the numbers or symbols come out.
The blanks in the foil are ready and you can start finishing.
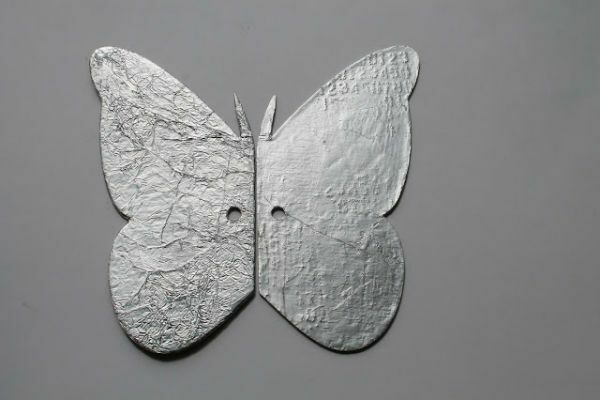
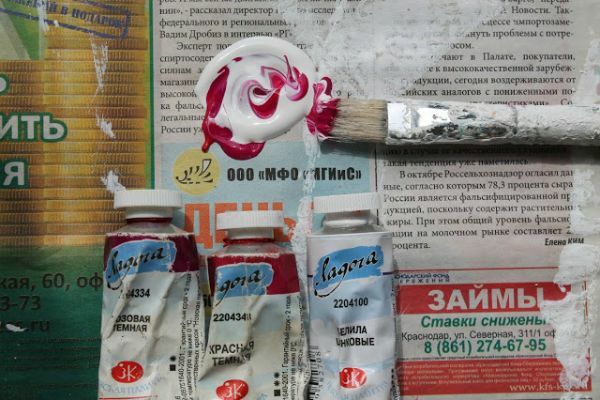
For the left side, you can take acrylic colors of white, dark pink and dark red.
Mix the colors on a sheet of paper or a newspaper with each other( you can strongly, but you can lightly).
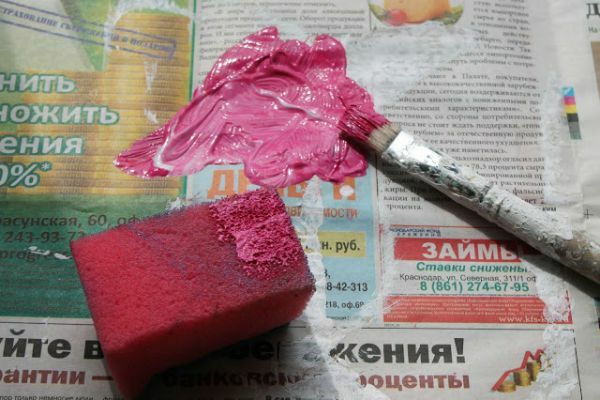
Take the sponge for the dishes and brush the paint on it with a brush. Then in driving movements we put the paint on the left workpiece.
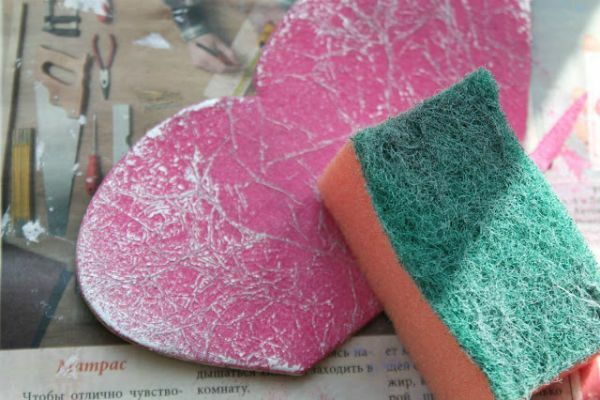
After it has dried, pass the surface of the hard side of the sponge to reveal the foil creases and give the texture.
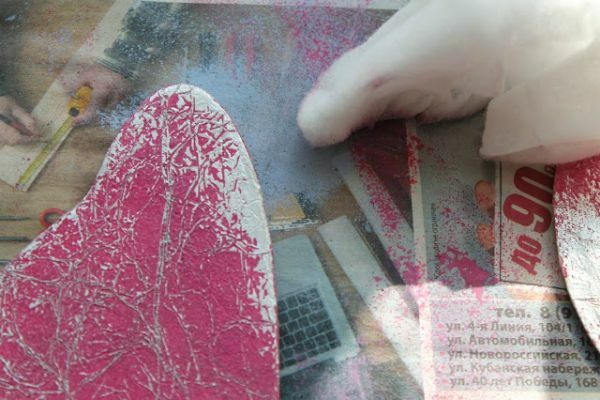
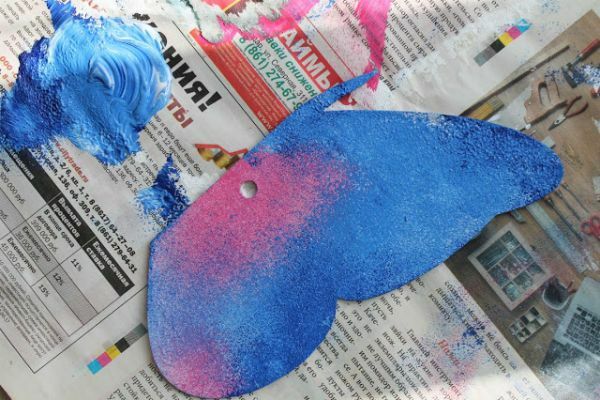
For the right side, we mixed the white and blue colors in a non-uniform way.
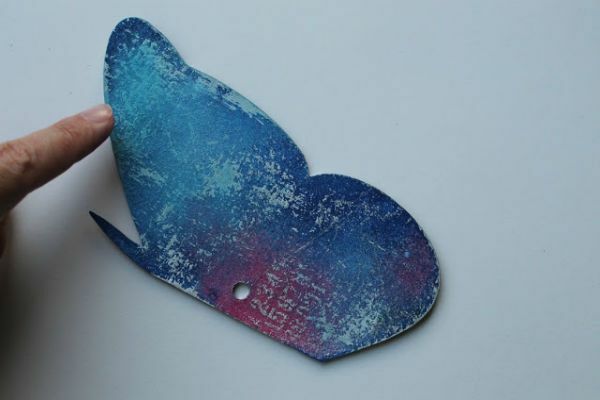
Similar to the left, paint the second surface. After drying its three hard sides of the sponge to show embossing symbols.
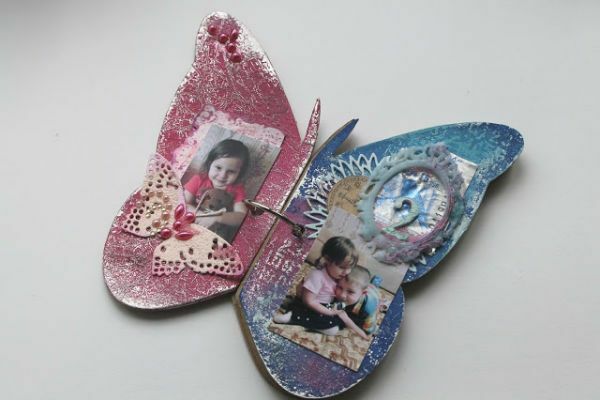
We decorate the resulting butterfly with any desired decorative elements. Connect the halves of the butterfly by making holes with a punch hole and inserting a ring in them, or tie it with tape.