Make a pencil case for the school with your hands is not only a budget option, but also an opportunity to show creativity and your design abilities. Sewing a pencil case will be an exciting activity for spending time with a child, and in the future will become a cute little thing in everyday school life. Master classes on the creation of canisters will help create an identical version of the pencil case or come up with a completely new one.
- Pencil case made of plastic bottle
- Pencil case
- Pencil case
- Denim pencil case
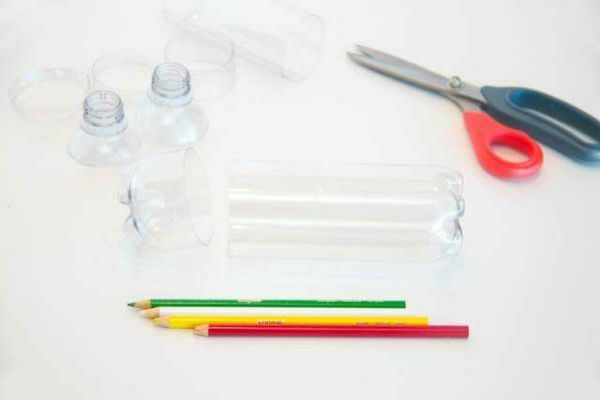
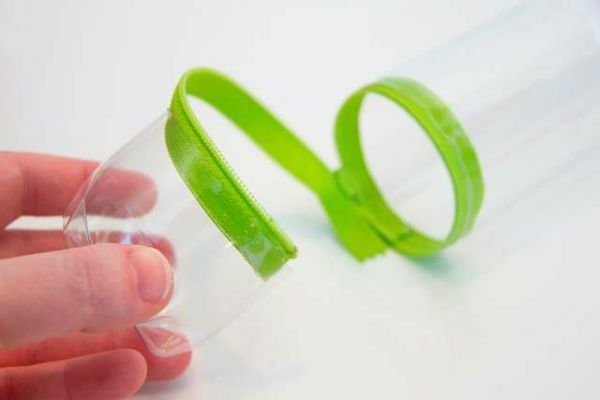
Pencil case made of plastic bottle
Materials needed:
- 2 plastic bottles( the bottles must be of the same type, type, volume and dense plastic);
- color zipper with slider;
- glue gun( hot glue) or glue "Moment";
- scissors.
Determine with the length of the future pencil case and cut off the top of each bottle. To determine, you need to take a pencil or pen so that it fits freely into the body of the pencil case. From the bottles you need to make two parts( long - the body of the pencil case, the short one - the lid).
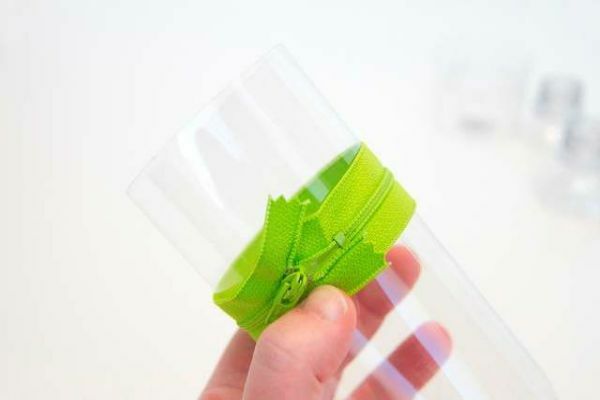
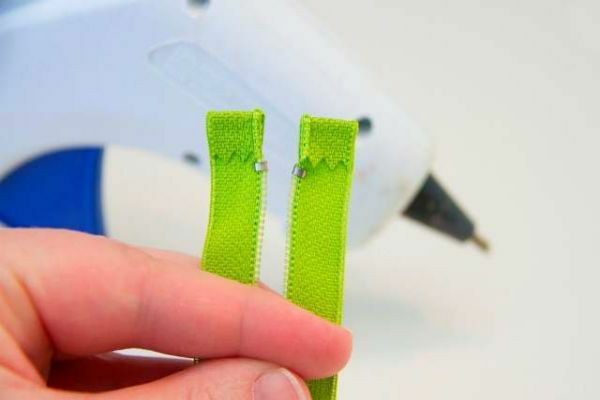
The pencil case will be zipped. The length of the zipper should be calculated based on the diameter of the bottle. It is necessary to take a lightning bolt and wrap it around the bottle. For convenience, it is necessary to leave a stock to a diameter of 1-1.5 centimeters. The superfluous part of the lock needs to be cut off from the runner.
To glue the lightning it needs to be undone.
To glue to begin a lightning it is necessary from the interior of the future pencil case.
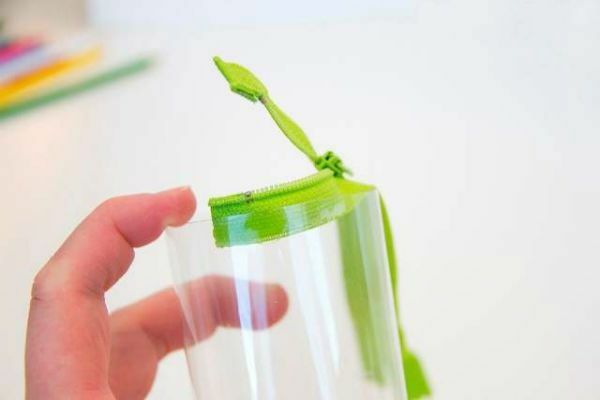
It is worth considering the moment that the slider should move freely with lightning, when sizing it is necessary to deviate slightly from the edge. First you need to glue the zipper to one part of the pencil case.
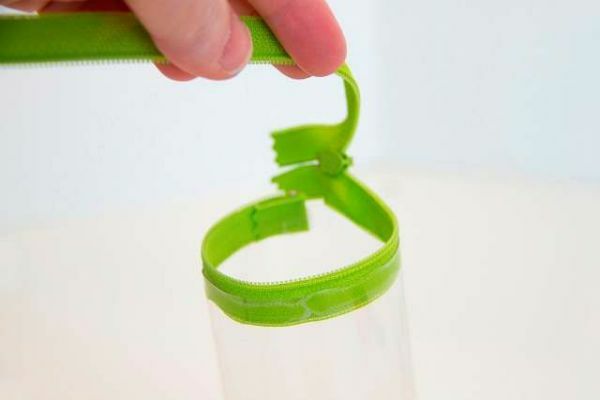
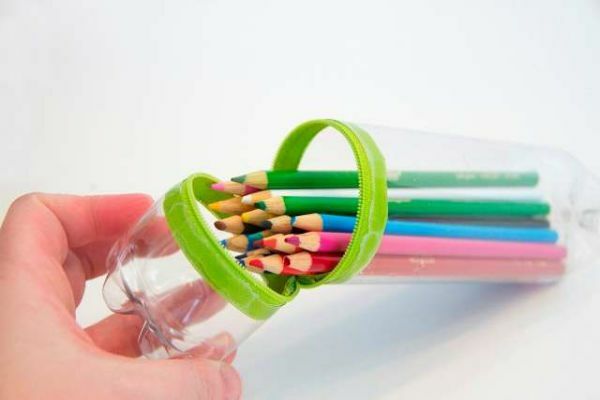
Check whether the zipper is fastened. The slider should move freely and freely connect the zipper without leaving gaps.
Glue the second part of the zipper to the other bottle.
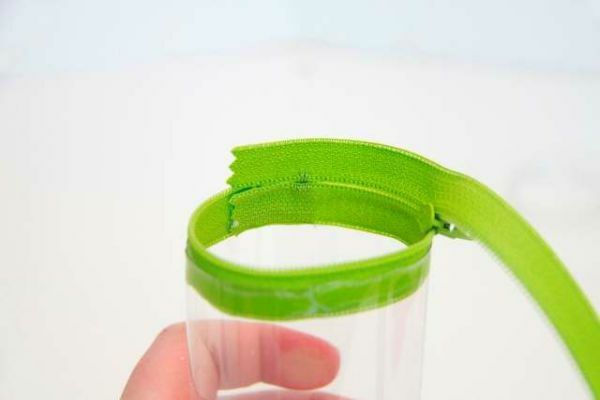
For the aesthetic appearance of the case, it is necessary to avoid contact with the glue on the outside of the zipper and the bottle itself.
We put pens and pencils in a bottle, fasten the zipper and a budget, creative version of the pencil case is ready.
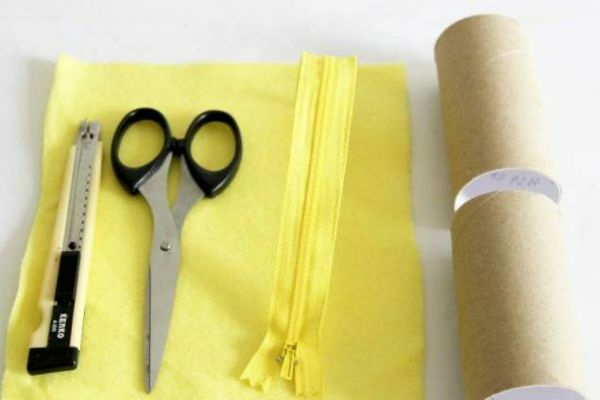
Pencil case
Required materials:
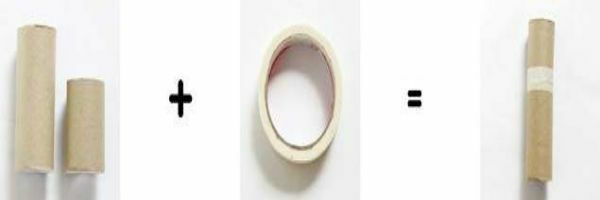
- 2 cardboard cylinders( sleeves) from toilet paper;
- stationery knife or scissors;
- fabric felt of the desired color of the future pencil case;
- zipper;
- cardboard;
- needle;
- thread for sewing;
- adhesive tape;
- adhesive.
One bushing must be cut into two parts in a 1: 3 ratio. For this you can use scissors, but it is more convenient to do this with a stationery knife.
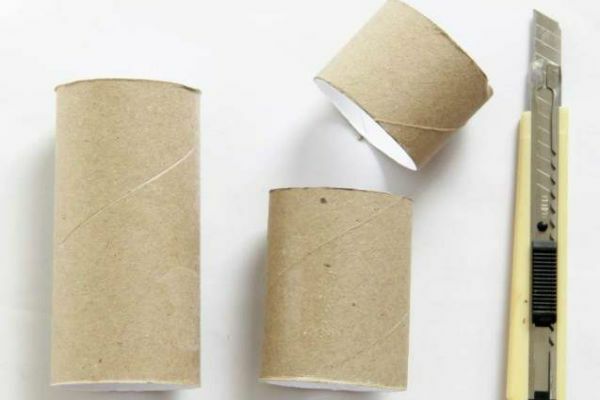
Most of the sleeve should be glued together with a whole cardboard cylinder with the help of an adhesive tape.
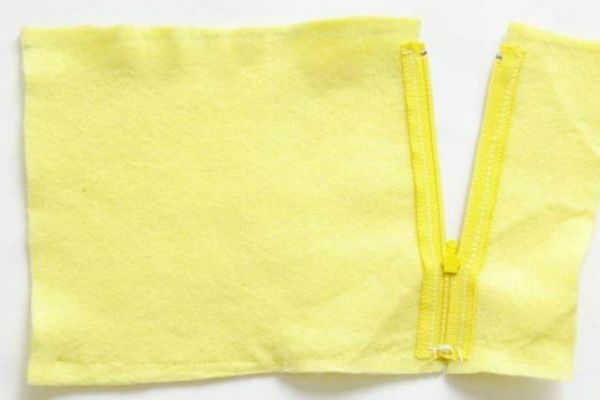
Prepare 2 pieces of felt cloth according to the size( length and diameter) of the glued cylinder and the residue from the cut( this is the lid of the pencil case).To the fabric sew a zipper, thereby connecting both parts of the felt.
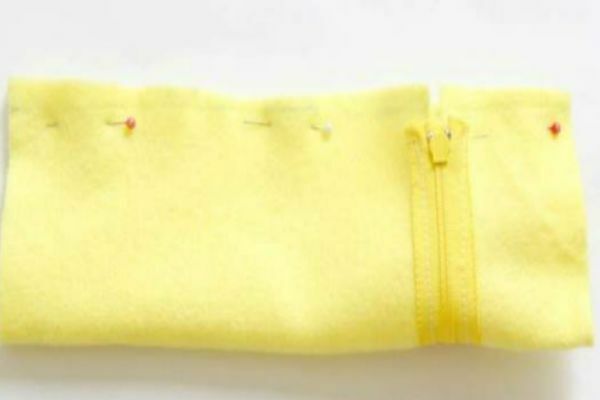
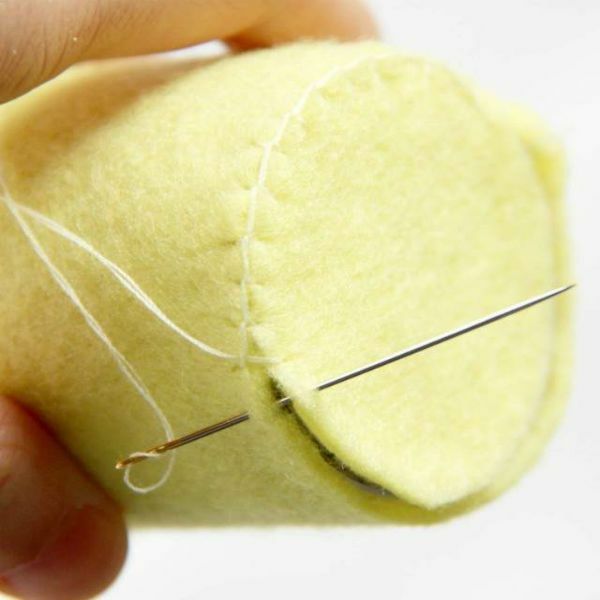
The received rectangle of felt with a lock should be folded in half along, facing inward. Exactly chop the folded edges with pins and flash it.
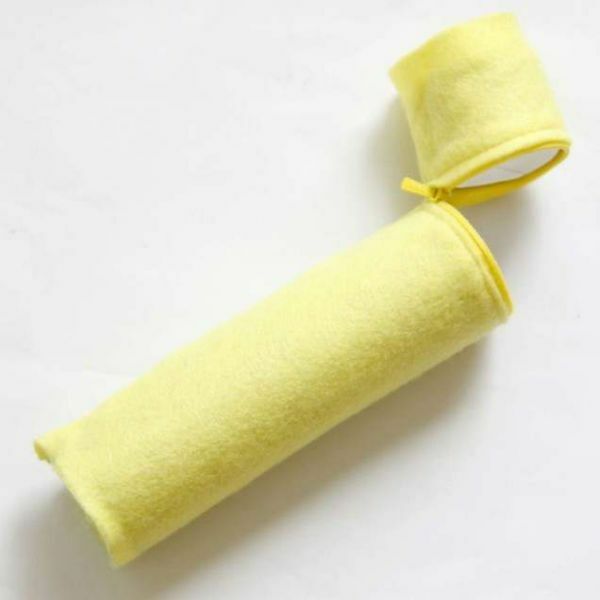
Stitched part unscrew. Paste the cardboard parts with glue and put them into the felt cover.
Of solid cardboard, two identical circles. The diameter of the circle is equal to the diameter of the bushing.
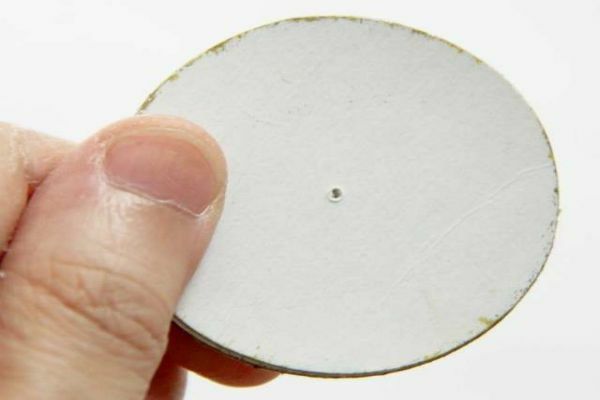
For the density of the case, several cards can be used in this base.
It is necessary to cut circles equal to cardboard from felt. For convenience, you can put a cardboard circle on the felt and circle.
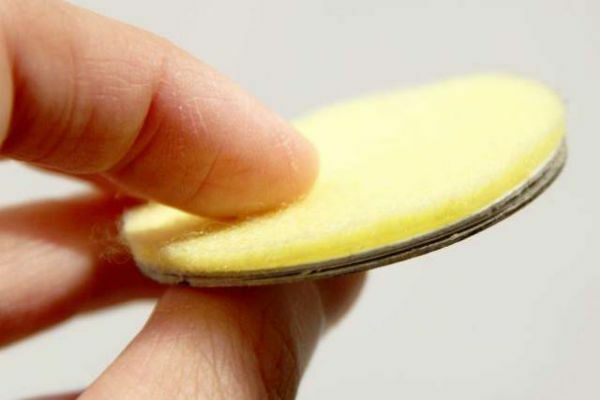
Felt should be glued together with a cardboard circle and sewed to the main part of the pencil case( top and bottom).
Read also how to sew a bag of old jeans http://woman-l.ru/sumki-iz-dzhinsov/
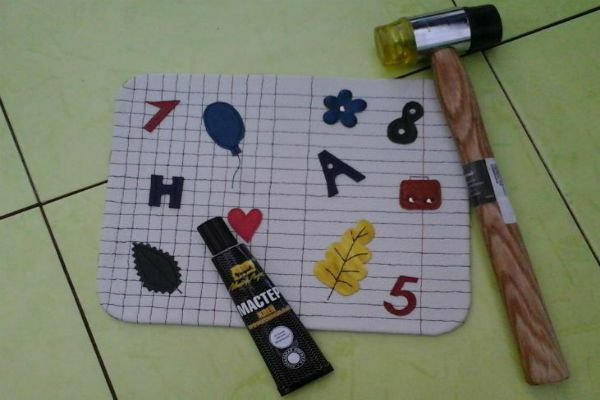
to the table of contents ^Penal book
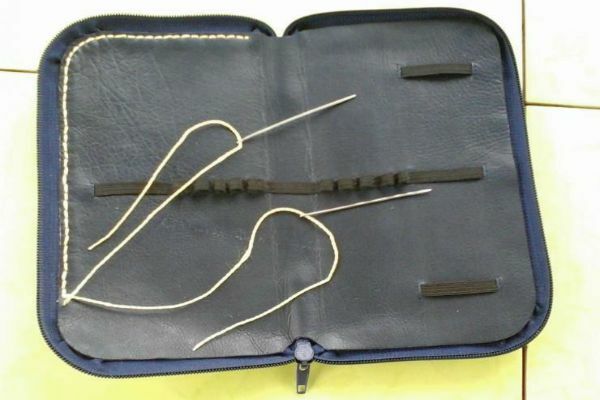
Materials needed:
- two pieces of leatherette or A4 leather;
- long zipper with slider;
- 2 large needles;
- sheet of paper or cardboard;
- doublerine;
- thick nylon thread;
- scissors;
- hammer;
- knitted elastic band;
- glue "Moment";
- lighter;
- ballpoint pen;
- ruler;
- iron;
- chalk;
- marker;
- decorative materials or colored pieces of leather.
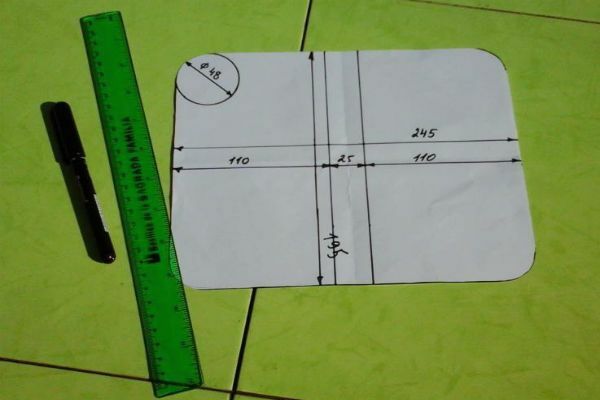
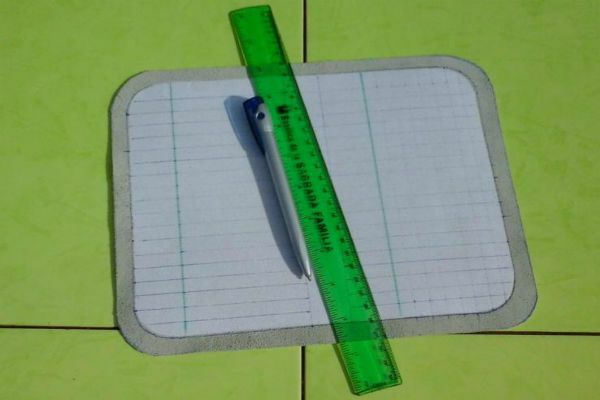
Draw a rectangle measuring 245 by 195 millimeters on a sheet of paper. Round the corners equally with the help of handy round objects.
Attach a pattern to the skin and translate it taking into account the allowances + 1-1.5 centimeters for the outer part of the case. For the inside, allowances are not needed.

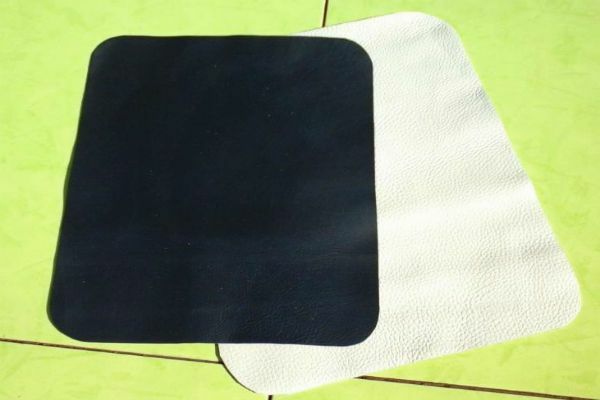
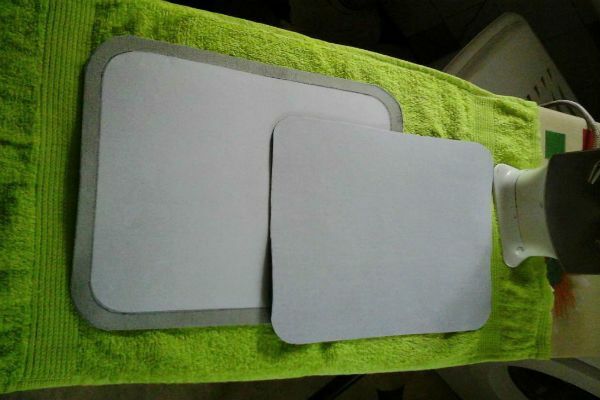
The skin needs to be strengthened with a dublerin. Cut 2 pieces, on a paper pattern, from a doublet without allowances. Apply a doublet to the skin with an adhesive side. Smooth the skin through a dense tissue, with a hot iron, on the side of the doublerine.
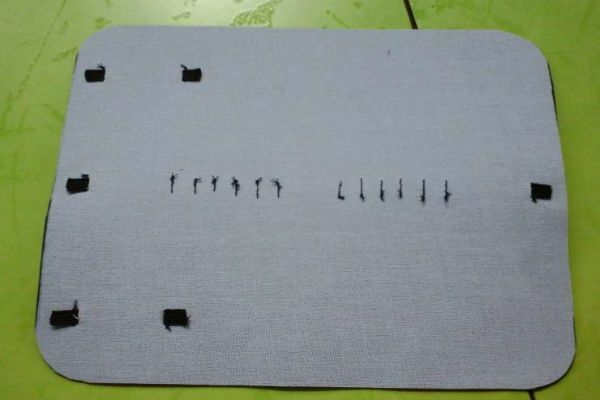
On the outside of the pencil case( on the skin), you need to make a decorative marking with a ballpoint pen, using a ruler.
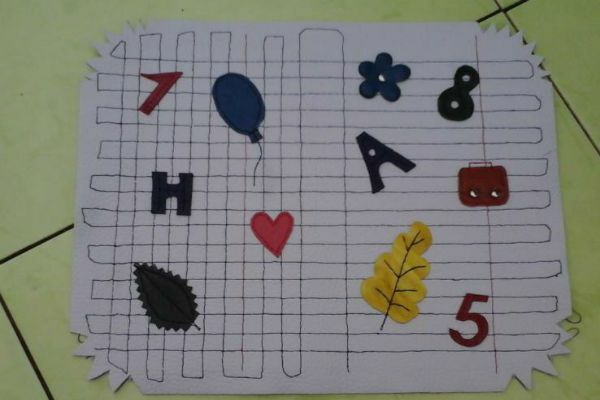
Stitch the sewing machine markings with different colors of threads( fields, lines, cages).It should be ensured that all the ends of the thread are on the underside of the skin and are carefully knotted or glued.

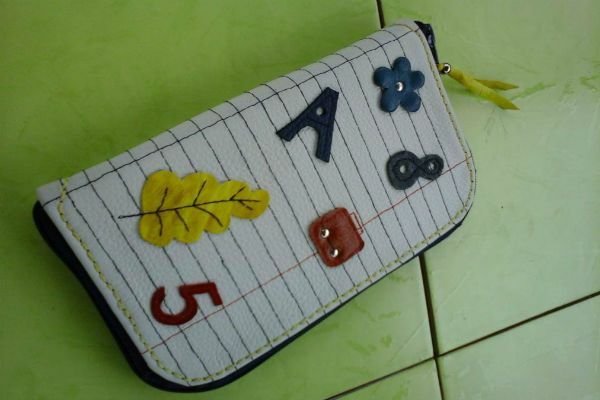
Of the colored pieces of skin can make a decoration of the pencil case. You can also decorate the pencil case with ready-made decorative details. At this stage, you need to make triangular incisions in the corners of the leather part.
Lubricate triangular incisions and edge-allowances with glue. The glue should dry slightly to quickly grasp. Wrap the part with a cloth and tap the edge carefully with a hammer. The edge should be glued together and the detail along the perimeter should be even.
Bookmark and Share. Zipper open and cover with it a leather detail around the perimeter. Begin the pasting of lightning from the center from the top with the runner. Glue lightning in a circle, and then cut off the excess part. The edges of the lightning sing or sew.
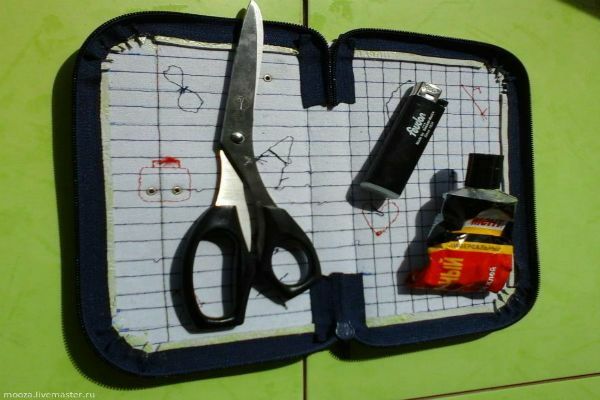
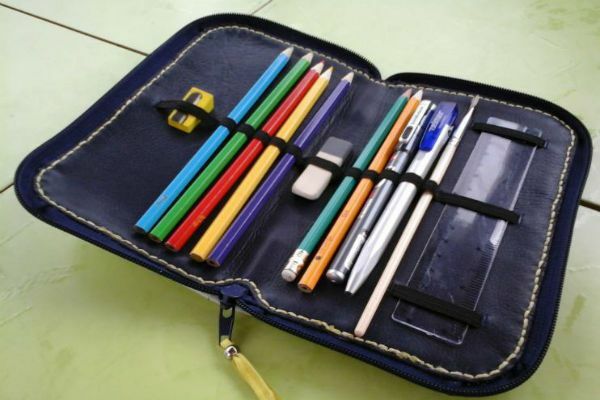
To decorate the inside of the pencil case. Take the second piece of leather and sew it to him gum to hold the pencil handles, ruler, eraser and other.
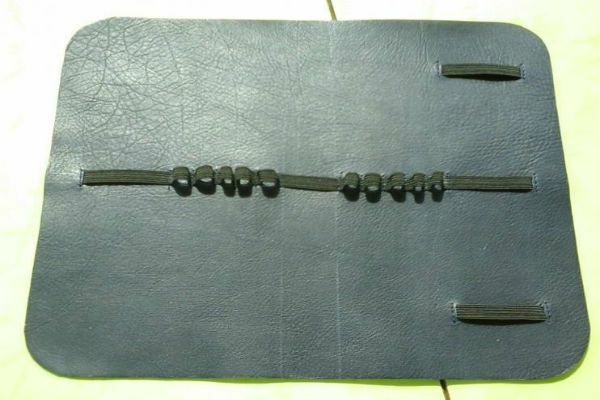
The edges of the gum need to be sealed on the wrong side, scorched and glued to the skin.
Apply both leather parts( external and internal) with glue from the underside and connect, tightly pressing for a long time( you can put it under the book).
Next, you need to flash the pencil around the perimeter. You can stitch it if you have enough sewing machine capacity.
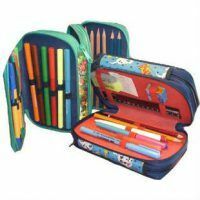
The pencil in the end result should look like this:
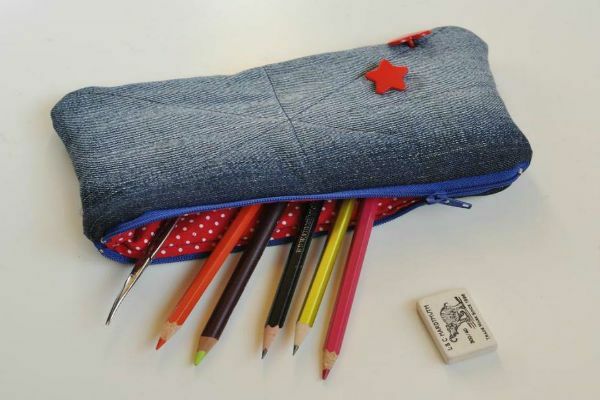
Jeans pencil case
Materials needed:
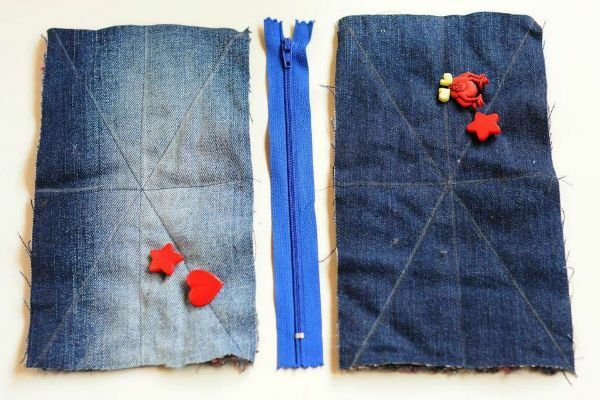
- two pieces of denim size 26x12 centimeters;
- two pieces of plain fabric, for lining, the size of 26x12 centimeters;
- piece of batting or thin insulation in the size of 26x12 centimeters;
- soap, chalk or wax pencil for marking;
- scissors;
- needle;
- sewing thread;
- a zipper length of 25 centimeters;
- sewing machine;
- ruler;
- decorative elements( buttons, beads, flowers).
For an unusual type of pencil case, you need to quilk the outer jeans fabric and batting. To do this, you need to make the markup, as in the photo.
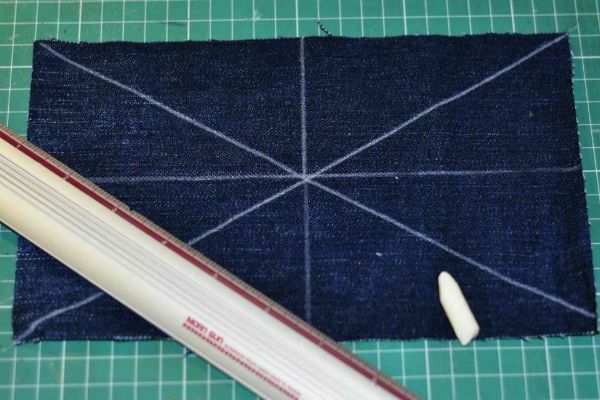
Fold the jeans and batting evenly together and pound the pins between the lines of the marking. Using a sewing machine, stitch the fabric over the marked lines.

In the same way you need to quilk and a second piece of denim.

You can decorate the decorating elements directly on the outside of the pencil case.
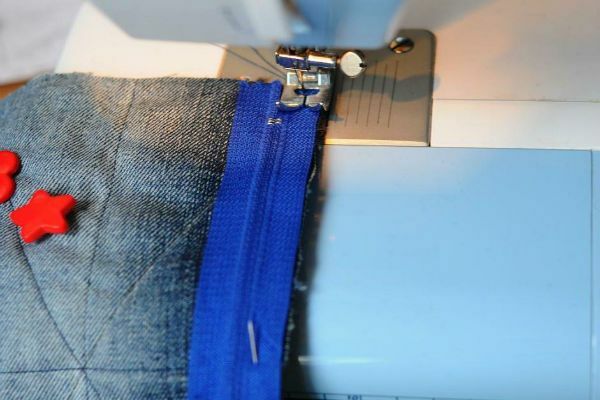
Next to the pencil case, you need to build a zipper. Part of the pencil case, which is quilted with batting, is attached to the face of the zipper.
To the wrong side of the zipper, stitch the lining fabric.
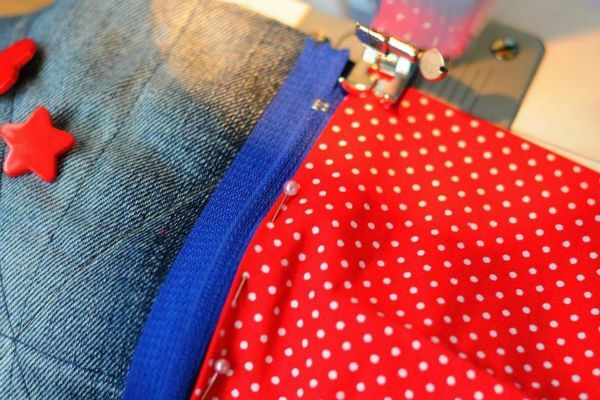
At this stage should be 4 pieces of fabric, stitched to the zipper from different sides( jeans with batting, lining, jeans, lining).
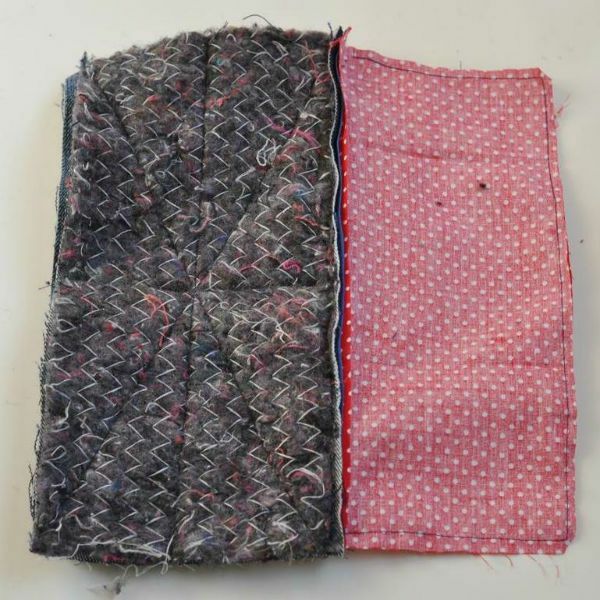
Unzip and unfold the fabric in different directions, as they should be( jeans with batting - lining, jeans - lining), on the wrong side. Stitch along the perimeter of the lining and denim parts separately. Unscrew the pencil case, insert the lining inside.