
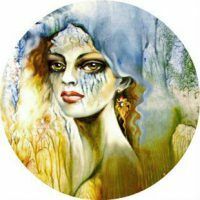
Often there are examples when there is a desire to draw and there is no talent for drawing. What to do in this case? Refuse to paint at all? Or try non-traditional drawing techniques, for example, a monotype? A monotype of Italy from the Renaissance dates. To develop this art was able to its ancestor, the famous artist-innovator Giovanni Castiglione.
- Required Materials
- Making a Postcard
Required Materials
This art, if you try to describe it in one word, is best suited to the definition of "impression".In other words, you first apply the pattern on one surface, for example, glass, and then make an impression on paper or canvas.
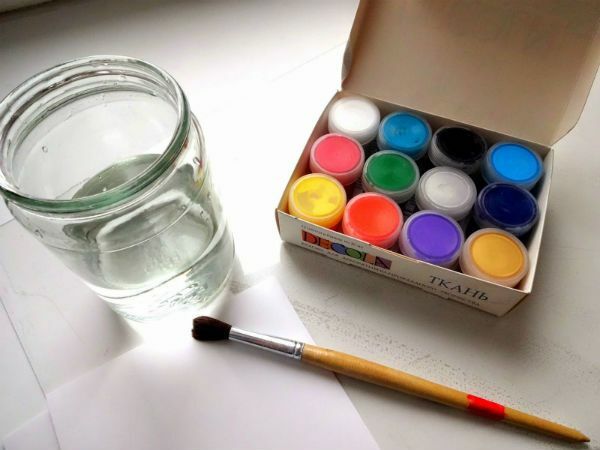
To work in the monotype technique you will need the following materials:
- canvas or watercolor paper,
- pencils,
- brushes( round, for watercolor work and flat for oil or acrylic),
- paints - best watercolor or acrylic, but it is possible and oil, just keep in mind that it dries for a long time( the thin layer can dry up to two days),
- conventional rolling pin,
- sandpaper( fine grain),
- piece of plastic and glass for impression,
- piece of glass,
- container with plainwater or a nebulizer.
Making a postcard

Before starting to draw, it is necessary to prepare all the materials. Use sandpaper to grate the plastic. So its surface will become uneven and this will give an interesting result with the impression. If you want a glossy print, use glass.
Another plus in choosing an impression-glass is as follows. With it, you can put a ready-made picture under the bottom of the glass and just paint it, repeating the colors all over the glass. With plastic, you can not do it. In the end, using ordinary glass, you just have to remember the childhood, when everyone, for sure, painted the coloring book. To do this, you must agree, is not so difficult, even without the ability to draw. Just fix the lining-drawing with adhesive tape, so that it does not fidget, and boldly redraw everything.
The only problem can be if in the chosen drawing you have a lot of color transitions and details. Therefore, it is best for beginners to train on simple simple drawings, the transfer of which does not require deep knowledge of color mixing and coloring.
When working in monotyping technique, it is not necessary to pay special attention to details, because without having experience in this technique, when you transfer a picture from an impression to paper everything can go wrong, and the picture is slightly smeared. With a non-detailed drawing, this will not be a defect, but in the opposite case, much can be smeared.
Now it's time to understand the main principle of monotyping. With an impression in a monotype, those layer colors that you put first, and will be the top on paper. They will most of all be transferred, and those that were last - go under the bottom. Therefore, start from the reverse. If in the standard painting paints first apply dark areas, and then brighten the necessary places, here, in monotype, the opposite is true.
After the paints are applied, prepare the paper or canvas( in the case of using oil paints, it is best to take the canvas on the cardboard).It( paper) should be put for about five minutes in ordinary water, so that it is soaked. If you use ordinary, rather than watercolor paper, it will be enough just to sprinkle it from the sprayer. After that, the paper is carefully placed over the towel so that it absorbs excess moisture, then - over the figure itself and presses down. Try not to move the paper, otherwise your drawing will smear into a solid spot. To apply the paper in such a sequence - from the bottom to the top.
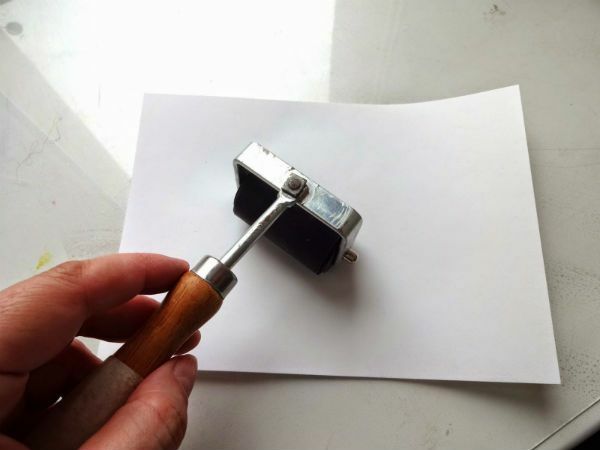
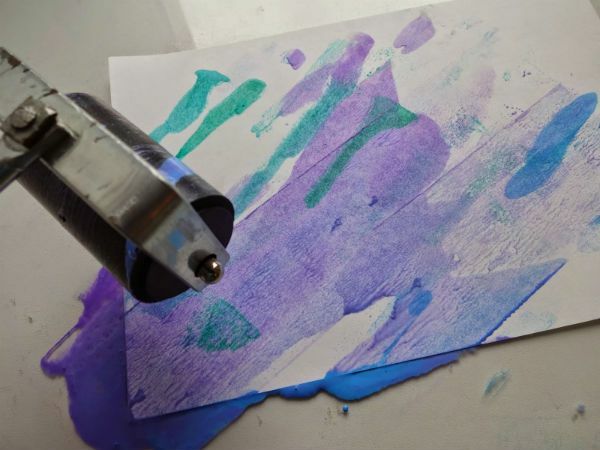
Now, slowly, neatly, but with a push roll over the paper. Begin to roll out from the center to the edges. This procedure should not take more than a minute. Do everything in a measured, with the same pressure, press, but do not fidget. After that, remove the paper with the print already prepared. To do this, carefully pick up the upper corners and slowly separate the entire sheet from the glass. In the case of a canvas on cardboard, one must be even more delicate - gently pry the edges of the canvas and slowly disconnect it with the glass.
Given that when the contact with water paper deformed, make out the finished work in a frame under the glass, which it aligns. The densest paper for watercolor is the least deformed, and this is the one that should be chosen for monotyping.
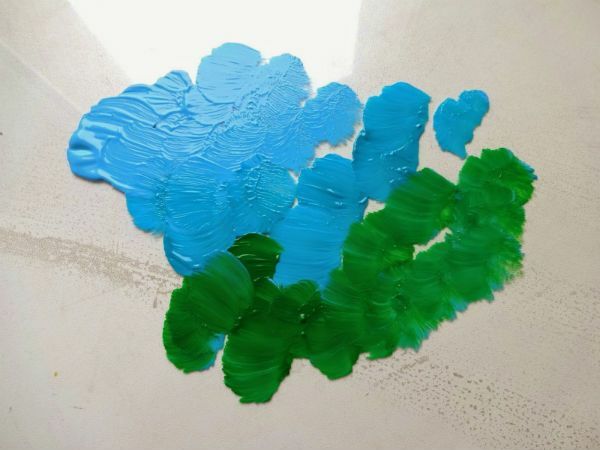
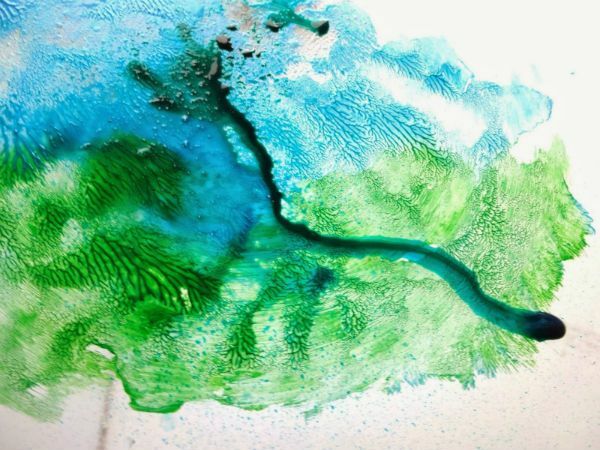
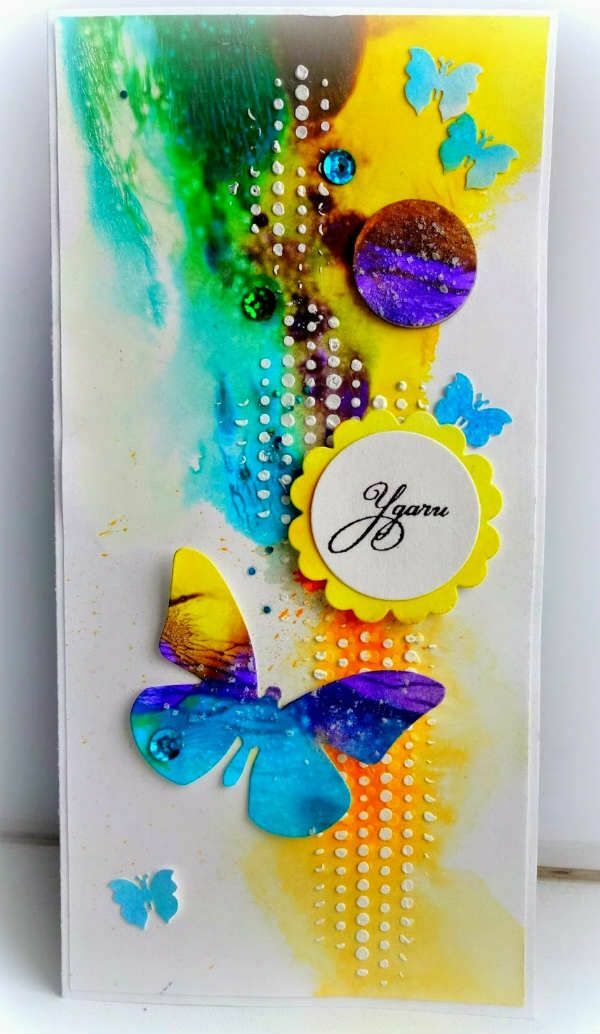
The order of the production of the postcard: first apply to the material chosen for the print( glass or plastic) two colors( blue and green), sprinkle the paint a little with water from the atomizer to create beautiful streaks and blurriness. Make an impression.
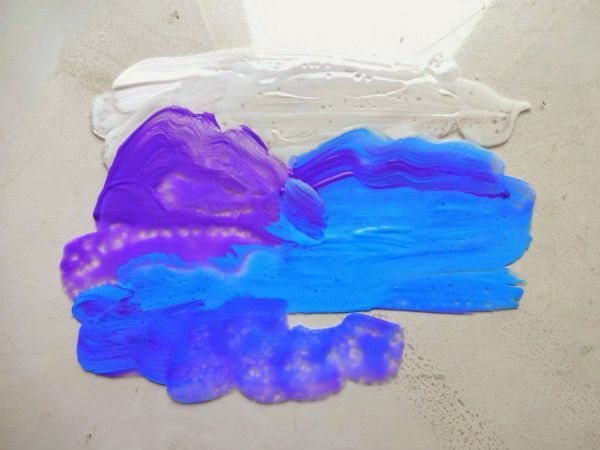
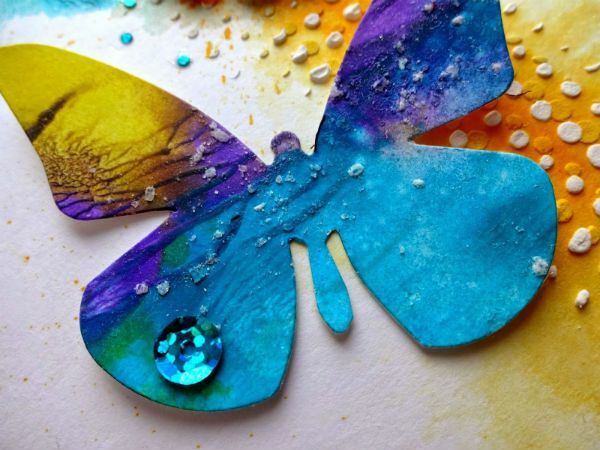
Next, take the four colors( white, silver, purple and blue), apply on the glass in random order, re-spray and make an impression. The resulting colored cardboard sheet is used for the card basis. Also from the workpiece you can cut out decor material, for example, butterflies, which can also decorate the postcard.