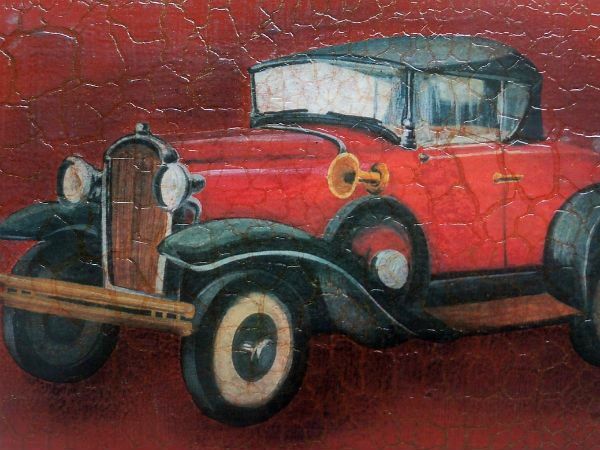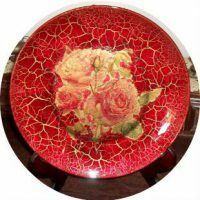
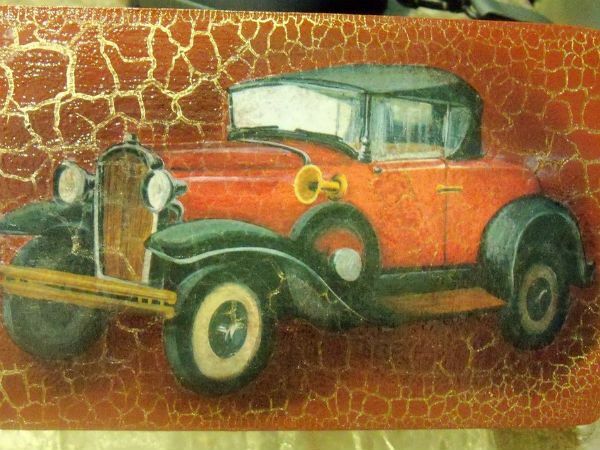
Crackelure is an original and beautiful trend in many genres of art. It is applicable in painting, sculpture and so on. If you translate the name of this work, then literally, from French it will sound like a "crack in the varnish."In other words, craquelure is a technique that allows you to achieve the formation of cracks on different surfaces, thereby visually adding to them years( the effect of artificial aging).
- Required materials
- Decorative process
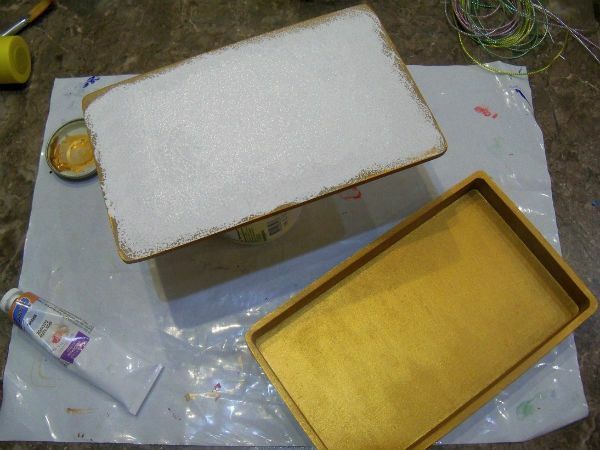
Required materials
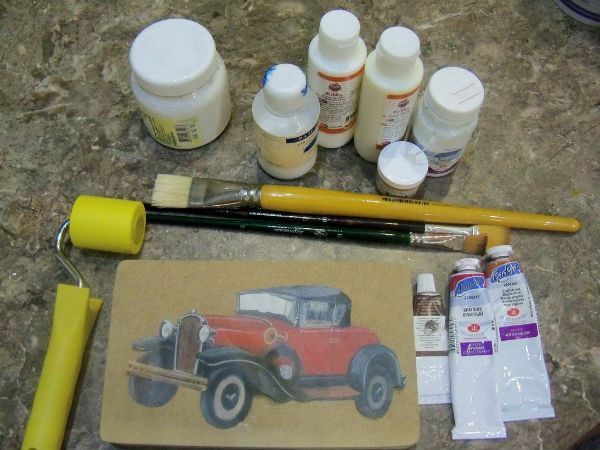
For the most simple, one-step craquelure you will need the following materials:
- The thing you will remodel( suitable for wood, plastic, porcelain, canvas and other types of surfaces).
- Decoupage napkins, if you plan to initially decorate the chosen thing with some kind of image or ornament.
- Brushes, flat and preferably wide.
- Special or artistic primer, as for decoupage.
- Acrylic( two opposite colors, to create a contrast effect).So, you can use such combinations: blue - yellow, blue - white, brown - white, green - yellow, gray - beige, red - white-pink and so on.
- Special varnish for craquelure or any high-quality artistic varnish. The lacquer texture should be liquid. The lacquer is never shaken.
- If desired, you can also use acrylic lacquer after craqueline, matting or glossy, but this is not necessary. No function, except for the aesthetic, he does not win back, because the fastening is at the expense of the above varnish.
Decoration process
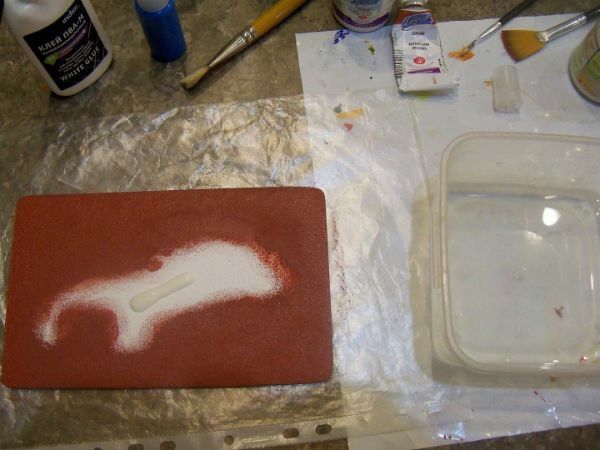
Step one. Begin with degreasing or other surface treatment. And this applies not only to this master class or the Craquelure technique. In general, surface treatment is present in all types of decoupage.
If you decorate glass, leather or plastic things, then it will be enough to wipe their surface with ethyl alcohol or, in extreme cases, with acetone. If the wooden surface, then you first have to walk on the surface of small emery paper, and then also degrease.
After that, wait about ten minutes and proceed to the second stage.

Step two. Prepared with a brush, treat the entire decorated surface with a thin, even layer of acrylic paint( the one that is darker is taken).Wait until it dries( 10-15 minutes), then at a pace, but gently, apply a varnish varnish( just do not shake it, otherwise the varnish will not lie flat).
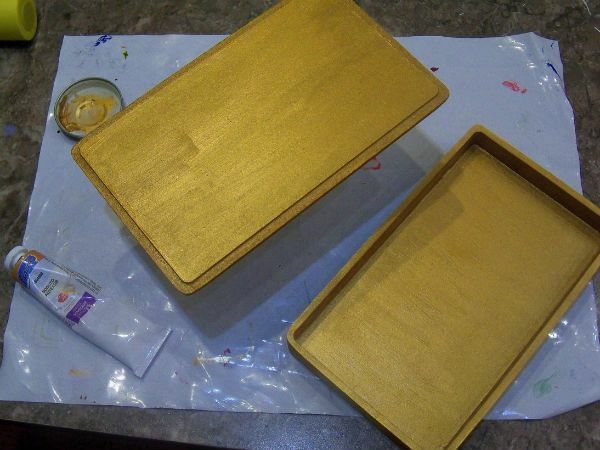
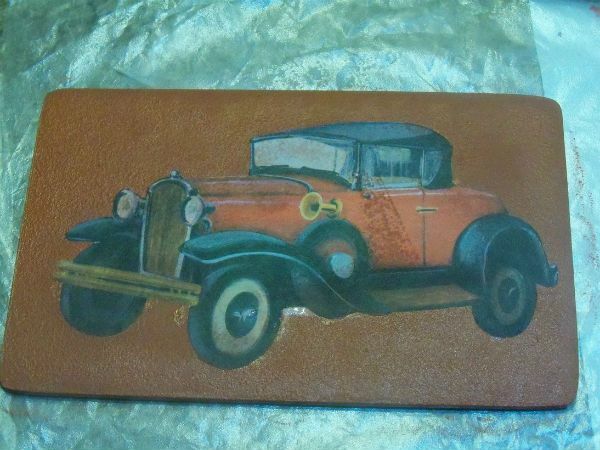
Step Three. The second acrylic paint is applied to the not yet dried surface. When interacting with the varnish, acrylic will start to crack - the effect for which everything was started.
In order to increase the number of cracks, there is the following trick: acrylic must be diluted with ordinary water. And the more you add water, the more expressive will be the pattern of cracks.
After processing, you need to transfer the image to the surface of the product, if you plan it.
For this, the surface is covered with a primer, waiting for it to dry, smooth it, grind it, then apply a conventional PVA glue, and on top of it a cut out detail( pattern or picture).Next, the napkin should be gently smoothed from the center to the edges and allowed to dry. After this, you can proceed to create the effect of craquelure.
Again, apply the varnish.

Add the golden pollen to the still not dried lacquer.
Pollen is necessary to take in moderation.
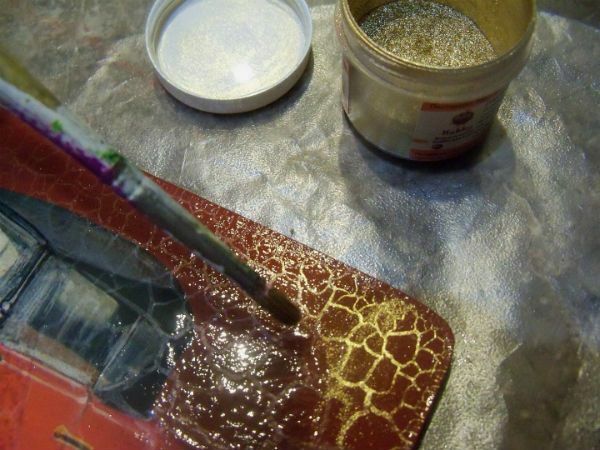
Add two or three coats of lacquer.
After drying, treat the surface with fine emery paper and the work is ready.