For guilloche( burning through the fabric), use only synthetic fabrics that do not burn, but melt. Before working, the strength and adhesion of the fabric is checked on a small piece. In addition to a special burner device for work, you can change the usual burner on wood, replacing the needle.
- Guilloche on the fabric
- Guilloche on the skin
- Stencils and patterns
Guilloche by the fabric
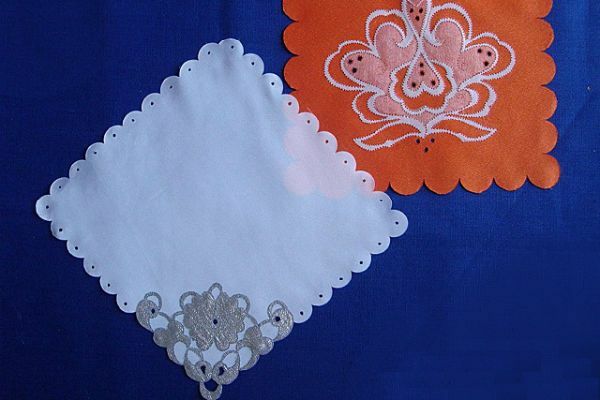
To create a wipe in the guilloche technique you will need:
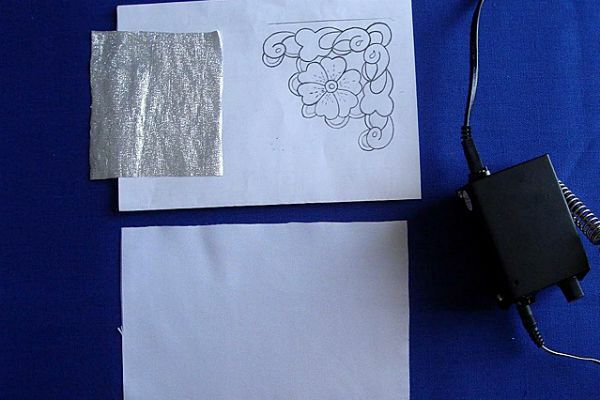
- a synthetic fiber cloth measuring 20x20 centimeters;
- silver piece of fabric to create an ornament;
- knife;
- sharpened sharpened soldering iron or incinerator for wood - guilloche device;
- a sheet of paper with a patterned ornament;
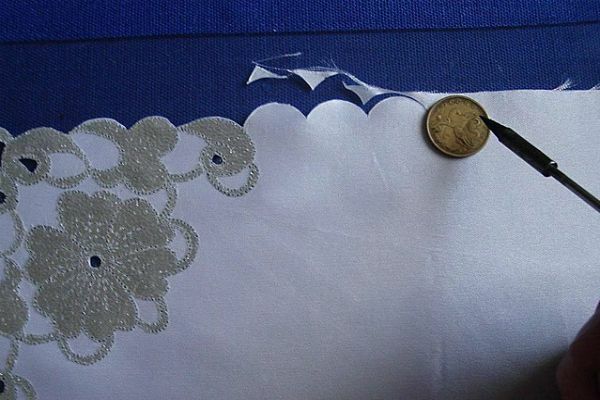
- coin for the decoration of the edges of the napkin;
- glass;
- lamp.
How to create a wipe in the guilloche technique:
First you need to prepare a working area.
Put the glass, and under it we place the lamp.
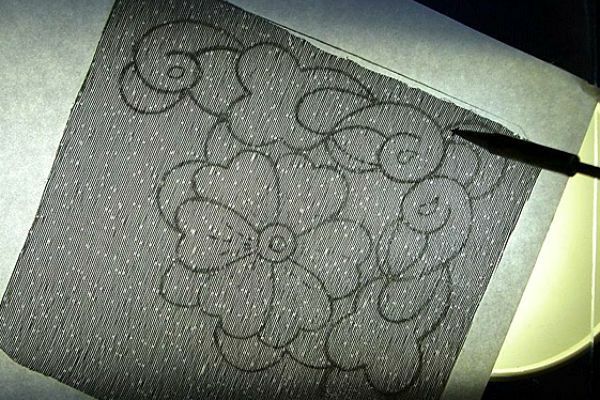
On the glass, put a sheet of paper with a patterned napkin pattern, and on top of the pattern put the silver cloth to the paper with the front side. The fabric will reflect the pattern from the paper. With the help of an incinerator or a soldering iron, we trace all the contours of the ornament.
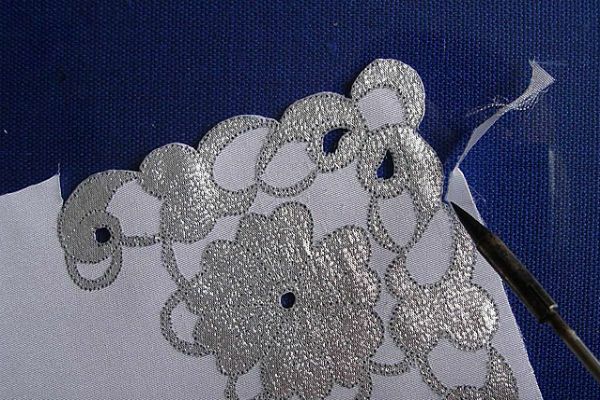
The pattern along with the fabric should remain on paper, and the excess fabric that is cut off the contour must be carefully removed.

Using a knife, remove all small, already pre-cut, pieces of fabric on the pattern.

The pattern remains stapled with a sheet of paper. From above on the pattern fixed with a paper we impose the basic fabric of 20х20 centimeters a face sheet to a sheet of a paper. Arrange the fabric so that the pattern is at the desired location. In this example, the pattern will be in the corner of the napkin. Using a burner or a soldering iron, you need to pinpoint the pattern in several places. Immediately after picking up the tissue site, you need to press down the point put by the soldering iron with your fingers so that the pattern and fabric are tightly interlocked.
Using a knife, gently pulling the entire napkin together with the pattern, you need to separate it from a sheet of paper. Thus, the pattern is transferred to the fabric.

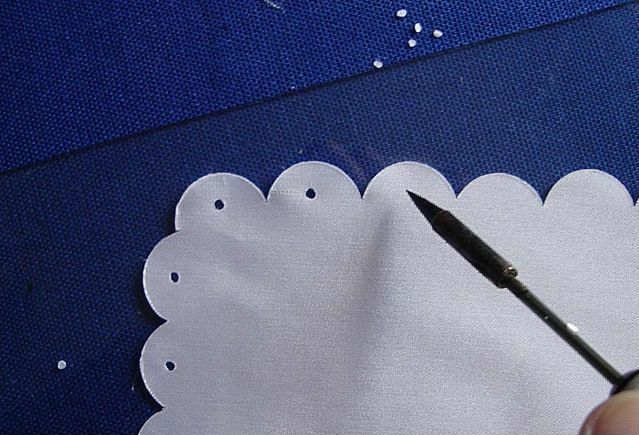
The next step is to use a soldering iron or an incinerator to walk through the entire pattern, do not forget to press the pattern to the fabric with your fingers. In the desired areas of the future napkin as a decoration on the pattern, you can make several through holes. Thus, the finish becomes an openwork.
On the outer contour of the finish you need to cut off any excess primary fabric with a soldering iron or burner.
We make out the entire outline of a napkin with a coin.
For a more openwork and as an additional decoration of the napkin in each cut out semicircle, a through hole can be made.
In this technique, you can also make multi-layered drawings. Each time a layer of tissue between each other should be pointed, but carefully fastened.
Guilloche on the skin
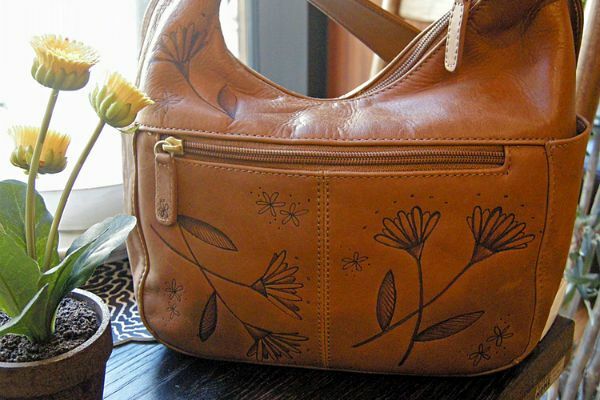
There is another direction of guilloche, in which the treatment lends itself to the skin. In this case, the burner is not used to create holes in the material, but to apply the pattern.
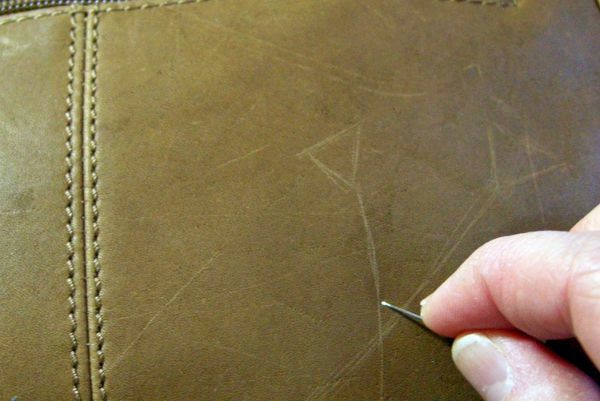
To master this art, you will also need some practice, so before working on the product that you want to decorate, practice on unnecessary lengths of skin.
Choose the appropriate item on which you will apply the drawing - for example, a leather bag or purse. To begin with, not a new product, which in case of which it will not be a pity to spoil. Remember that to create a contrast pattern, it is better to treat the skin of light shades.
Prepare a drawing that will be transferred to a leather product. It is best to look, for example, vegetable elements, but it is better not to use geometric exact figures. The selected picture is transferred to the tracing paper.
Now the drawing needs to be transferred to the skin with delicate strokes. To do this, you will need a pin or a thick needle.

After this, proceed to the direct burnout of the drawing. Do this slowly, without straining your hand.
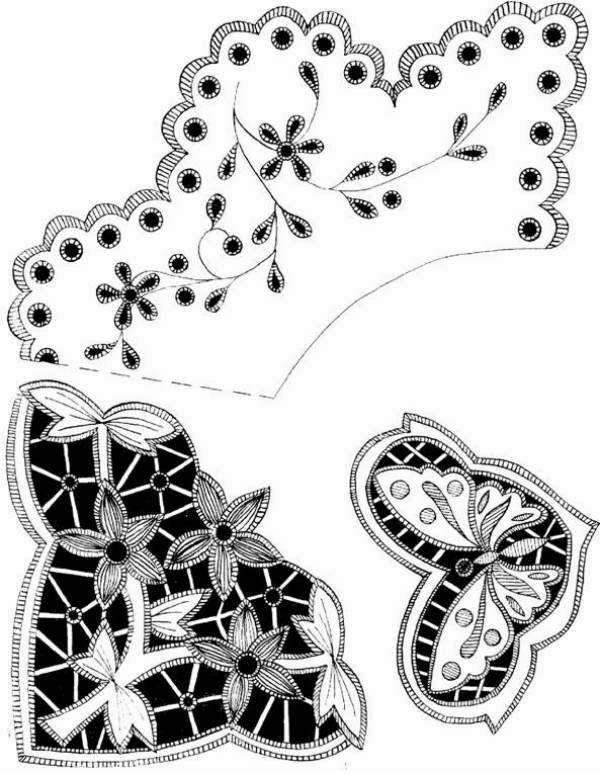
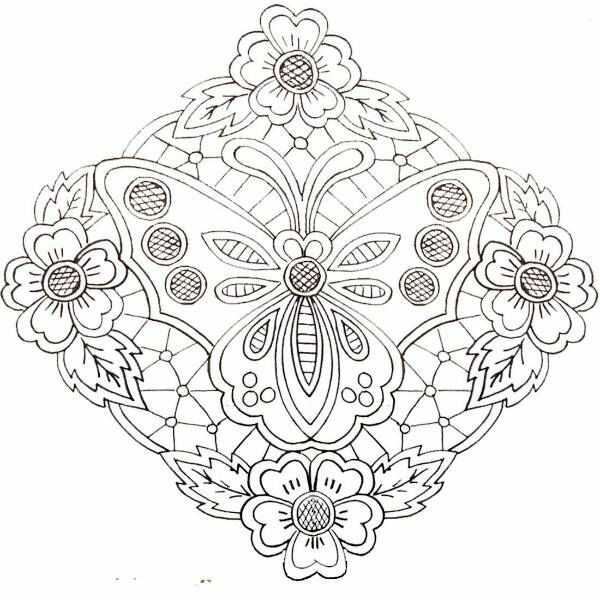
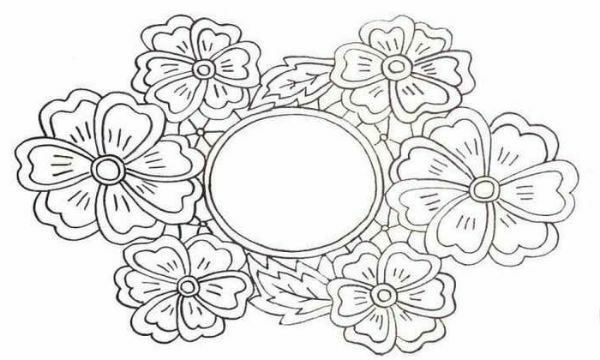
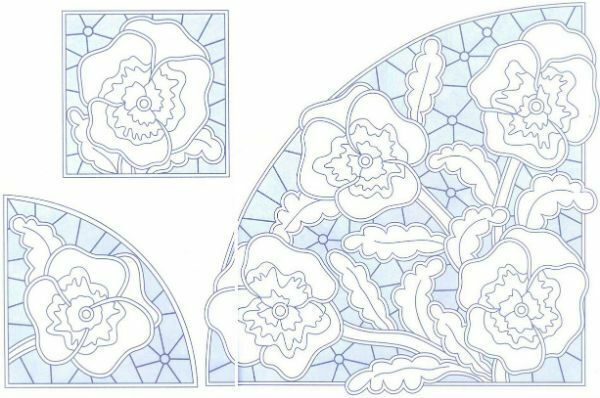
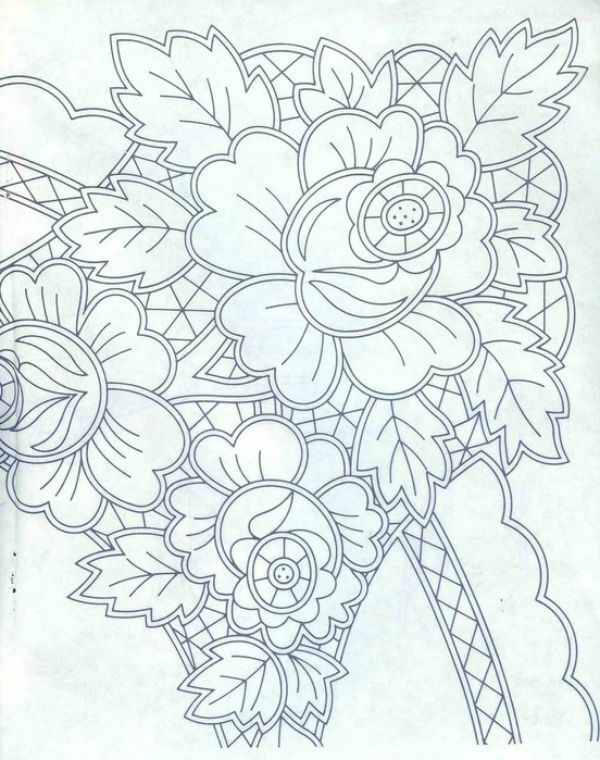
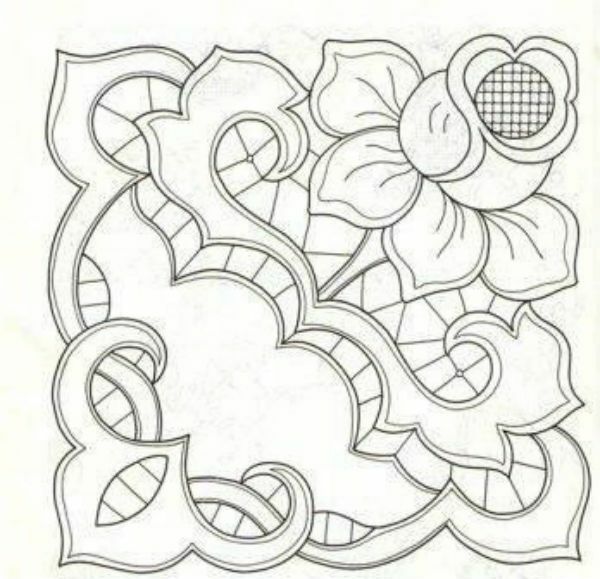
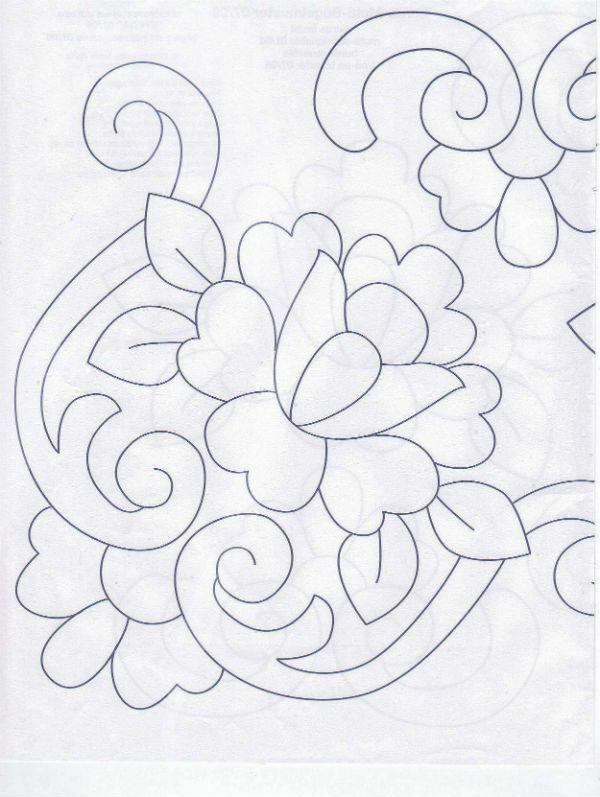
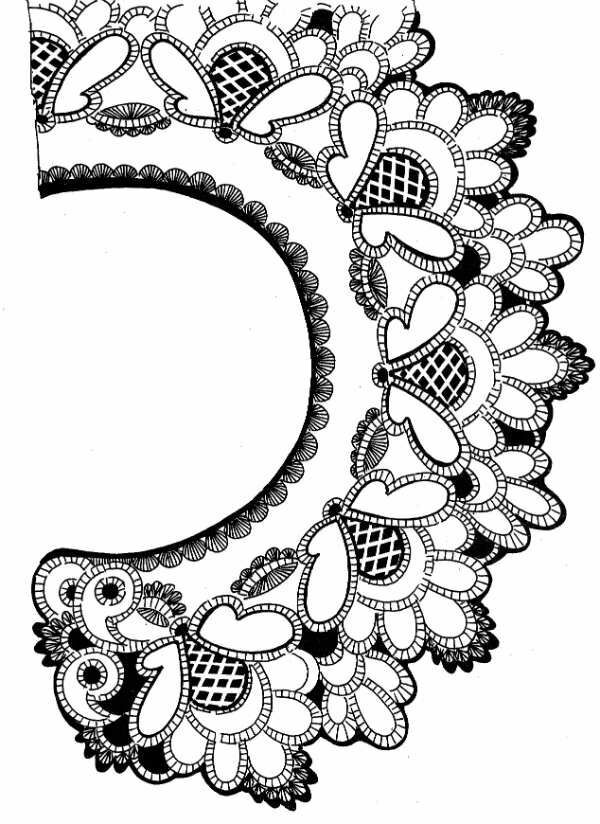
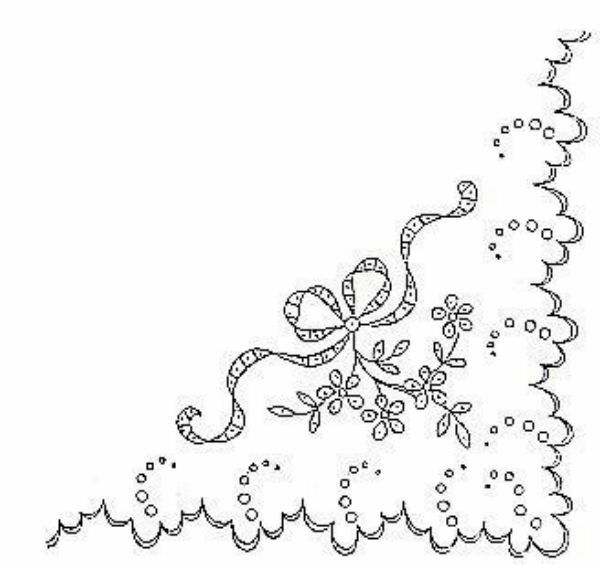
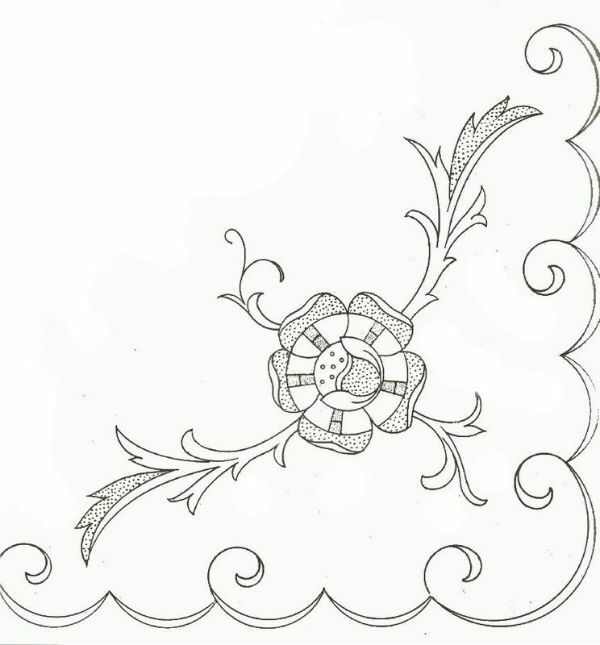
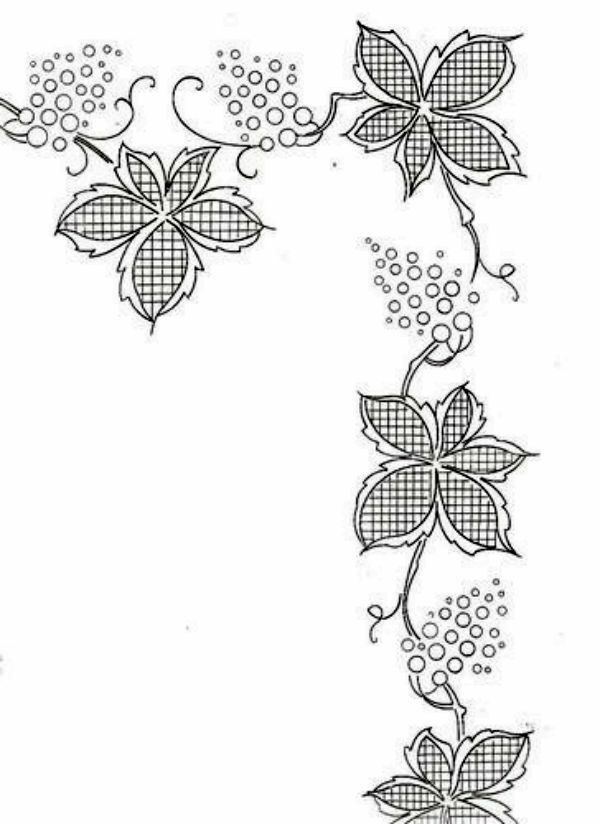
Stencils and schemes
Use the following universal stencils and diagrams.