
How beautiful to draw a ladybug on nails? The most interesting compositions with ladybug on nails.
Contents
How to draw a ladybug on nails: step-by-step drawing, scheme
Video With the approach of spring and in the summer is very relevant manicure with a picture of a ladybug. This small insect is able to bring into the female image a piece of sun, warmth and joy.
All women can decorate their nails with ladybirds regardless of age and status.
How to draw a ladybug on nails: step by step drawing, diagram
 How to draw a ladybug on nails?
 Draw a ladybug on the nails can be just a few different techniques - the choice of technology will directly depend on the size of the insect, its location on the nail and the concept of drawing.
If you plan to draw a ladybug not on the whole nail, but only on a certain area of it, you can use one of three techniques:
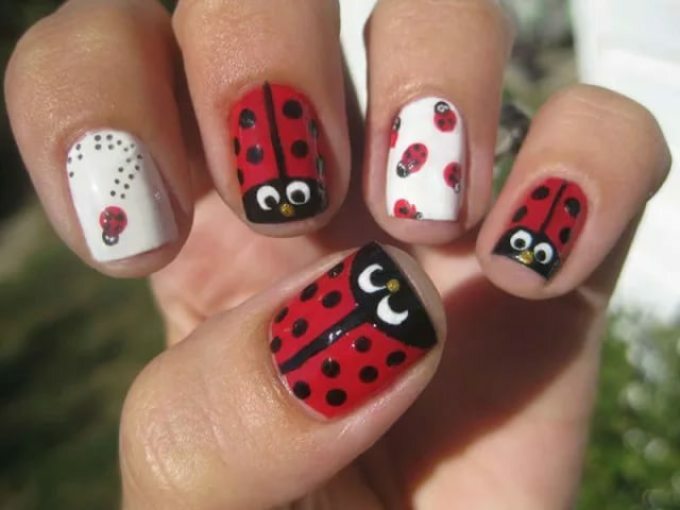
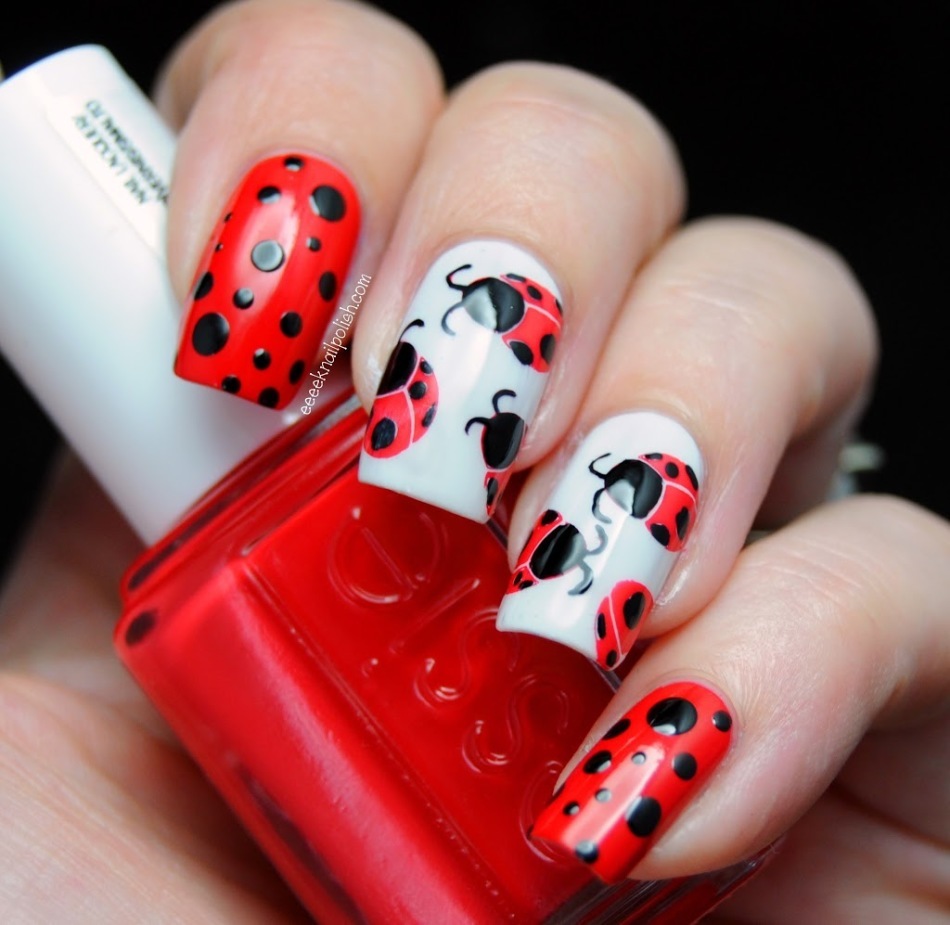
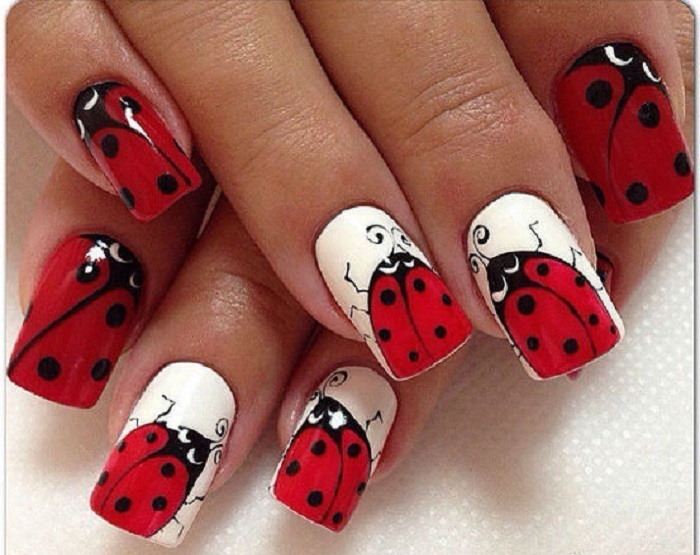
Technique # 1( ladybug - top view)
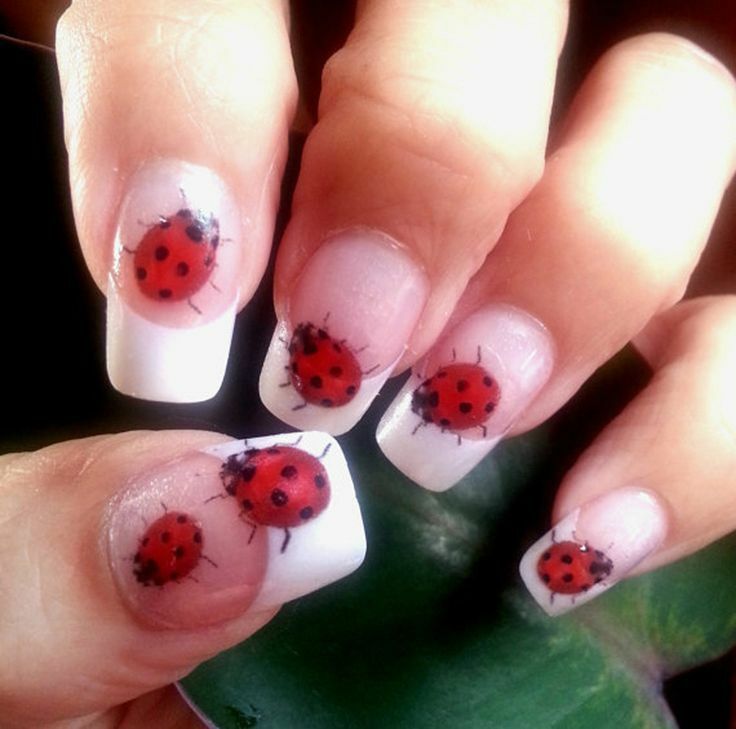 Ladybug on nails - top view
 - Prepare your nails - get rid offrom the overgrown cuticle, we put on the nail base layer of varnish.
- Choose the main varnish in such a way that it contrasts with the basic colors of our insect - it can be white, pink, pastel or green.
- First, draw the torso of the ladybug in red - draw a red circle.
- The contour of the trunk is drawn with a black line.
- On one side of the body we draw a black circle - this will be the head of our ladybug.
- On the head draw a white circle, in the middle of which we drip on a black dot - this will look like the eyes of an insect.
- In the middle of the body we draw a black line dividing it into two wings.
- Wings can be depicted and half-opened.
- Along the entire perimeter of the red torso, we place neatly small black or white dots - it's best to use a special device( dotz).
- White dots will be appropriate when the ladybug is very small - then it will not merge into one black spot.
- On the sides of the insect body we represent thin black legs.
Technique number 2( ladybird - side view)
 Ladybug on nails - side view
 - Preparing the nails and applying them to the base.
- First draw a torso - draw a red semicircle.
- Circle the semicircle with a black outline.
- We place black dots on the surface of the body.
- To one side of the semicircle, we draw a black circle - the future head of an insect.
- To the head of dorisovyvaem black rounded mustache.
- On the head we put two white dots with black pupils inside.
- Under the cropped part of the circle, paint four black legs.
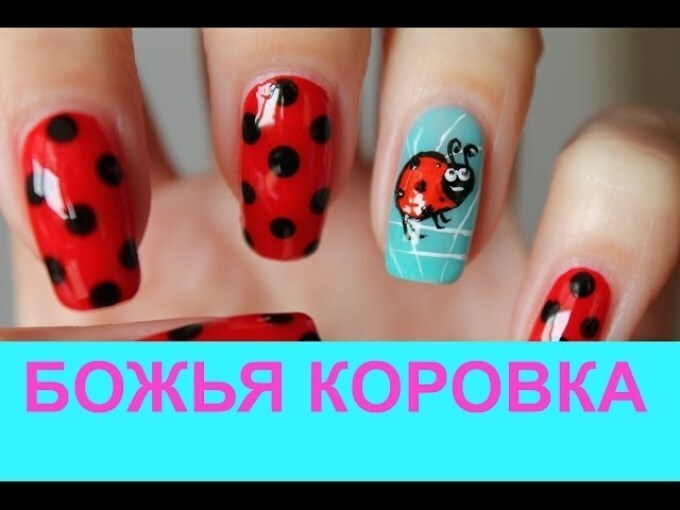
Technique # 3( ladybird in flight)
 Ladybird on her nails in flight
 - Apply the red paint to the nail two, looking upwards, the petal - these are the wings of the insect.
- Drawing black wings.
- On the upper edge of the wings we draw a white strip symbolizing the fenders.
- Black paint on the joint of the petals of the circle - it will be the head of a ladybug.
- Under the joint, draw a black semicircle with two legs, which will act as the lower part of the trunk.
- On the surface of the fluttering wings we arrange white dots.
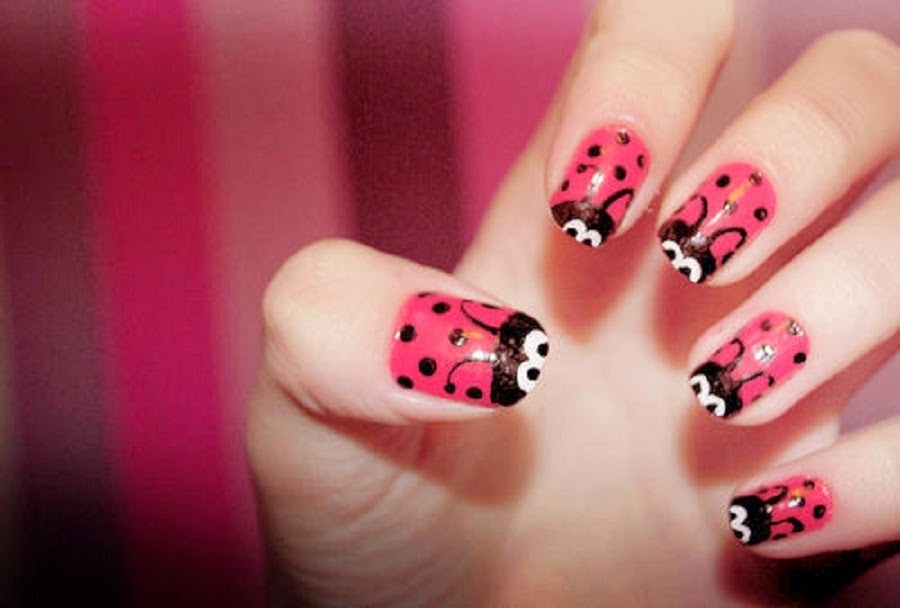
Ideas for beautiful manicure design with ladybirds - gel lacquer, shellac: photo
 Ladybugs in manicure, varnished, gel-varnish
 When creating a manicure with ladybug with gel-varnish, the following points should be observed:
- Thoroughly degrease nails.
- Apply primer to them.
- Cover the nails with a base layer of gel-varnish and dry it thoroughly in a lamp.
- In the process of drawing, it is necessary to thoroughly dry each layer of gel-varnish.
Bulk ladybug on nails: photo
 Bulk ladybug on nails
 In order to create a voluminous ladybird, it is necessary to observe the following algorithm of actions:
- Prepare nails for manicure - remove the cuticle and make the desired shape( ideal is rectangular, but oval, almondsand feline marigolds also fit).
- We cover the whole surface of the nail with a varnish or gel-varnish of red color.
- The tip of the nail is painted black, making an oval or rectangular shape - thus, the insect will have a head.
- In the middle we draw a black line, dividing the torso in half.
- We place black dots on the whole surface of the trunk.
- On the black tip, we first set two white dots, and in them - on a black small dot.
 Volumetric ladybug in manicure
 The voluminous ladybug on the nail can also be made inverted. To do this, paint the black not the tip of the nail, but its base or corner.
 Inverted ladybug on nails
 If you make an insect's muzzle in the corner of the base, then the dividing strip should be made obliquely - this option will be even more interesting.
Manicure - ladybird on chamomile: photo
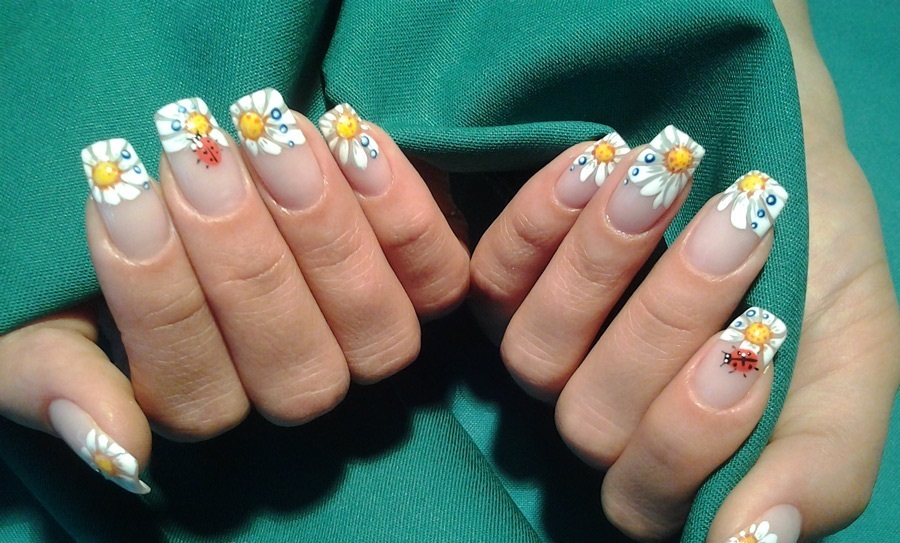 Ladybird on nails on chamomile
 - To perform the ladybug itself, you can use one of the techniques described above.
- To depict a camomile on the nail, it is advisable to listen to the following clues:
- At the base of the nail, we draw a yellow or orange oval - this will be the middle of the flower.
- Next, draw the white petals that depart from the center of the daisy.
- If desired, you can depict the green leaves that frame the flower.
- Already on the finished, dried camomile draw a ladybug.
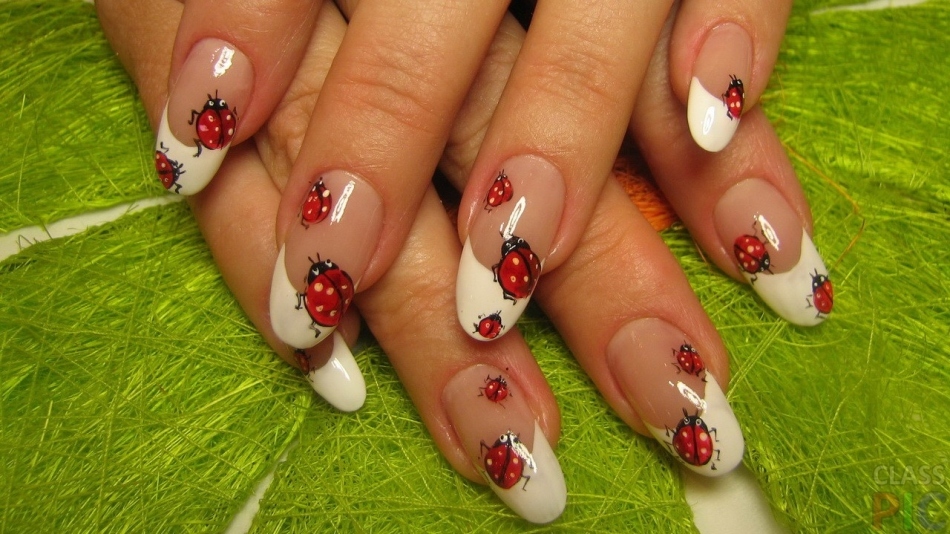
Stickers for nails with ladybug: photo
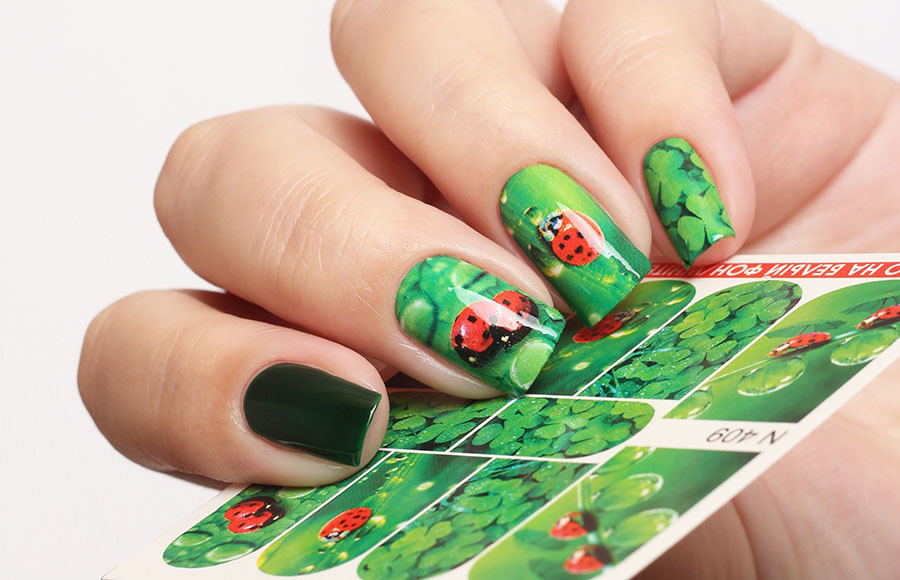 Nail stickers with ladybirds
 - Thanks to the rapidly developing industry of nail art, on sale today you can find a huge number of accessories for manicure.
- These include special sliders or stickers.
- Similar devices at times facilitate the work of masters of manicure.
- With their help you can apply a nail a complex pattern, portrait or even a landscape.
- Pretty popular today are stickers with ladybirds.
- With their help you can create a unique, perfect composition, the main element of which will be the insect itself.
- Here are some interesting interpretations of using sliders with ladybirds:
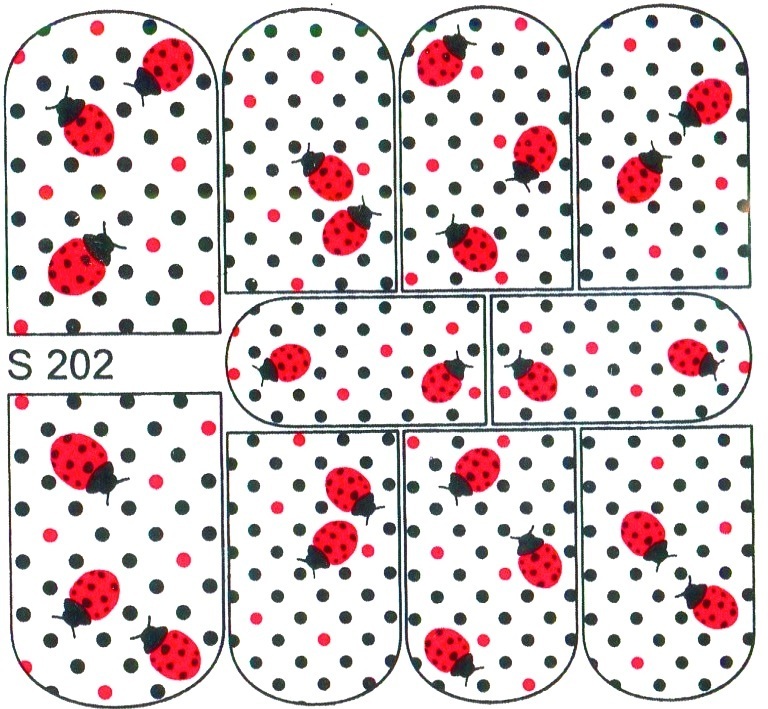 Labels with ladybirds and peas
 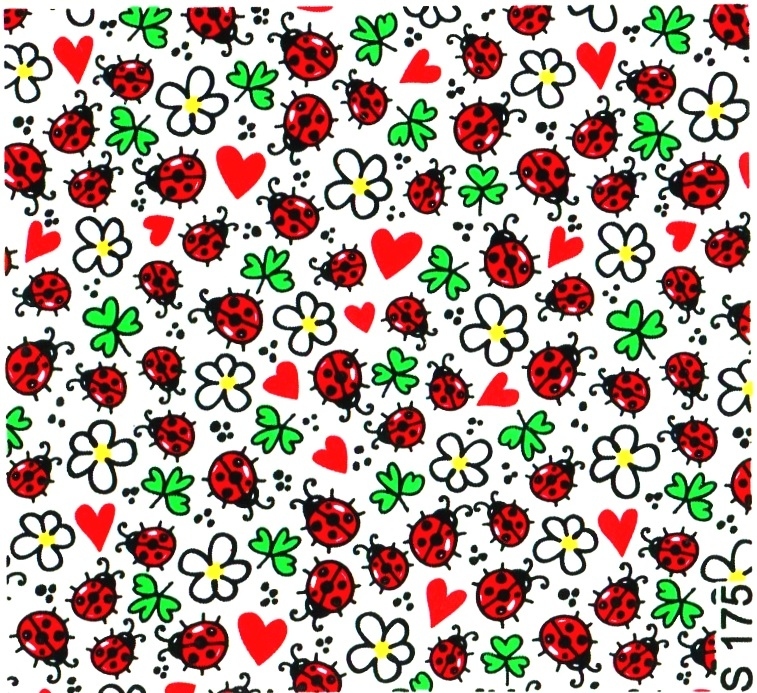 Water stickers with ladybirds
 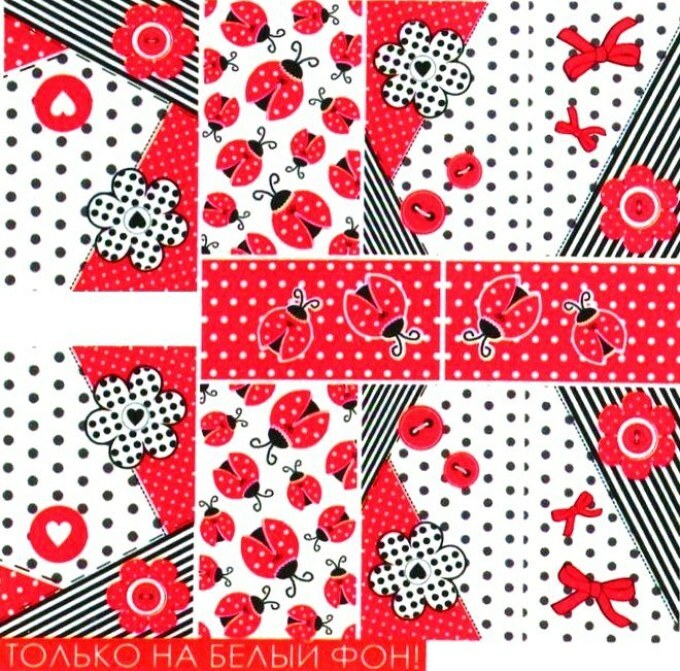 Stickers with ladybirds, buttons, flowers and bows
 Ladybird on short nails: design, photo
 Ladybugs on shortNails
 - To depict or glue ladybugs on short nails is quite difficult, because in such cases there is a very painstaking and scrupulous work.
- Only small insects will be suitable for short nails.
- If the nails are short, but have a beautiful shape, the voluminous ladybird depicted on them will make an excellent decoration element.
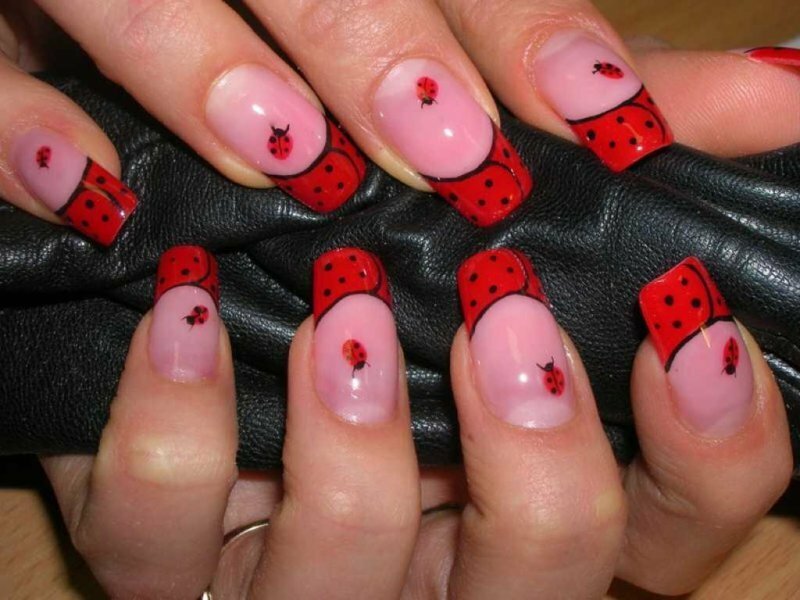
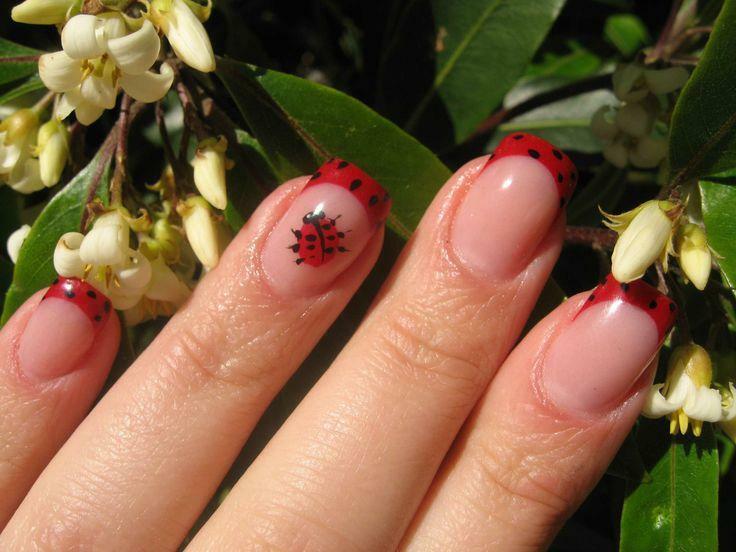
French on the nails with ladybug: photo
 French with the ladybirds
 The first thought that comes to mind when referring to the words "a jacket on the nails with a ladybug" is a classic jacket with a white border or a white moon and a ladybird decorating the tip orthe base of the nail.
But experienced manicure masters can offer a whole list of interpretations of a jacket with ladybug:
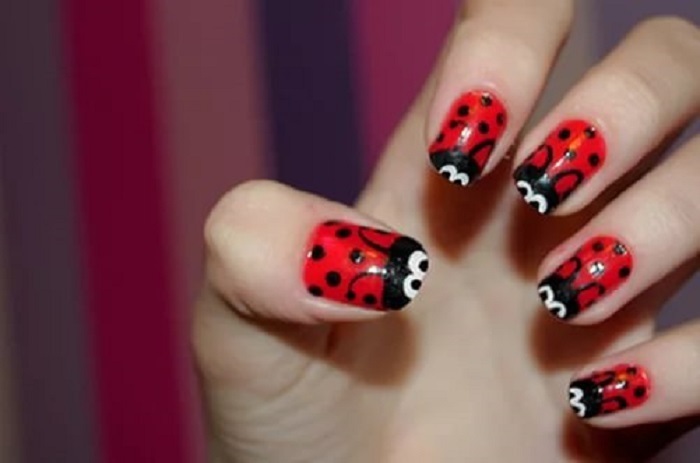
 Black and red jacket with ladybug
 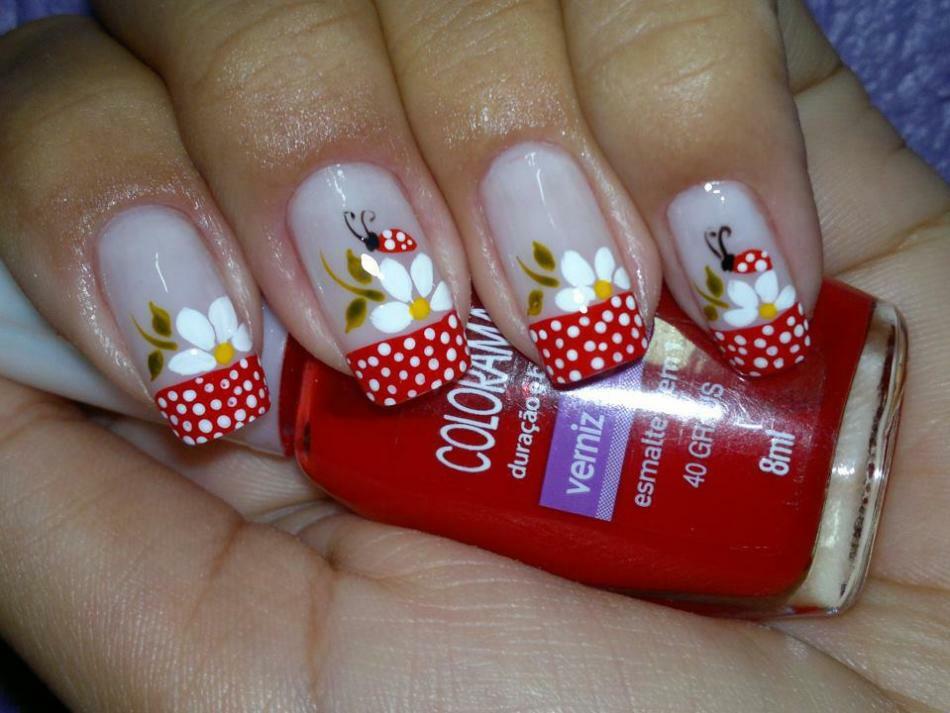 Red and white jacket with ladybug
 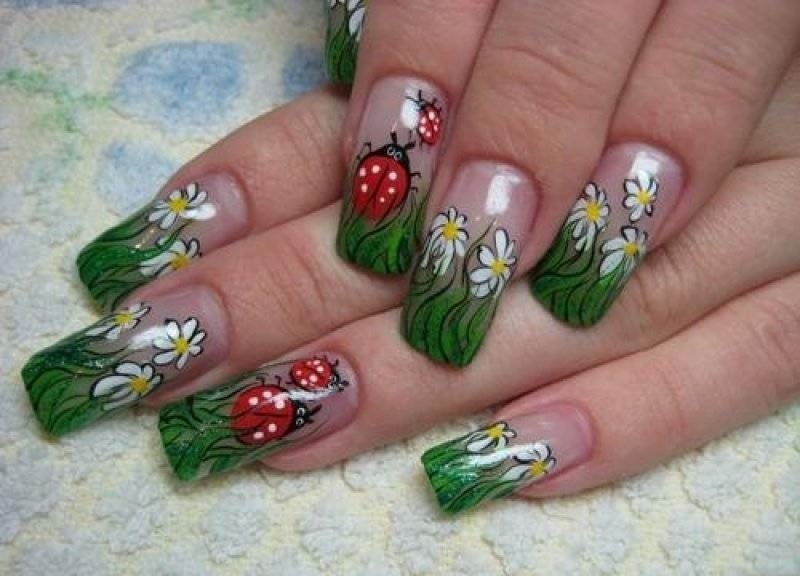 French with flower and ladybug on tip
 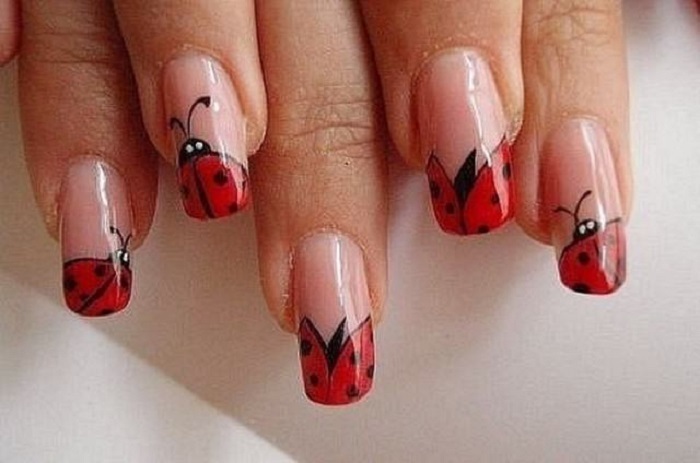 French with half ladybird on tip
 GodLadybird from the rhinestones on the nails: Photo
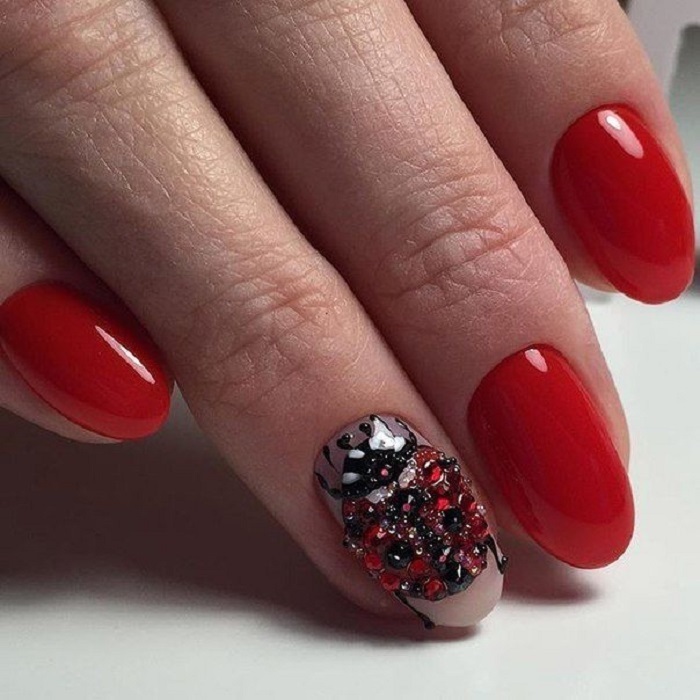 How to make a ladybird of rhinestones on the nails?
 Here is the algorithm for creating a Ladybird from rhinestones on nails:
- Prepare nails.
- We apply the base coat.
- Draw the ladybird - first the red body, then the dots and the head.
- If the ladybug is done with gel-lacquer, before spreading the rhinestones, dip the orange stick into the gel-lacquer.
- If an insect is created with the help of a usual varnish, then we use special cosmetic glue and fixer.
- We glue the red strasses over the whole surface of the body of the ladybug - do not forget to insert the inclusions from the black crystals.
- Eyes can also be made with pearlescent or white rhinestones.
We hope that all the life-hacks mentioned in the article will help you create a unique and colorful manicure with a ladybug.