
It happens that you need to visit some kind of party, and there is not enough money to go to the beauty salon. In this case, you can arrange a beauty salon at home.
In particular, you can easily make yourself a chic manicure that fits your outfit. Next, let's talk about how to draw patterns on nails with different tools yourself.
Contents
- Patterns on the nails for beginners step by step
- How to draw a pattern on the nails with a brush?
- How to draw a pattern on the nails with a toothpick, a needle?
- Patterns on nails DOTS
- patterns Schemes on nails
- Geometric patterns on the nails
- original designs on nails
- dot pattern on nails
- black pattern on nails
- Patterns on nails acrylics
- Patterns on nails Gel lacquer
- Patterns on nails varnish
- Patterns onnails with foil
- Patterns with rhinestones on nails
- Patterns from stones on nails
- Patterns of sand on nails
- What pattern to draw on nails?
- Video: Beautiful needle patterns
Patterns on the nails for beginners step by step
Carefully executed pattern in the form of a pattern always evokes the surrounding. And various experiments are welcome. If you master the general technique of performing these drawings, then it will not be difficult to perform a complex design.
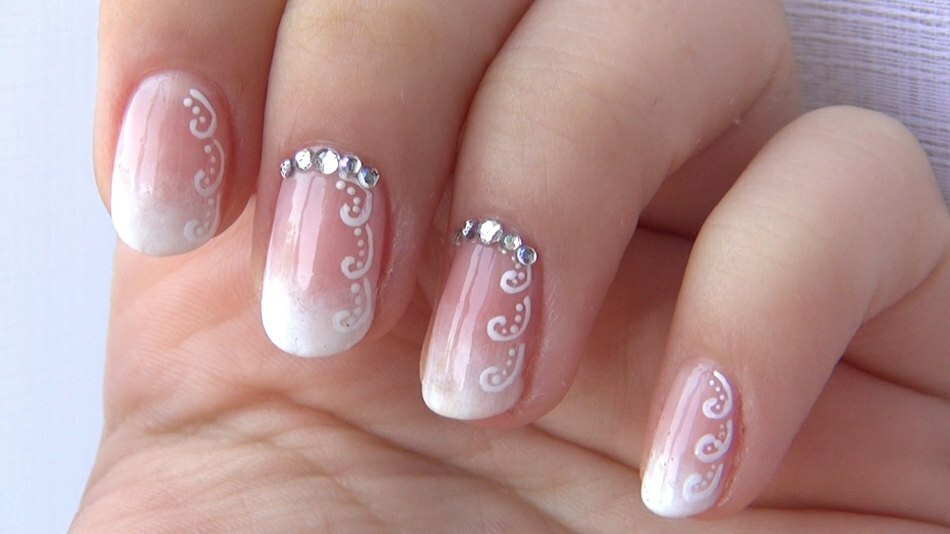 Delicate wedding manicure - patterns with crystals
 This technique( drawings on nails) - is called nail art .Beginners are encouraged to use the following tools :
- Special brushes for creating patterns on nail plates
- Dots, needles of different thickness
- Toothpicks
- Napkins without pile
 Paint brushes
 In what sequence is the pattern created on the nails?
- First cover the nail plates with a colorless, protective varnish. This will prevent damage to them, protect them from all sorts of scratches when creating drawings with sharp objects.
- Apply the base - the varnish that you have chosen as a base under the pattern, rest for ten minutes, until it dries
- Begin to create patterns
- Dry the drawings
- Then fix the result with fixer
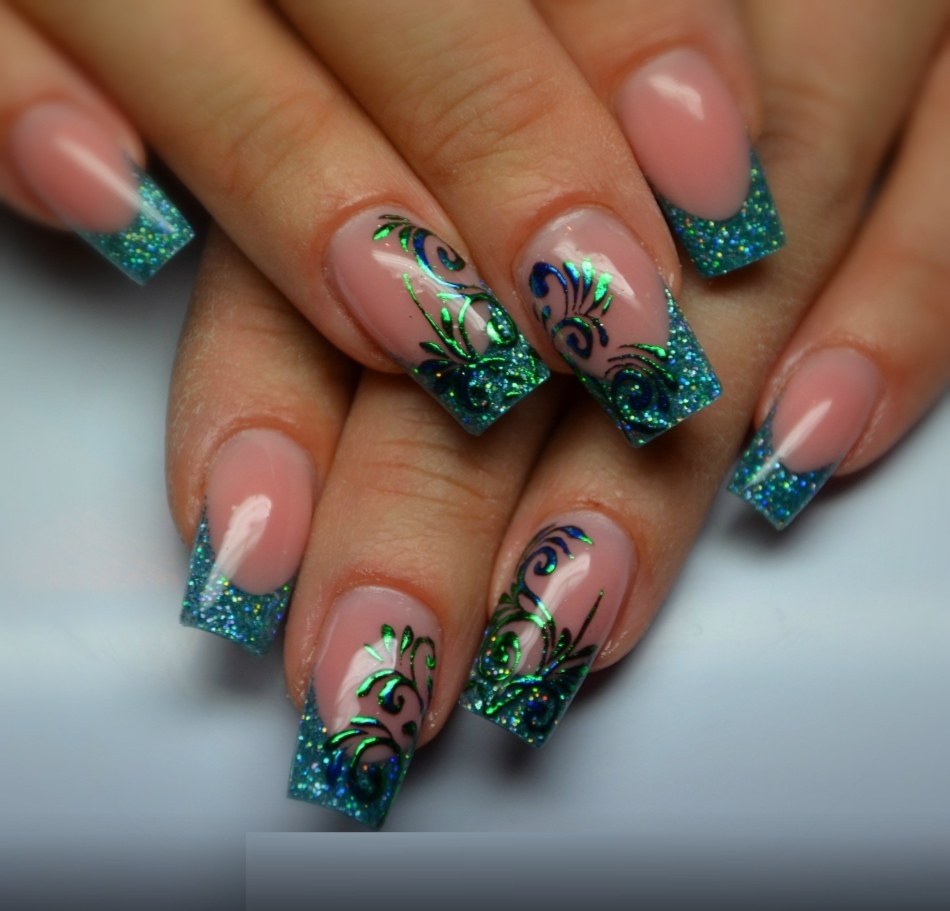
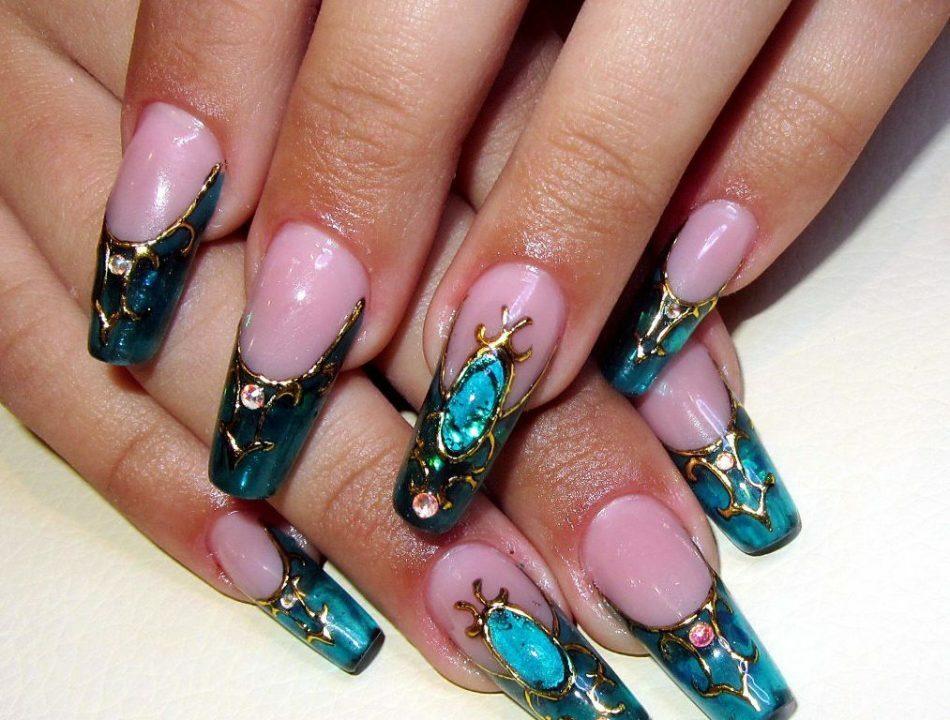
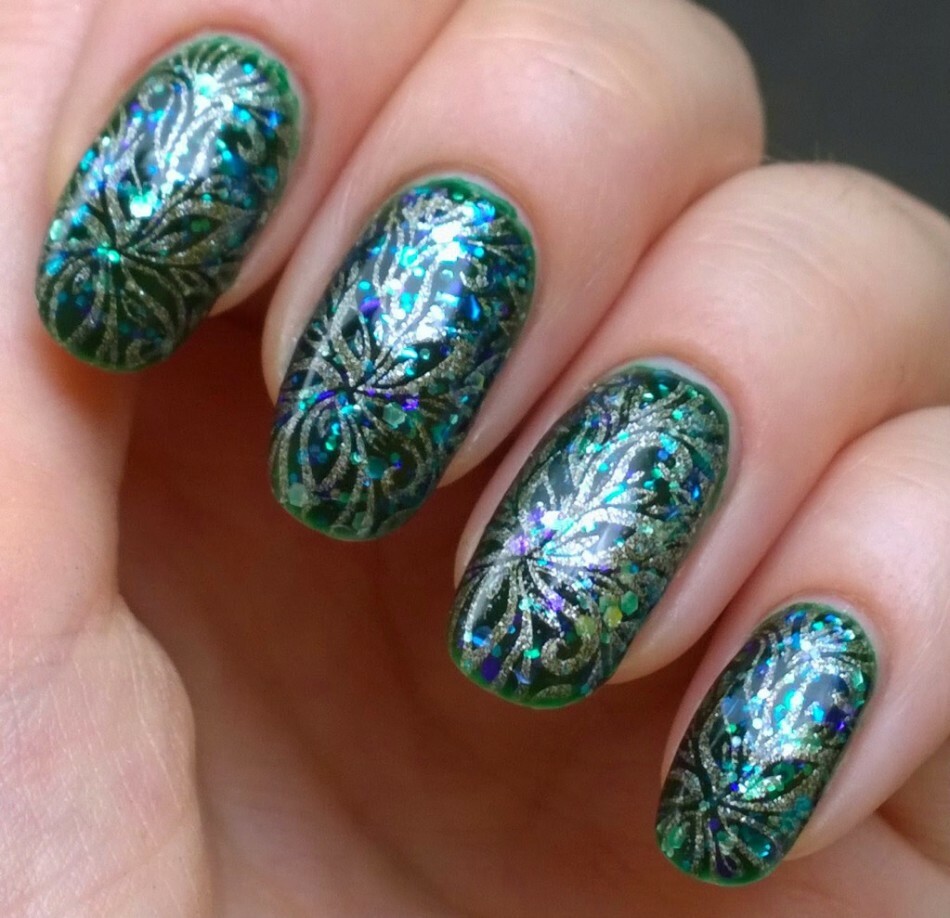 Nail design. Very beautiful pattern on a green basis
 How to draw a pattern on the nails with a brush?
To create a masterpiece on the nails with a brush, you will need at least some experience in drawing. After all, if you can not draw, then make a delicate pattern on the nail plates you will be very, very hard.
Because the lines should be smooth not tear, besides the pressure of the brush is also required to withstand the required thickness. Otherwise, the manicure can turn into sloppy blots on the nails.
 How to draw a brush on the nails?
 To create a pattern:
- Prepare the nails, make even ends, cut off the cuticle, polish the surface
- Apply
- coating. As the clear layer dries, paint the nails with the
- base paint. Now take the brush, start removing the patterns from the nail tip.
- . When the pattern dries, applylacquer
 Beautiful manicure with patterns, colors, made with a brush
 IMPORTANT : Before creating a stylish drawing on the nails with a brush, practice on paper. Even for such a design, you need to choose a brush of good quality from natural material, so that villi do not vylazili and do not crumple in different directions.
How to draw a pattern on the nails with a toothpick, a needle?
To make the drawings on the nail plates do not merge, choose contrasting shades of varnish. If the tones differ little from each other, you get an indistinct pattern, the pictures merge. Create a drawing with a toothpick, a needle can even beginners. It is enough to study the technique and procedure of action.
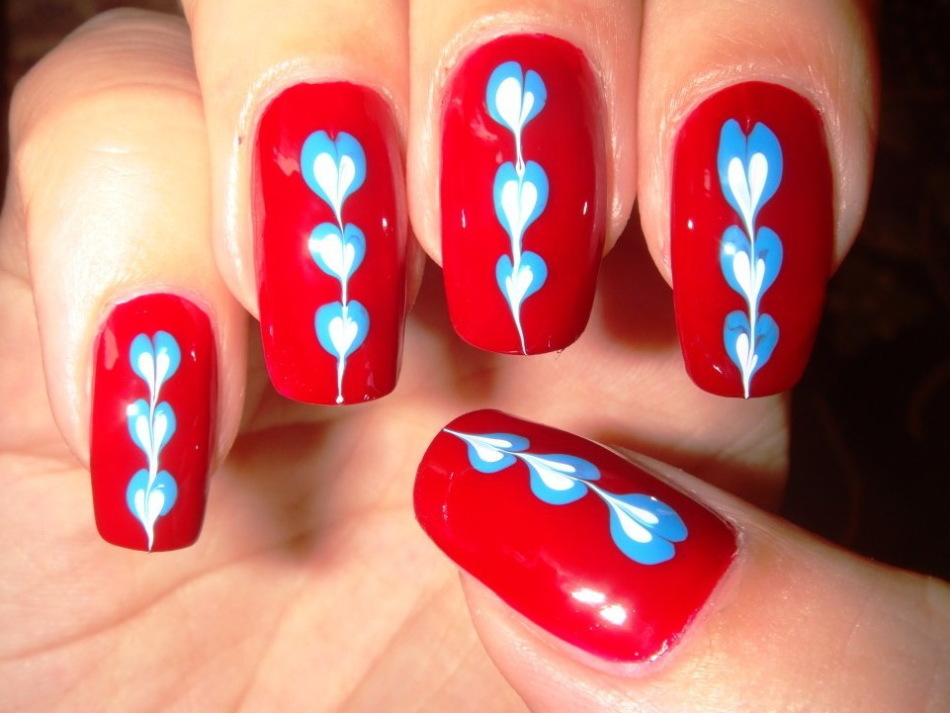 Original design created by toothpick on nail plates with red base
 Tools and materials for patterned needles, toothpicks:
- Varnishes for drawings, base, lock
- Scissors for manicure, nail file
- Needles, toothpick
- Sponge, liquid to get rid of unnecessary strokesaround the nail plate
 Manicure with a toothpick and needles of various thicknesses
 Step-by-step instruction :
- Prepare the field of activity - bring the nails in order
- Apply a coating so that it will not later be otsato cut the marigold plates
- After drying, make nails with the base
- Put in the right places points or draw lines
- Take a toothpick and stretch neatly on the surface of the nail from the dots or lines patterns
- When everything is dry, fix the pictures and the base so that the manicure does not deteriorate after the firstwashing dishes
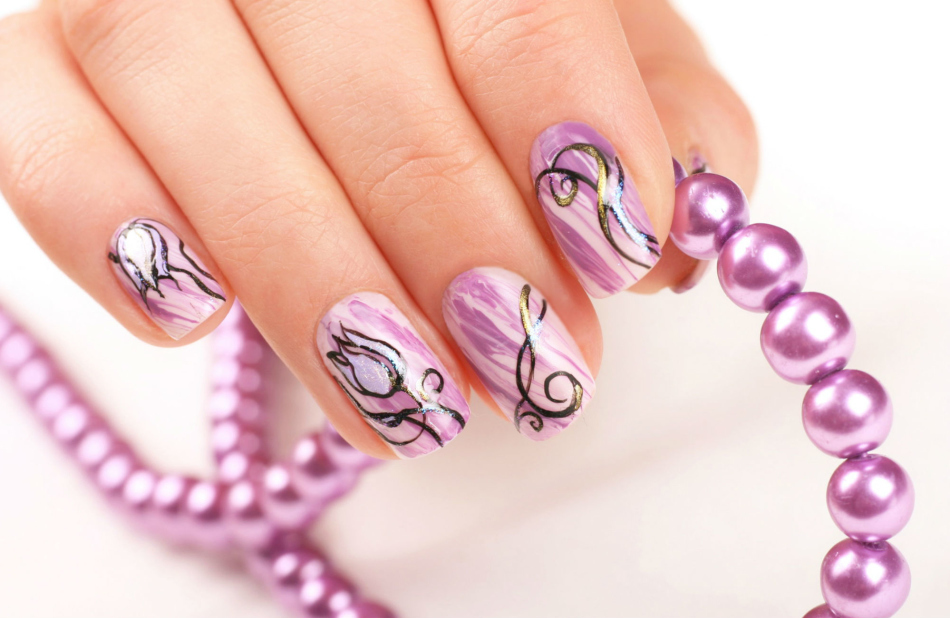
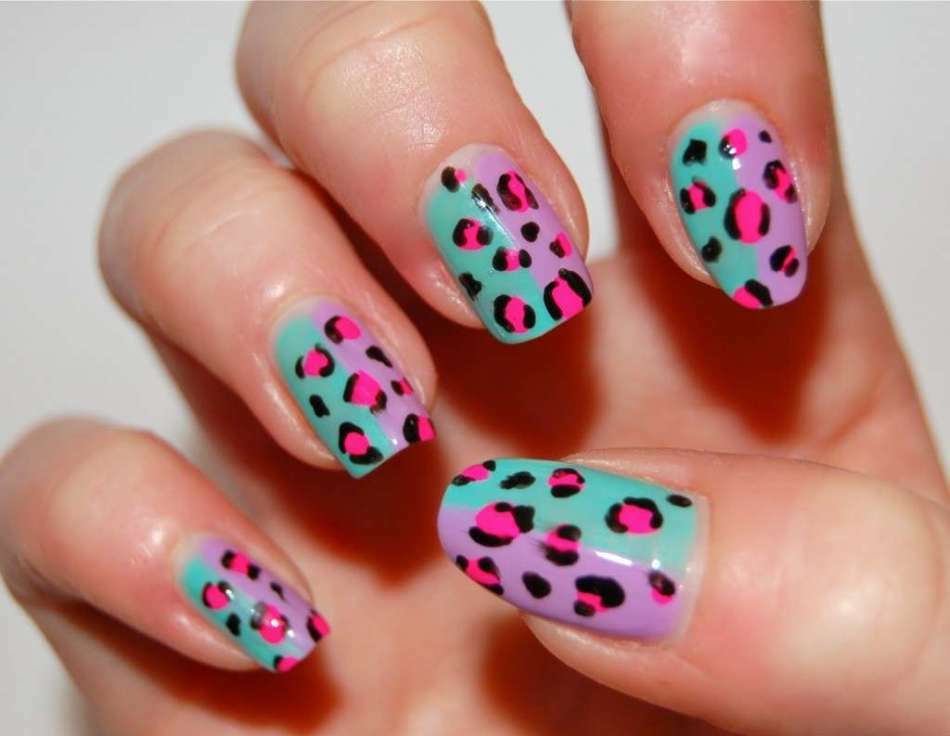
 Cute patterns on the nails, painted with a needle, brush
 Patterns on the nails with the dots
Dotts has found wide application in nyl-design due to the convenience of use. With the help of this tool, you can draw various shapes with rounded lines of different thicknesses. And the thickness of the lines depends on the size of the ball of the dots.
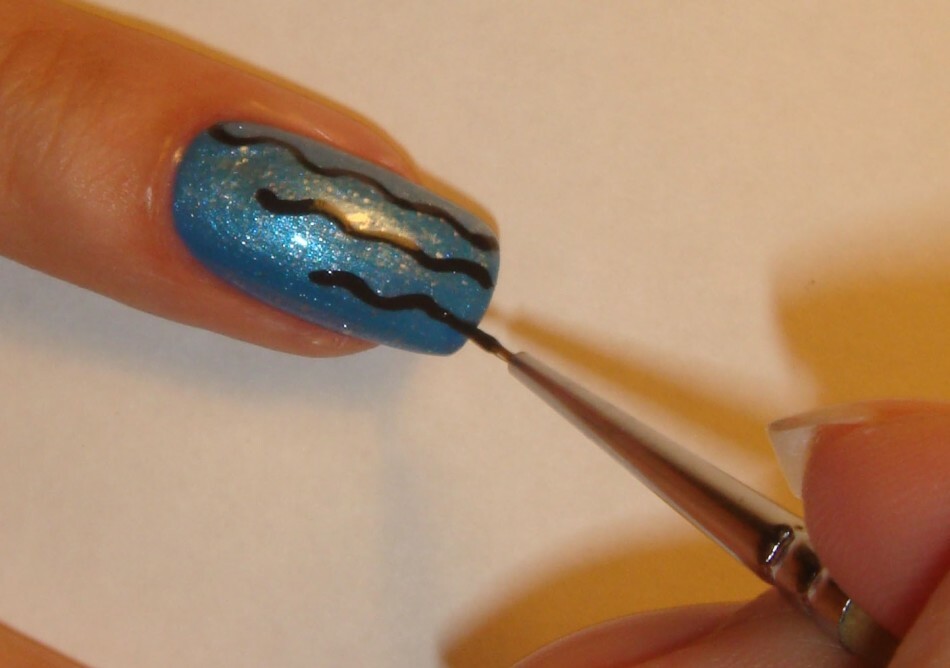
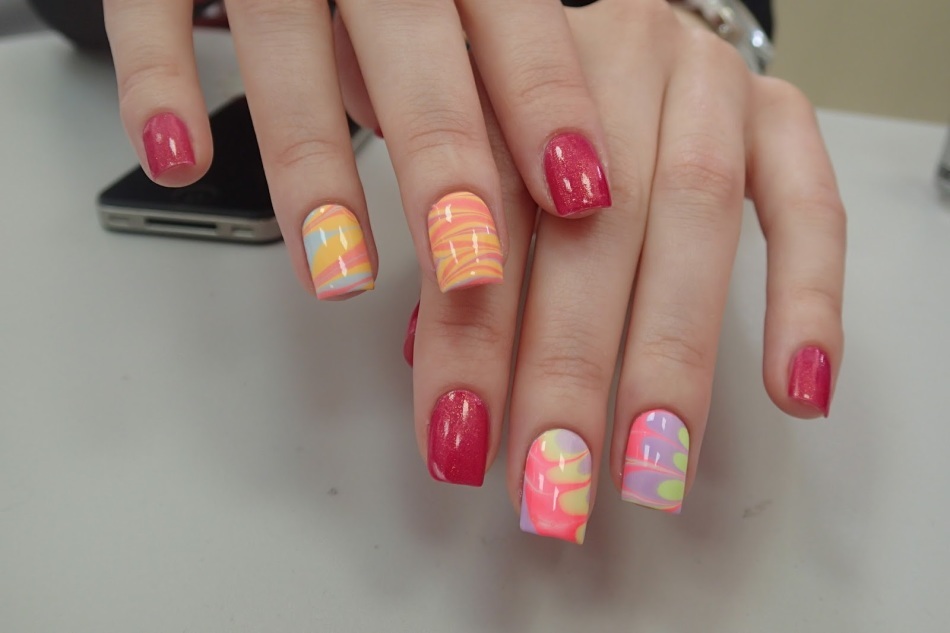
 Bright nails design with the dot-dash
 In addition, you can put dots on the nail plates, draw various lines and bring out the petals of flowers. Next, see examples of interesting drawings on the nails with such a tool.
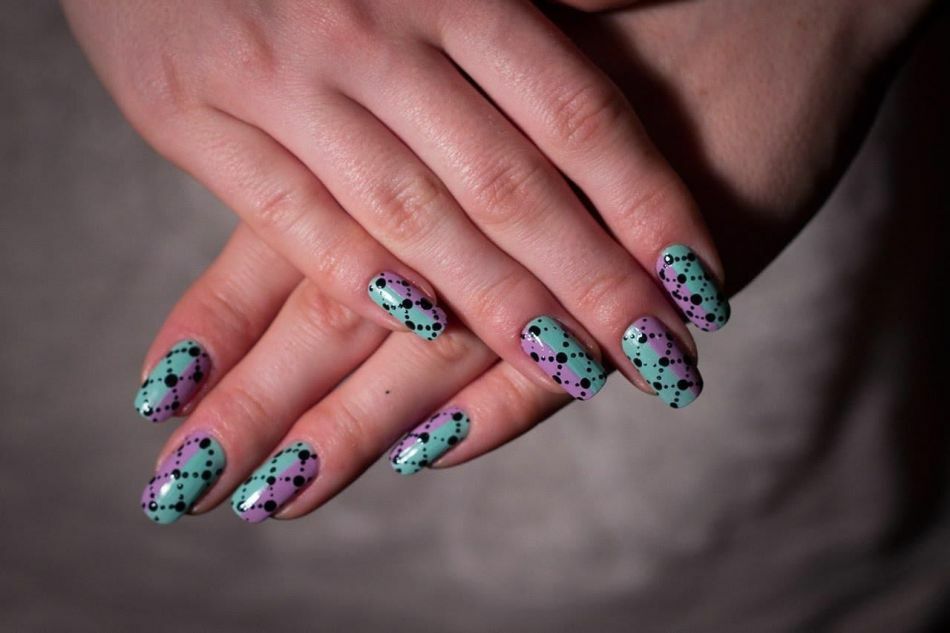 Symmetrical drawing on nails with dots.
 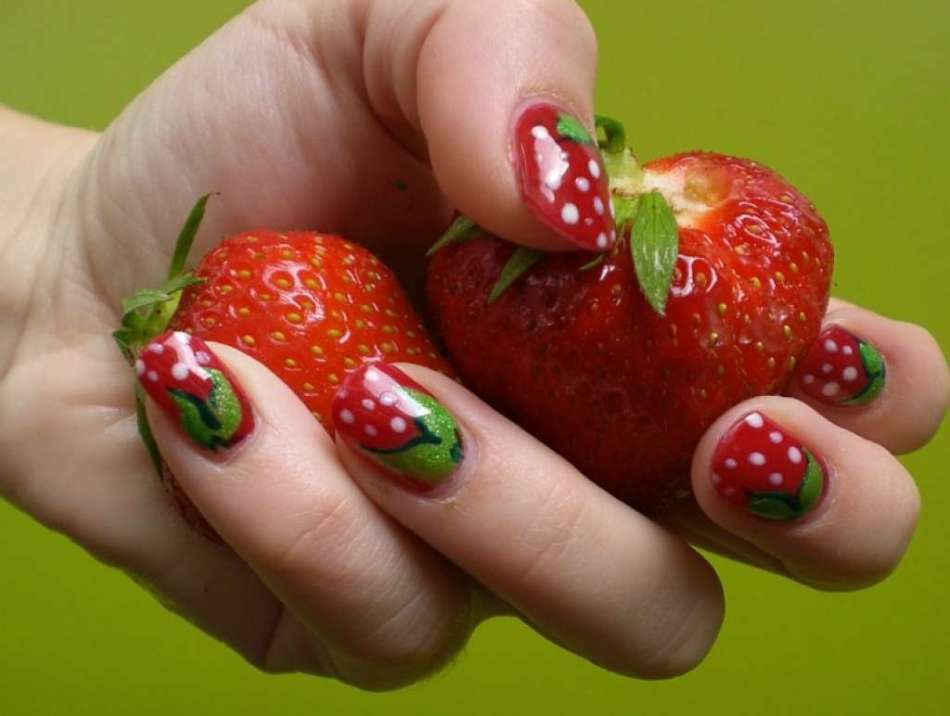 . Simple pattern on nails with dots. Strawberry
 IMPORTANT : If there is no such tool at hand, then it will be replaced by a usual ampoule. Patterns ampullum will be no worse than dotsom.
Schemes of patterns on nails
With the help of schemes you can draw unusual patterns on nails. Thanks to such auxiliary materials, you get a beautiful design, and you do not have to invent anything, just create drawings on the lines arrows points, directions.
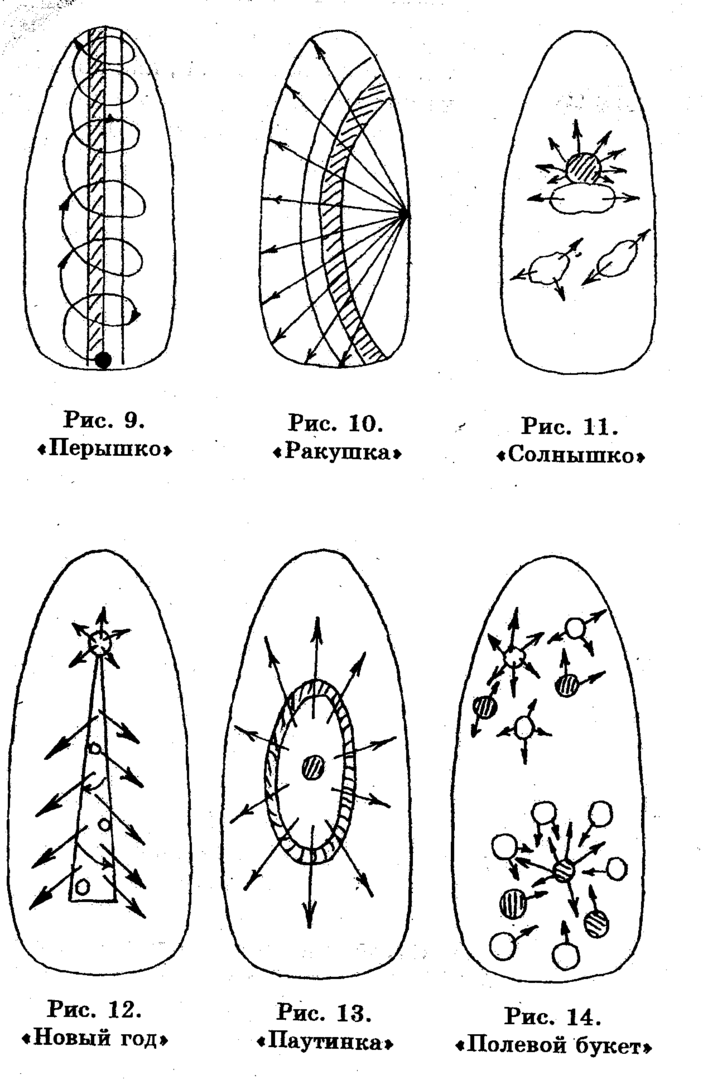 Diagrams for creating the nail plate design
 Geometric patterns on the nails
If you decide to draw various geometric shapes on the nails, then choose contrasting colors. If straight lines - not your horse, then apply for drawing auxiliary materials - tape from the plaster. See the examples below.
 Bright geometric pattern on nails
 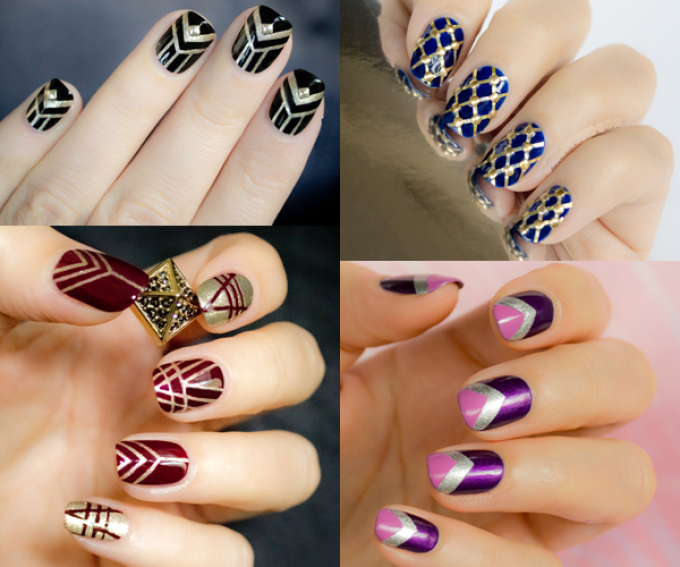 Design of short nails. Geometric drawings
 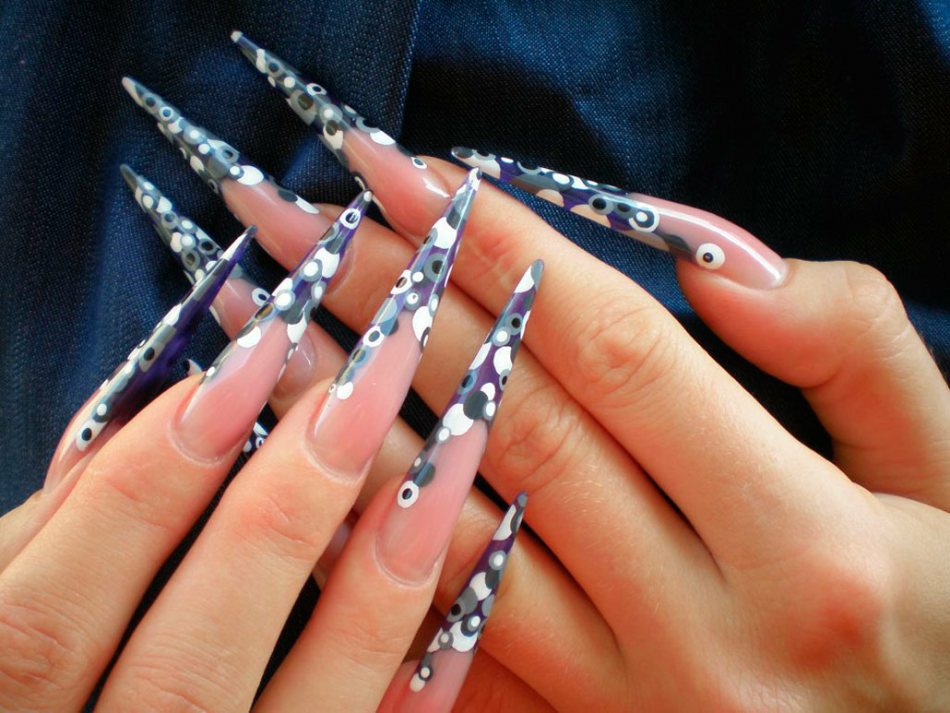 Geometric drawing on long nails
 Original patterns on nails
See examples of original patterns on nail plates.
 Beautiful, stylish pattern on long nails
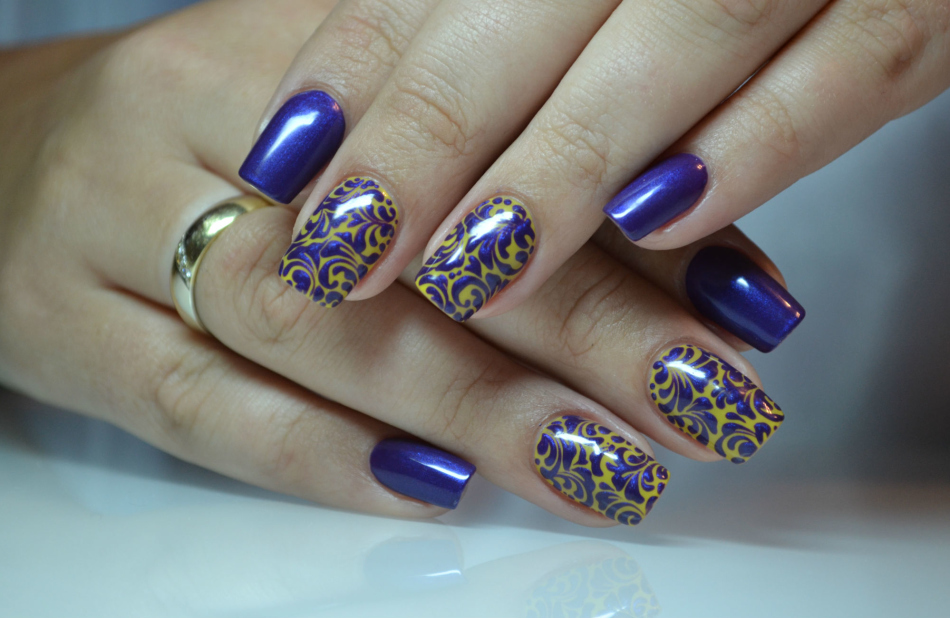
 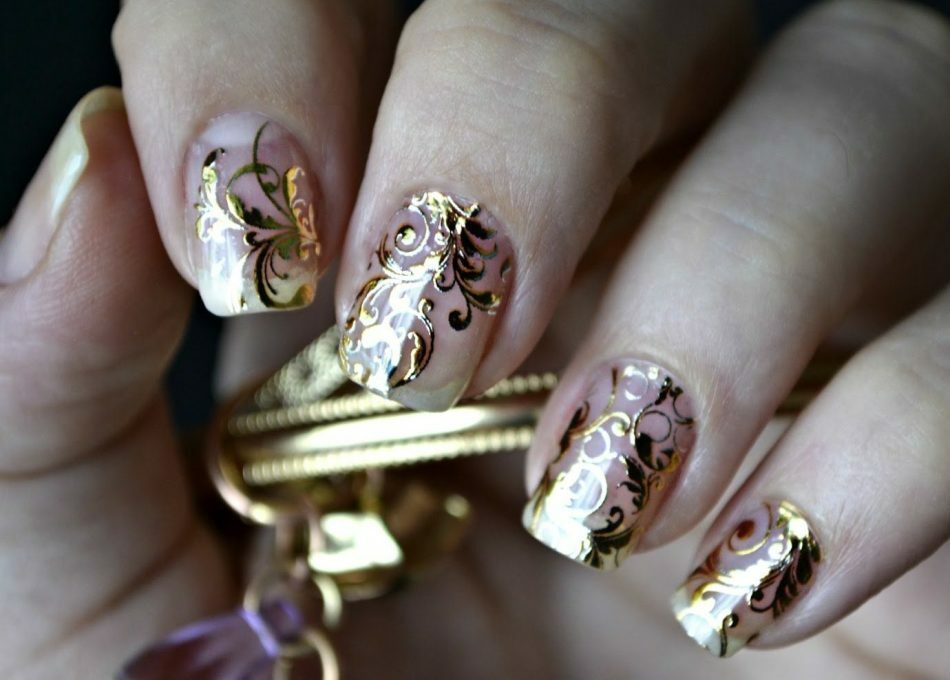 Patterns on nails in Oriental style
 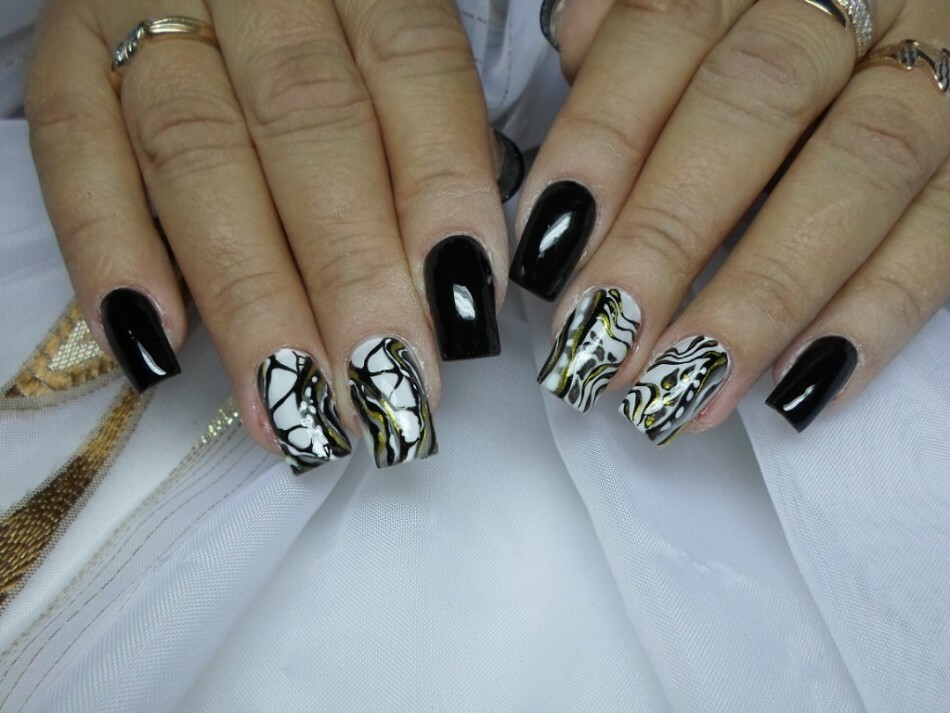 Original patterns on nails from stylist
 Point patterns on nails
Point patterns look stylish and yet fun, if they are executed accurately and the colors are chosen correctly.
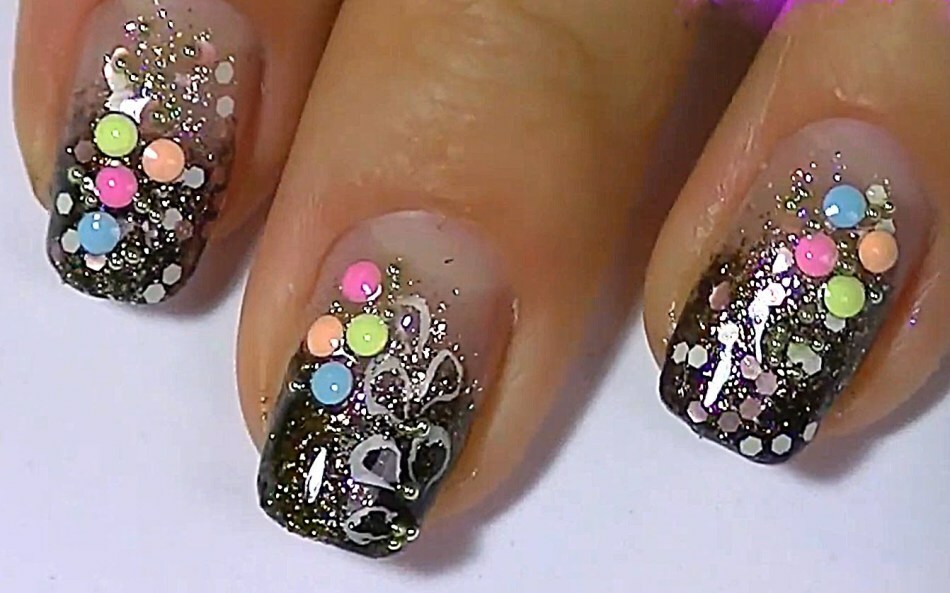 Stylish manicure with patterns and dots
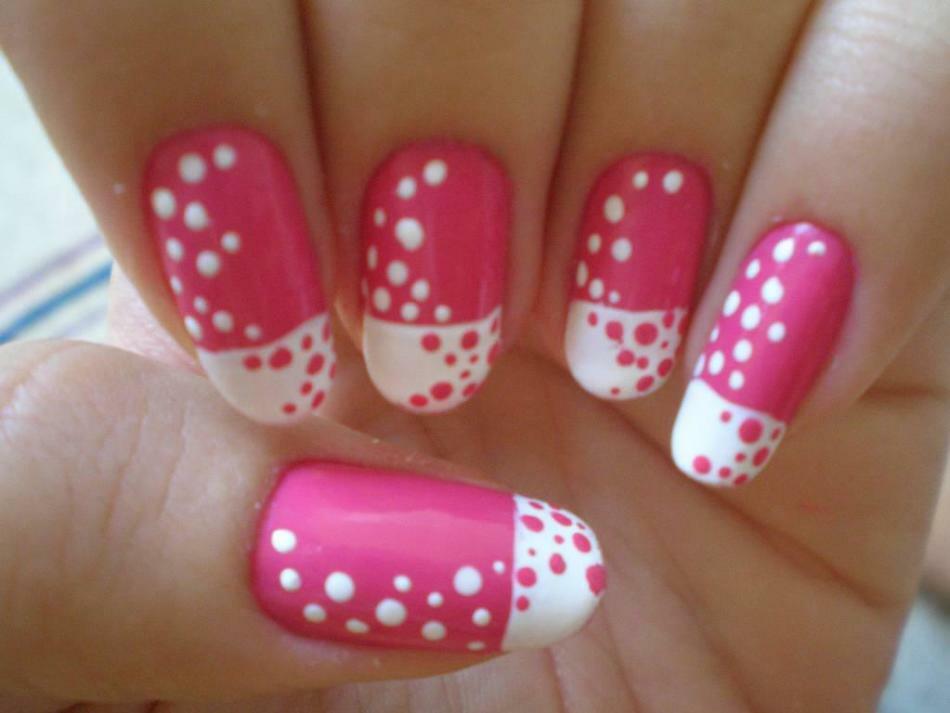
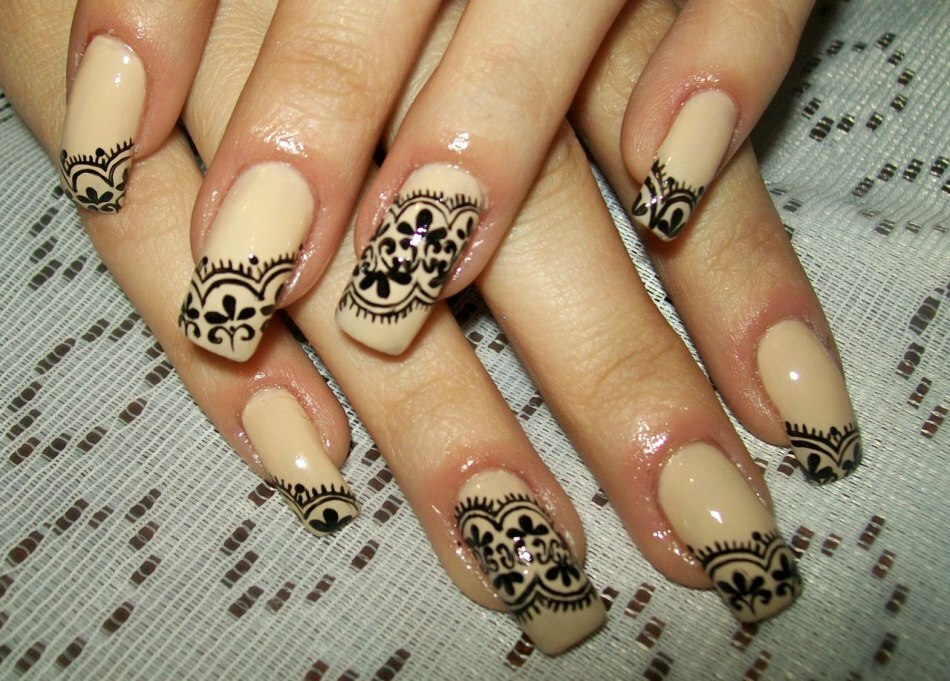
Black patterns on the nails
Thanks to the clear borders of the drawings and contrast, the black patterns on the nail plates look stern and yet beautiful.
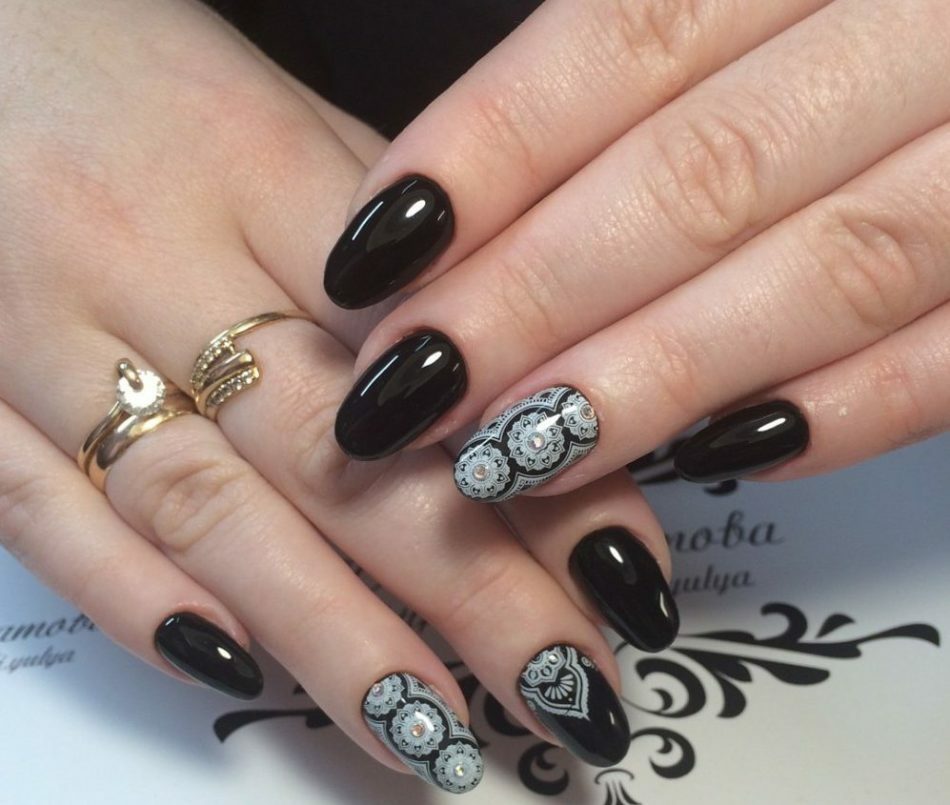 Beautiful nail pattern made by professional craftsman
 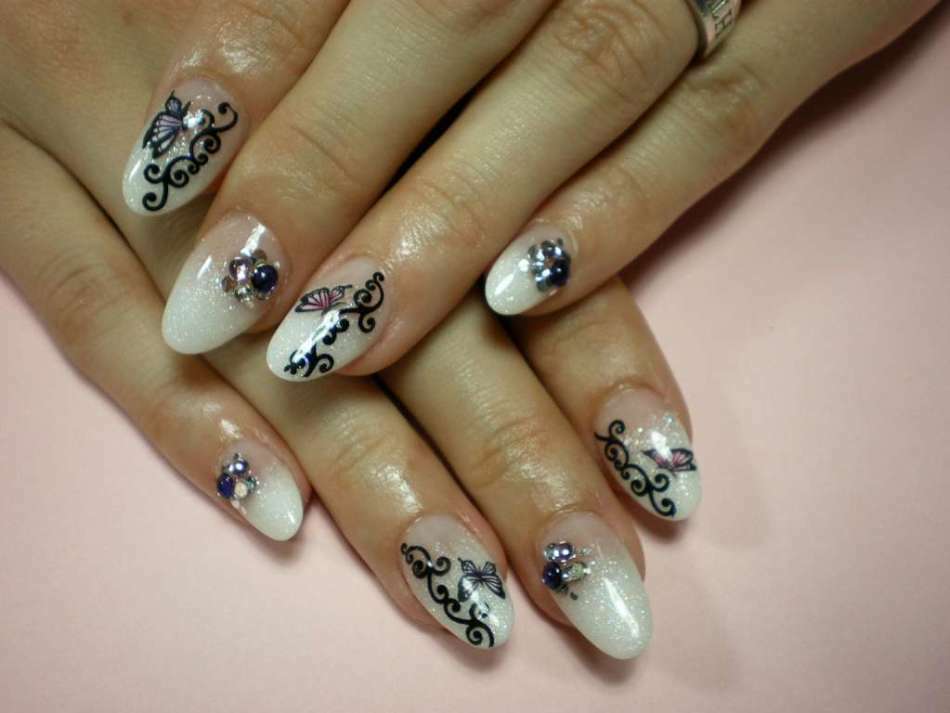 White jacket with
 pattern Nails with acrylic paints
The advantage of this material is as follows: :
- Large color range. Also, if you mix the colors, you can get a lot of different shades of
- . Paints are simply applied to the nail plates and it's easy to make acrylic with beautiful patterns.
- Acrylic can be painted on any varnish, including gel
- . Do not use drying lamps, acrylicit will dry for a few minutes just in the air
 Acrylic for manicure
 IMPORTANT : After the design of nails with acrylic paints, the surface is required to be coated with a transparent fixer. Otherwise, the colors will not last long.
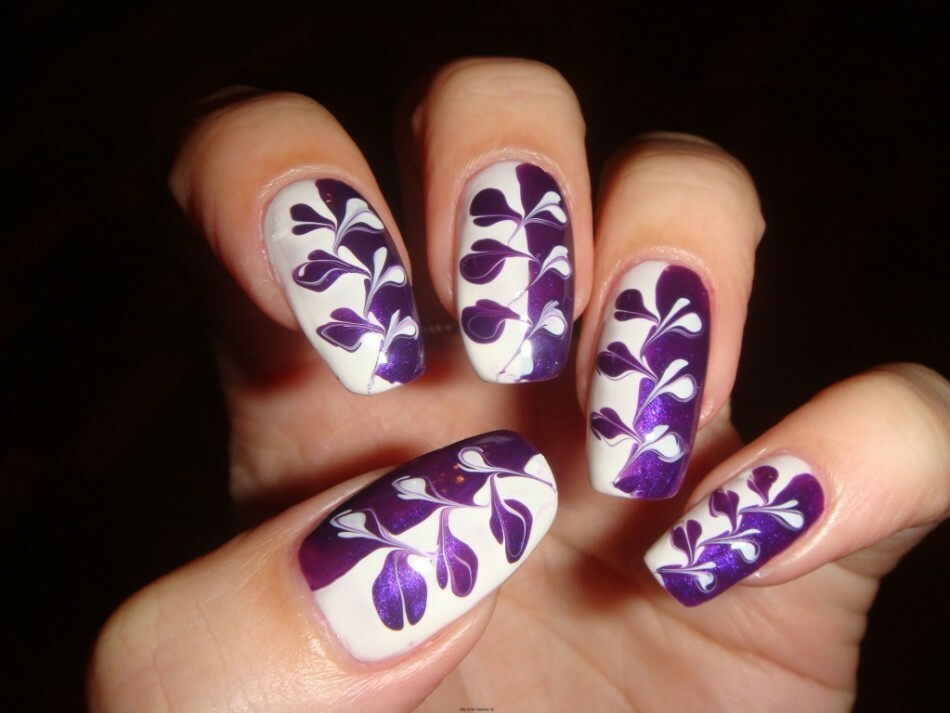
 Patterns of acrylic on nails
 Patterns on nails with gel
To gel-lacquer freeze on the nails, apply special UV lamps. The patterns are made in the following sequence:
- The nail plates are processed with a camembert and degreased with the
- primer. The base is applied, dried in a UV lamp.
- . Then the patterns are drawn( brush, dot, toothpick or needle).
- . Then dried in an
- lamp. Covered with
- . Dry, remove the upper,sticky layer
 French manicure with a pattern painted by gel-varnish
 Patterns on nails varnished
See below the patterns made by different instruments with varnish.
 Beautiful pattern on square nails
  Stylish drawing on manicure for New Year's holidays
 Nail art on foil
In order to get a stylish nail design suitable for evening dresses, you can use foil. It is sold in cosmetics stores and there is transfer , not transferable .
Transfer is a ready-made small drawing that is easily transferred to the nails. And not transferable still it is required to cut off independently and to glue gel-varnish, acryle, a transparent fixer.
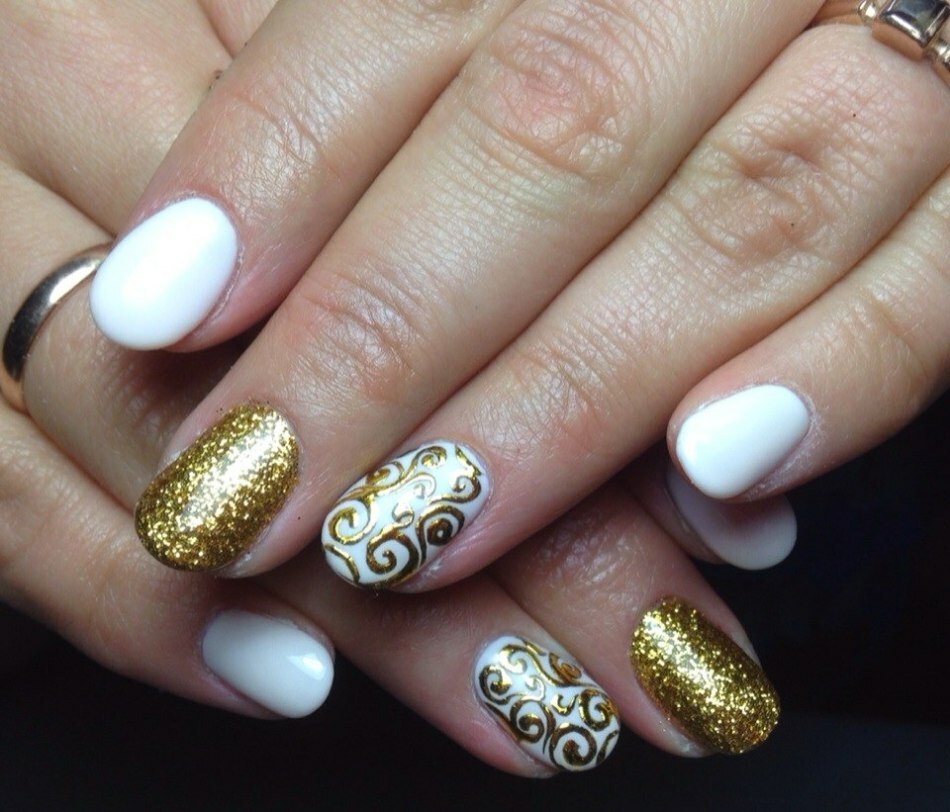 Gold pattern from foil on nails
 Patterns on crystals on nails
Again, now there are no problems with the purchase of different materials for manicure, including with the purchase of rhinestones. With the help of these pebbles of different sizes, you can make stylish patterns on the nails.
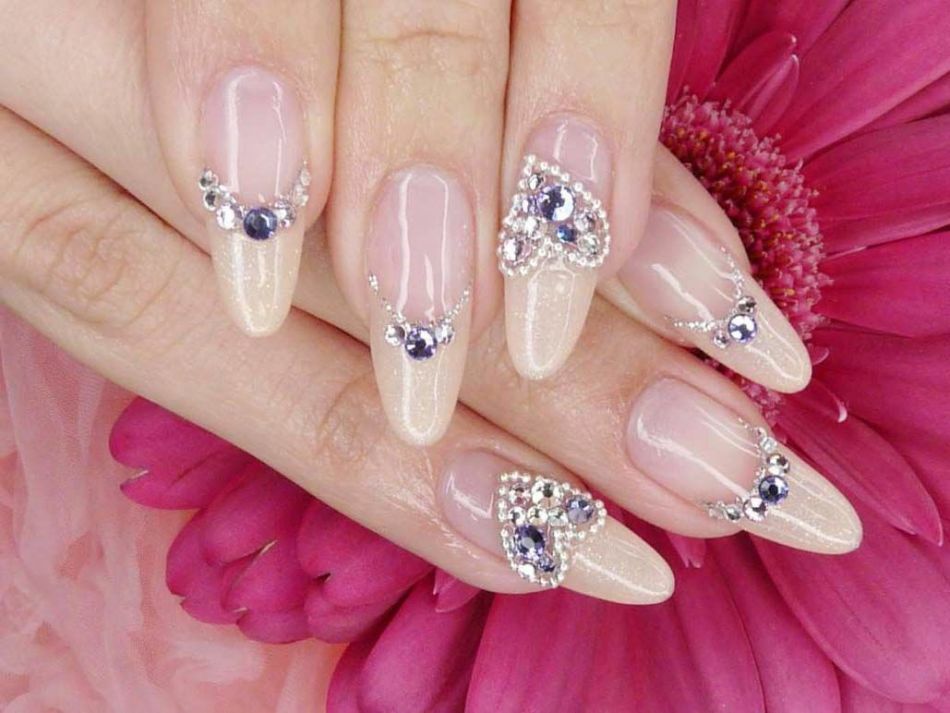 Wedding nail design from crystals of extraordinary beauty
 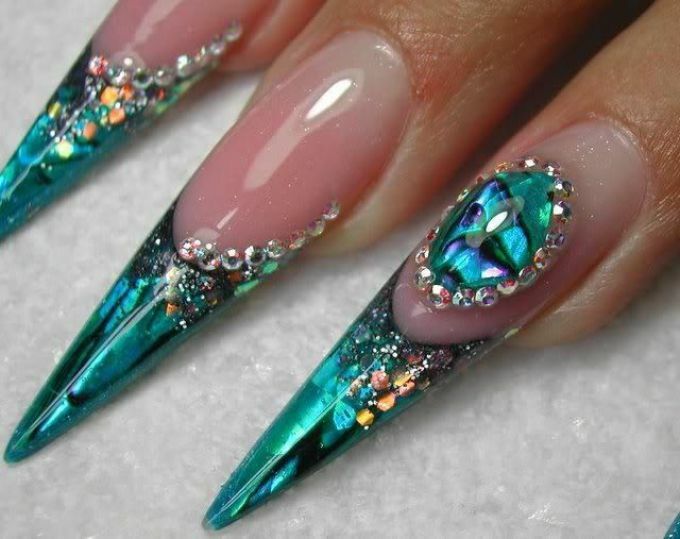 Chic manicure with a pattern from crystals
 Patterns from stones on nails
To make a manicure look chic, make nails with stones. It is difficult to tear off the eyes from colored stones, especially if the design is made with taste. In this case, the main thing is not to overdo it.
 Manicure with liquid stones on long, square
 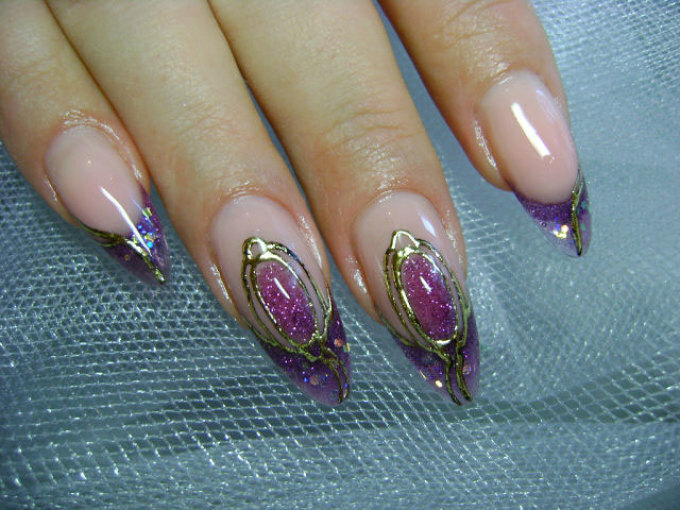 Gentle manicure with pattern and stones
 Sand patterns on nails
Velvet sand on the nail plates gives the impression of a three-dimensional pattern. To keep it well, first apply a gel-varnish on the nails, and then sprinkle the patterns with sand. Surplus remove.
 How to make a pattern on the nails with sand?
 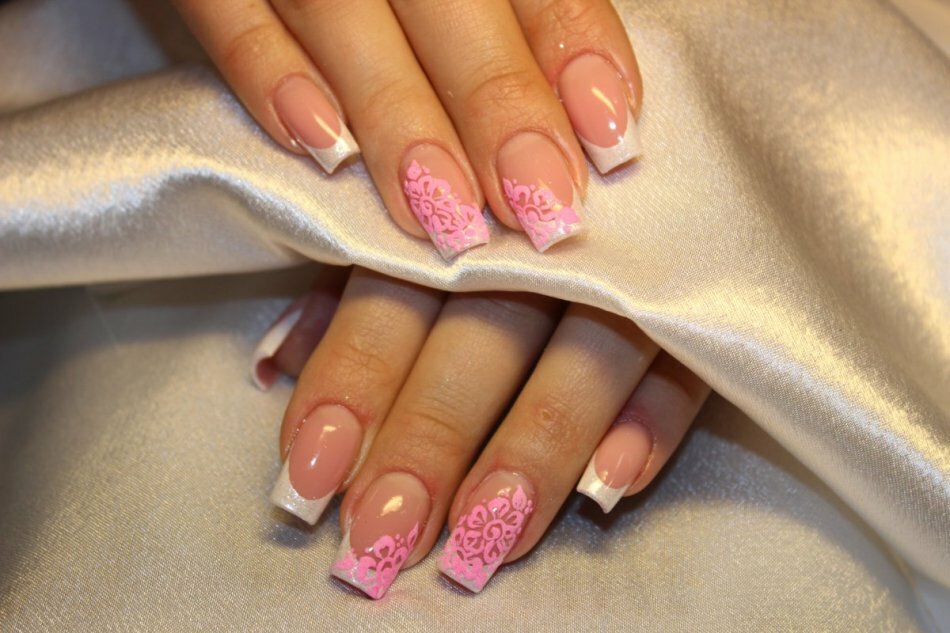 Delicate sand pattern on the nails
 What pattern to draw on the nails?
After viewing the article and pictures with original patterns of nail design, you can choose any manicure you like, which will suit your clothes in any way.
 Patterned manicure with hand-painted brush