Step-by-step instructions for drawing snowdrops.
Contents
- How to draw snowdrops in pencil in stages easily?
- How to draw a bouquet of snowdrops?
- Drawings of snowdrops for drawing
- Video: drawing lesson - snowdrops
Try to draw a flower with the child, symbolizing the completion of the cold winter period and the approach of warm days. To depict the plant, guided by our detailed instructions, it will not be difficult.
How to draw snowdrops in pencil in stages easily?
The complexity level of the drawing is simple and there should not be any problems when drawing. Before you start drawing a delicate flower, try to find a suitable photo or, much better, put in front of you a small bunch of real primroses.
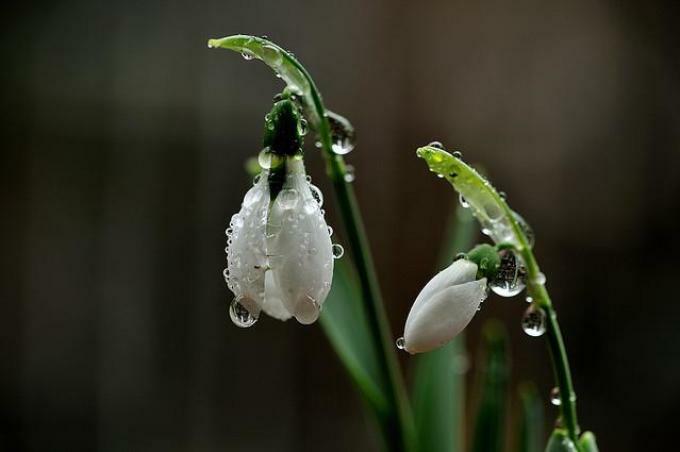 Photos of snowdrops will help in studying the shape of petals and leaves
 Important : all flowers are better to draw from nature. Then the lines and shape of each bud will be the most appropriate to reality.
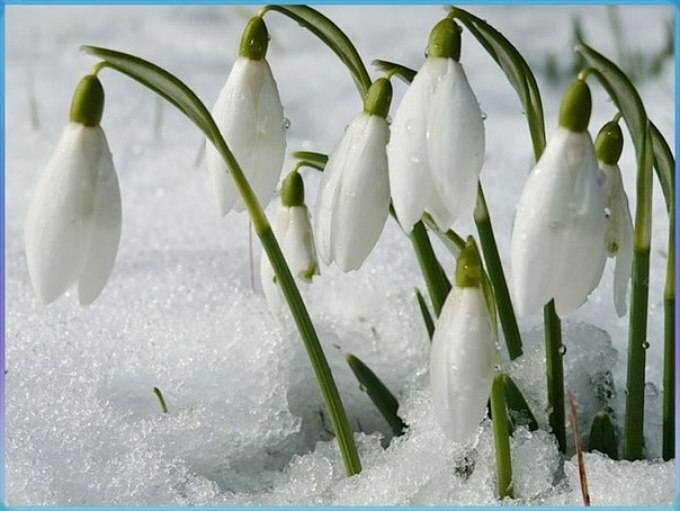 Only two petals of the
 are visible in the snowdrop. But if you did not find the flowers you can continue drawing, following the following recommendations.
Step 1:
- you first need to draw a base for the snowdrop. To do this, draw a downward sloping twig with a circle on the top. You can draw just a few stems of snowdrops emerging from a single point
- circle on the top - this is a cup. From it will appear the petals
- we draw a sketch of the snowdrop: for this we denote the location of the future flower
- by a triangle, we specify the shape of the inflorescence, having marked it with an inverted triangle
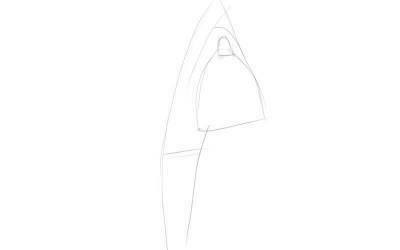 . We outline the contours of
 . Step 2:
- The inflorescence occupies almost half of the image. Draw the petals inside the triangle. They can be 2 or 3
- The petals come out of the cup: they should fit snugly against it, leaving no gap between the petal and the base of the cup
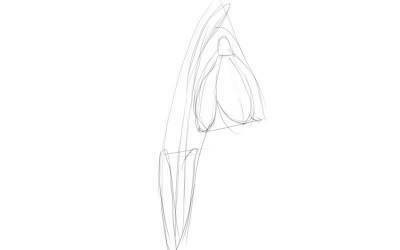 Create the
 form Step 3:
- The leaves occupy almost the second half of the image. They have an elongated lanceolate shape. They can be on one snowdrop 2 or 3
- We also draw a small leaf over the bud: an inflorescence comes out of its sinus
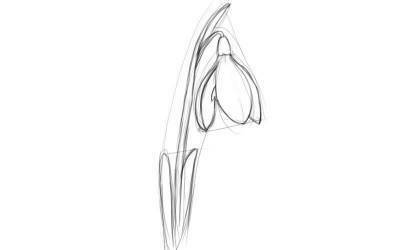 Wipe the extra lines
 Step 4:
- Set the contours of the snowdrop and erase the superfluous and failed lines
- Add shadows to the shaded areas and outline the leaves,a cup in a darker color
- You can decorate a snowdrop, and you can leave it
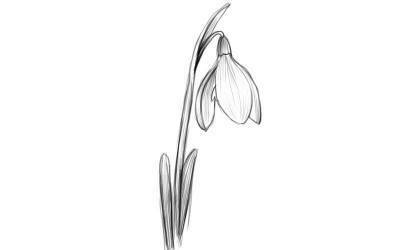 Adding shadows
 How to draw a bouquet of snowdrops?
If your child is captivated by a floral theme, then you can repeat all stages of creating a drawing on other simple colors.
For example, you can depict a dream-grass. Only the stem is not tilted down, and the petals are covered with villi, which can easily be represented by small dashes on the bud.
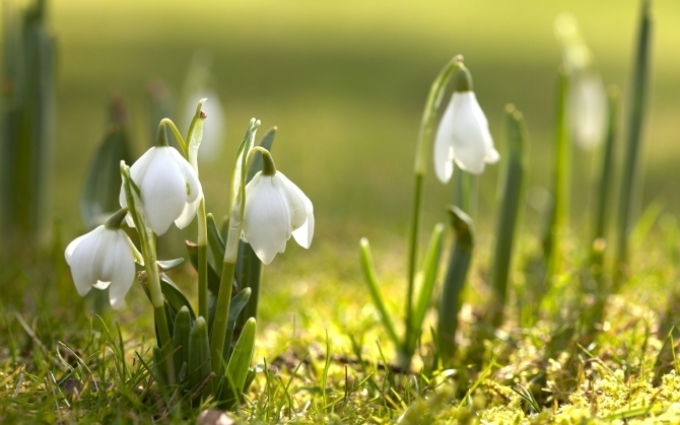 These snowdrops have large and rounded buds
 Step one: positioning the pattern and studying the shape of the snowdrop
- The snowdrop flower consists of 3 outer and 3 inner petals of white color with a light green or pale blue
- admixture. But if we draw only with a simple pencil, the more shaded areas will be tinted in gray with different intensity.
- On the sheet,place the figure: draw barely noticeable lines, restricting the area of the drawing with a small frame
- Later this rectangle will be erased and it will not be visible if, of course, the lines are drawn without pressing the pencil
- OtherwiseThe case will appear dirty. In general, while outlining the original lines, it is better not to press a pencil. You can always increase the pressure later when you are sure of the accuracy of the
- sketch. We outline the contours of the future flower, easily touching the pencil to the sheet. At this stage, you can draw auxiliary lines: even if you make a mistake, then you can easily get rid of the wrong stroke by erasing it with an elastic band
- . You can draw two cross lines in the center. We will start from them, having stems of snowdrops
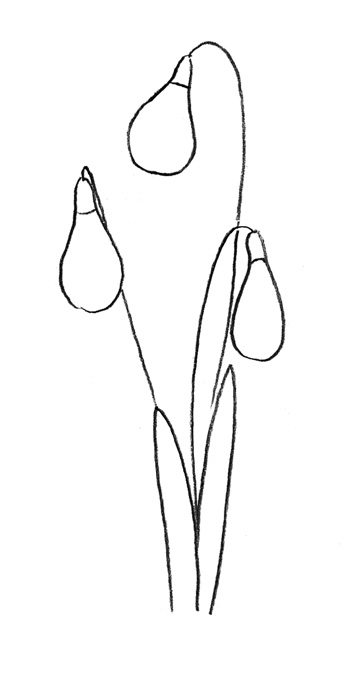 Let's designate ovals of the location of buds of
 Step two: stalk and buds of
- We draw the first inclined down line, and next to it we conduct in parallel the second one - this will be the stem. In the same way draw two more stalks. All of them come from one point: that's what the bush of these snowdrops looks like.
- The top of each stem leans down under the weight of the bud. This should be taken into account when drawing the snowdrop
- . At the top of the stem we draw a cup: it looks like a small, upside down drink. Inflorescence must fit snugly against the cup
- There is only one bud
- on each stem of the snowdrop. We will outline the general contour of future snowdrops with ovals. You can and do not draw auxiliary lines, if the experience is enough to visually estimate the location of the colors.
- Now draw a bud consisting of 2 or 3 upper petals. One seems to overlap with another, so you do not need to draw the second petal completely.
- You can draw three petals. Then one is drawn completely, and the other two are either just outlined, or their halves are drawn. But it should be borne in mind that the petals are located symmetrically relative to the cup( core)
- Symmetry is checked by measuring the distance between the tips of the petals: it must be the same.
- The petals have an elongated spoon-like shape. But more believable look buds with petals of different shapes: the flower can be turned to the side and the petal is not partially visible
- Inside the snowdrop draw a core of inner petals: it can peer through the upper petals in the shape of a skirt
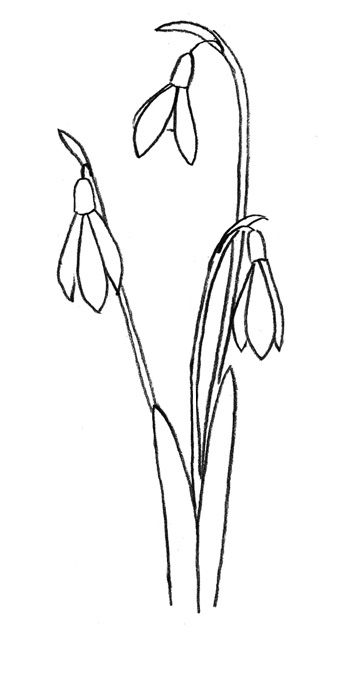 Draw the petals
 Step three: leaves
- Above eachdraw bracts from the cup. To give a vivid and natural look to the snowdrop, you can, by depicting the bracts with thin
- . Draw the snowdrop leaves. They have an elongated lanceolate shape. One bush of three buds can have 5-6 leaves that visually emerge from one point
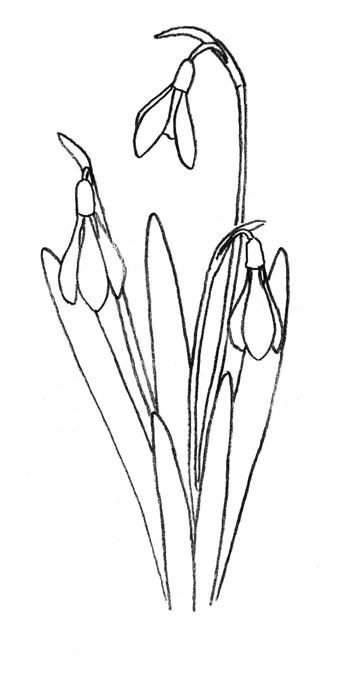 Adding leaves
 Step four: attach the volume to
- Now it's time to shade some shaded areas. Let's use dashed lines to bend the petals and shadows
- Use more contrast shading to denote inner petals, stem and bracts
- With light strokes you can also designate the background: draw the sky and brighten the areas on it in the form of clouds. But do not strongly draw the background to focus on the snowdrops
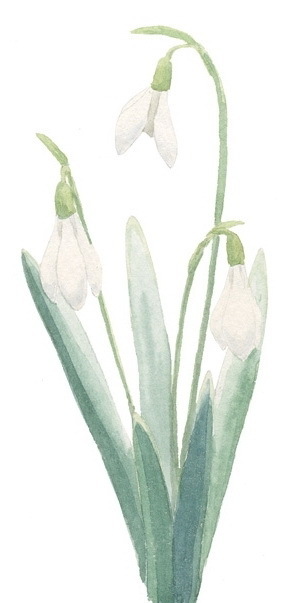 We paint
 If you draw a snowdrop with a baby, then he can not draw such a splendor. Suggest another option. For example, it can be a blue primrose, drawn schematically.
 Blue primrose
 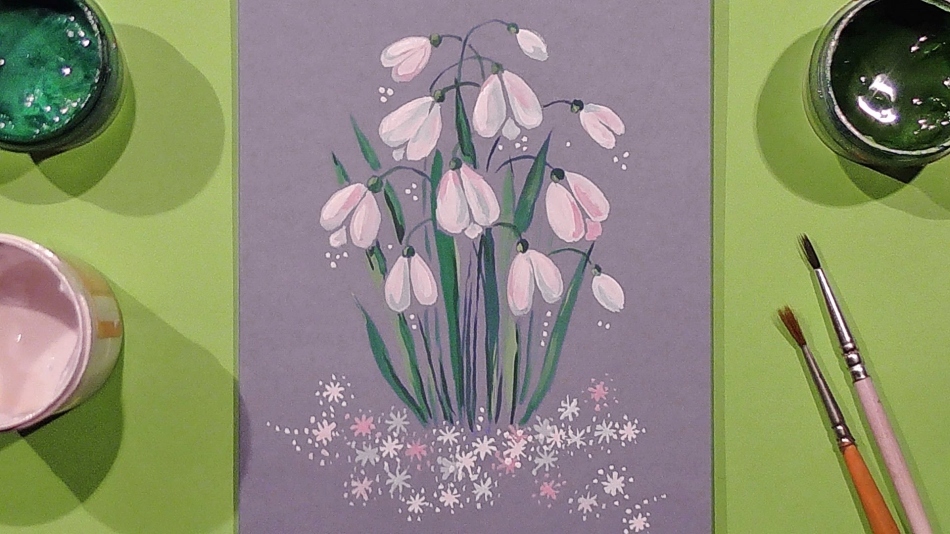 Very simple and beautiful drawing of snowdrops
 Or perform a more complex picture of snowdrops in a vase.
How to draw a simple drawing of snowdrops?
- Draw two downwardly inclined lines, giving them the appearance of the flower stems
- Draw the flower cup
- on the top of each flower. From it come two petals opposite each other, and behind them is the third, which should be designated as a sharp corner
- A small oval dashinside the snowdrop - these are internal petals. Above the bud, we draw a small leaf, and from the base of the stem there are two more large long leaves
- Having drew two more snowdrops in the same way, we will get a beautiful spring drawing of
- . We can add the outline of a vase: we represent two ovals overlapping petals opposite each other. The lower oval is bigger - it's the bottom of the vase, and the upper one is the wide one.
- We remove all the auxiliary lines and decorate the snowdrops. To do this, you can use different shades of green, blue and violet( to give a shade to the inflorescences), pink can be designated petals inside the snowdrop
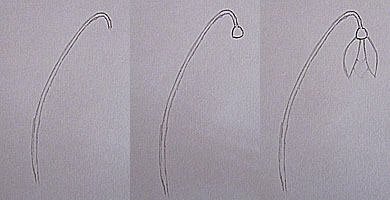 Drawing a stalk
 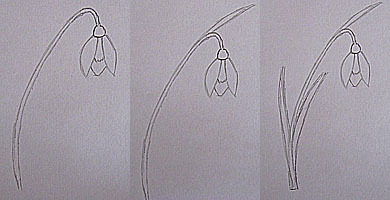 Drawing the petals
 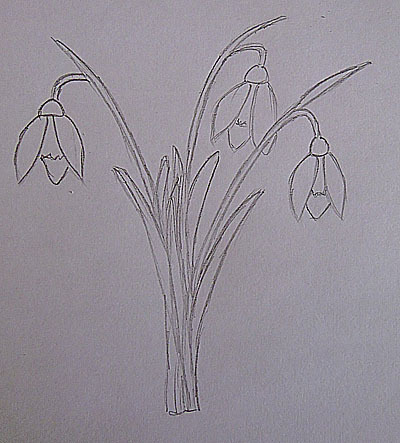 Adding two more flowers
 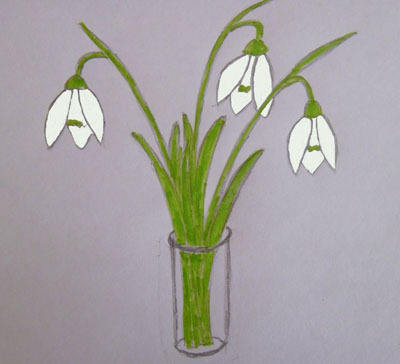 Drawing a vase
 If you want to depict the snowdrop with watercolor, try to draw a bouquet of flowers in a wide round vase:
- Let's mark flowers and a vase with a pencil. Do not click on the pencil! There should be no wide and deep lines in the watercolor drawing: they will be visible even through the thick layer of the darkest paint
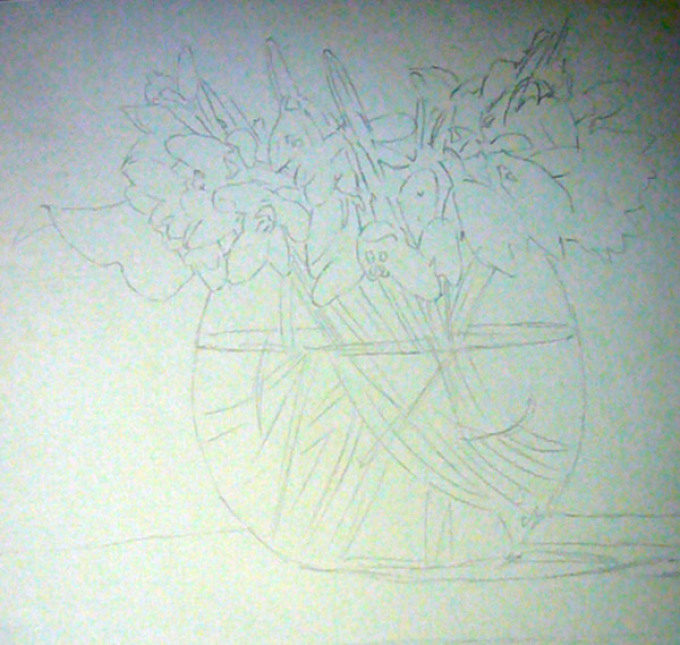 . We outlines the contours of
 - . We remove the extra lines of the
- with the eraser. We moisten the watercolor with pure water so that it is easier to type on the brush.
- . We designate the background with dark spots of blue, blue, purple flowers
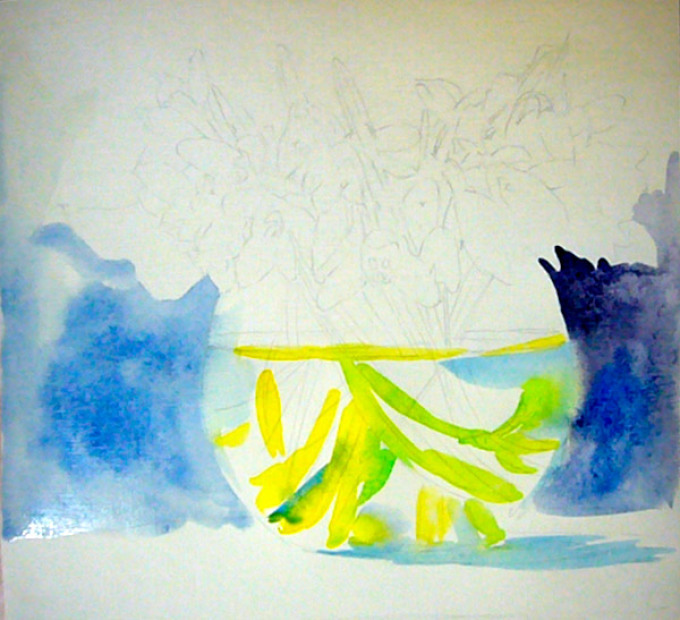 Background is covered in blue
 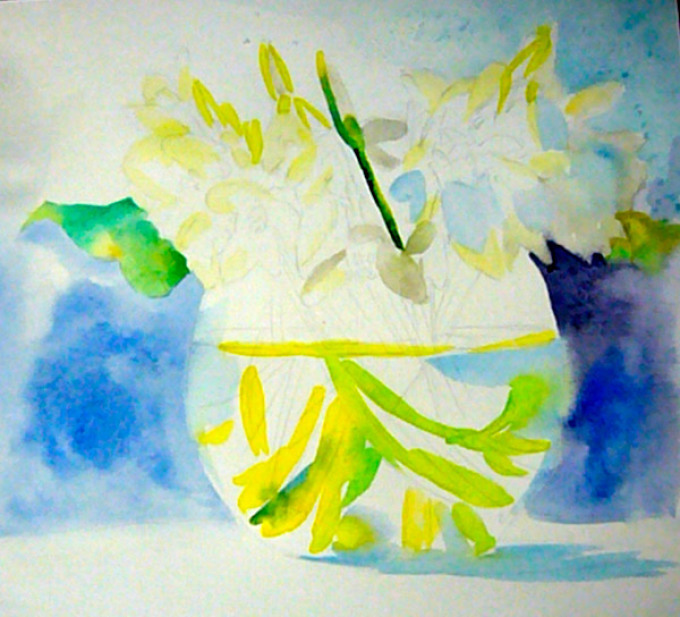 Strongly diluted blue, draw snowdrops
 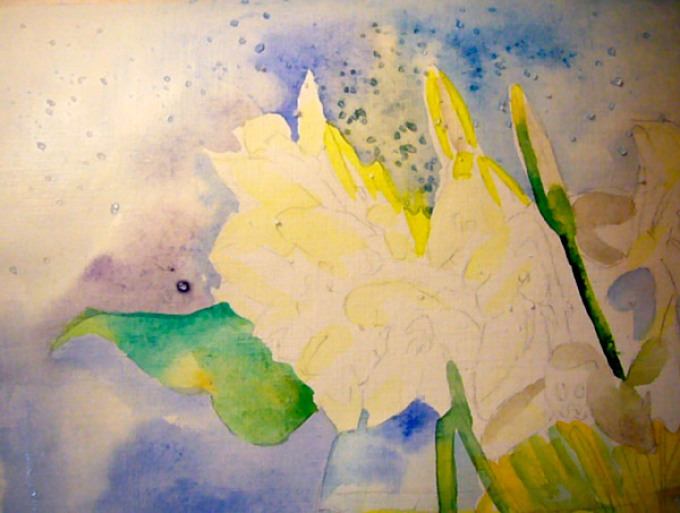 Sprinkle raw background with salt
 - Pour a large salt on the wet background:the light effect
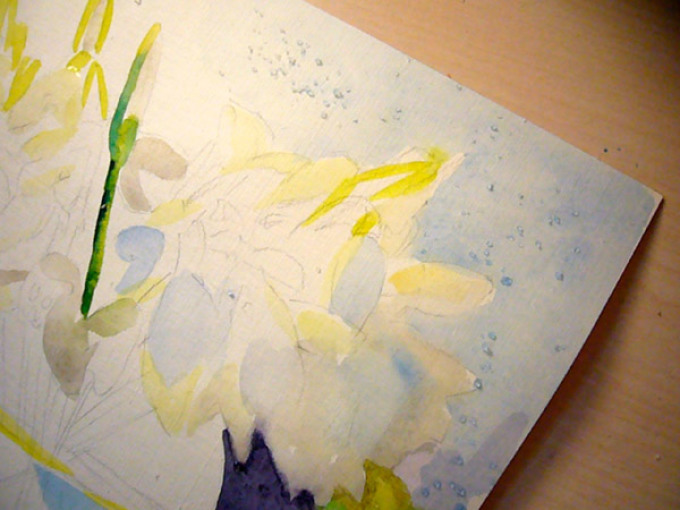 Next to the colors we make the background very blurry
 - To paint the snowdrops, we strongly dilute the blue watercolor
- When the background dries, remove the salt from the picture with a rag or napkin
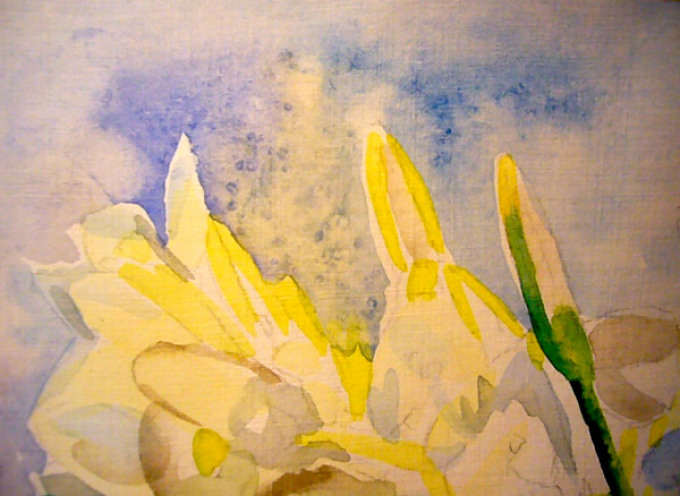 Remove the salt and this is what
 - is. Mix the colors on the palette and gradually fill with colors the entire background
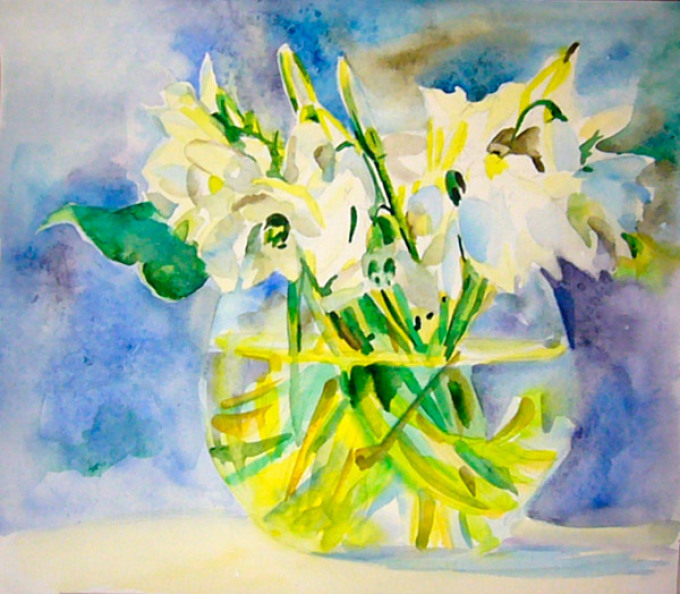 Drawing the background
 - Adding yellow paint to the petals and leaves
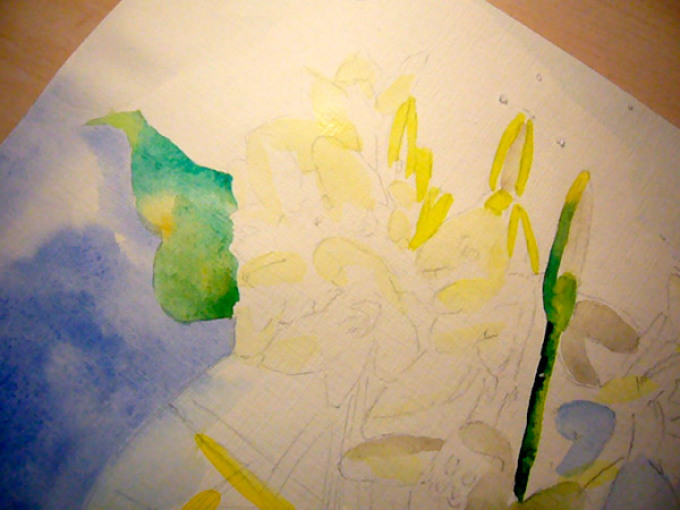 Adding the yellow color
 - Drawing the details and again pouring the salt on the damp areas
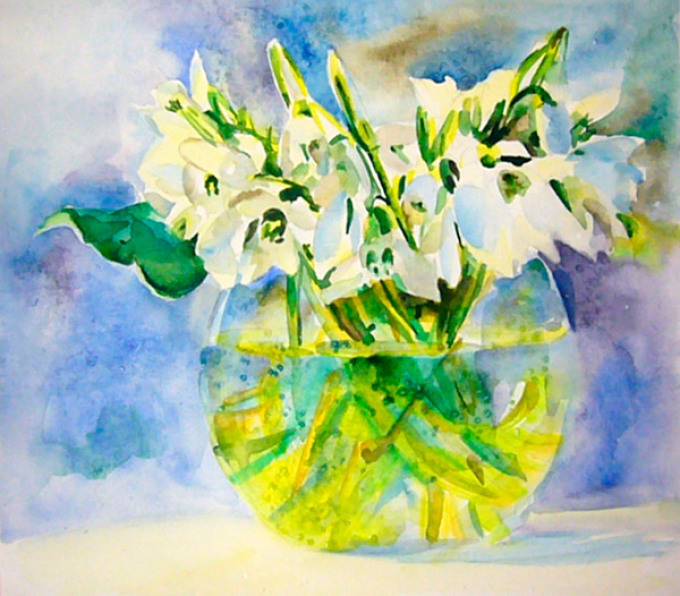 Drawing the details and again afterAs the whole drawing dries, white gouache paint the petals of the snowdrops
 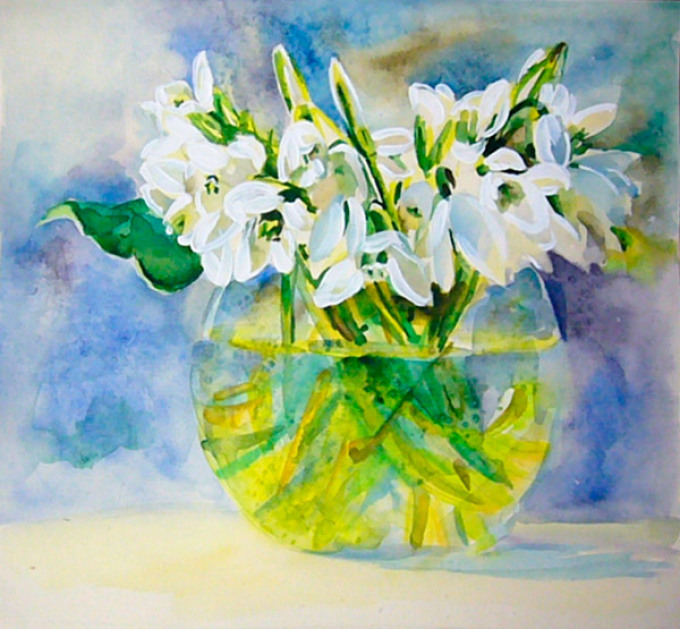 Gouache painting the petals of snowdrops
 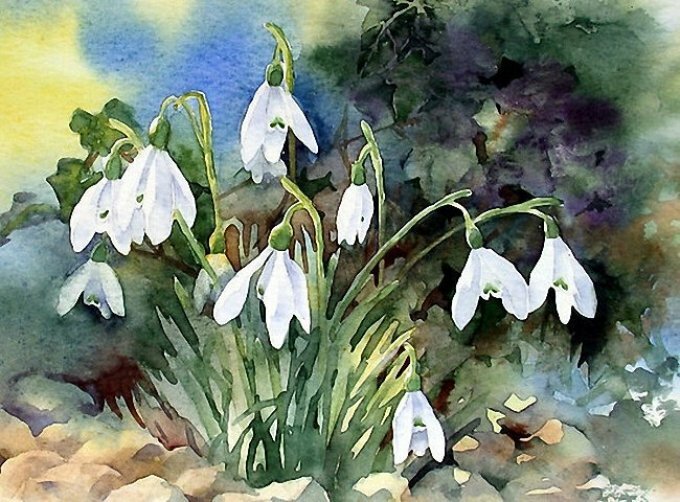 Here is another version of the snowdrops drawing with watercolor
 Drawings of snowdrops for drawing
If you want to invite children to draw a snowdrop, then from the next section you can pick interesting and simple options,as well as more complex drawings.
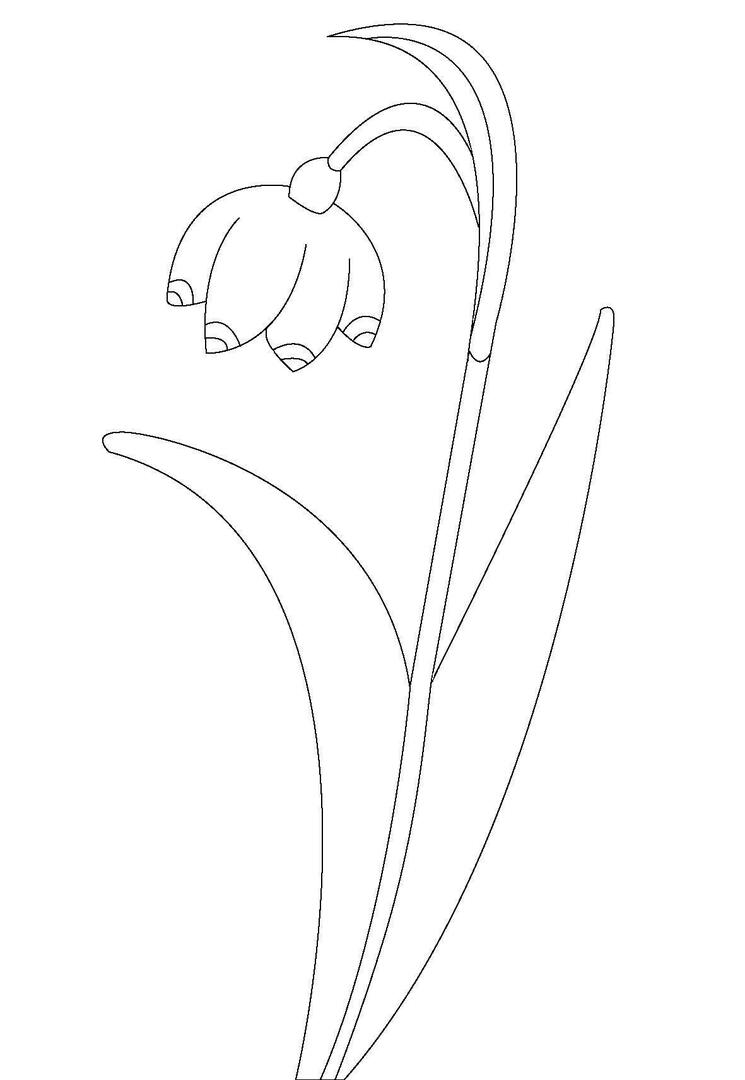
Such images are good for understanding the shape of the snowdrop. In addition, it will be easier for children to copy from schematic drawings.
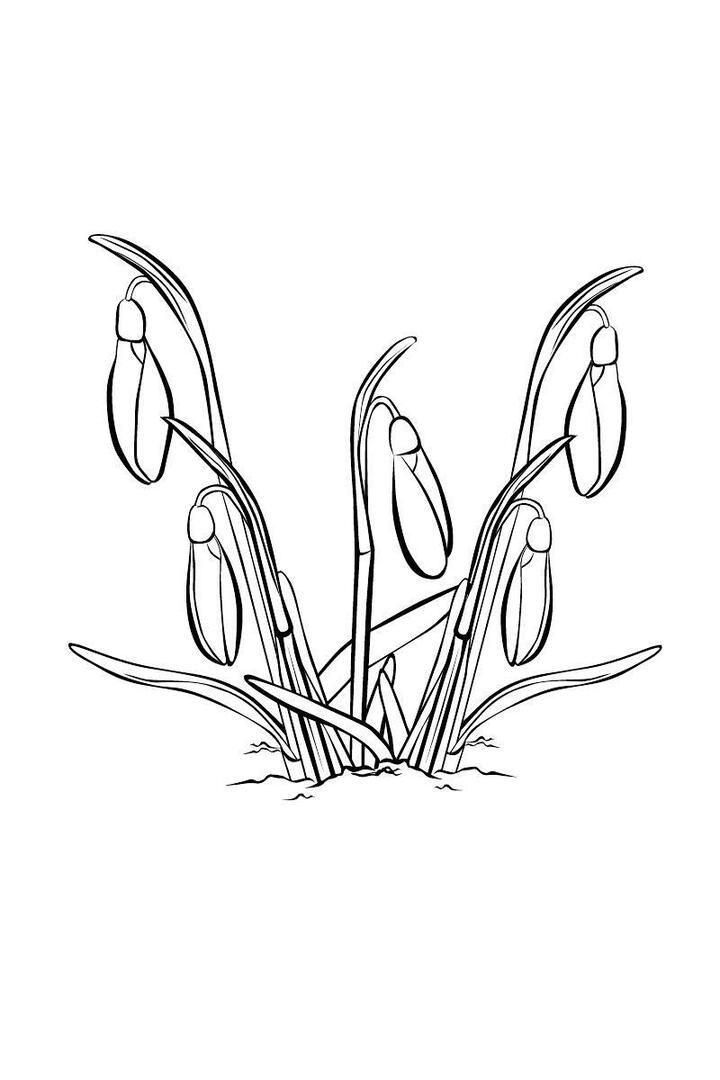 Snowdrops in snow
 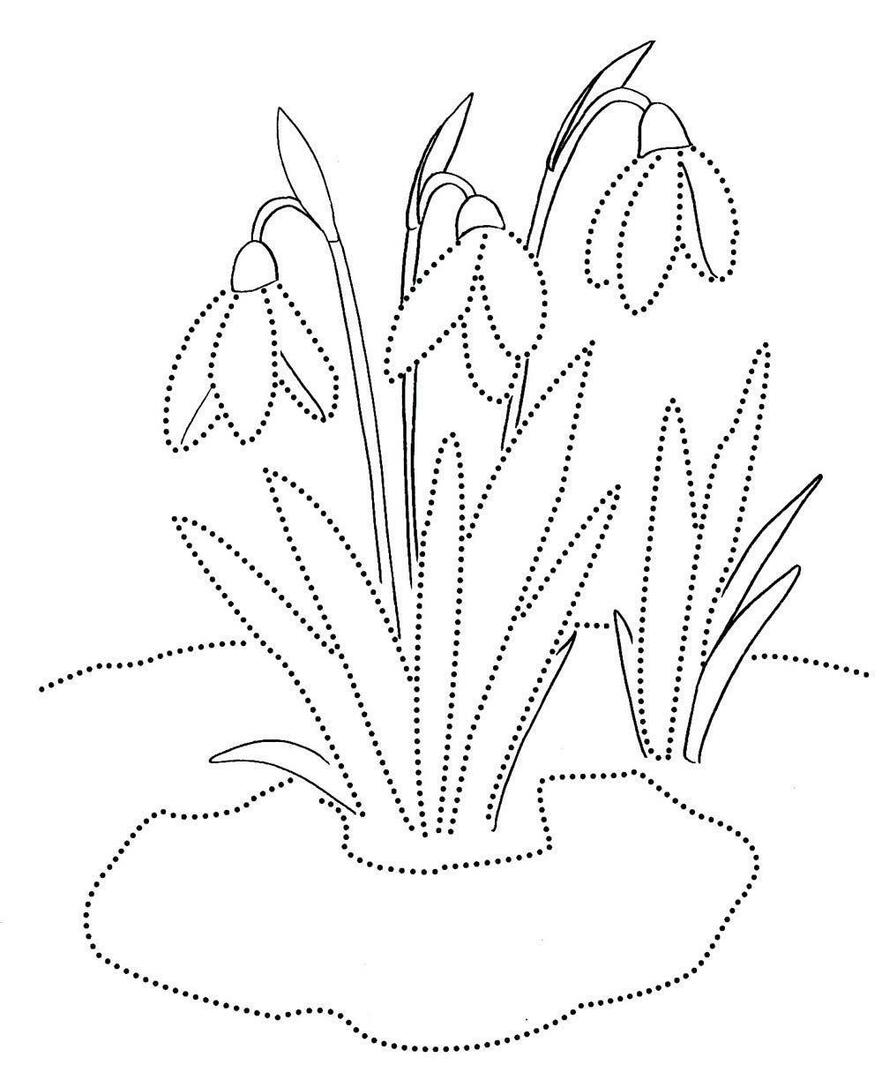 Three snowdrops
 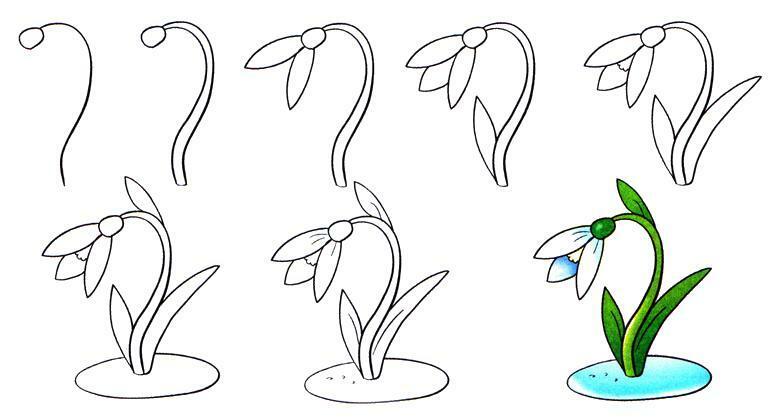 A simple snowdrop drawing of