
Woolen products made in the technique of wet or dry felting have recently become more and more popular, as wool is a unique natural material that can not be called ordinary. He not only looks great, but in the capable hands it becomes very pliable, since it has a shaft ability.
- How to make a picture
- Draw with wool
This ability gives wool fibers the ability to weave together, and then connect, taking the necessary shape, and shrink at any mechanical impact.
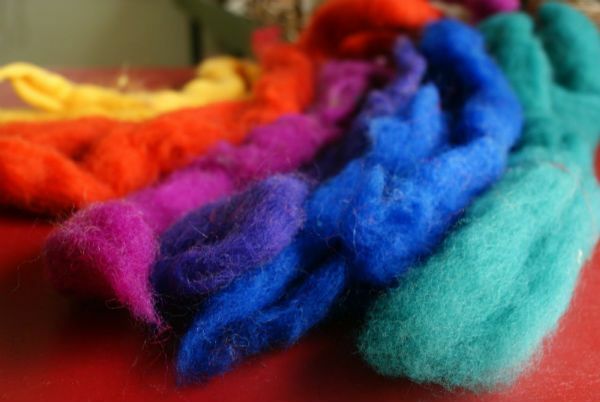
Woolen fibers are natural and synthetic of all possible colors.
Talented craftsmen create woolly works of art, original toys, handicrafts, ornaments and accessories for all occasions.
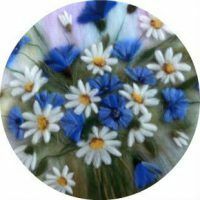
We suggest you try using wool to decorate the picture. In this master class you can get acquainted with the basics of this creativity.
Do not think that if you can not draw, it's not for you. A sketch for your first painting of wool can be printed out on a printer and transferred to a workpiece.
How to make a picture of
For such a job, you can choose both a dry wool felting technique and a wet one. Remember, dry will give a more voluminous option, wet, on the contrary - make the picture flat. In our master class, the picture with flowers will be performed first in dry technique, but finally it will be made in wet.
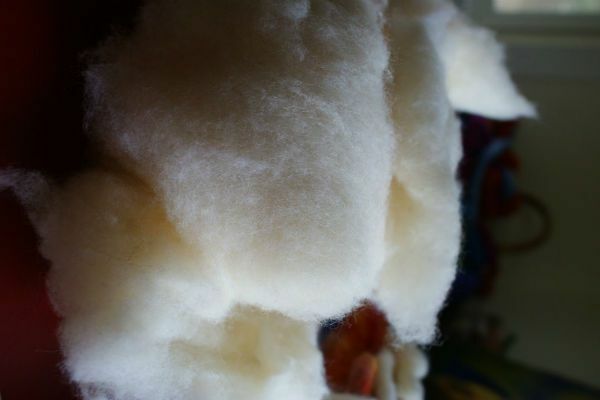
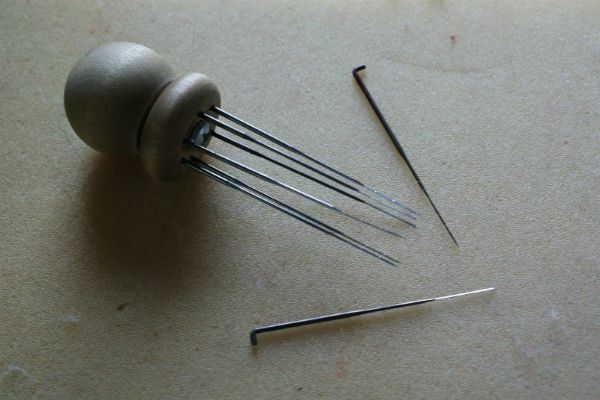
For felting wool you will need special needles and tools. It is also cheaper to buy a set of multicolored fibers of wool at once, and not to buy each color separately. One picture will require quite a bit of this material. The main thing is, stock up a lot of white wool, as it becomes the canvas of our picture.
For work in the wet felting technique, water, ordinary soap, pimply film, a small rubber mat or any material that will be conveniently rolled into a roll together with a pattern is required.
to the table of contents ^Drawing with wool
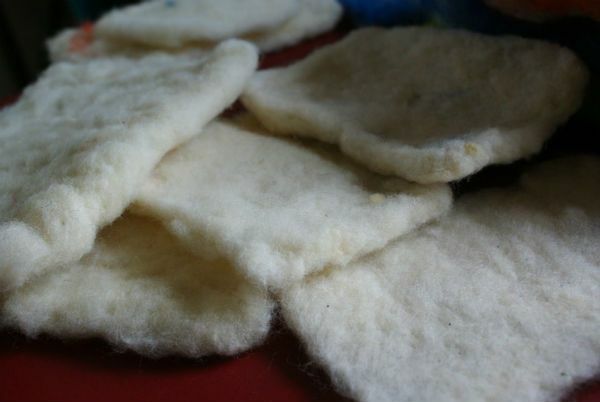
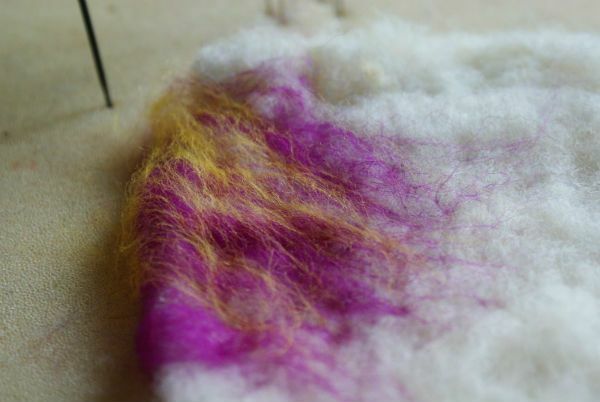
First of all, you need to work out the canvas for the painting, on which wool fibers will be applied. Canvas must be tight. Immediately it is necessary to determine the size and shape( circle, square or rectangle) of the future product.
Begin to lay the white wool fibers cross on the cross, marking the edges of the canvas. Put a few layers of fibers, try to connect them with a needle for felting. To do this, you need to make deep stitching movements along the wool, but not perpendicular to the floor, but, as if to the side. After finishing the felting of the first layer of wool, put a second layer of warp fibers for the canvas and repeat the procedure.
After completing work on the canvas, the most interesting thing is drawing a drawing. Above we have already mentioned the possibility of working with print. But we are not working now in the technique of nunfelting, so everyone who can not boast of the ability to draw, it is worth choosing simple compositions and genres, for example drawing simple colors. It is also desirable to have a picture for drawing.
In the extreme case, you can translate the picture with transfer paper on the substrate, only before that it must be additionally pieced together and make sure that the surface is flat and finished.
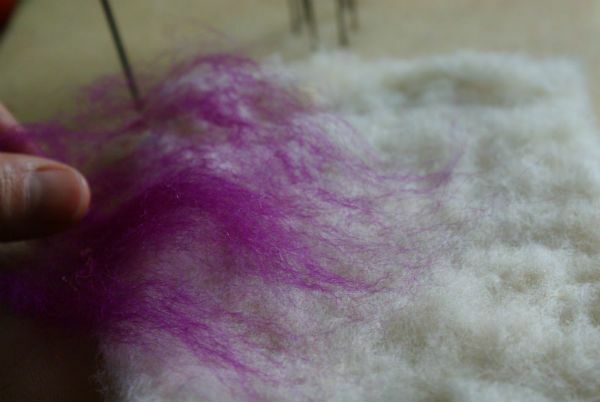

Where should I start in painting the composition of the painting with wool? Ironically, in this skill, many steps resonate with classical painting. As in painting, you have to work from light to dark or from dark to light, from large elements to details and accents.
No matter what you carry with wool, landscape or still life, start with the largest areas. For example, in a still-life( if it's flowers), immediately work with a one-color color petals, leaves of flowers. If there is a vase, fill it with hair. In the case of the landscape - work with monophonic colors of the sky, areas of trees, water and so on.
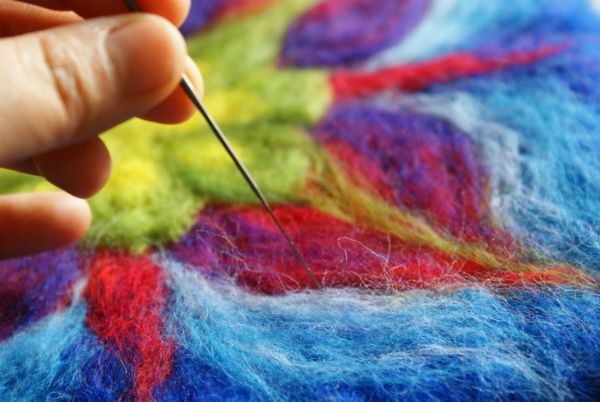
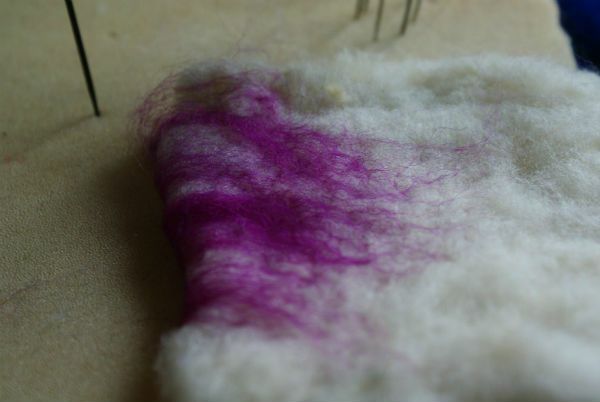
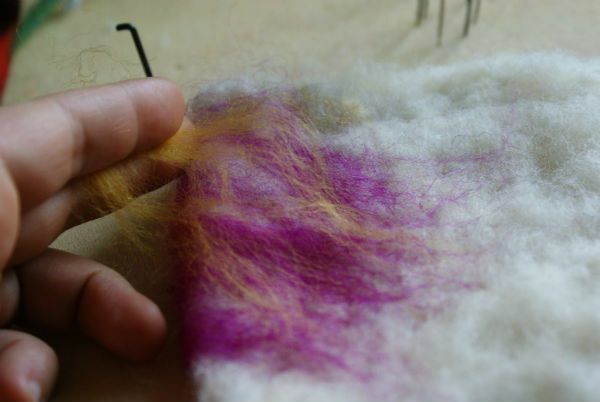
After this, go to the study of shadows and light. For example, in a flower of a red hue, you can designate transitions of tones from the core to the ends of the petals, making the core darker, and the ends lighter. This material seems to have been created for these purposes. So, a thin piece of fiber itself disconnects into dozens of villi, which, lying on top of a darker color, create an interesting effect, like veins on petals or leaves.
After working through the shadows and light areas of wool, it only remains to add details to the picture: fusing contours, twigs, small details and so on.
If you worked in dry engineering, then at this stage your work can be considered finished. In the wet technique, there is yet another stage.
You need to soak the soap and soap it well until it completely wets. Next, put your picture on the rubber mat, and on top cover it with a pimply film and roll everything into a roll. Five - seven minutes, roll it like a rolling pin, and then unfold and repeat the soaping. Again, roll and roll. As a result, all fibers of the wool must be connected.
You will only have to rinse the picture under running warm water and dry it on a flat surface.

Then you can insert the picture in a frame and hang it on the wall. A similar pattern of wool will be a wonderful addition to any interior.