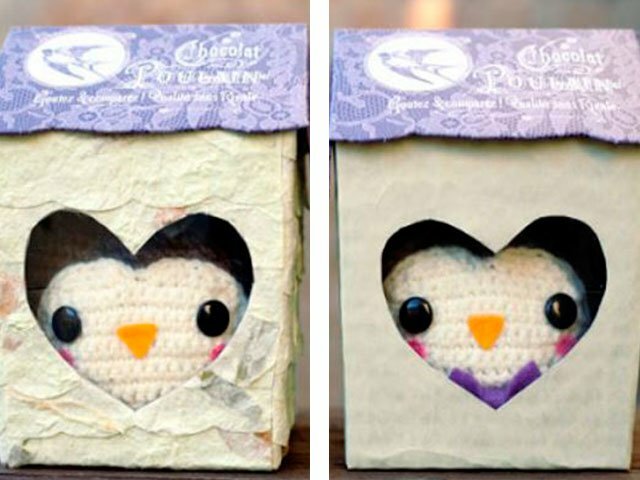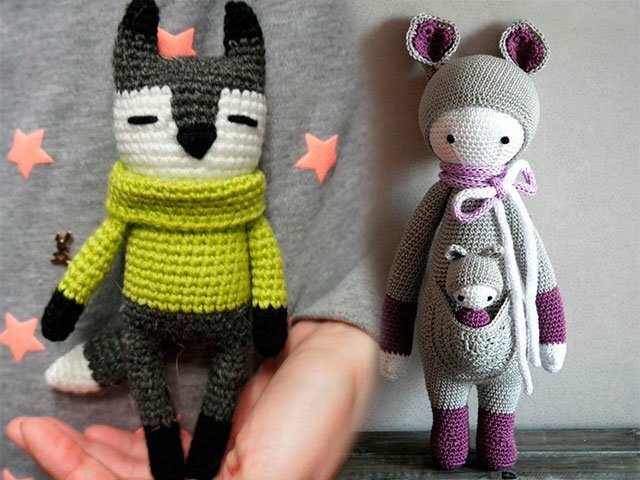
- 1 Knitted toys with crochet patterns and description
- 1.1 Knitted crochet toys
- 2 Cuddly toys with amigurumi
- 2.1 Crochet toys for beginners: charts with detailed description
- 2.2 Little crochet toys
- 2.3 How to tie a crochet toy for beginners: the easiest
- 2.4 Crochet Crochet toys with schemes
- 2.5 Crochet: Amigurumi toys
- 2.6 Crochet hook toys description schemes master classes video
Crochet toysand like not only young children, but also many adults - they create unique collections of unusual and beautiful dolls, animals, trolls and fairies. You can tie gifts to yourself by Easter, Christmas toys on a Christmas tree or as a present to a close friend or family member. In addition, that these toys are very soft, the patterns of their knitting are very simple, just as you can master their making in just a few hours.
Such needlework is by virtue of each master, and those who are just beginning in this business can rely on schemes and description of this technique, download video lessons for free, pictures of future products and read a step-by-step description.
Knitted toys with diagrams and description by hook
Crochet toys by hook - very interesting process. They can do in their spare time, without buying special threads, but using the rest of the yarn. Detailed master classes and videos in the section on knitting will help you to master this hobby more quickly. 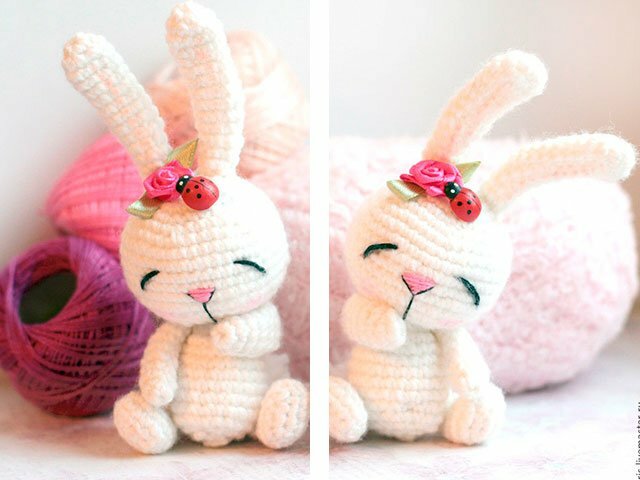
Knitted crochet toys
Toys, especially knitted, give a lot of coziness and warmth to your home. It is this pretty creature that will add them - today our mc about knitting a cute lamb from the "grass" , so that it's even more fluffy! 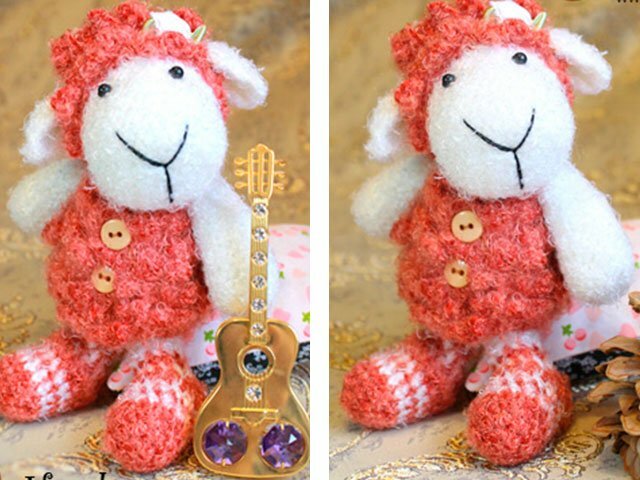
We chose yarn in two shades: white and colored ( take a multi-colored thread "weed") about 50 grams. For work crochet number two is useful. Also take: filler ( to fill it inside), threads floss , several beads , buttons .All these elements will help in decorating the finished product. 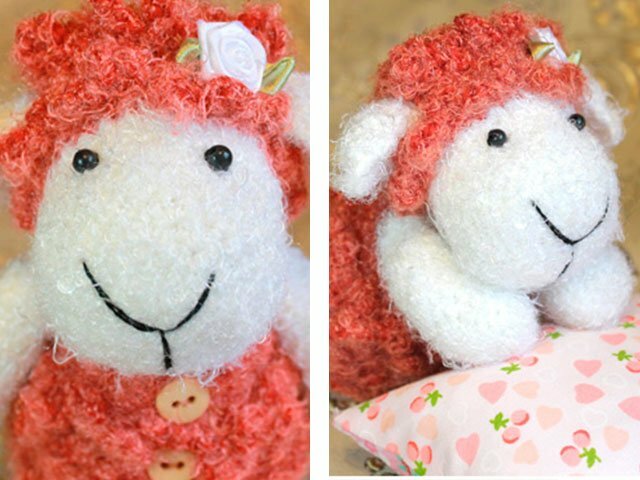
From 1 to 13 R. knitting S.B.N. in the spiral .Knitting in a spiral means that you do not need to do VP.To rise at the beginning of each new P. Next do so. To the front the outer part of the remained inside the toy. 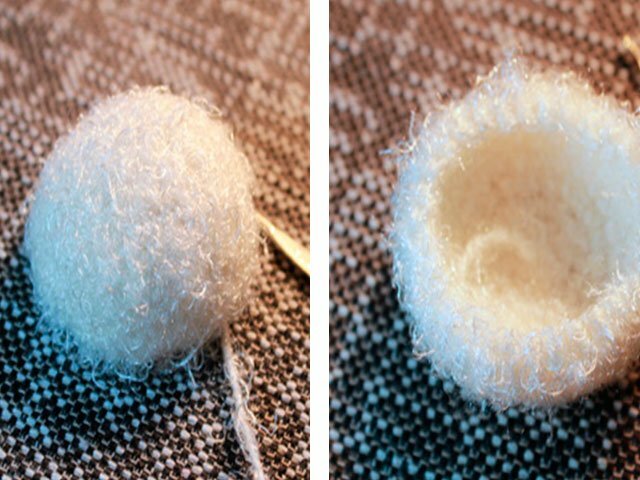
Recruit 2 VP:
1 R. : 6 SBS, 2 p. From the hook. 2 R. :( 2 SNN in each PPR) * 6. 3 P .:( SNN, PR) * 6. 4 P .:( 2 SNN, PR) * 6. 5 P .:( 3 SNN, PR) * 6. From 6 to 10 R. : S.B.N.in each PPR. 11 R. :( 3 SBN, UB) * 6. 12 R. : S.B.N.in each P. of the previous P. In 13 R. change the thread to color: S.B.N.in each PPR. 14 R. : 6 V.P.in each PPR, tying them in the same P. with the help of SS.The diagram will show how to do it correctly. Thus, we sew the P. until the end of R. After completing this step, you must get out the lace around the perimeter of the muzzle of the future sheep. RD: S.B.N. 16 R. : F / X with arches. 17 R. : S.B.N. 18 R. : U.B. 19 R. : for agriculture. 20 R. : S.B.N.At this stage, the muzzle should be filled with cotton or filler. 21 R. : S.B.N.through P. 22 R: according to the C / X.23 R: U.B.and then until the hole is not prolonged. 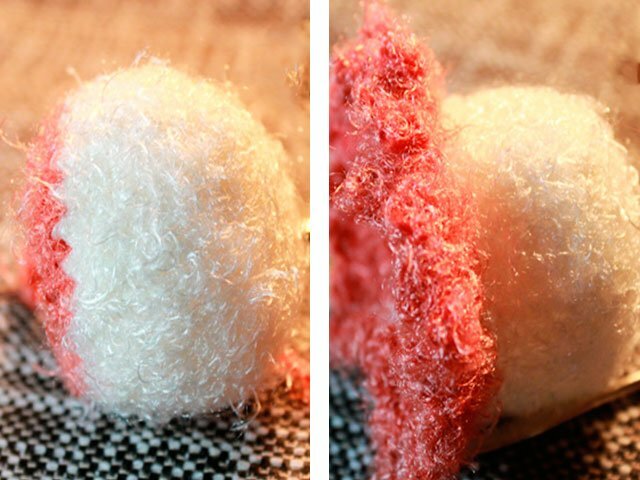
Tail of the Lamb: 2 VP.1 R: 6 S.B.N.in 2 P. from the hook.2 R:( 2 S.B.N. in each PPR) * 6.3 R:( SBN, PR) * 6.4 R: according to the C / X.5 R: S.B.N.(about 30 -35 ST., because knits on the lace).Alternate 4 and 5 R. until we reach the desired size. 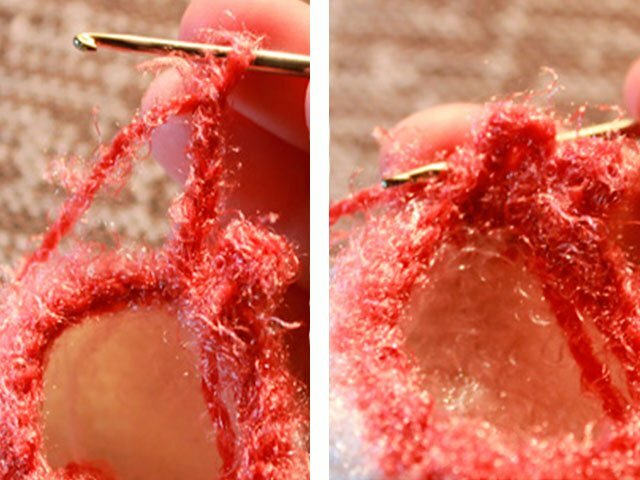
Handles and legs - 2 pieces each. Handles will be made of white thread: 2 VP.1 R: 6 S.B.N.in 2 P. 2 R:( 2 S.B.N. in each PPR) * 6.3 R:( 2 S.B.N., PR) * 4.From 4 to 8 R.: S.B.N.9 R:( 4 S.B.N., U.B.) * 2, 4 S.B.N.From the 10th to the 12th R.: S.B.N.Here we begin to fill the foot. In 13 R:( 3 SBN, UB) * 2, 4 S.B.N.14 R: U.B.to end.
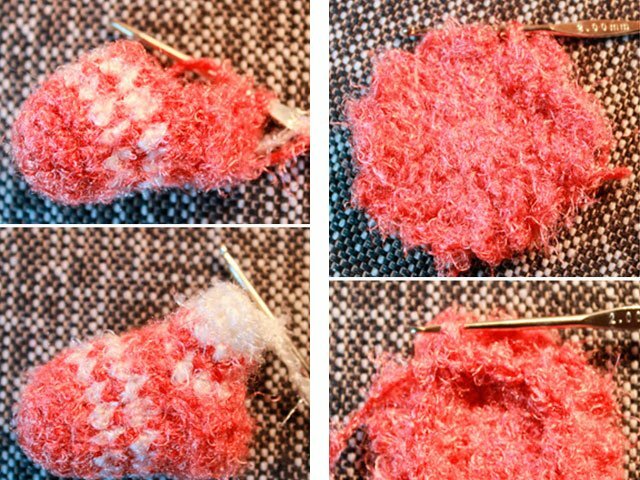
First for the legs, we knit socks. Then the feet themselves: 4 VP, 1 Р: 8 С.Б.Н.2 R: P.R.in each P. From 3 to 8 R: S.B.N.With 5 R. - alternating colors.8 R: S.B.N.brown color. Next R. 8 S.B.N.And so three more R. After this step, knit your leg to the size you need. 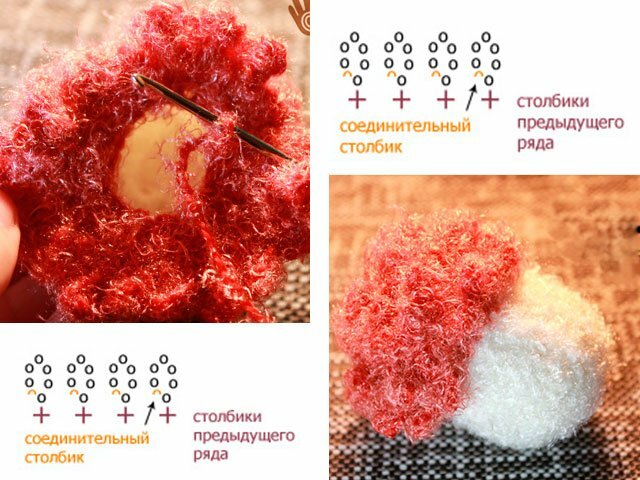
Next, you need to make two tabs.
- 1 R: 6 V.P.
- 2 R: 2 SBN, 2 PR, 2 S.B.N.
- 3 - 5 R: 8 S.B.N.
- 6 R: 2 S.B.N., 2 U.B., 2 S.B.N.
- 7 R: UB, 2 SBN, U.B.
- 8 R.: 1 S.B.N., UB, S.B.N.
- 9 R: WB, S.B.N.
- 10 R.: U.B.
Amigurumi crochet toys
The cute crocheted toys are Amigurumi .These are cute characters( living and lifeless objects) with beautiful muzzles, eyes and smiles. Any child will be happy to play with such a gift. Linking them is not as easy as it seems at first glance. To master this technique it is necessary gradually and step by step .A few detailed master classes for knitting such little animals, and you will master this art! 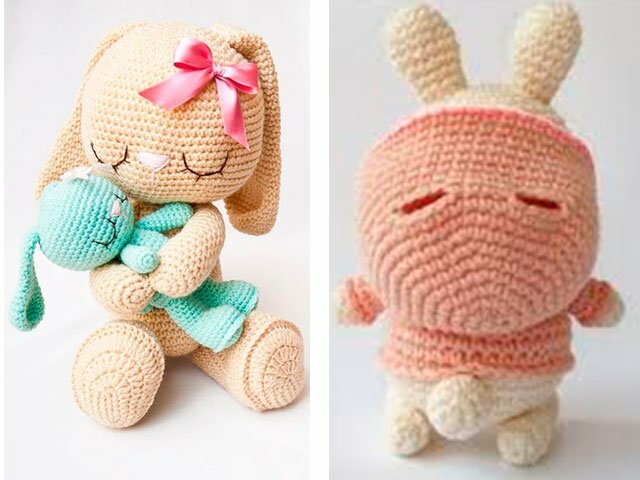
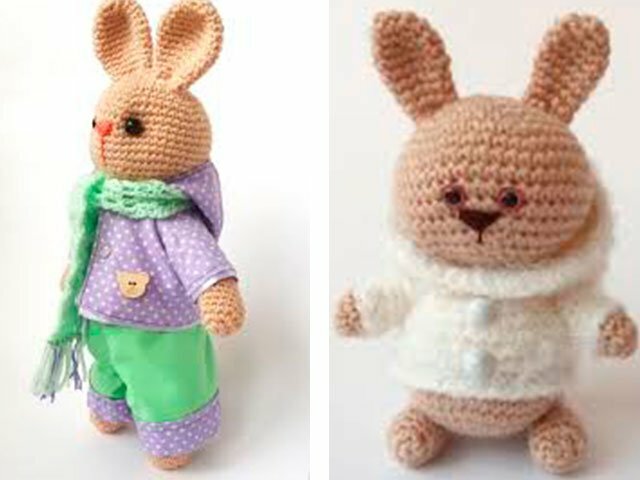
Crochet toys for beginners: schemes with a detailed description of
Cute soft bears in striped sweaters - what you need in the cold autumn season! We took the rest of the yarn for this work, because the bear will turn out to be really very small. Black small beads for the eyes, they can be replaced with buttons or embroidered with threads. But the thread will still be needed for the nose. Of course, we did not forget about the filler - it's necessary to stuff something that turned out a toy. The hook for this product is 2 mm.
So, let's start with the trunk. For its binding we make the following circular series:
- 1 KR:( Shade for the trunk) 6 С.Б.Н.in the ring with the help of SS.
- 2 KR: VP, P.R.S.B.N.in the next P., repeat in a circle, S.S.
- 3 KR: VP,( PRSBN in the next P., S.B.N. in the next P.) = in a circle, S.S.
- 4 KR: VP, S.B.N.in a circle, SS.Now you need to replace the color with the one you want to tie a sweater.
- 5 KR: VP, S.B.N.on the CD., SS.
- 6 KR: VP, 2 S.B.N.together, 16 С.Б.Н., С.С.You can continue to knit with the selected color. And you can change it to make a sweater striped.
- 7 KR: VP, S.B.N.on the CD., SS.Change the color.
- 8 KR: VP, 8 С.Б.Н., 2 С.Б.Н.together, 7 С.Б.Н., С.С.
- 9 K.R.: VP, S.B.N.on the CD., SS.Change the color again.
- 10 KR: VP, 12 С.Б.Н., 2 С.Б.Н.together, 2 С.Б.Н., С.С.And then the main shade of clothing.
- 11 KR: VP, SBNon the CD., SS.here, at this stage, all the APs are closed, and the figure is packed.

Next we will do the head and face. Head is the color of the trunk.
- 1 R.: 6 S.B.N.in the ring.
- 2 R: PRS.B.N.in the next P., this action should be repeated in a circle.
- 3 R:( PRSNN in pp. P., SNN in pp. P.) * A circle.
- 4 R.:( PRSNN in the context of P., 2 S.B.N.) * circle.
- 5 R.:( PR SBSN in pp., 3 S.B.N.) = to repeat.
- 6 R.:( PR SBS in the next P., 4 S.B.N.) = to repeat.
- From 7 to 12 R: Everything is the same as above.
- 13 R:( 2 SBN together, 4 SBN) = repeat.
- 14 R.:( 2 SBN together, 3 SBN) = to the end.
- 15 R.:( 2 SBN together, 2 SBN) = in a circle.
- 16 R.:( 2 SBN together, 4 SBN) - to repeat. After that, close and fill with filler.
The muzzle of the future bear consists of two rows: 1 R: 6 С.Б.Н.in the ring with the color of the trunk. 2 R.: S.B.N.in the next. P. and on the CD.All the loops are closed, the spout is embroidered, the head sewn, eyes.
Ears : 1 Р: 6 С.Б.Н.in the ring.2 K.R.: P.R.S.B.N.in the next. P. 3 R.:( PR SBSN in pp., S.B.N. in pp. P.) - repeat.4 and 5 R: all without changes. Sew them to the head. Paws of the bear: 1 R.: 6 С.Б.Н.in the ring.2 R: S.B.N.on a circle, change color.3 -7 R.: We knit, nothing changing. We knit the legs in the same way, only 2 - 4 r. Unchanged. Total 4 R.
For the collar 19 V.P. ., Unfold the toy, S.B.N.in 2 P., S.N.17 times. Collar wrap around the neck and sew the back.
Toys small crochet
Christmas toys, crocheted crochet toys, schemes and descriptions of which will be detailed for beginners - all this in our rubric about knitting. Now we will make a pretty little lion from yellow yarn ( 50 grams).Here, the hook will need to be slightly thicker than in microns above-3.5.Also - filler and eyes. We use safe, you can replace them with buttons.
The head of the starts with an amigurumi ring of 6 SBN.2 R: PR * 6.3 R:( SBN, PR) * 6.4 R: SBN, PR,( SBN 2, PR) * 5.5 R.:( 3 S.B.N., PR) * 6.From 6 to 9 R.: S.B.N.10 R.:( 3 S.B.N., U.B.) * 6.11 R: S.B.N., U.B.,( 2 S.B.N., U.B.) * 5.12 R:( SBN, UB) * 6.After that, R. stuffs his head.13 R: WB * 6.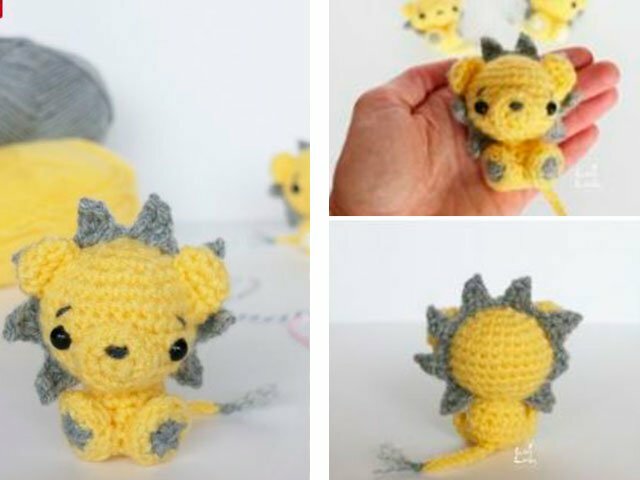
Ears: 1 Р.: 6 С.Б.Н.in the ring amigurumi( KA).2 R.S.B.N.+ PR * 3.3 R: S.B.N.all P.
Mouth: 1 R: 6 S.B.N.in K.A.2 R: PR * 6.Embroider a small mouth.1 R: 6 S.B.N.in K.A.2 R: SBN + PR * 3.3 R: S.B.N.in all P. And for the mane of the lion we make triangles( 8 pieces): 4 VP, SBN, PSN, SN, SS.
For the body 6 С.Б.Н.2 R: PR * 6.3R.: S.B.N.+ PR * 6.4 R: S.B.N.5 R: S.B.N., U.B.* 6.6 R: S.B.N.Filler fill.
Paws of the : 1 Р: 6 С.Б.Н.in K.A.Change the color.2 R: PR * 6.Tail: 9 V.P., S.S.in each P. All parts sew together. We embroider a muzzle.
How to Knit a Crochet Toy for Beginners: The Easiest
Knitting of cute chanterelles begins with ears loosening.
Begins with black color: 1 P .: 5 S.B.N.in the ring. 2 R. : SBN, PR, SBN, PR, S.B.N.- 7 С.Б.Н. 3 P .: 7 S.B.N. 4 P .: 2 SBN, PR, 2 SBN, PR, SBNNext - change the color to orange or carrot. 5 R. : 9 S.B.N.The second ear does exactly the same, but we do not close the canvas, but we collect 9 V.P.and connect with the ear number 1.Next 36 С.Б.Н.
Head: Rows 6 to 9 : 36 S.B.N.We introduce a white shade: 10 R. : 26 С.Б.Н.white color( B.), 5 С.Б.Н.orange( O.), 5 S.B.N.B. 11 R. : 25 S.B.N.- B., 5 С.Б.Н.- О., 6 С.Б.Н.- B. 12 R. : 24 S.B.N.- B., 5 С.Б.Н.- О., 7 С.Б.Н.- B. 13 R. : 24 S.B.N.- B., 2 С.Б.Н.- О., 10 С.Б.Н.- B. 15 and 16 P .: 36 S.B.N.- B. 17 P .: 4 SBN, UB * 6.Immediately here to embroider eyes. 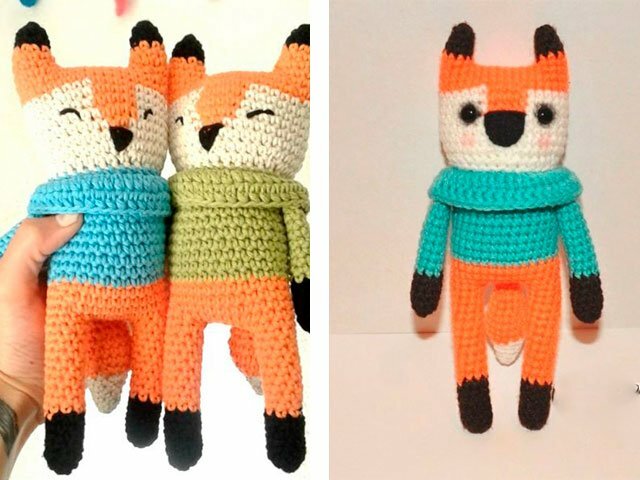
Handles are made in black color: 1 Р.: 4 С.Б.Н.in the ring.2 R: PR * 4.3 - 8 R: 8 S.B.N.Shade to change: 9 - 16 R: 8 С.Б.Н.
Feet: in black color 1 R: 4 С.Б.Н.in the ring, 2 R: PR * 4.From 3 to 8 R.: 8 С.Б.Н.Shade change: from 9 to 19 R: 8 S.B.N.Just do the second leg, connect it with the first 7 V.P.and we do 30 more SBN.
18 - 21 R. - this is the trunk 30 С.Б.Н.Change color: 22 - 23 R: 30 S.B.N.Turn the canvas.33 R: 2 SSN, PR * 10.34 R: 40 S.S.N.
Only the tail of remains, for which we white make a ring of 3 SBN.2 R: PR * 3.3 R: 6 S.B.N.4 R: SBN, PR * 3.5 R: 9 С.Б.Н.6 R: 2 S.B.N., PR * 3.Change the shade.7 R: SBN, PR * 6.From 8 to 10 R.: 18 С.Б.Н.11R.: S.B.N.and UB * 6.12, 13 Р.: 12 С.Б.Н.14 R: S.B.N., W.B.*4.From the 15th to the 18th R.: 8 С.Б.Н.We fill the toy with filler. Beautiful fox is ready! You can make the same cute bear, funny cat, monkey. Such a craft does not leave anyone indifferent!
Easter crocheted crochet with
patterns Easter egg stand: bunny .We will make it blue yarn, you can replace it with any other color. To begin work, you should wrap a thread around your finger and tie this ring 10 С.Б.Н.Continue to knit a tightened ring SBN.in a spiral. 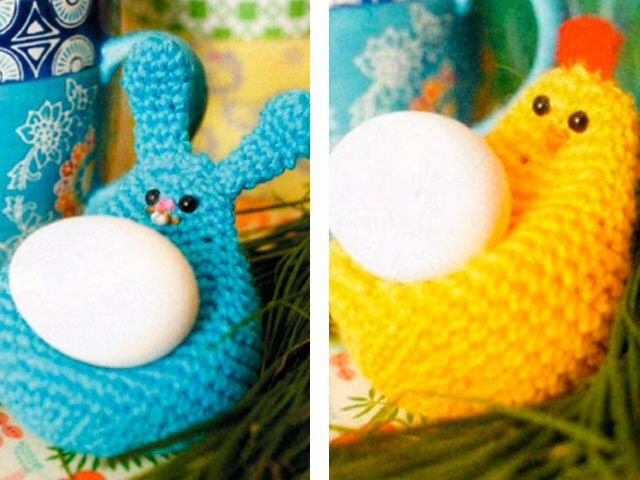
- 2 R: 2 S.B.N.in each ST. * 9.
- 3 and 4 R: smooth mating 20 CT.
- 5 Р: С.Б.Н., 2 С.Б.Н.in the next. ST. * 9.
- 6 R: 30 ST.smooth.
- 7 R: S.B.N., 2 S.B.N.in the next. ST. * 14.
- 8 -12 R: 45 ST.smooth.
- 13 R: 3 S.B.N., 2 S.B.N.in the next. CT.
- 14 and 15 R: 36 ST.smooth.
- 16 R: 2 С.Б.Н., 2 С.Б.Н.together * 8.
- 17 and 18 R: 27 ST.knit smoothly.
- 19 R: SBN, 2 S.B.N.together.*8.
- From 20 to 23 R: 18 ST., U.B.(2 CTs together) = until the hole is closed.
You can fill the product a little. At this our wonderful Easter bunny is ready!
To make the same chicken - knit similarly, but in yellow, on the crown of the bird make a crest: S.N.we attach a string of red or scarlet color, 6 VP, semi ST.In the hole that turned out - 8 С.С.Н.Also - sew your eyes, make a spout.
Crocheted: Amigurumi toys
You can also make a beautiful gift to your boyfriend or couple in love, by tying two cute owls. We used two colors of yarn: gray-brown and beige, felt, eyes, buttons, hook, thread, glue gun. 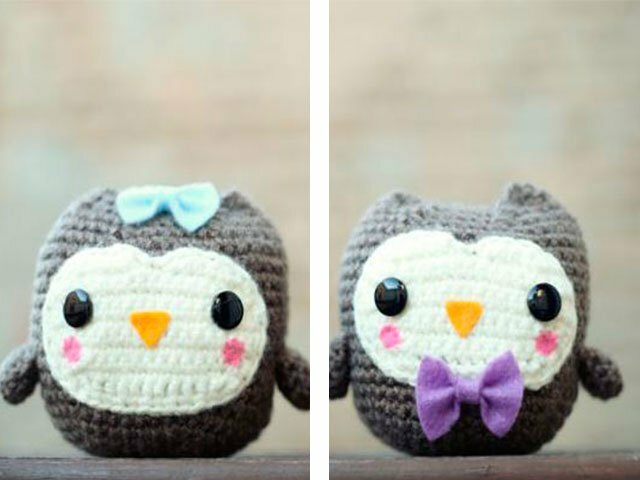
Owl Tire:
- 1 R.: 6 S.B.N.in K.A.
- 2 R.: 2 S.B.N.in each ST.
- 3 R: ( S.B.N. in the text, 2 S.B.N.) * 6.
- 4 R.: ( S.B.N. in the 2nd column, 2 S.B.N.) * 6.
- 5 R: ( S.B.N. in the 3rd column, 2 S.B.N.) * 6.
- 6 R.: ( S.B.N. in the 4th column, 2 S.B.N.) * 6.
- 7 R.: ( S.B.N. in the 5th column, 2 S.B.N.) * 6.
- 8 R.: ( S.B.N. in the 6th column of the ST., 2 S.B.N.) * 6.
- From 9 to 20 R: S.B.N.
- 21 R.: ( S.B.N. in the 6th Chapter of the ST., Note 2 of the SNB) * 6.RD: ( S.B.N. in the 5th column of the ST., Note 2 of SNN) * 6.
- 23 R.: ( S.B.N. in the 4th column of the ST., Note 2 of SNN) * 6.RD: ( S.B.N. in the 3rd ed., Note 2 of SNN) * 6.
- 25 R.: ( S.B.N. in the 2nd ed., Note 2 of SNN) * 6.
Two wings according to the scheme: 1 Р.: 6 С.Б.Н.in K.A.2 R: S.B.N.3, 4 and 5 R.: S.B.N.
Muzzle of the owl:
- 1 R.: 12 С.Б.Н., В.П.Turn over the canvas.
- 2 R.: S.B.N.in the first column, 2 С.Б.Н., С.Б.Н.in the next.8 ST., 2 С.Б.Н.in the next. ST., S.B.N., V.P.We turn the cloth over.
- 3 R: S.B.N.in 1 st., 2 С.Б.Н.in the next. ST., S.B.N.in the next.10 ST., 2 С.Б.Н.in the next. ST., S.B.N.in the last. ST., V.P.We turn the work again.
- 4 R.: S.B.N.in the first ST., 2 С.Б.Н.in the next. ST., S.B.N.in the next.10 ST., 2 С.Б.Н.in the next. ST., S.B.N.in the last. ST., V.P.We turn the work again.
- 5 R.: S.B.N.in the first ST., 2 С.Б.Н.in the next. ST., S.B.N.in the next.10 ST., 2 С.Б.Н.in the next. ST., S.B.N.in the last. ST., V.P.We turn the work again.
- 6 R.: S.B.N., V.P.- inverting.
- 7 R.: S.B.N.in the first CT.instead of 2 SBN, S.N.in the next.10 ST., VM 2 SBN, S.N.in the post of ST, V.P.We turn the product over.
- 8 P: S.B.N.in the first CT.instead of 2 SBN, S.N.in the next.8 ST., VM 2 SBN, S.N.in the post of ST, V.P.We turn the product over.
- 9 R.: S.B.N.in the first CT.BMN, S.B.N.in the 4th column of the ST., V.P.Coup.
- 10 R.: S.B.N.in section 3 of the ST.BMN, S.B.N.in the last ST.We fix the thread.
- 9 R. continue on: 2 ST.skipped in 8 R., S.N.in the 4th column of ST., VM 2 SBN, S.N.in the last ST., V.P.
- 10 R. continue: S.B.N.in the first ST., Vm 2 SBN, SBN.in the 3 rd ST., V.P.
We collect the figure, relying on the photo below.