
specialists Durable and stable gel-varnish has already managed to please many beauties who follow the beauty and well-being of their marigolds. Everyone knows that manicure is not only a necessary measure of caring for hands, but also a visiting card of any person. Almost every girl is familiar with the technique of applying this material to the nail plates, but very few people know how to remove gel-lacquer in the home.
The modern beauty industry offers women of fashion to take advantage of the best development in the nail service and evaluate all the benefits of a popular gel-varnish. One of the main points on which manufacturers of quality gels lacquer accent attention is the quick and trouble-free removal of material after the end of the wear. 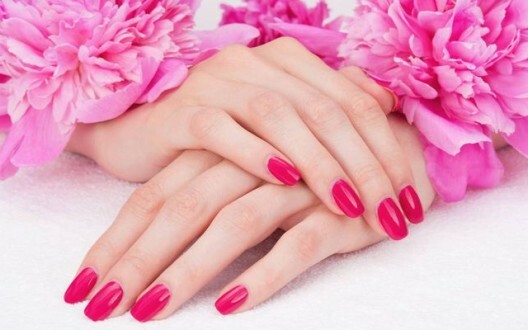
The developers of such tools promise customers easy removal without any unpleasant or painful sensations. And yet, when the time comes for a regular correction, many of the manufacturer's statements remain promises that do not correspond to reality.
Every specialist who uses such a tool at least once asked one single question: how quickly to remove the gel from the nails? Especially this question torments all the girls who independently take care of their nails at home, not attending beauty salons.
Differences between shellac, gel-varnish and biogels
Not every master can intelligibly explain to the client what are the main differences between shellac, gel-varnish and biogel. Therefore, most of them do not know the specific details that are inherent in each of these materials. Let's take a closer look at what the main differences lie in. 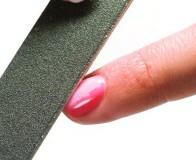
- When the coating is done with usual gel-varnish, the nails must be grinded with a special buff. But in order to remove the remedy from the nail plates, first you have to destroy the top layer of the material.
- When the master uses shellac for correction, the surface of the nail is only degreased, without subjecting the plate to a preliminary grinding. To properly remove the material, you must use a special liquid to remove the gel-varnish.
- Shellac and gel-varnish is used to ensure that the manicure as long as possible retains a neat appearance. The material adheres firmly to the nail plate, making it stronger and more stable. However, as soon as the remedy is removed, the nails return their original fragile structure. Experts even recommend taking breaks to allow the plate to recover and a little "rest".
Removing gel-lacquer with
tools This method of material removal is very traumatic, therefore it is not recommended to constantly use improvised means for removing the coating. However, one-time use will not seriously harm the health of your nails. Before removing the gel at home, you should prepare aids:
- Conventional nail polish remover.
- Wipes or cotton sponge.
- Foil.
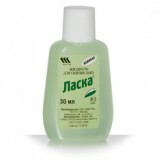 nail polish remover
 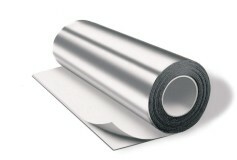 foil
foil  cotton sponge
The procedure consists of several stages:
- Nourishing fat cream is applied to the area around the nails to protect the skin from drying by acetone-containing products.
- Next, 10 prepared sponge thoroughly wet in acetone, and then put wet discs on the surface of the nails in such a way that the cotton wool is closely adhered to the nail plate.
- To block the access of oxygen, the processed fingers are wrapped with a conventional foil, which is left on the nails until the coating is completely destroyed. The exposure time usually depends on the thickness of the applied material, the brand of the manufacturer and the condition of the nail plate. The time interval can vary from 10 to 30 minutes.
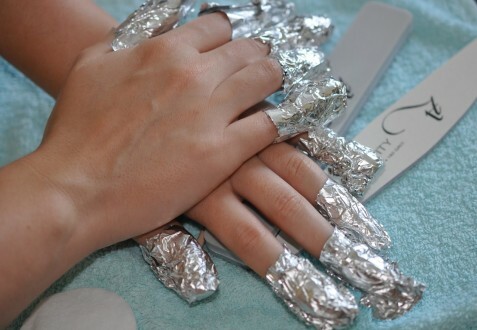 fingers wrapped with foil
 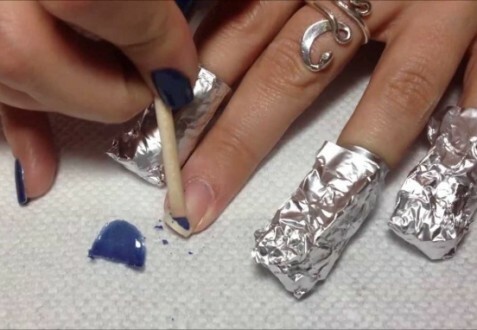 cleansing the nail plate from the gel-varnish
- After 10 minutes, try to remove the compress from one nail and try to clean the plate as carefully as possible from the gel residue. If the material does not succumb to mechanical stress, it is necessary to return the compress for another 10 minutes.
- Remove the foil with cotton from all the other nine fingers, if the gel without any difficulties will be removed from one nail. The coating should go off in large pieces, without requiring special excessive forces. For an accurate cleaning of the plate, use an orange stick for nails. The main goal is to minimize the mechanical impact on the nail plate in order to preserve its beauty and health.
- Once the material has been completely removed, the sensitive cuticle and delicate skin should be moistened with a nutritious cream and a special emollient oil. A week of weakened nails will need mandatory care, which should include relaxing baths with the addition of medicinal herbs and essential oils. After the procedures do not forget to lubricate the skin with solutions of vitamins A and E.
How to remove gel-varnish at home - video
Professional means for removing gel-varnish
In this way, nail plates are cleaned in specialized salons by experienced craftsmen. The procedure does not take much time, but before you can remove the gel without foil at home, you need to purchase certain expensive tools and special clips for fixing. This method has no harmful effect on the plate, so after the procedure you will not encounter the problem of brittle weakened nails, which need daily thorough care.
You will need the following materials:
- Special cleaning liquid for the plate.
- Sponge covers, which fit tightly to the nails or ordinary wadded disks.
- Acetone-containing product.
- Fixing clips for removing varnish. Orange sticks for nails.
 gel-lacquer covers
  gel-clearing liquid
 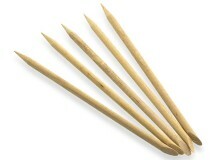 orange rods
Now proceed directly to the procedure itself:
- To begin with, the sponge covers are wetted in a special solution to remove the material on a gel base. Such cases fit snugly against the nail plate thanks to Velcro, which are necessary for high-quality fixation. To fix conventional wadded disks, you should additionally purchase clothes pegs to remove the gel. Such removal caps allow you to fix the cotton pad in such a way that it snugly contacts the entire surface of the nail.
- After the covers have been soaked, they are put on the fingers and pressed with special Velcro.
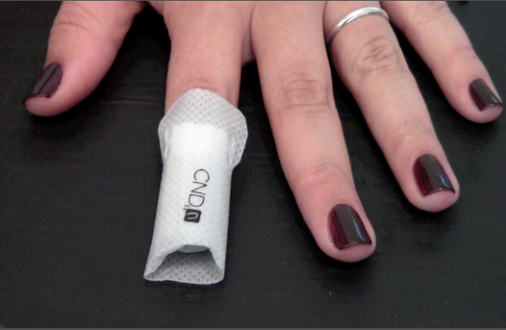 finger, wrapped in a cover
 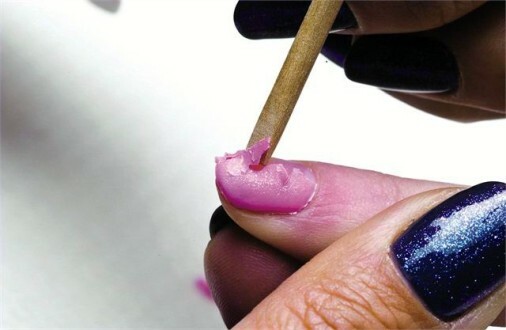 removing gel-varnish with an orange stick
- After ten minutes, carefully remove the coating using a prepared orange stick.
- If the material is poorly separated from the surface of the plate, you should pour a little acetone into a convenient container and put your hands in the solution for another 5 minutes. Typically, this time is enough to completely soften the coating of the lacquer gel.
- At the final stage, special softening oils are applied to the cuticle, and the skin of the hands is moistened with any nutritious cream. Even though the method of removing the gel by professional means is considered not so harmful and dangerous, after the procedure it is still necessary to carefully care for the nails and strengthen them with iodine, lemon juice or purchased cosmetic enamel.
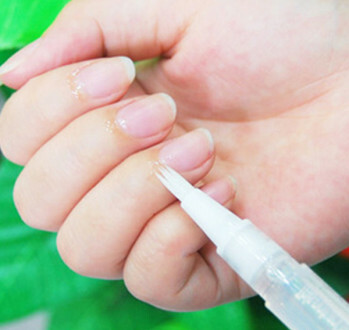 application of oil on the cuticle
 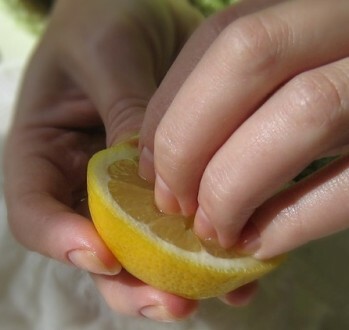 strengthening of nails with lemon juice
Advice and recommendations from
- Some gel-varnishes are much faster removed from the nail plate if you pre-treat the top coat with a baff or saw. The tool acts only on the top layer, without violating the integrity of the nail itself. Thus, it is possible to minimize the soaking procedure in a special tool, saving a decent amount of time.
- Specialists say that in a room with a lower temperature, it is much more difficult to remove the gel coating. In addition, the cleansing procedure for clients with cold hands takes more time and requires additional efforts from the master. In such cases, the fingertips are heated under a special ultraviolet lamp or use a conventional hair dryer.
- Instead of a greasy cream, you can apply Vaseline on the cuticle, which reduces the negative effect of acetone on the plates and the area around the nails. After application, a special impermeable film is formed on the surface of the skin, protecting the nails from penetrating the acetone deep into the stratum corneum.
- Remove the compresses from the fingers in turn: first you need to remove the cotton pad, then gently clean the plate of the remaining material, and only after that process the next finger. If you immediately remove all the compresses, the processed gel will have time to harden again, thereby nullifying all the applied efforts.
- Gel-varnish will be much easier to remove if before using the base you will cover the middle of the nail with a thin layer of usual varnish. If after removing the material you plan to make a new coating, then you can remove only the top and color coating with the file, leaving the base layer of the gel untouched.
Related Videos:
 6:22
6:22 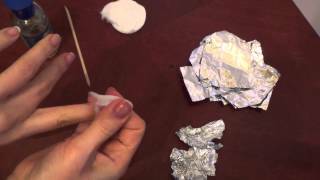 4:16
4:16 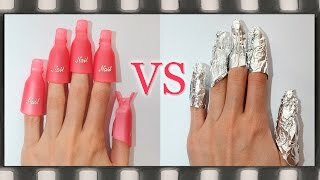 2:41
2:41