Kasatik, cockerel, royal lily - it's all about him, about the tender and mysterious iris. We learn to draw a favorite flower of gods and kings.
Contents
- How to draw an iris flower in pencil step by step for beginners?
- How to draw a bouquet of flowers irises in pencil?
- How to draw a flower iris with watercolor in stages?
- Iris flower: drawing in pencil and watercolor
- Video: Iris with watercolors. Detailed video tutorial. 1st lesson. IT-studio TUTA-KA!
How to draw an iris flower in pencil step by step for beginners?
Before you start painting, well consider your flower model. Pay attention to the location of the petals. Three stretch upward, forming a kind of tubule around the core. These petals are called standards. Three lower, large enough, petals with a bend fall down. These petals are called fouls. Each foul has a kind of beard from the thick villi at the base. For the lower petals of irises, the presence of dark, thin veins is also characteristic.
The leaves have a xiphoid shape, flat and long. The stems are even, high.
Determine for yourself which basic geometric shapes( circle, oval, rectangle, triangle) you can guess in the outlines of a flower.
Variant # 1
Let's try to draw a single flower.
Draw two ovals, arranging them as shown in the photo below. Be sure to draw a vertical axis of symmetry. The lines should be thin and light, if necessary, easy to wear off. These lines will form the boundaries of the future drawing.
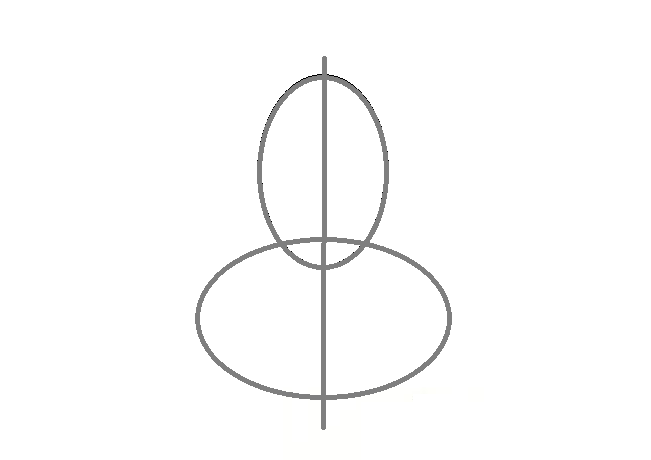 How to draw an iris flower: constructing auxiliary lines
 In the upper oval draw three standards. Draw with the drawing of the central lobe.
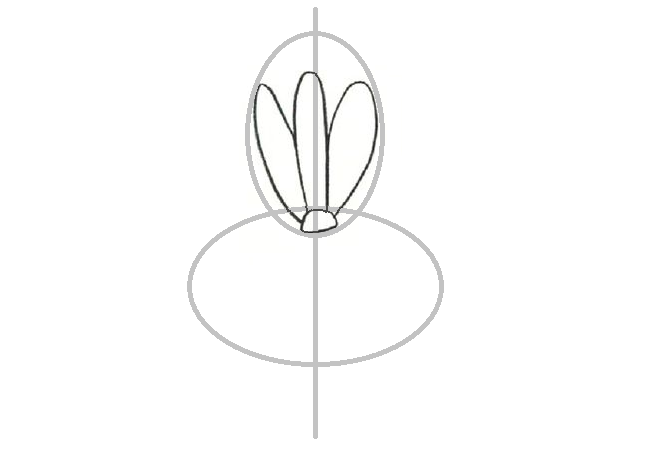 How to draw an iris flower: drawing the upper petals.
 Draw two elements that create the effect of the beard.
 How to draw an iris flower: draw the beards on fouls
 Focus on the auxiliary lines, draw two side lobes.
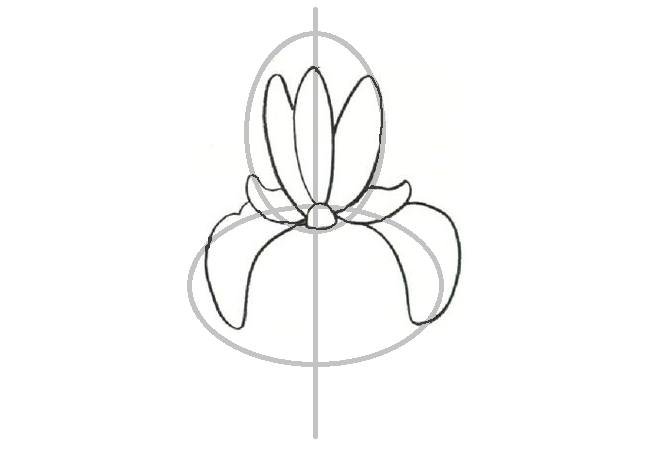 How to draw an iris flower: Drawing the lower side lobes
 Draw the lower central petal, stem and narrow leaf. Erase the auxiliary lines. Color the picture as you see fit.
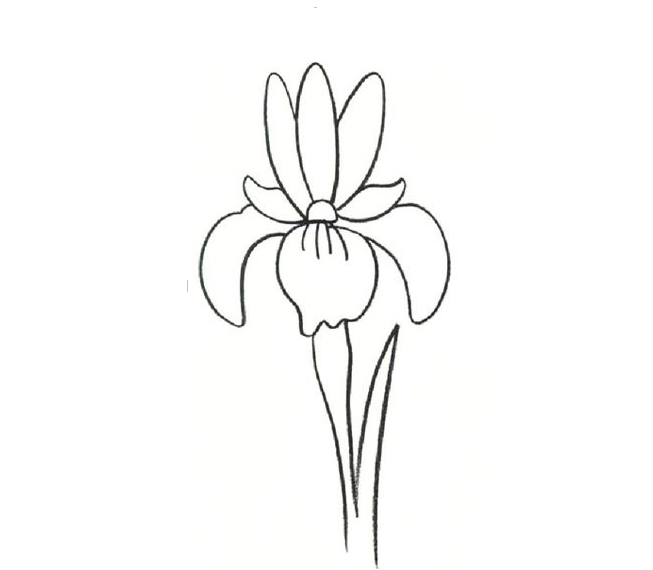 How to draw an iris flower: ready-made drawing
 Variant # 2
If you have a good understanding of the previous drawing technique, then you will fully master the technique proposed below. Thanks to carefully traced petals, the iris looks more natural.
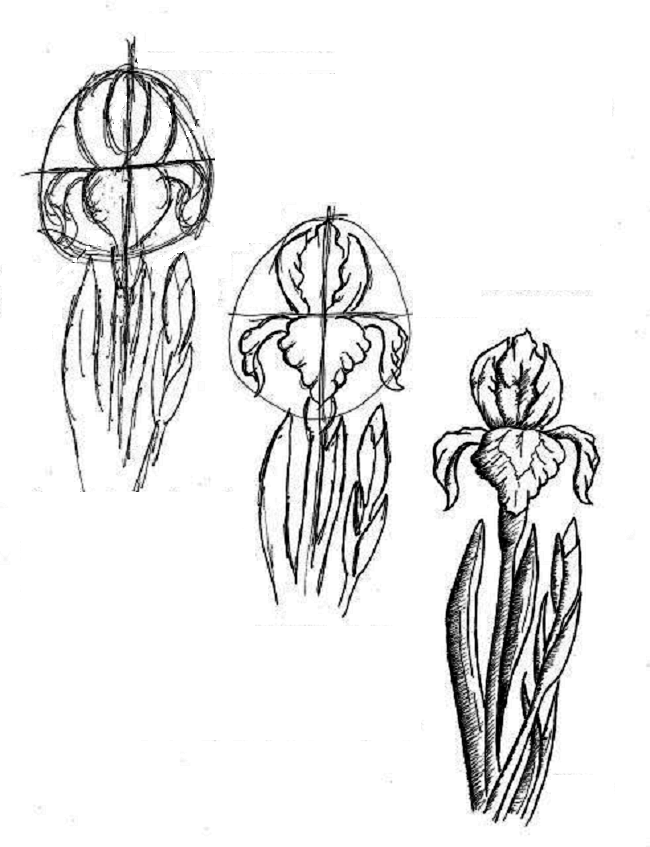 How to draw an iris flower step by step
 How to draw a bouquet of irises flowers in pencil?
Using the tips below and the technique described at the beginning of the article, you can easily draw a few irises, making them a gentle bouquet.
Option # 1
Consider the future composition. Use the light lines to sketch the picture. While working on drawing flower petals, do not forget that iris is far from ideal symmetry and it is in this its charm.
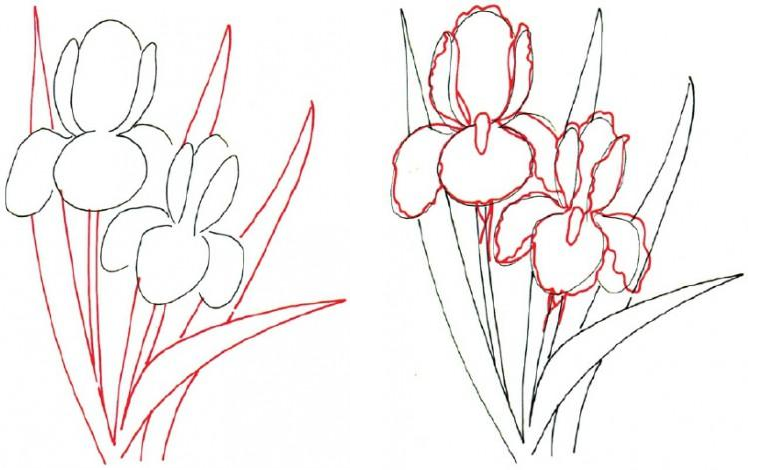 How to draw a bouquet of irises with a pencil: preparation of an outline drawing
 Be careful when working on the details of the drawing. Do not forget about the characteristic for iris beards and veins. Do not neglect the application of shadows. The presence of shaded areas will add a depth and contrast image, make it more alive and voluminous.
 How to draw a bouquet of irises with a pencil: work on details
 Variant # 2
Below is another simple way to paint beautiful irises. Pay attention to the color solution of the drawing, because for irises is characterized by a constant color movement.
 How to draw a bouquet of irises in pencil: 6 steps
 How to draw a flower iris with watercolor in stages?
Irises and watercolors are created for each other. Professional artists claim that working with watercolors is difficult, however, as well as drawing irises. However, this article is aimed at those who make the first steps in the fine arts, and therefore the techniques that are offered to the reader do not require a high professional level.
Important: Use appropriate paper to work with watercolors. Ordinary album sheets are not suitable, because, watercolor paper has a rough surface and better holds the paint.
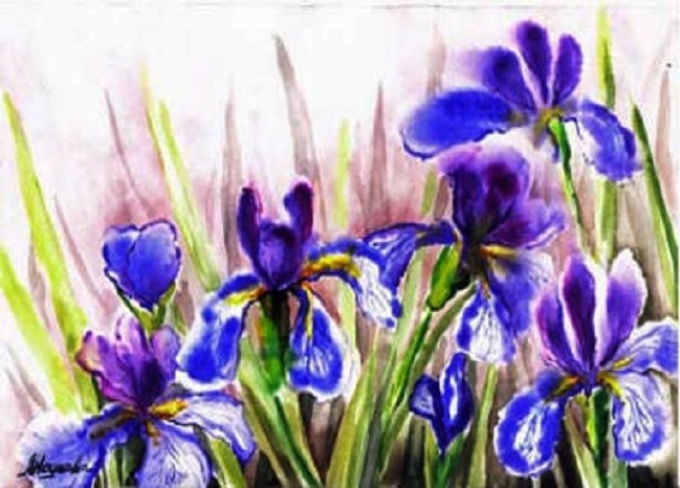 Watercolor "Irises"
 Think over your composition. If necessary, make an easy sketch, indicating the heads of flowers, stems and leaves.
Define the color gamut of the future drawing. The spots on the diagram below are ideal combinations of colors from the point of view of professional artists.
 Perfect color combinations
 Watercolor loves water! And even special sheets of paper tend to deform during the drawing process. To minimize the effects of deformation, the sheet should be fixed on the surface with a paint tape( around the perimeter).
Wet the watercolor sheet well with a spray gun.
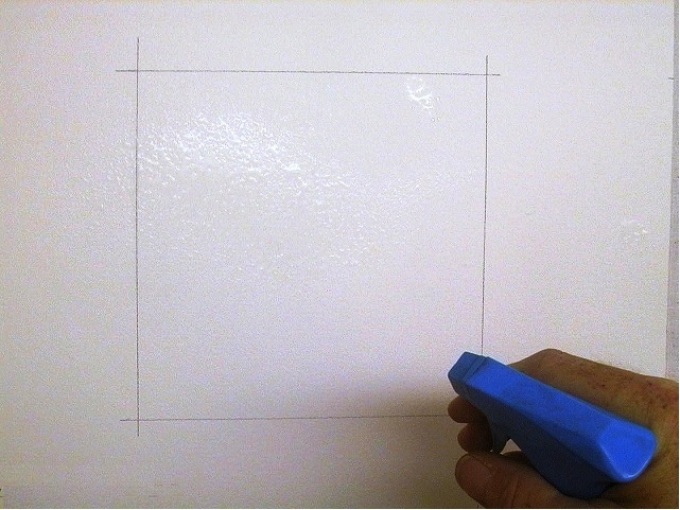 Preparation of a watercolor sheet: humidification
 Remove excess moisture with a clean sponge. Look closely at the surface: the sheet should not shine. If you notice gloss, wipe the surface with a sponge again.
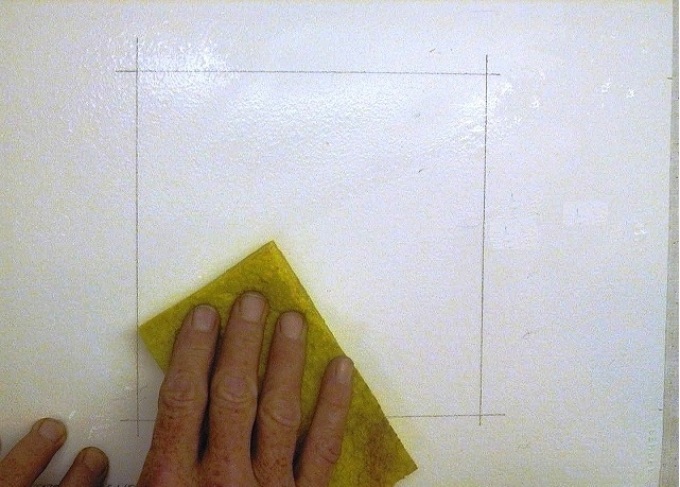 Preparation of a watercolor sheet: removal of excess moisture
 Start drawing. Write easily, without effort. The paint will diverge gently, creating a blurred edge.
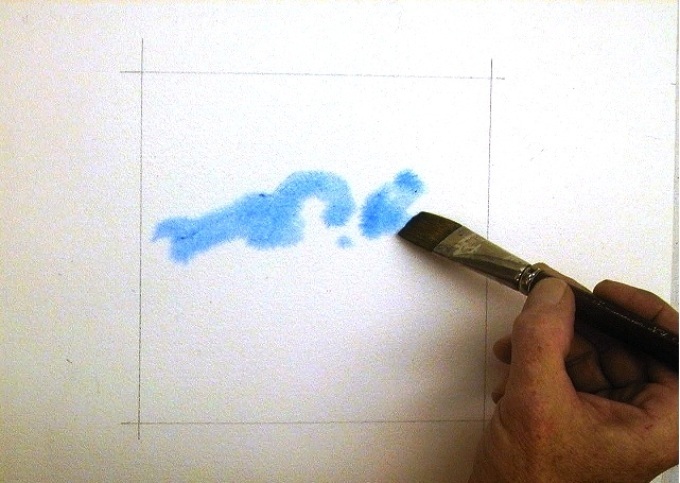 Watercolor stains when drawing in the "wet" technique
 Having mastered the technique, proceed to create a masterpiece.
 Drawing irises in a "wet" technique
 Allow the pattern to dry.
Draw contours and details with a scoring handle or special liner if you see the need for it. A few clear lines in the picture below turned the washed-out watercolor blots into graceful flowers.
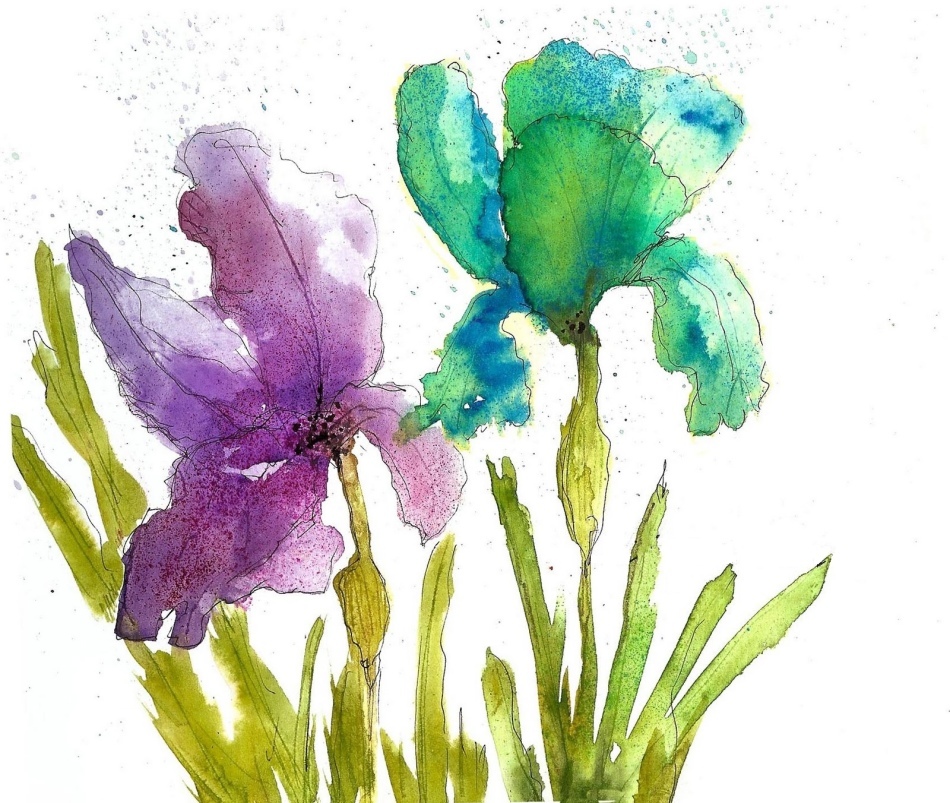 Watercolor "Irises"
 "Wet" technique does not limit the flight of fantasy and allows you to create unique floral images.
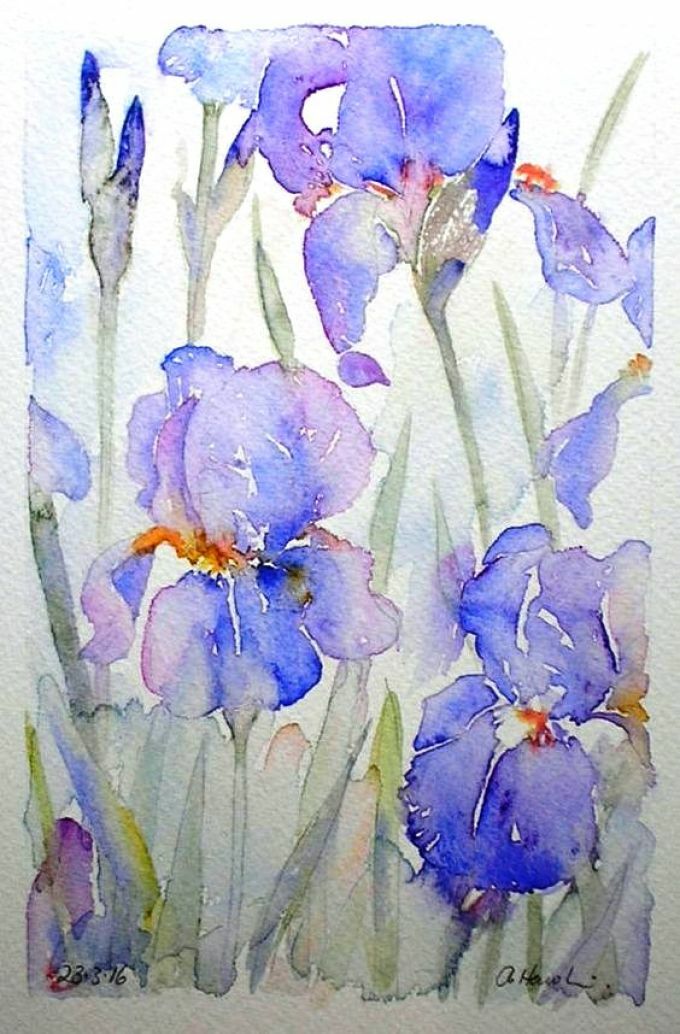 Watercolor "Irises"
 The combination of wet and dry technology gives a stunning, in its realism, images.
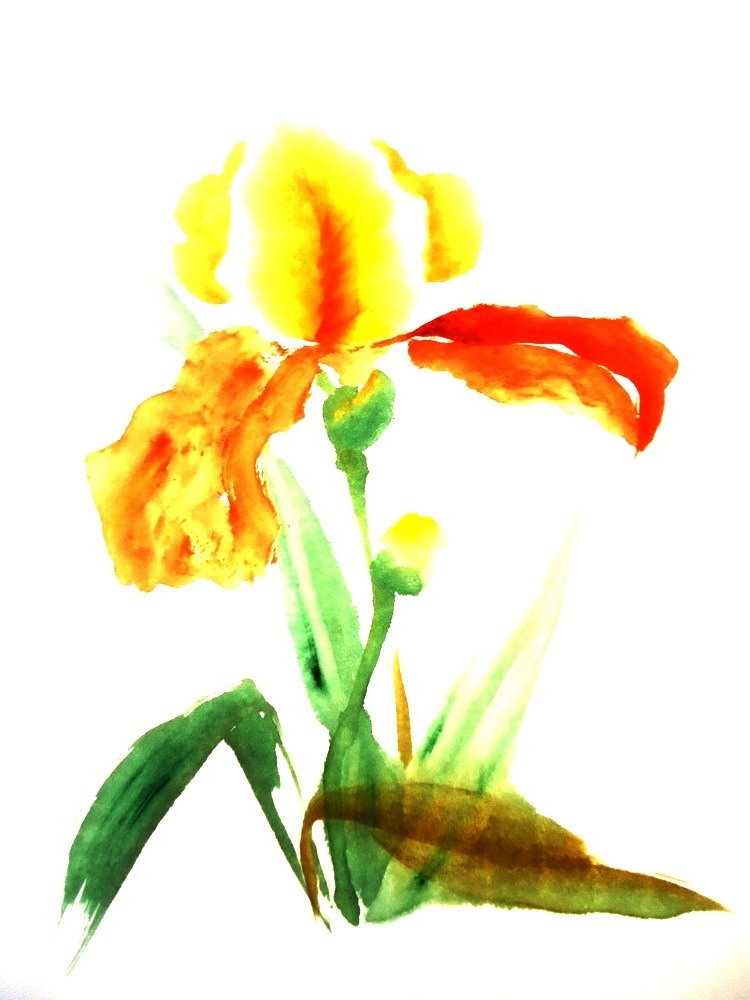 Watercolor "Iris"
 Iris flower: drawing in pencil and watercolor
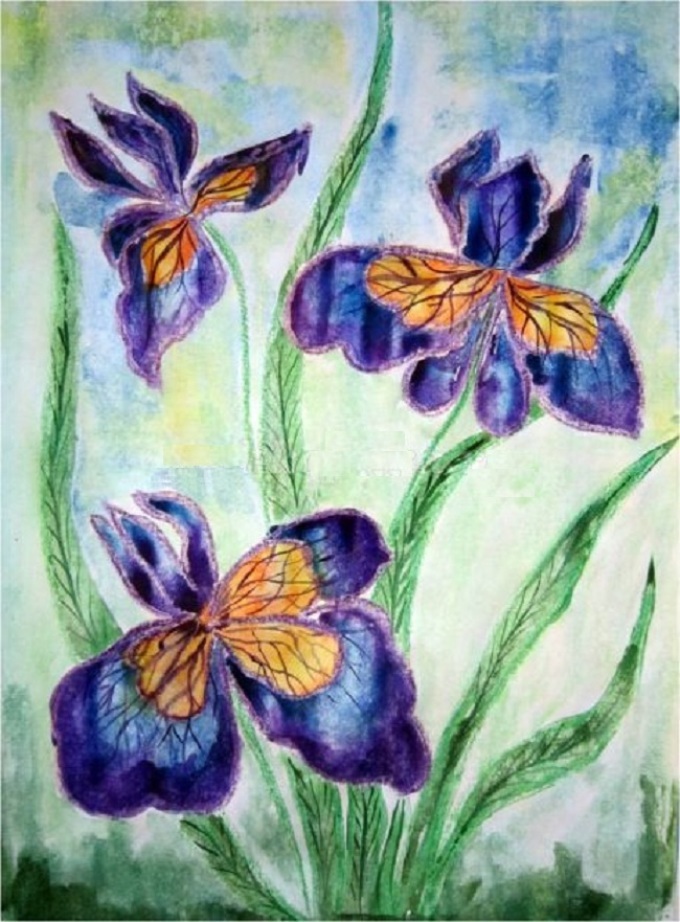 Iris flower: drawing in pencil and watercolor
 To minimize the effects of deformation from moisture and subsequent drying, fix the sheet on the working surface with a paint tape( around the perimeter).
Make an easy sketch, noting the location, shape and size of the flowers. Use the wax pencil to guide the outline of the image. Lines should be thick and clear. Their purpose is not to allow the paint to spread and preserve the boundaries of each individual element.
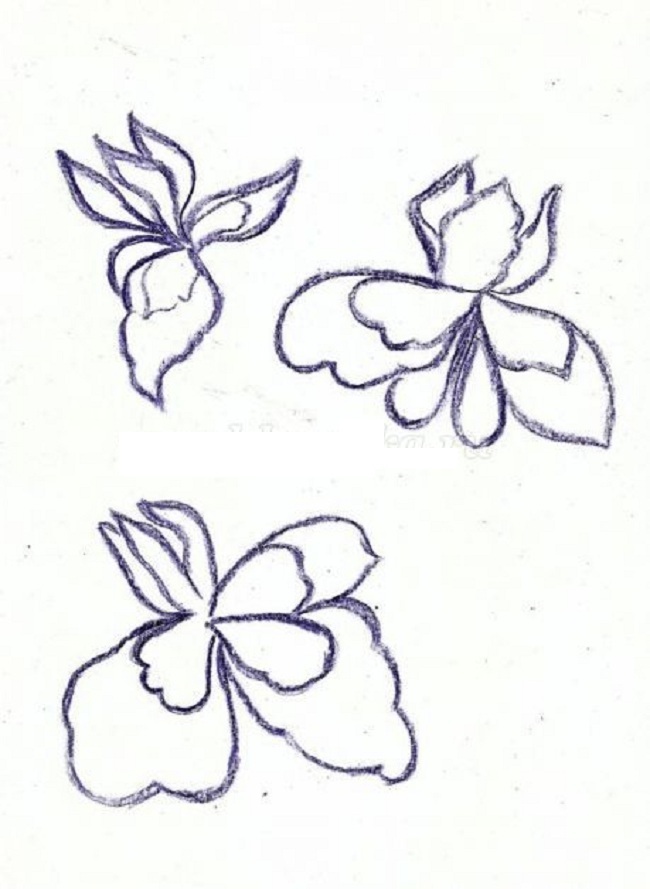
Draw the leaves and stems( wax crayon).
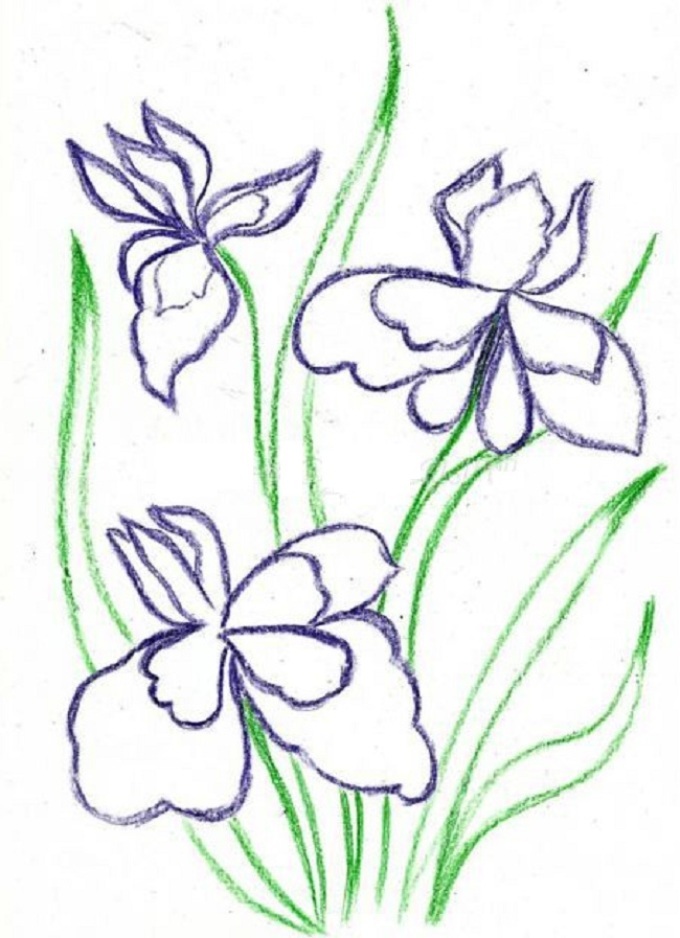 Iris flower: drawing in pencil and watercolor
 Lightly moisten the middle of one of the petals with a brush and clean water. Color the petals, working with two matching colors( see the diagram above).As a result, you will get a beautiful and natural gradient inherent in irises. The photo uses violet and blue colors.
 Iris flower: drawing in pencil and watercolor
 Do not fill the painted areas of the petals with clean water. Color a pale yellow or lemon watercolor. Closer to the base of the petal with a fine brush, add ocher-colored paint. Wet watercolor will start moving, creating an interesting transition. Shade yellow can also be orange. Color the leaves. Allow the pattern to dry. Draw thin veins on leaves.
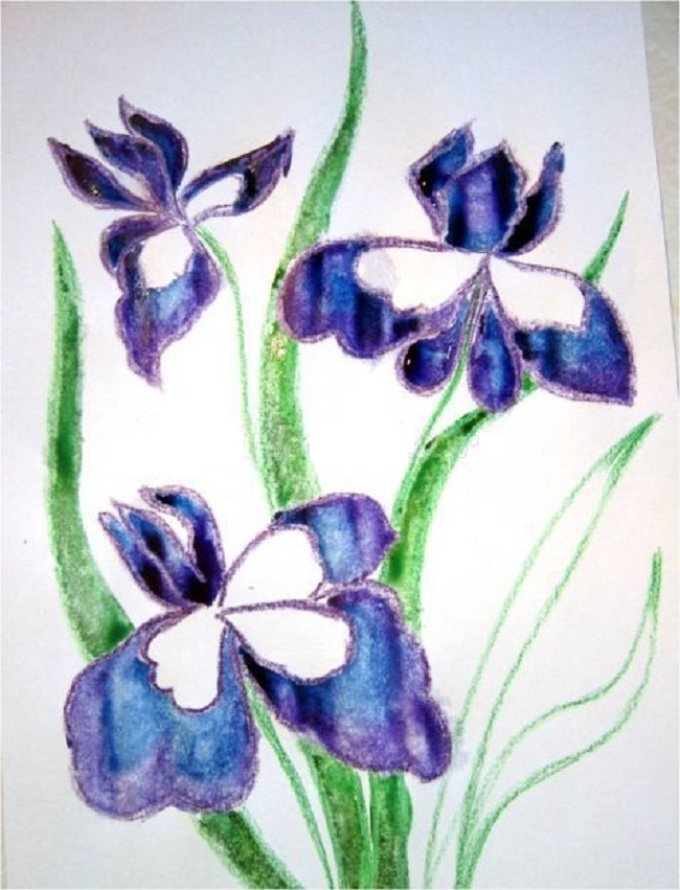 Flower iris: drawing in pencil and watercolor
  Flower iris: drawing in pencil and watercolor
 Gently tone the background. And draw thin veins on the petals.
 Iris flower: drawing in pencil and watercolor