The article will tell you about the secrets of creating colors in the quilling technique.
Contents
- How to make beautiful flowers in the style of quilling?
- Quilling: dandelions, photo
- Quilling: carnations, photo
- Quilling: camomiles, photo
- Quilings in quilling technique, master class
- Video: Tulips in quilling technique, master class
- Quillings, master class
- Video:Lilies in the technique of quilling, master class
- Roses in the technique of quilling
- Video: Roses in the technique of quilling, master class
- How to make daffodils in the quilling technique?master class
- Video: Narcissuses in the technique of quilling, master class
- Quilling: mimosa, master class
- Video: Mimosa in the technique of quilling, master class
- Quilling bouquet
- How to make beautiful flowers in the technique of quilling: tips and feedback
- Video: Quilling for Beginners Flower In the technique of quilling
There is no limit to creativity. And for creativity of paper - even more so. After all, paper is an easily accessible and cheap material, which, moreover, has excellent decorative properties. The modern industry of creativity has created hundreds of types of paper, of different colors and textures. One of the modern forms of creativity from paper is quilling. It was born not so long ago in the west. Quilling is quite simple and everyone can master it.
- The main advantage of quilling is its simplicity. Having learned to create several basic figures, you can make figures of any complexity
- Another advantage is the availability of materials. All you need for quilling is special paper, cut into thin strips, tools and PVA adhesive
- Quilling paper is already sold ready. Quilling masters do not even need to spend time preparing it. Such paper has many shades and several sizes
- Quilling opens wide scope for creativity. To create in this channel you do not need to have extra talents
- With quilling decor you can decorate postcards, albums, notebooks, create separate figures
- . When doing quilling, each master chooses his favorite motifs. The most simple and beautiful motif is the flowers
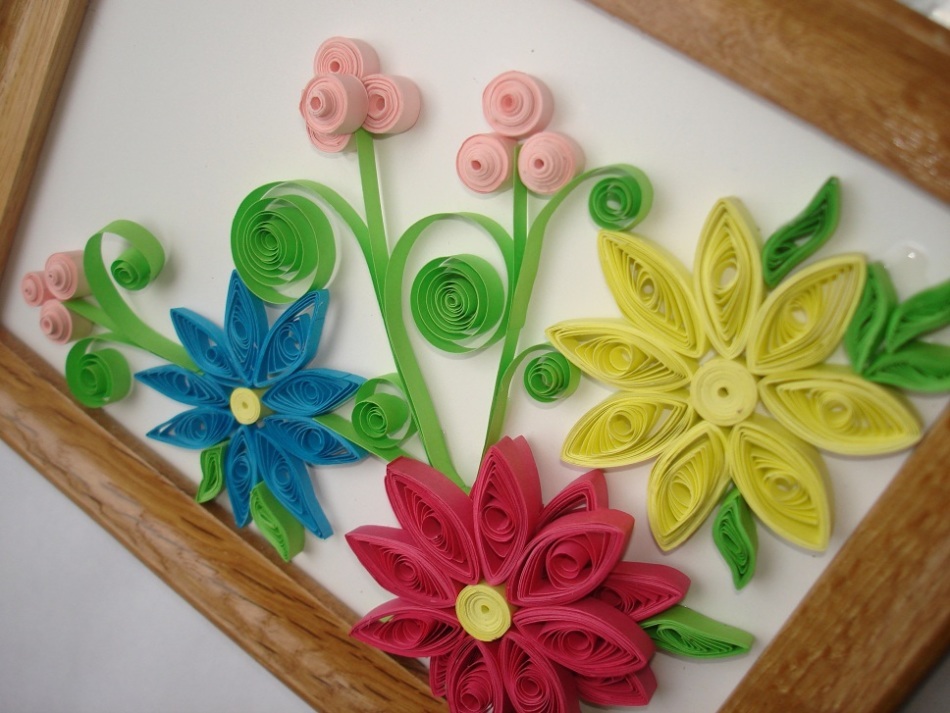 Quilling
 How to make beautiful flowers in the style of quilling?
- You need to start making colors with a thought-out idea. Make a sketch and outline the location of future colors.
- . Think about what kind of colors you will be depicting. Study the structure of this flower, see the photo of the original on the Internet. Note the number of petals, leaves, stalk length
- Prepare materials. The first is paper. To not cut the paper yourself, buy it at a specialized store. As a rule, it is sold in a set of several colors. Choose the one that will be best suited for your colors.
- Also, prepare tools and PVA glue. From the tools you will need tweezers, with the help of which the strips of paper will curl. If you are a novice master, purchase a stencil for quilling details. So you will get even figures
- Prepare the workplace so as not to stain the paper strips and the base with PVA
- glue. Think about what parts will be made of flowers and how many such details are needed.
- . It is better to prepare the details in advance and not rush. The main thing is to enjoy the creative process.
Quilling: dandelions, photo
Dandelions are a symbol of the onset of summer. It has a bright yellow color that will decorate any composition. It will not be difficult to make dandelions.
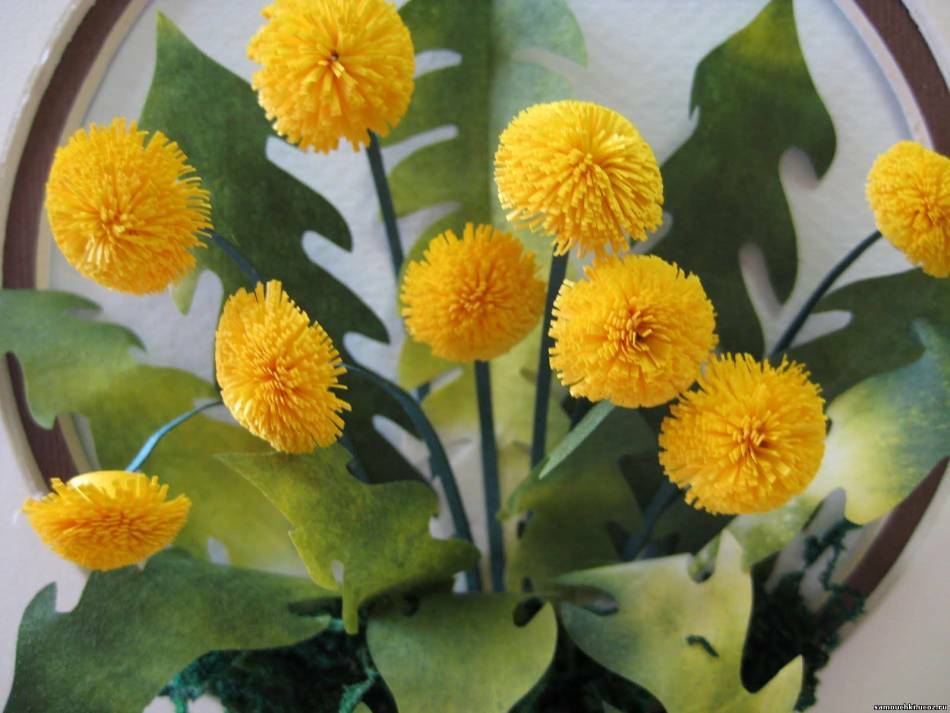 Dandelion
 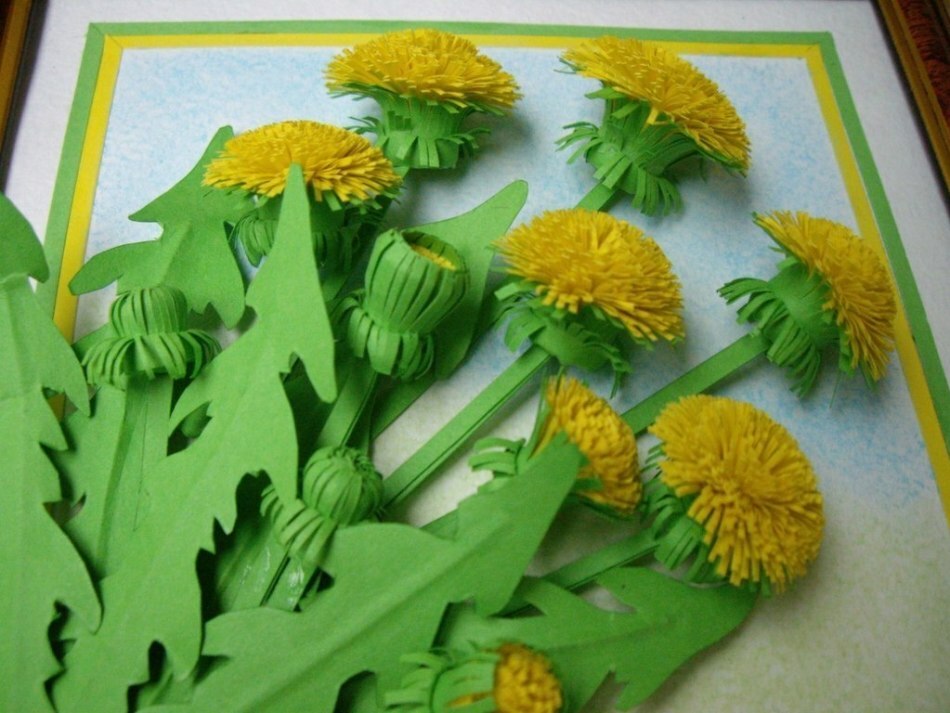 Dandelion
 Quilling: carnations, photos
Bright carnations can be made separately or added to a bouquet to other colors. Carnations look strictly and richly at the same time. Combine paper of different colors to achieve realism of these colors.
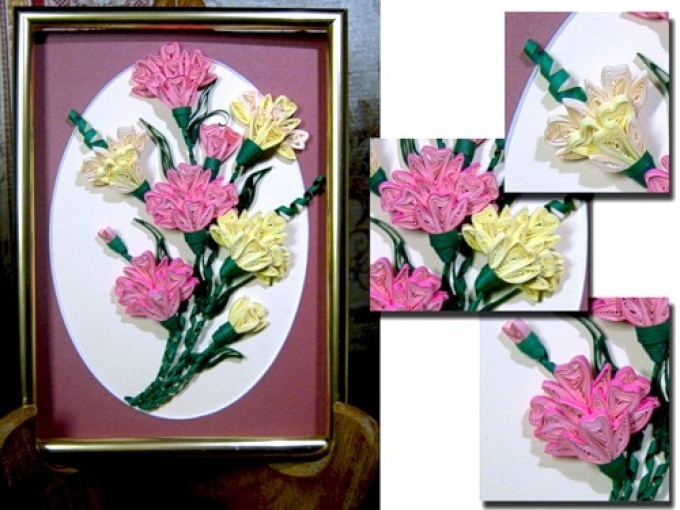 Carnations
 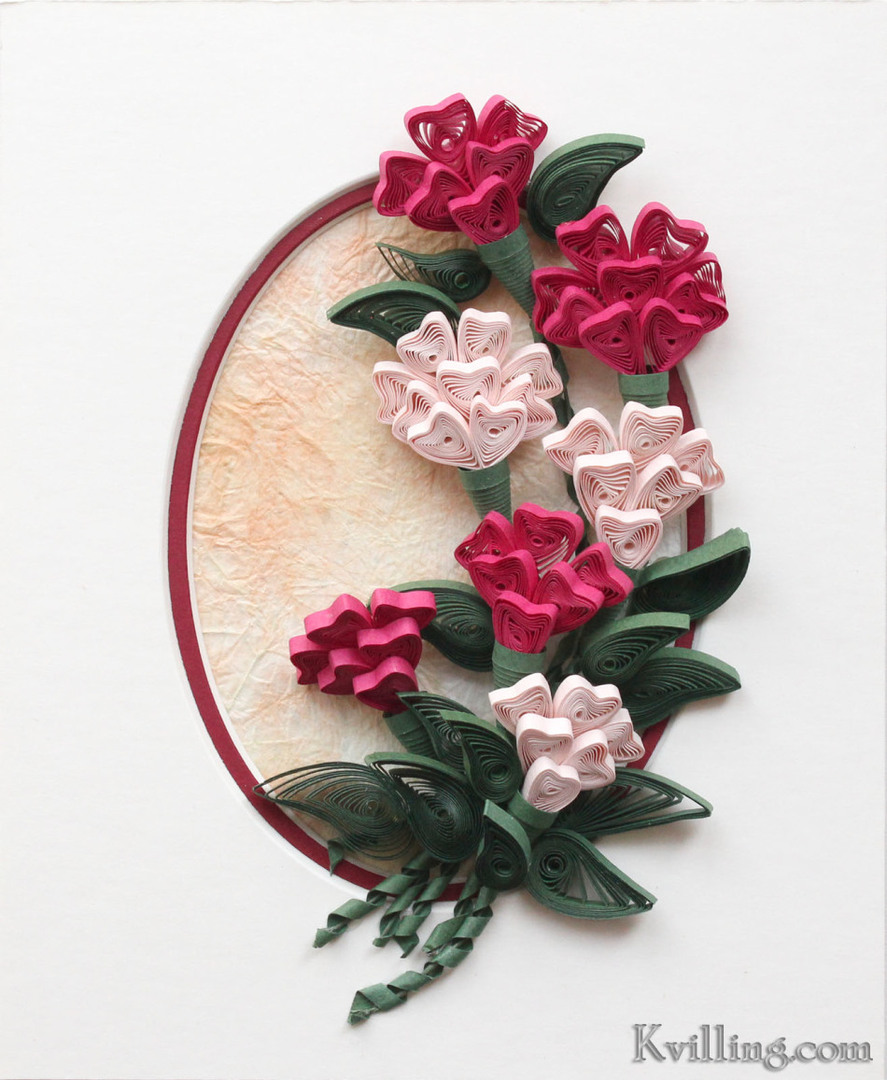 Carnations
 Quilling: camomiles, photo
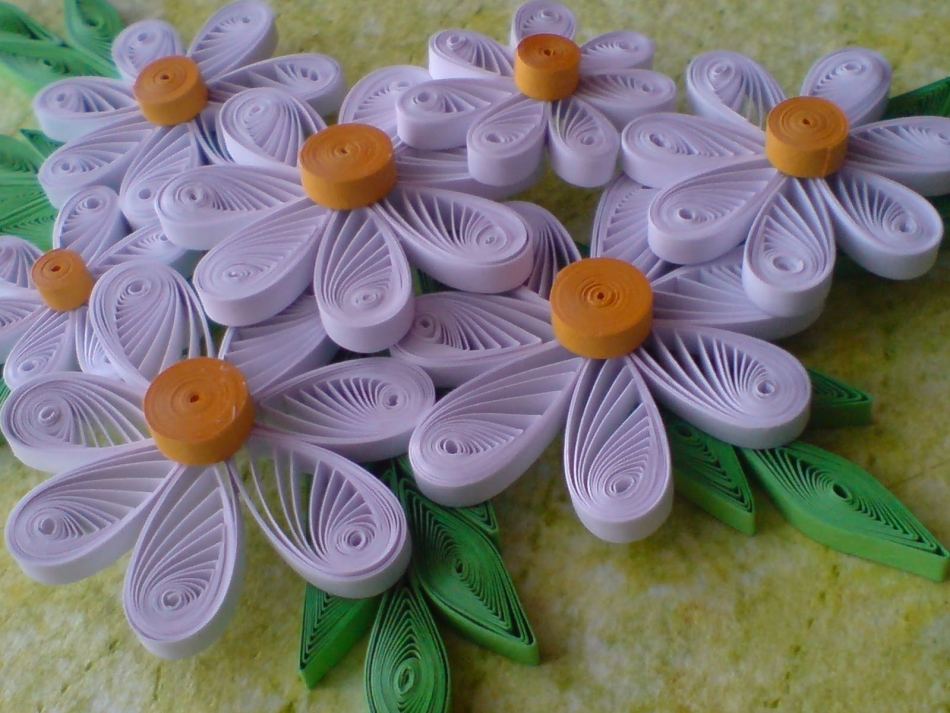
Delicate chamomile, perhaps, the most simple flowers in the quilling technique. They can make even a beginner. A more experienced master can combine chamomile with other colors to make the composition look richer.
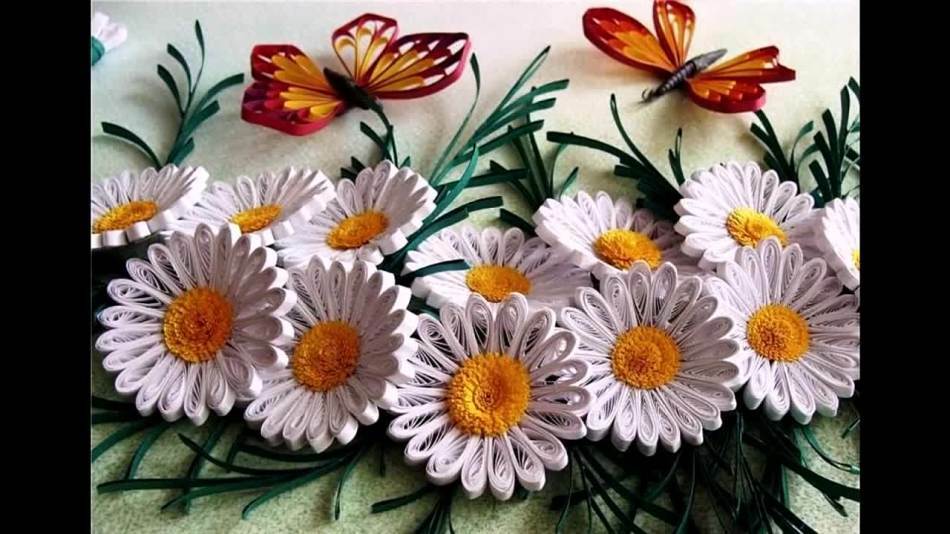 Chamomile
 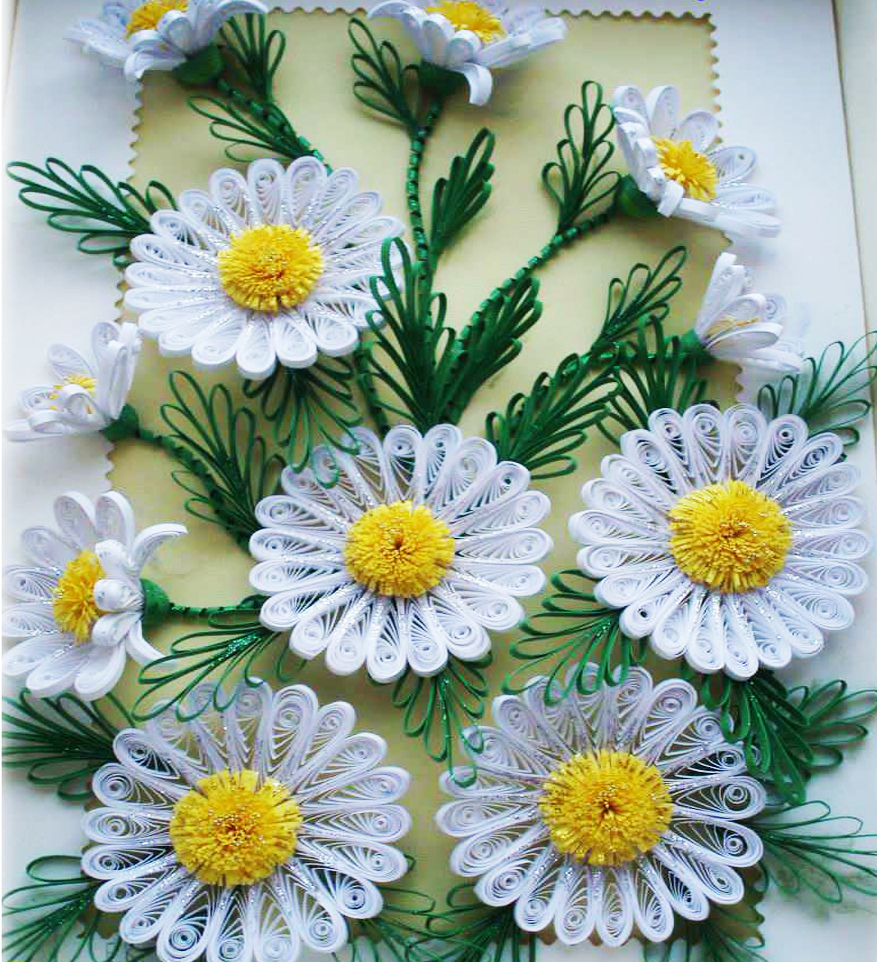 Chamomile
 Tulips in quilling technique, master class
- Tulips are bright spring flowers. For them, the paper of yellow, red, lilac or pink shades of
- is suitable. Tulips made in quilling technique can be decorated with a postcard by March 8 or a notebook. Also, you can make a separate composition or picture
- . For tulips, you need paper( for buds, stems and leaves), thin tweezers, scissors, PVA glue and, if possible, the
- stencil. The simplest form is in the form of a crescent. However, the tulips in this case will be obtained only by the schematic
- . Think about the background for future tulips. It should be in no way brighter than the flower buds themselves
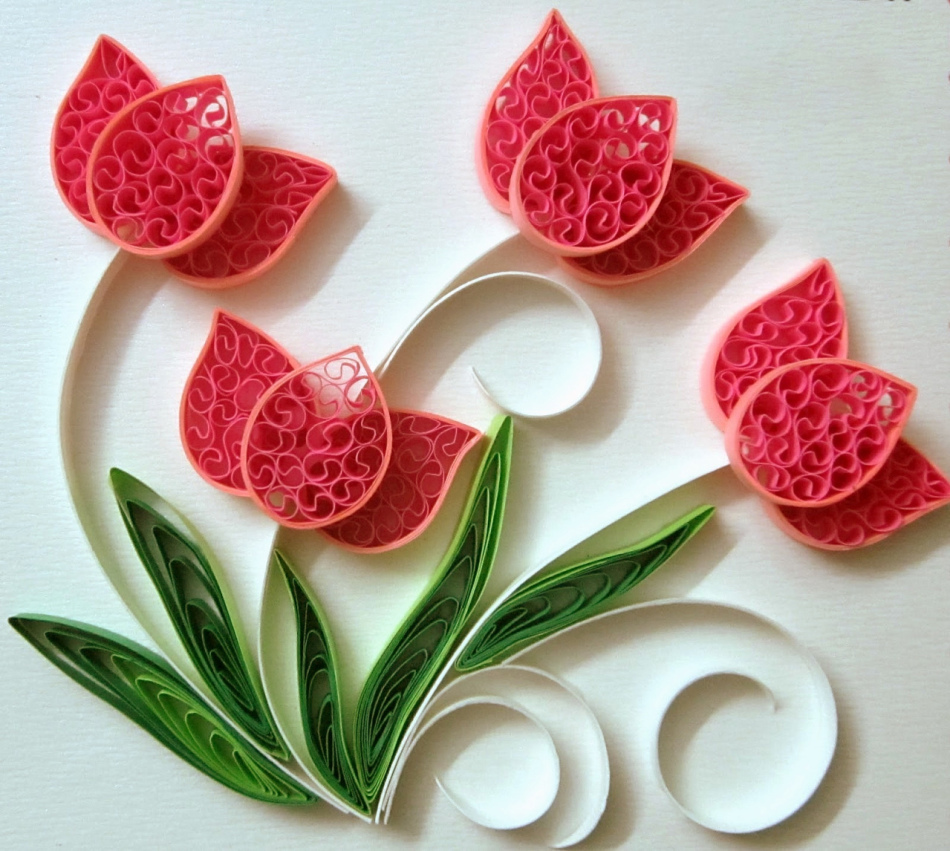 Tulips
 Video: Tulips in quilling technique, master class
Lilies in quilling technique, master class
- Lilies come in various colors: white, pink yellow or orange
- Notdespite the fact that the most suitable color is white, it is better for beginners not to work with it. White paper is very marking. If you do not have the skills to work with materials, the novice master will just blot the white paper
- . If you still decide to work with white quilling paper, wait for the elements to dry completely. Otherwise, the green color of the leaves may stain the white petals of the
- Lilies from the quilling can be flat or bulky. Of these, you can create a wonderful composition for decorating the interior. Lilies go well with roses
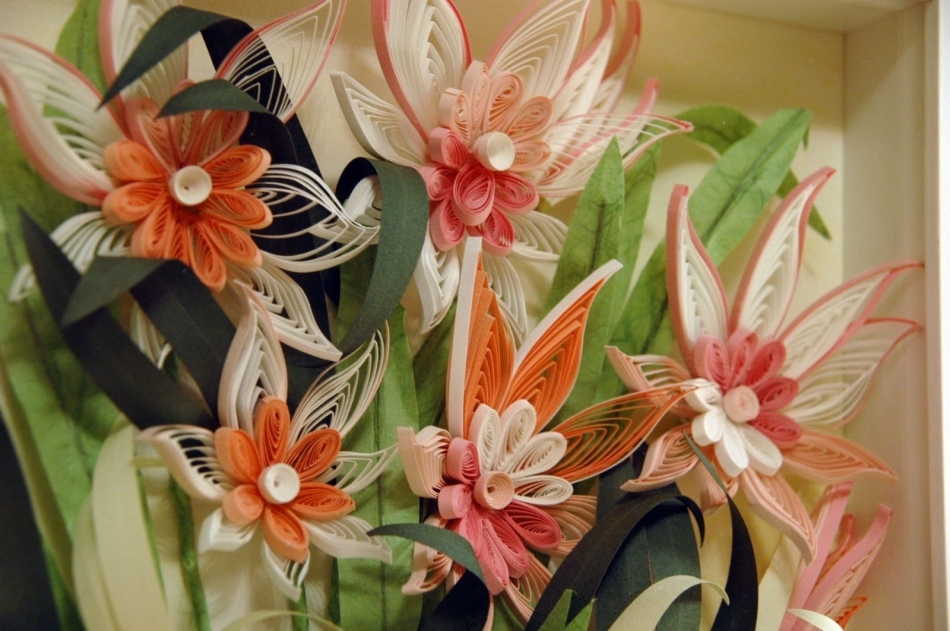 Lilies
 Video: Lilies in the technique of quilling, master class
Roses in the technique of quilling
- Roses are not easy to make. Therefore, beginners should start with the manufacture of other colors.
- Most often, roses do not come from the standard roll shape. For a rose, the paper is twisted in such a way that the flat parts are outward, imitating the petals of the
- flower. Roses can be made flat or bulky.
- The best colors for roses are red, pink and white. Experienced masters can combine several shades to make the rose look realistic( darker inside and lighter outside)
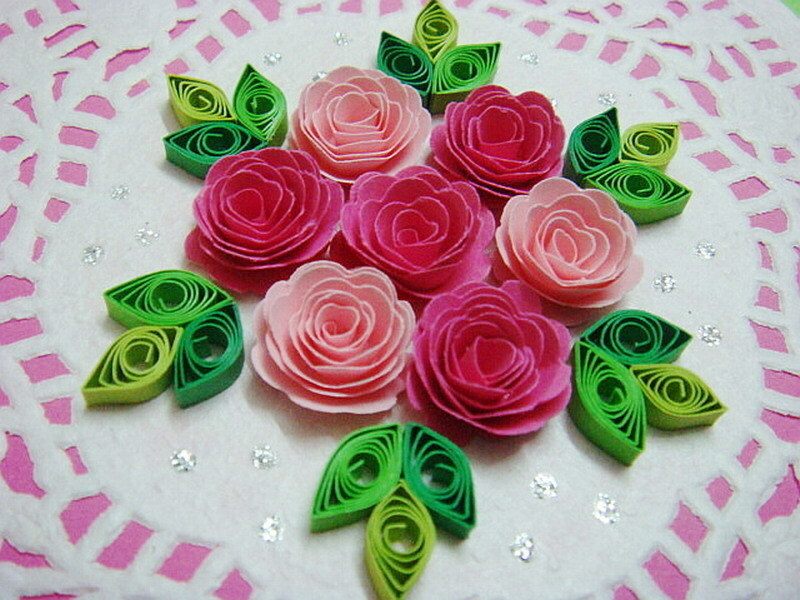 Roses
Roses Video: Roses in the technique of quilling, master class
How to make daffodils in the quilling technique?master class
- Pay attention to the structure of daffodils: these flowers have a head that is pointing down. Also, they have petals and an inner bud bell
- . To make the narcissus look like itself, it's best to make it bulky. Then, all the details of the flower will be noticeable.
- Narcissus can be of two types: white with a delicate yellow center and yellow with a bright yellow center.
- Often, to simplify the making of narcissuses, they are made not from the side, but from above. That is, it seems that their buds are aimed at the viewer.
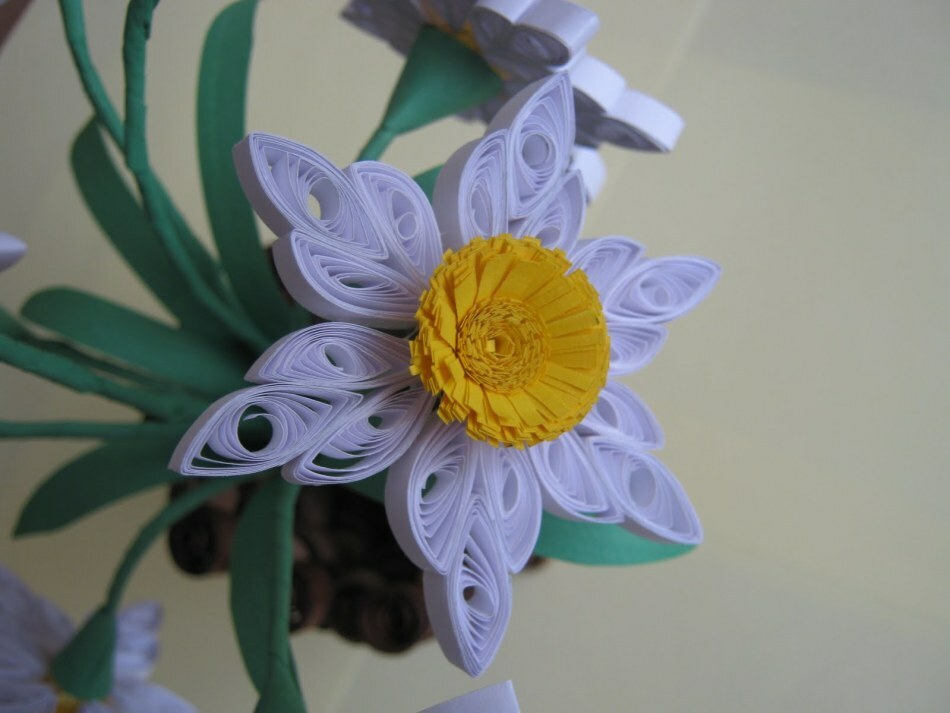 Narcissus
 Video: Narcissuses in quilling technique, master class
Quilling: mimosa, master class
- Mimosa has many small flower-balls and sharp leaves. To produce it you need a bright yellow and dark green paper
- Pay attention to the flowers of mimosa. They are fluffy. This effect can be achieved by finely cutting strips of paper before tightening. Then, the cut pieces are enough to fry
- Mimosa can be combined with other spring flowers: crocuses and tulips
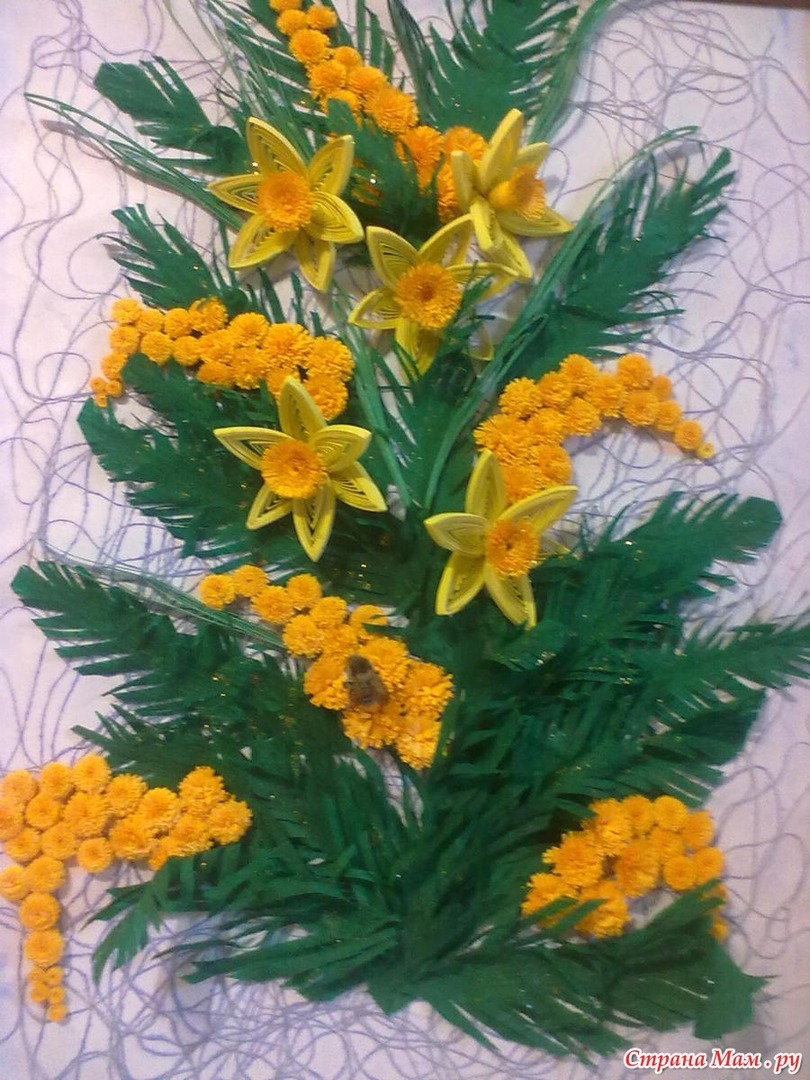
Video: Mimosa in quilling technique, master class
Quilling bouquet
The best thing about quilling is great creativity. And the beauty of nature is so immense that they can be incarnated forever. Having mastered the skills of creating individual colors, the master can start making bouquets. It will already require not only technical skills, but also a sense of style.
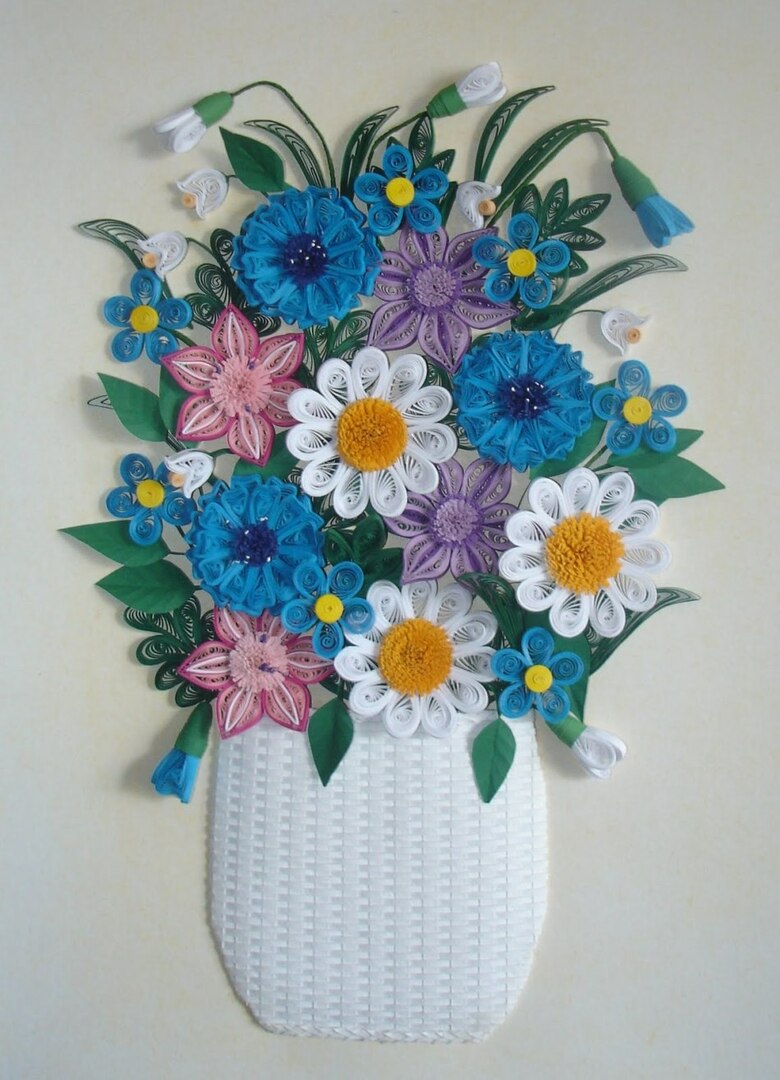 Bouquet
 How to make beautiful flowers in the technique of quilling: advice and feedback
- Quilling - a very laborious kind of creativity. Only after the acquisition of skills, the figures will be obtained more or less quickly. Therefore, be patient with
- Accuracy is the main factor for obtaining beautiful compositions. No matter how ingenious it is, it's simply not possible to look dirty or unevenly on it
- Paper parts are very small, so prepare a place to work in advance.
- Wait until the part dries completely before attaching it to the
- base. Do not put a lot of PVA glue on it. Even a small amount of it well glues the paper
- . Do not skimp on the quilling tools. This will provide you with easier work and even details
- Take your time, stretch the pleasure of creating your masterpiece
 Flowers
 Do not just create one motive. Look for those that you like most.
