You can not even imagine what you can create from the most common buttons. Craftsmen and inventors manage with their help to create ornaments and original gifts, to transform lamps, curtains, vases, watches, pillowcases and other household items. And you can also expand shoes, clothes and bags, and even create unique paintings and panels. It turns out very original and beautiful!
- Composite picture
- Bowl of buttons
- Original vintage beads
- Brooch-flower
- Frame for mirror and photo
- Jewelry for handbags and shoes
Composite picture
Materials needed:
- paper or cardboard;
- watercolor paints;
- pencil;
- buttons;
- glue gun.
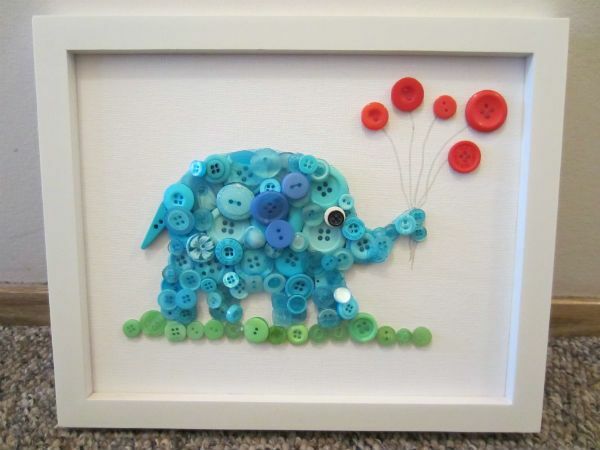
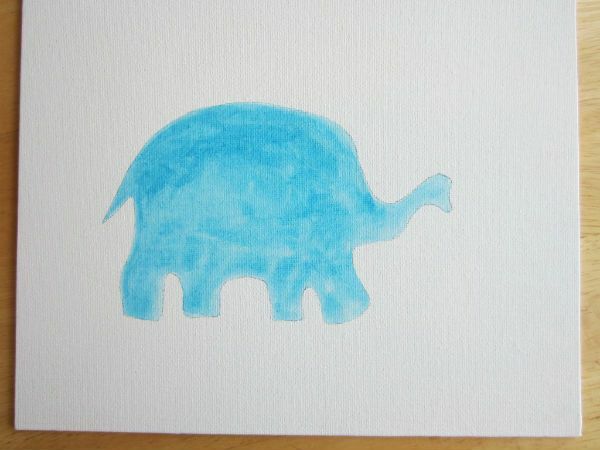
For our crafting an animal from buttons, namely an elephant in this example, the first step is drawing an animal's silhouette on paper or cardboard.
We paint a watercolor sketch under the color of buttons chosen for crafting, we wait for complete drying.
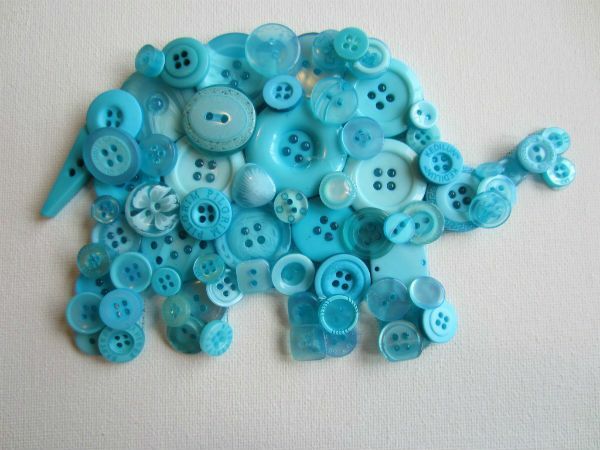
Use a glue gun to seal up all the space with buttons, trying not to go beyond the contours of the drawn.
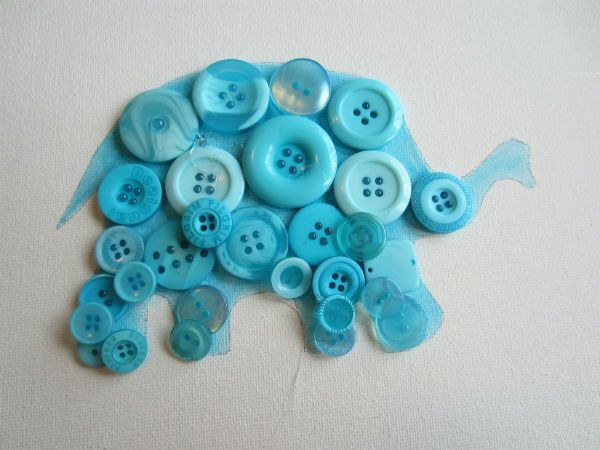
The second layer of smaller buttons should fill in all possible gaps and gaps made during the sizing of the first row.
In order for an elephant to have an ear for it, take the button a little more and darker.
The tail can be decorated with an oblong button or ribbon and other decorating means.
All the other elements of finishing the picture you have the right to choose yourself.
At the end of the work with the picture it can be inserted into the frame and used as a full-fledged decor element.
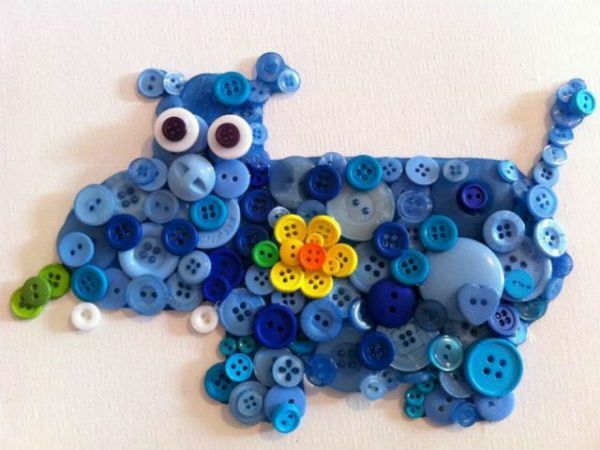
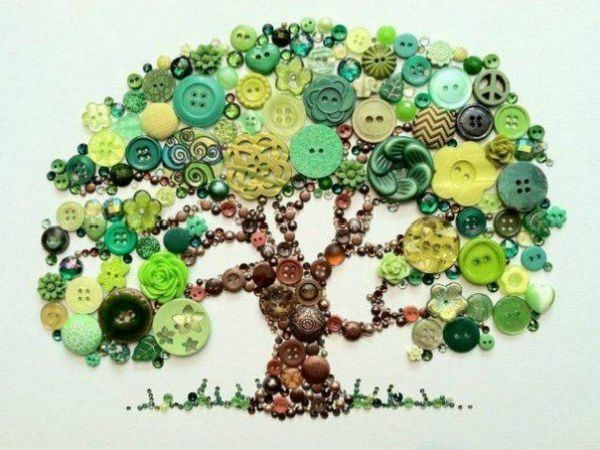
On the same principle, you can "draw" anything you like. For example, a hippopotamus or a tree.
Bowl of buttons
Materials required:
- air ball;
- buttons;
- glue( use non-hot adhesives so as not to bake the rubber balls);
- cup;
- needle;
- marker;
- wooden stick;
- adhesive tape.
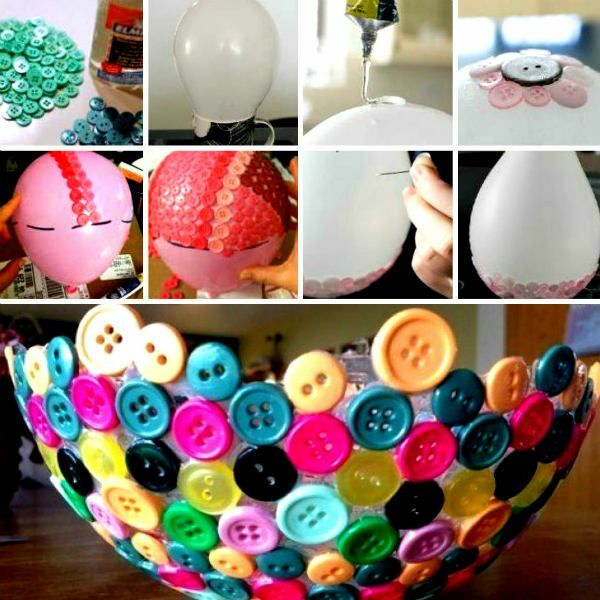
Inflate the balloon.
The narrow part of the ball should be fixed in a cup and secured with adhesive tape.
Marker on the ball paint the border of the future bowl of buttons.
Lubricate with a wooden stick with glue a buttoned part of the ball.
And immediately evenly put the necessary buttons on the pads.
When filling the whole bowl with buttons and giving it the desired shape, you need to wait for the glue to dry completely.
When the glue is solidified, you need to pierce the inflated ball with a needle and just turn the finished bowl downside down.
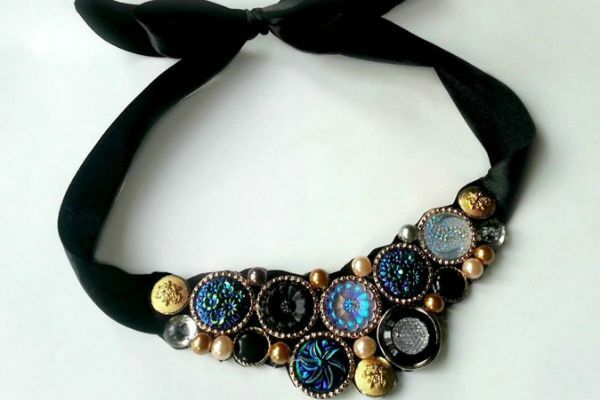
to contents ^Original vintage necklace
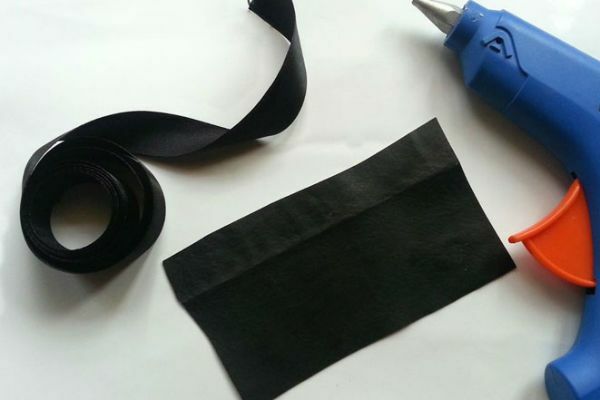
To create this necklace you will need:
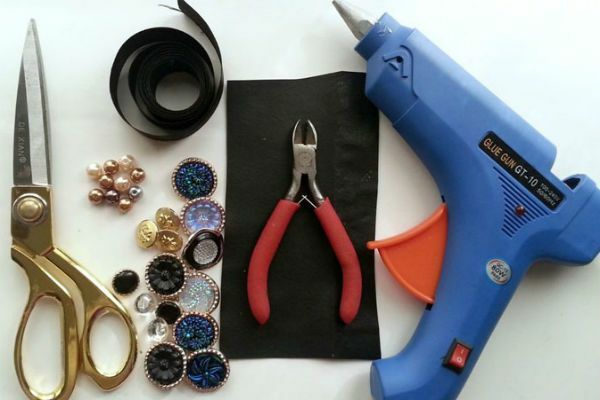
- beautiful buttons;
- nippers and scissors;Satin tape or ribbon;
- glue gun;
- beads for pearls;
- lighter;
- piece of leather or quality leatherette.
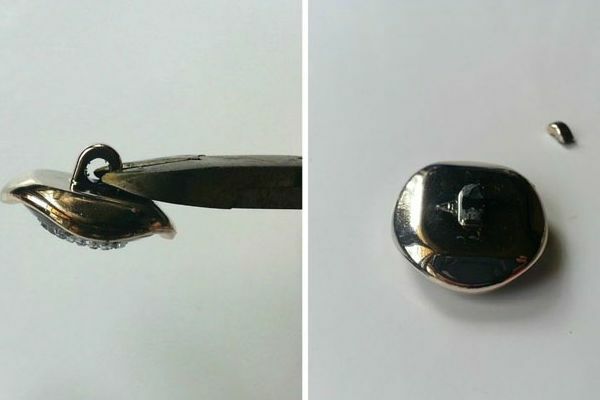
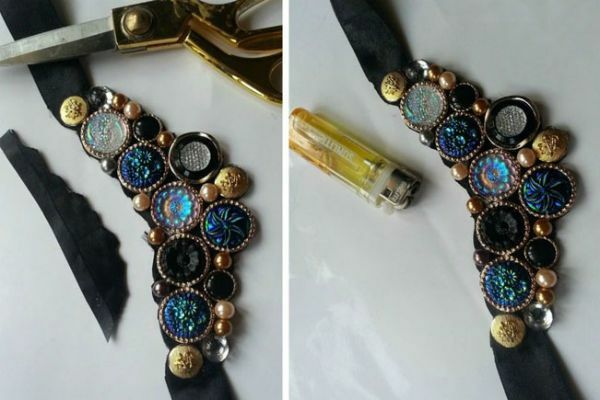
Visually construct the shape of the future necklace.
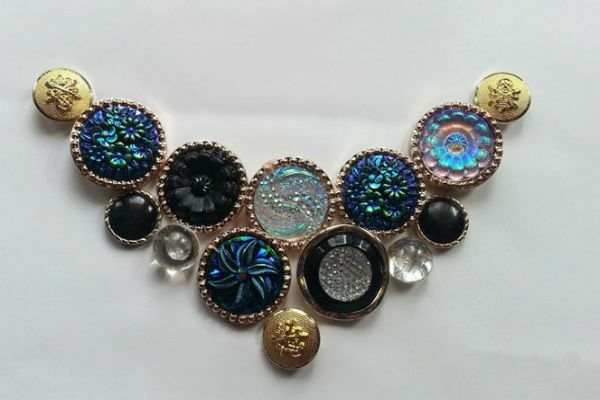
If there is a holder on the buttons, cut it with a pliers.
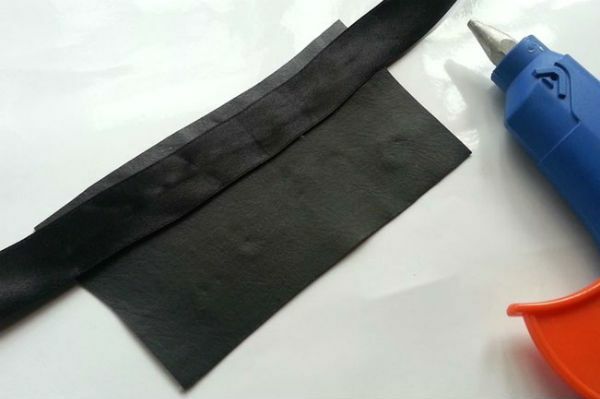
Glue the satin ribbon from the front side of the skin. The length of the braid should be enough to tie a necklace around your neck.
Begin to transfer the buttons to the surface of the workpiece, gluing them.
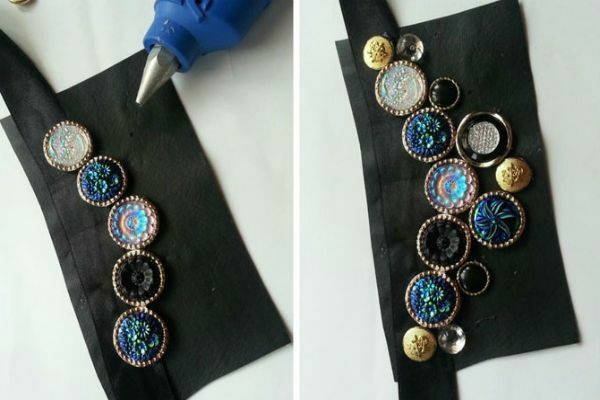
Distribute the beads.
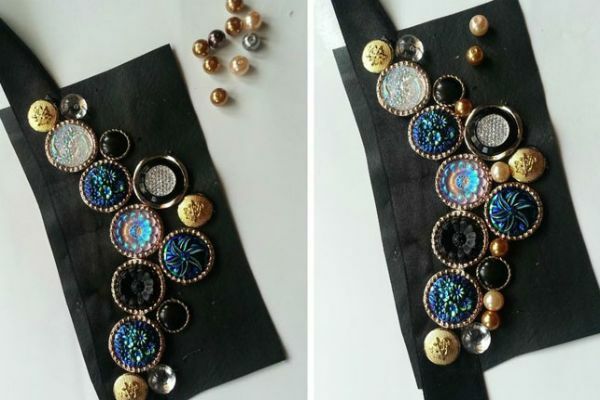
Trim the contour and scorch a little edge.
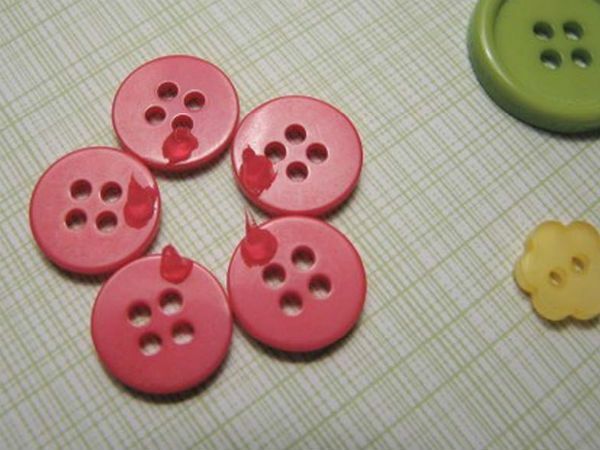
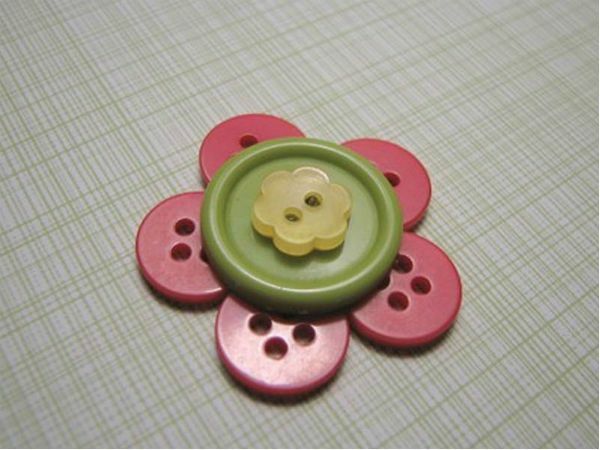
Brooch-flower
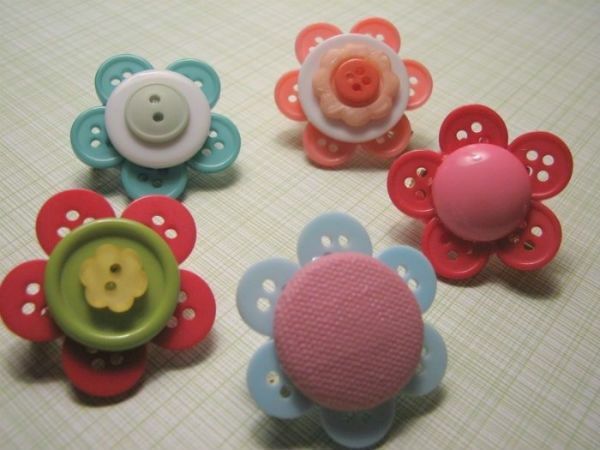
For the beginning we glue our flower with the help of super-glue, connecting the buttons around the base.
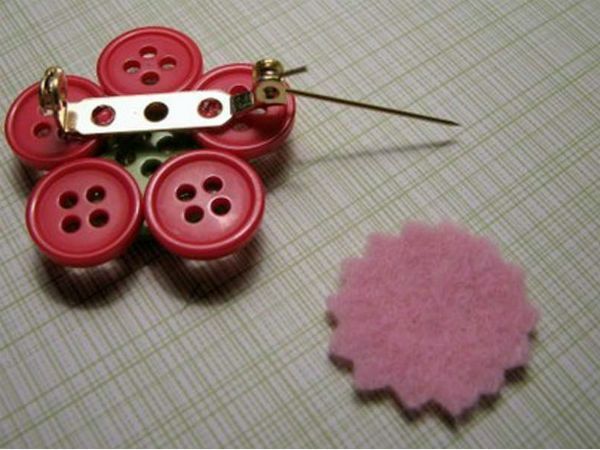
Then gently glue the clasp. And, finally, we paste felt on the fastener. This will help protect your belongings from metal.
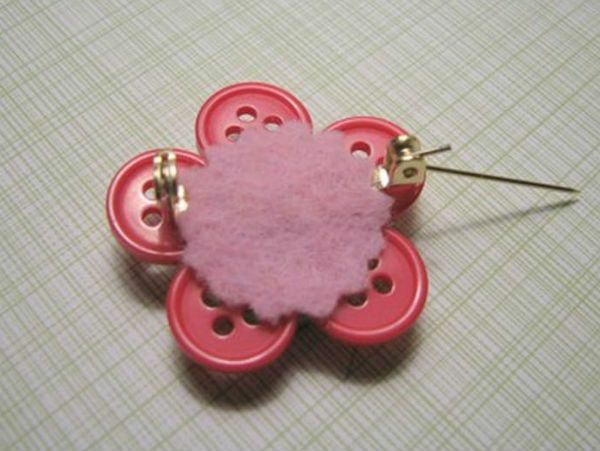
Such a flower of buttons can become the basis for the future picture. Just do not glue the flower to the flower, but attach it to a piece of cardboard. Draw the stem and leaves, and here's a ready gift - a picture of buttons.
to the table of contents ^Mirror and photo frame
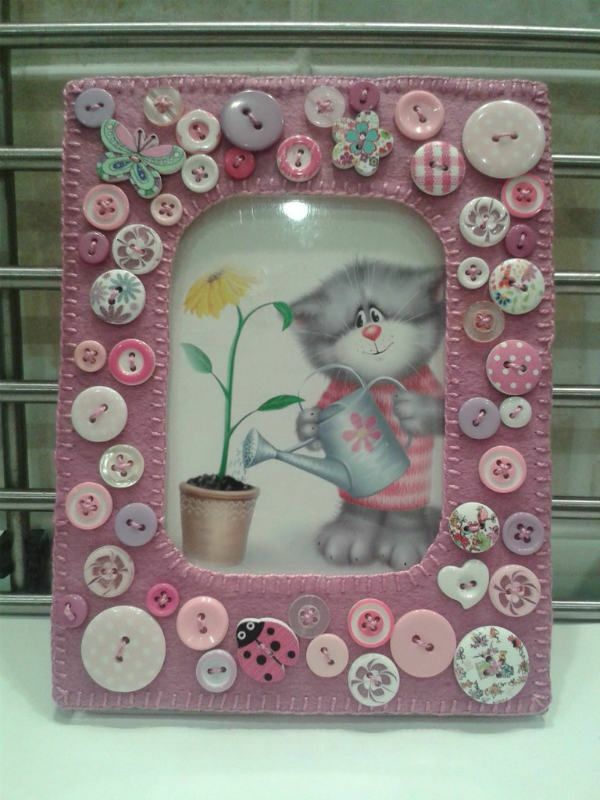

With super glue and a sufficient number of different buttons, you can decorate anything with them, for example - your old mirror or frames for photos and paintings. If they have a usual plain-looking plastic frame, you can easily transform them with your buttons and fancy. Just glue the buttons with super glue on the base. Begin with large buttons and gradually fill the space, reaching and small pugovok.
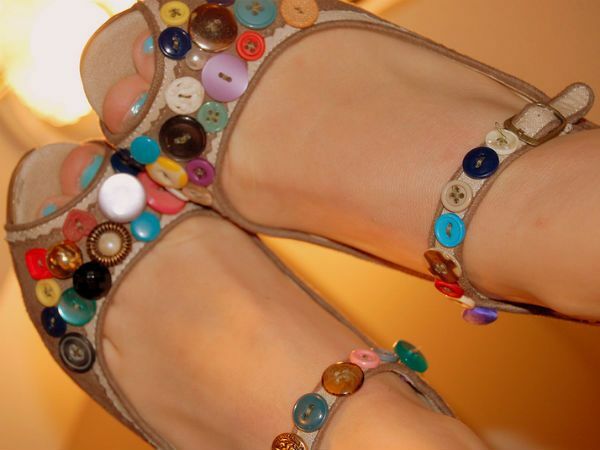
to the table of contents ^Jewelry for bags and shoes
For this you will need the appropriate thing to work - a bag or shoes made of fabric. You can create for yourself a wonderful set, having expanded with buttons cloth shoes and a bag.
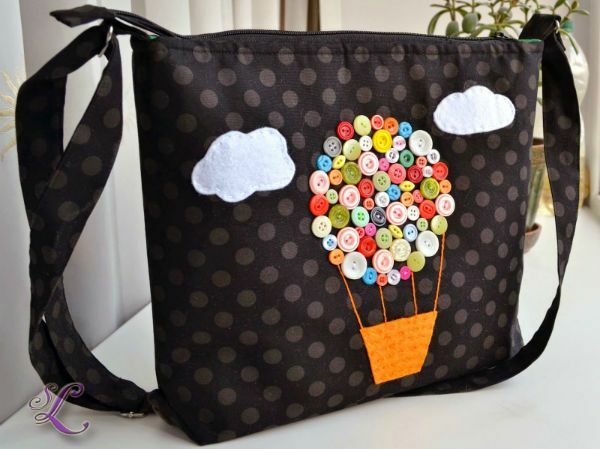
Sew the buttons to the outside of the product, fixing the thread on the inside of the product. For this reason it is better to use a bag without a lining. On it you will be easier to fix the ends of the thread from the wrong side. In order to keep them better - use the same technique with super glue, fixing the ends of the threads well.