
Life constantly makes us happy with our changes and unexpected moments. And so the human brain is arranged, for which, incidentally, it is worth saying thanks to Mother Nature that it leaves in our memory only pleasant memories. Negative, if not completely erased, then carefully hide on the very closures of consciousness. But there is a small drawback. Unfortunately, even the positive we tend to forget. Perhaps, it was for these purposes that photography was invented.
- Make the basis for the photo album
- How to decorate the pages and the cover of the
Make the basis for the photo album
Originally you need to make a binding for the photo album.
This will require a tight cardboard, the best one that is used in the manufacture of books for children from one to three years, that is, the maximum thickness. Determine at once the number of pages. It must be even. The size of the page remains at your discretion, but it is worth noting that small square photo albums are very popular now.
To connect the pages among themselves, you need a multicolored or plain medium-density paper. From it, you need to make the same rectangles, in which the height will correspond to the height of the page. If you have twelve pages, then the rectangles for binding - one more - thirteen.
Place two pages that are not yet linked together. Leave between them a distance of at least a millimeter or two. Rectangle spread with quick-drying glue all over the plane and gently place on top of the middle of two pages.
Strongly press, smoothing the paper from the center to the edges and thereby pushing the accumulation of air from under it. Wait until the glue dries and fold two sheets in half. Now you need to put the workpiece under the press of the books.
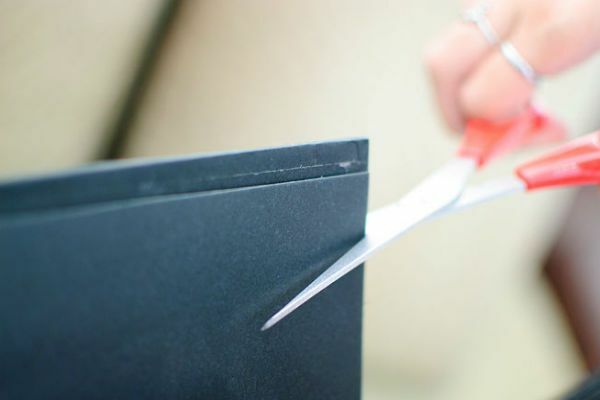
Next, from medium-density cardboard or the same as for pages, cut out two rectangles whose height is equal to the height of the page, and the width is twice the width of the page. Now fold them in half and also let them lie down under the press.
At this time, you can glue ready-made pages, gluing them one to the other with the help of all the same rectangle bars. Then, the album that has already been collected remains for the cover. To do this, glue the rectangles sent to it to the press to the last pages, lubricating them with glue all over the plane and smoothing them well.

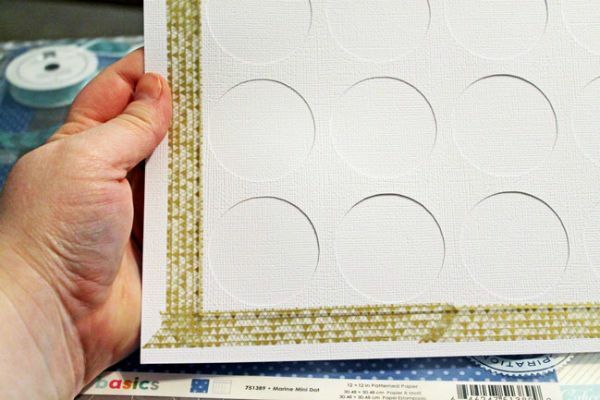
The principle of the formation of the cover is similar to the formation of the page. You will need two sheets of the same size as the page and one rectangle, in which the height is the height of the page, and the width is the width of the pages together in the root plus one and a half to two centimeters. Make up all three parts together: page, rectangle, page. To make the cover work in one topic and not see the place of page junctions, it must be wrapped in paper.
For this, choose a paper with an interesting effect, but you can also use a plain one-ton paper. Anyway, then the cover will be further decorated. The only condition is that the paper should be tight.
So, put the three pieces of the blank over the paper and cut the corners of the paper so that the cut line passes through the extreme corners of the workpiece( you can not cut it off).Now start wrapping the edges of the paper. First, those that are wider, then lateral, along the way gluing each edge.
Only after that, fold the cover and paste in the pages, connecting the latter with the back cover sides. On this technical issues have already been implemented, and it's time to move on to decorating.
How to decorate pages and cover
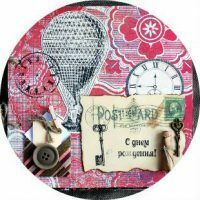
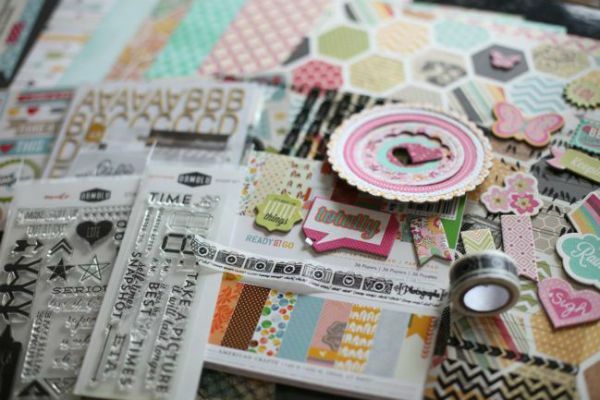
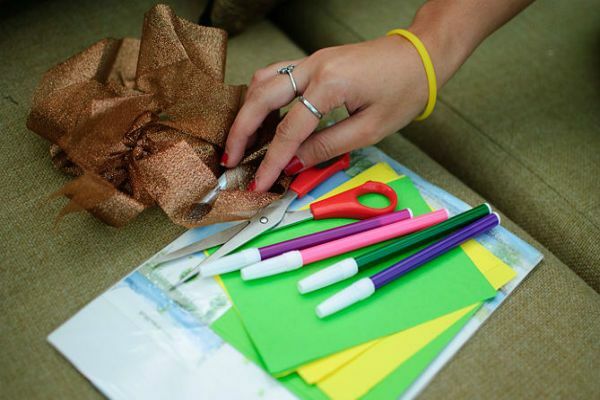
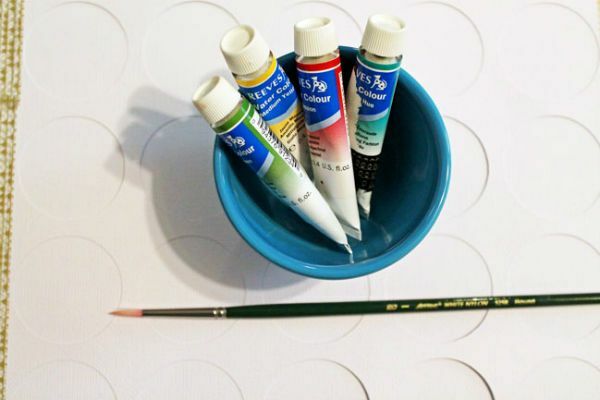
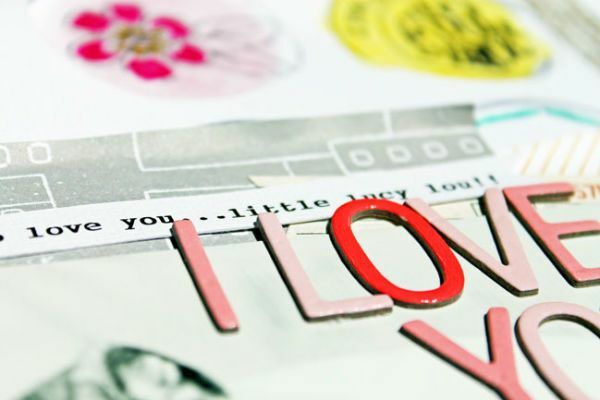
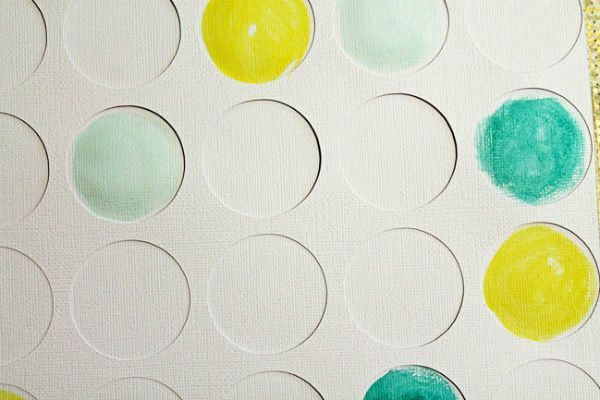
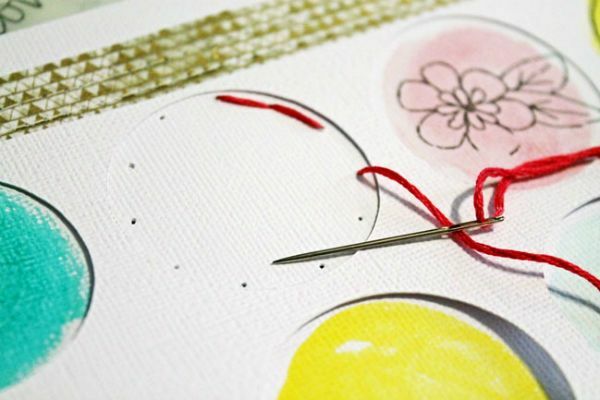
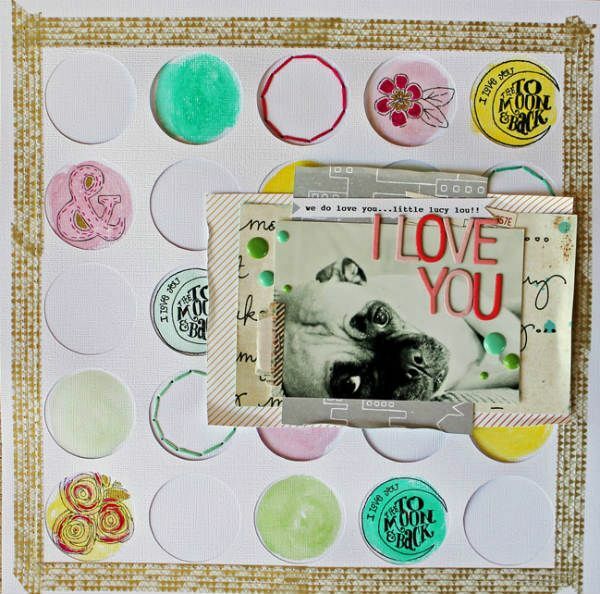
You can also do everything yourself with the decoration of such items. And in this business the main thing is a little imagination and the presence of decorative material. In this master class, scrap paper, adhesive tapes, markers, paints, and pencils were used to decorate the pages and cover the photo album.
You can also experiment with satin ribbons, laces,sequins and so on.
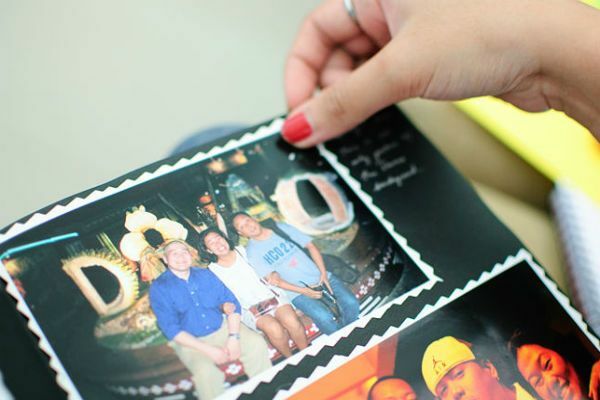
The choice of subjects of decoration, style depends on the subject of the photo, which will be stored in the album. Also, immediately decide how to attach a photo. It is not necessary to simply glue them, it is better to make fastenings on the sides, due to which the photo can be simply inserted.
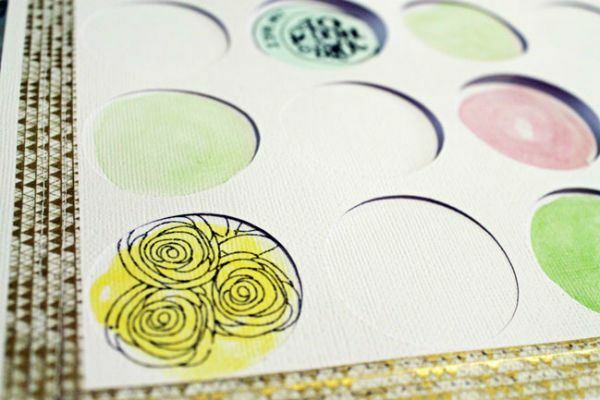
Let's return to the style of design. So, it is appropriate to make a gradation on such criteria as age, theme, gender and so on. For example, the thematic work is better formatted in the appropriate palette and theme: photo from the sea - with elements of marine themes and in a blue-yellow-white palette. Album for teens - in one of the youth styles.
By the way, making out pages in different styles is only permissible for children and teenagers. In other cases - this is already a sign of bad taste. So do not overdo it.