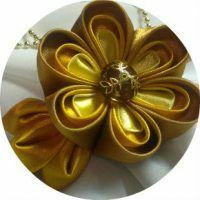
For those who are interested in the history and culture of amazing Japan, the concept of "Kanzash" is not a secret, it is an integral part of the traditional Japanese female image. For the rest we will try to clarify the meaning of this word and to understand the appropriate technique of this handicraft.
- Process features
- Making flowers Kandzashi
Process features
At the heart of all lies the fabrication of petals from the fabric. There are two main forms of petals - peaked and round. All other variants are derived from them.
Roses, chrysanthemums, chamomiles made in Kansas technique, it is convenient to decorate hairpins. Of these, you can form whole compositions and decorate hair bands.
To create a test flower, you need a cut of beautiful fabric or a wide satin ribbon, from which you need to cut seven identical squares. These are blanks for future flower petals. You can make a flower with a different number of petals, as well as pick up a different size for the product. But the beginner is best to work with large cuts, which are easier not to get confused when folding the fabric into the petal.
Next, it takes about thirty pins, a set of needles and silk threads, because they are very strong. In addition, you still have to somehow decorate the already-made flower. For these purposes, fine buttons are suitable, the design of which should correspond with the color scheme and the pattern of the fabric.
to the table of contents ^Making Kanzash flowers
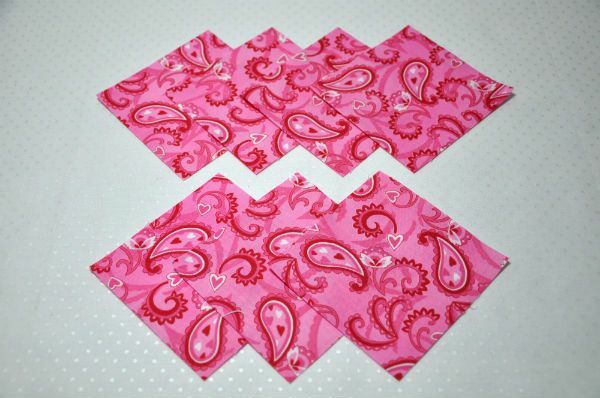
The most difficult part of the master class is the formation of the petals of the Kansas flower. But, having understood this step, you will understand that its principles echo with origami, and, quite simple.
Therefore, it is quite appropriate to initially practice on paper.
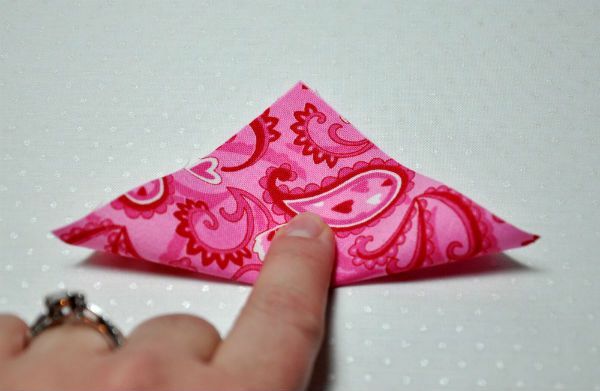
So, pull the bottom corner to the top. It is necessary to form a triangle. Make sure that the wrong side goes inwards. Now grasp the left and right corners that are on the same line and transfer them to the upper corner, looking from you.
Each action, until the technique becomes clear and you understand what to do next, can be fixed with sewing studs.
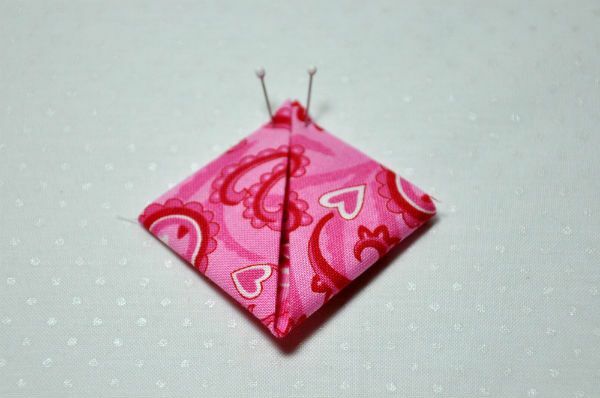
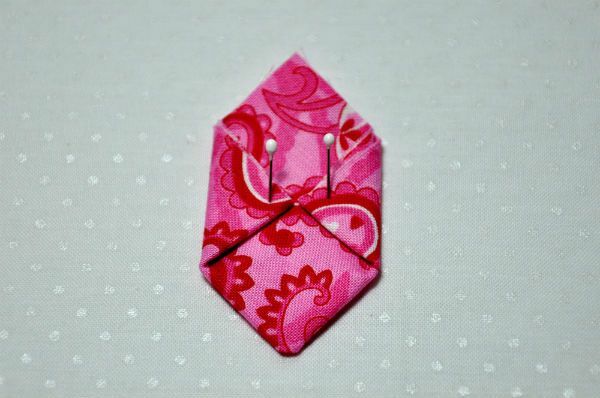
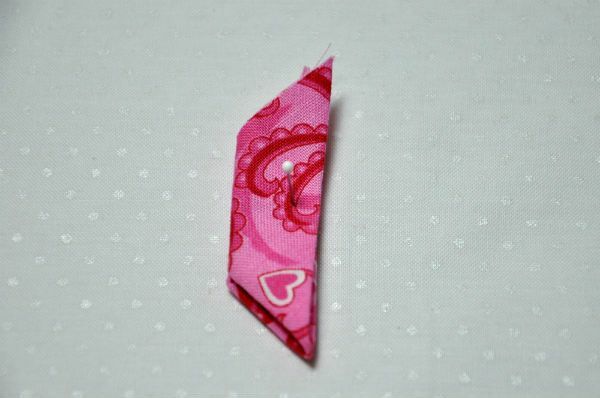
Now it is necessary to turn the workpiece and fold the outer corners in the center, as shown in the photo to this lesson.
The resulting blank must be folded in half and it is advisable to leave it for ten minutes under a press of several books, this will form an "edge" in the middle of the petal.
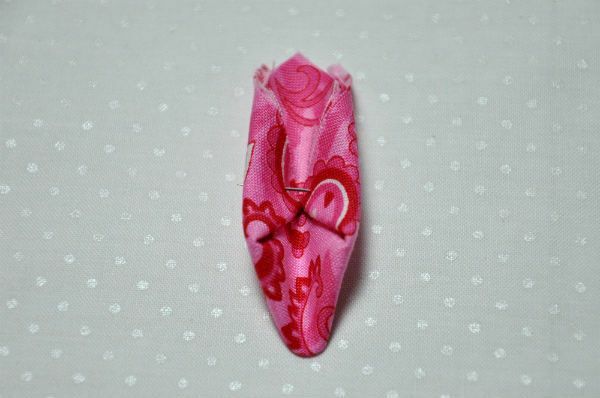
To form a canvas petal, press with your finger through the middle of the workpiece.
Fix it with sewing studs so that it does not fall apart, and by the same principle, make the rest of the petals.

Note that our petals have one edge turned round, the second, sloppy.
The one that sloppy should look at the center. Then all the shortcomings will hide under the heart in the form of a button or any other decorative material, suitable thematically.
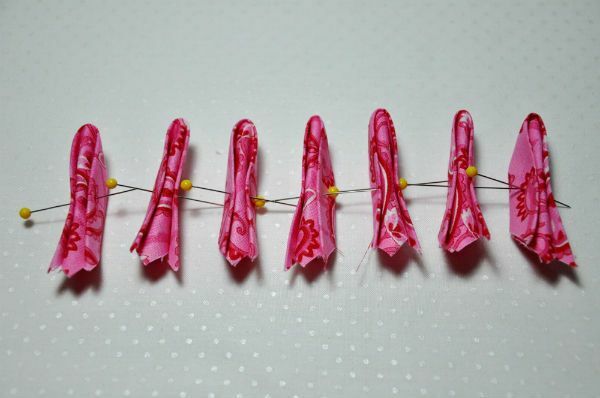
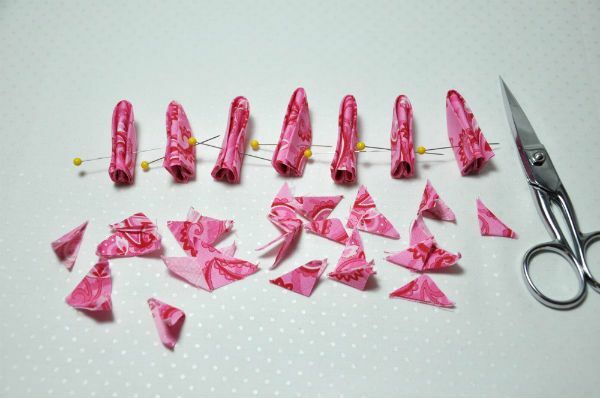
The sloppy edges of each petal must be cut off, leveling them about half a centimeter. Now it remains to sew the petals together.
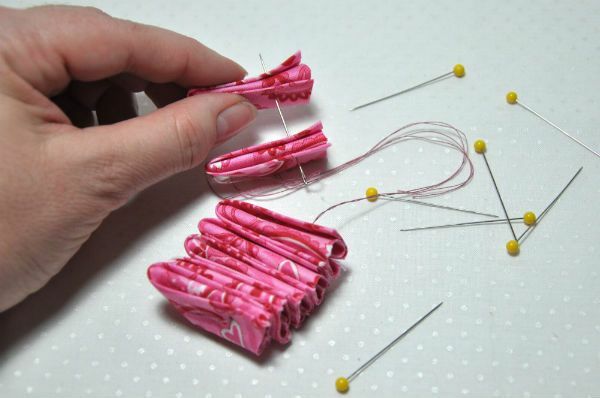
To do this, fold them side by side, as tightly as possible to each other, and fix this position with the studs. After making sure that the length of the petals is the same, start sewing them about seven / ten millimeters from the bottom. Simply pierce all the petals immediately with a needle.
After you can pull the studs. Before you should be a workpiece that resembles an accordion. Strongly pull all the petals together, passing the needle about the same place where it entered the first petal. Now you need to flash another fixing row. Be sure to do it on the back of the product.
Simply, as before, pierce all the petals in about the same place, only this time it is not worth tightening.
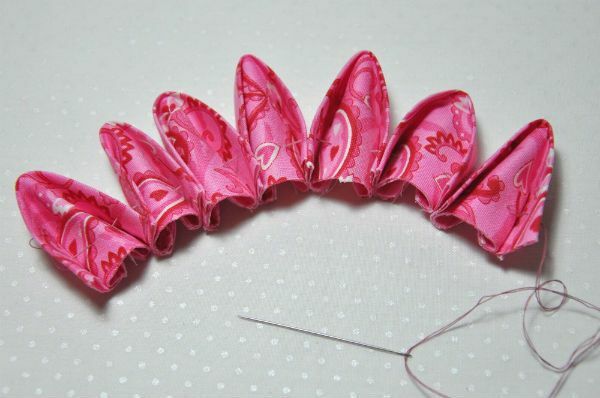
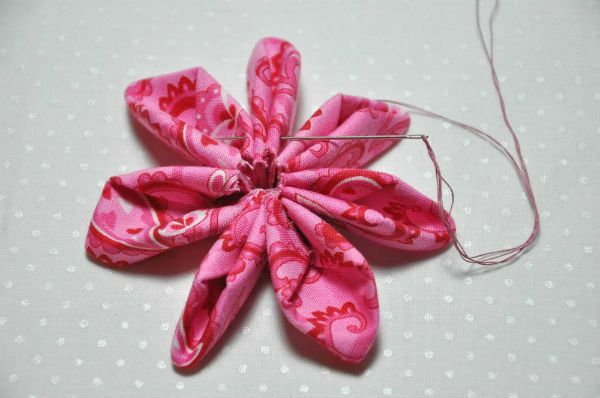
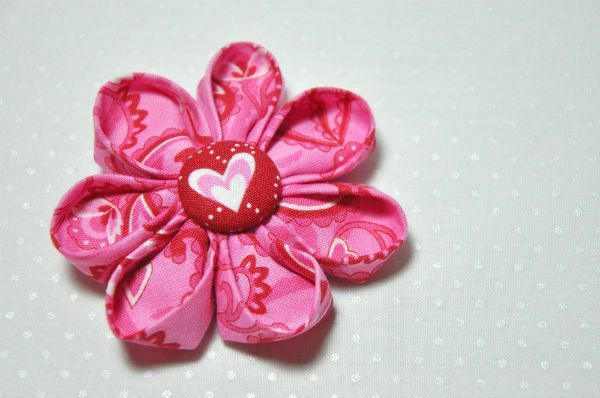
Bring the needle to the center of the flower so that you can immediately sew on the button. To the back of the product you can attach a pin, before sewing it on a small piece of felt or other dense fabric.
So you can use your craft in the role of a brooch. If you sew a small tight elastic band to the back, you can wear this flower and as an ornament for your hair.
