
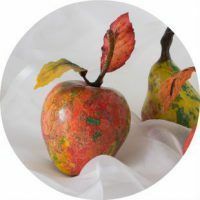
Despite the fact that the name of this creativity is French, in France the products made in the papier-mache technique were not until the middle of the seventeenth century. The birthplace of this creativity is China, because it was there that paper was invented. Technique papier-mache was used by the Chinese to create objects such as helmets, the rigidity of which was attached with the help of numerous layers of varnish.
- Paper heart
- Butterfly creation
Paper heart
To create an artwork you need:
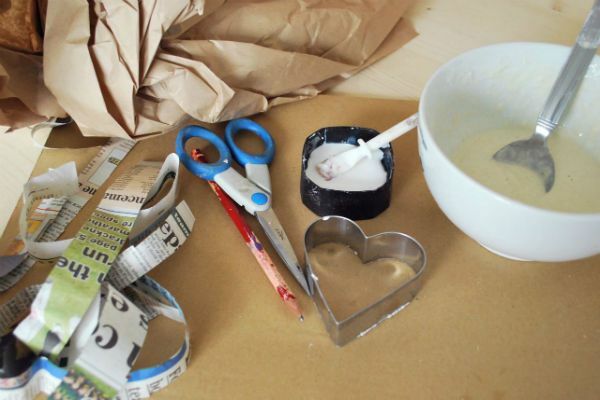
- adhesive PVA,
- heart shape or pattern,
- flour and water,
- cardboard and newspapers,
- scissors and pencil,
- decoration material.
In the beginning of work it is necessary to make a solution of flour, mixing it with water. Let the ready solution stand.
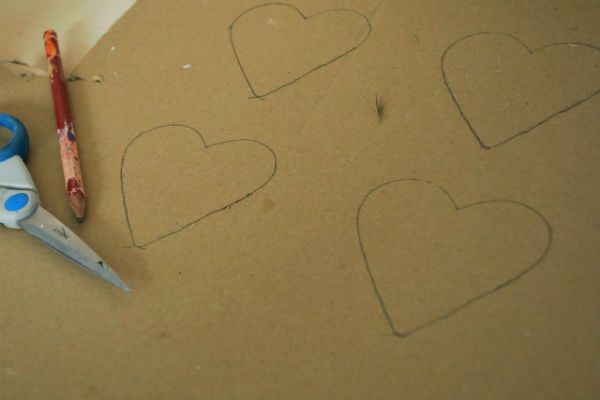
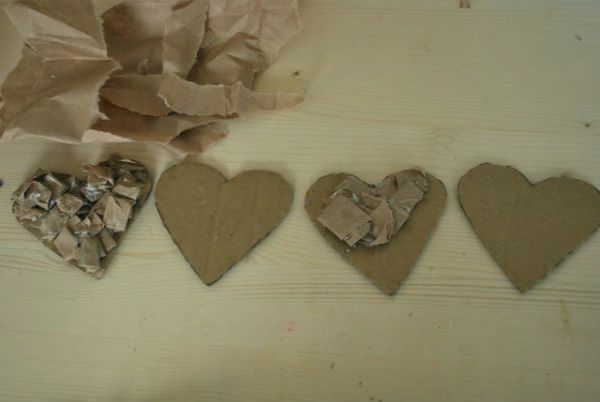
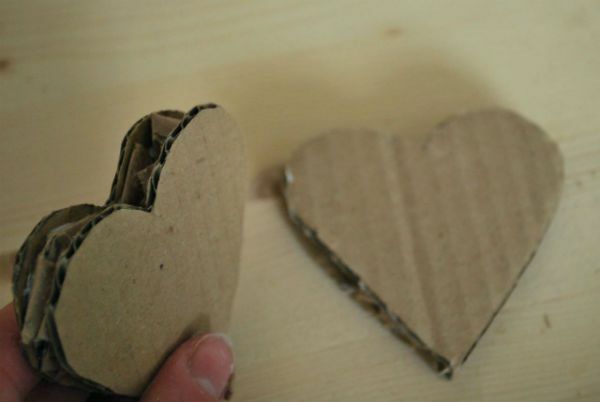
Proceed to cutting hearts from cardboard, using a template or heart shape.
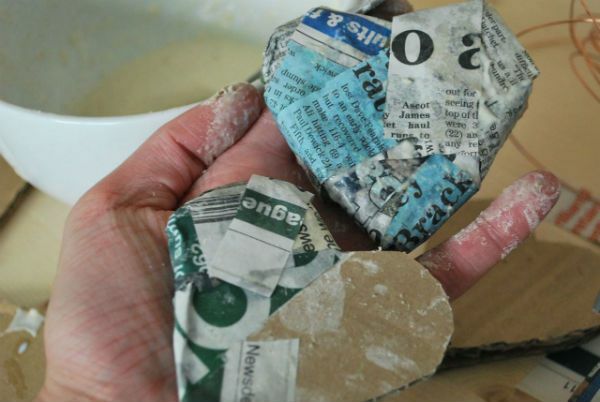
Cut out hearts should be evenly covered with pieces of newspapers or paper moistened with flour solution.
After you connect the workpieces.
After this, continue to glue the blank with newspapers, only now use PVA glue.
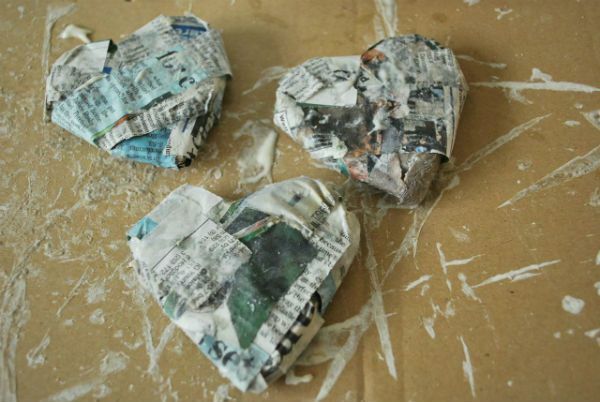
The more layers you make, the more convex and voluminous are the crafts.

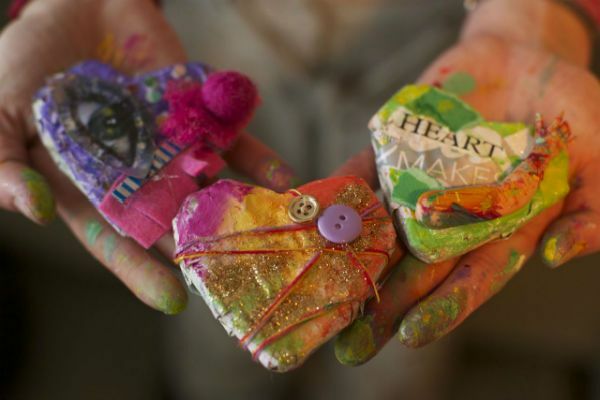
In this lesson, you do not need to cut the workpiece and take a layer of paper. It is only necessary to let the hearts completely dry out and then to decorate them at their own discretion.
Ready-made hearts are suitable for decorating a Christmas tree or a festive table, as well as for decorating gifts for Valentine's Day or any other suitable holiday.
Creating butterflies
To prepare the material from which you will create butterfly artifacts in the papier-mache technique, you need to prepare the following components:
- one roll of toilet paper;
- ¾ cup white glue;
- one glass of connecting compound;
- ½ cup of white flour;
- two tablespoons of linseed oil.
Take a deep bowl and fill it with warm water. Remove toilet paper from the roll and put it in water. Turn the paper over to make sure it is completely damp.
Then remove the paper from the container and squeeze out as much water as you can. Pour out the water from the bowl and place paper there.
Now tear the paper into small pieces, then add the remaining ingredients to the bowl. Mix all ingredients using a mixer. Knead for at least 3 minutes until the mass is uniform.
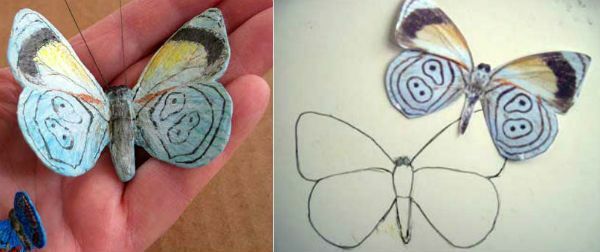
Step 1. Find the image of a real butterfly on the Internet or in any other source.
In principle, you can draw a butterfly yourself. You can also take as a basis one of the butterflies presented in the photo to this article.

Step 2. Drag the template of the butterfly you selected to thick paper. You can just cut out the butterfly and circle the edges.
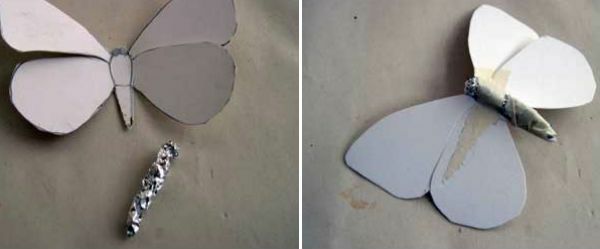
Cut out the butterfly pattern, slightly bend the wings upward to make the pattern look like a butterfly, not a moth. After this, make a very thin "body" of a butterfly from aluminum foil.
Step 3. Use thin strips of scotch tape or masking tape to attach the "torso" of the butterfly to the bottom of the template. You will need to completely cover the foil with tape so that it can not be seen, otherwise the material will not hold.
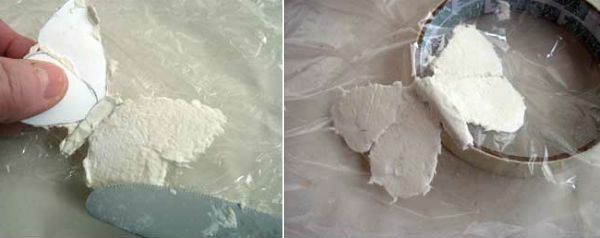
After that, put your butterfly upside down on the cellophane bag, apply a small amount of the material you prepared in advance, on the wings with the blade of the knife. The material layer must be very thin. Do not be disturbed by the fact that the material protrudes beyond the edges, you can easily eliminate this defect later. Also cover the body of the butterfly with a thin layer of material.

Step 4. Now wrap the corner of the plastic bag on the mixture. Align the mixture applied to the butterfly's trunk with a flat side of the knife or your own finger. The more level you make the surface now, the less work you will have to do with its processing later.
Leave the butterfly to dry, putting it as shown in the picture to keep the wings in the correct position. The thin layer of the mixture will dry quite quickly.
Step 5. Once the butterfly has dried, turn it over and apply a thin layer of the mixture to the top of the butterfly. Smooth as you did before, and let it dry again.
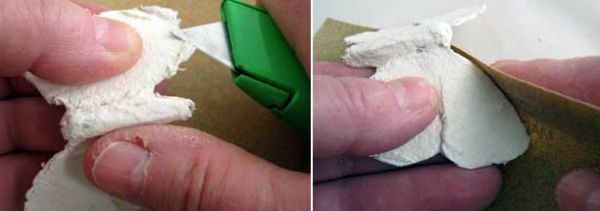
Remove any excess material from the edges of the butterfly with a knife, and then treat the edges with sandpaper to make them smooth.
The last stage - you just have to paint your butterfly. Use for this acrylic paints, markers, special pencils. You can apply the original drawing, but you can think up something of your own.