
Fabric can be deservedly called a material that is ideal for creating a variety of crafts. Due to the variety of colors, textures, basic materials, you can create many and many items that can be used not only as practical, but also as pleasing to the eye. This master class tells how to create a beautiful flower from a fabric, without making any special effort.
- Fabric flowers in the decor
- Make a simple flower from the fabric
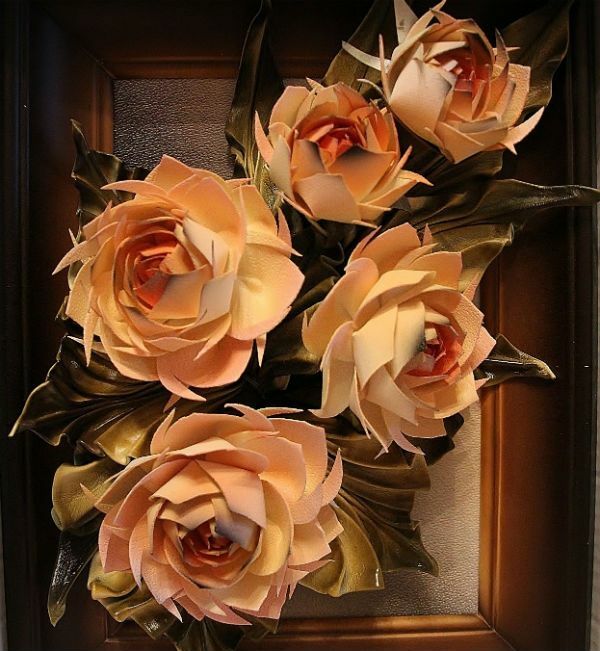
Flowers from the fabric in the decor
You can make flowers and beginners, because everything will depend on the complexity of the selected flower. But you can use your crafts for many purposes.
So, flowers from satin fabric are suitable for the decoration of satin blouses, blouses, dresses, for decoration of hair ornaments and so on.
Lace flowers, respectively, will look better with clothes, which also has a lace element.
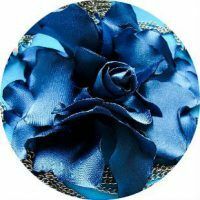
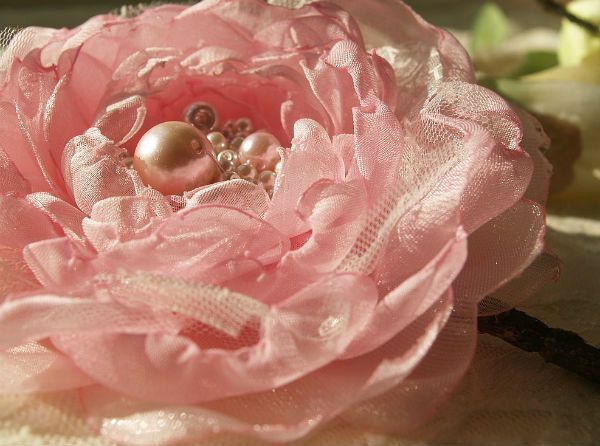
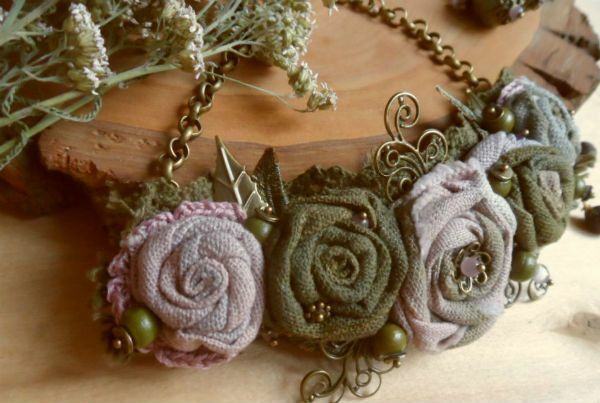
Organza, chiffon and silk flowers are usually used more often for decoration of hair ornaments, especially for rims, wreaths and hairpins. Also, flowers from organza in combination with beads and beads can be used as an element of jewelry: earrings, necklaces and the like.
Flowers from dense fabrics( corduroy, tweed, mohair) are good for brooches and decor of bags, only the material from which the flower is made should be combined with the material of the main product.
Flowers from the skin are suitable for decoration of thematic decorations, brooches, earrings and so on.
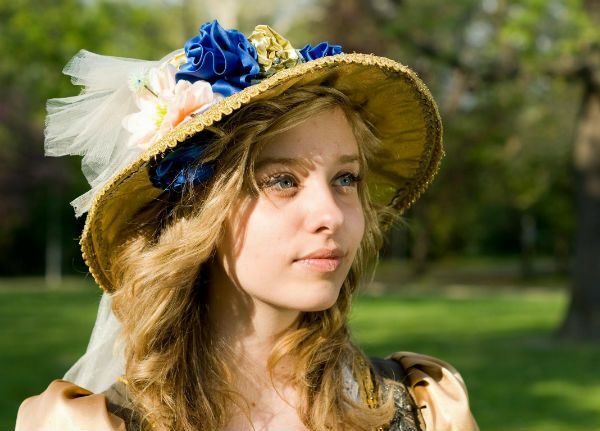
Many flowers are suitable for decorating belts and hats.
to the contents ^We make a simple flower from the fabric of
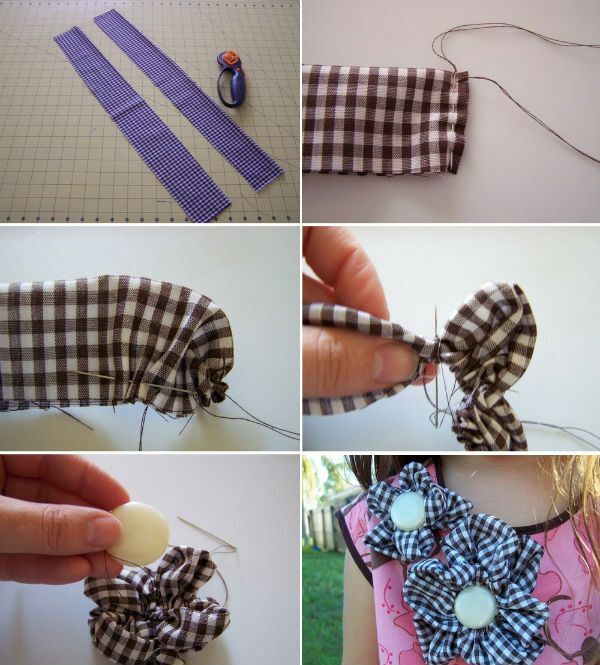
. For such flowers, you need a strip of fabric( preferably in a box or with some other bright print), a needle with a suitable color, a small piece of contrast material for the creation of a core, a fastener pinat will, you may want to just sew the finished flowers to the garment), the button.
So, take your material and cut out of it a strip about eight centimeters wide and about 55 inches long. Spread the finished strip on a flat surface.
Now pull the thread into the needle, the thread should be long enough, so it's better to take it with a reserve, and then cut it off. At the end, tie a secure knot. To make flower petals, you will need to attach the fabric manually. There is nothing complicated in this, the master class tells about this technique in detail.
To begin with, fold the piece in half lengthwise( with the wrong sides to each other).To make the first petal, first fix the knot on the thread in the corner of the crease just made.
Now pass the needle down, through the short edge of the fabric, making small stitches, as shown. Stitching up to the very bottom, pull the thread to make a kind of assembly.
Now start sewing the fabric in length. To do this, make about 15 small stitches to one side. Be sure to step back slightly from the edge, about a quarter of the entire width of the strip. After making stitches, tighten the thread well. After you have typed, you will see that the petal has started to form.
To finish it, wrap your thread around the top of the strip to "surround" your assemblies, and then tighten the thread and secure it well. Secure by making a stitch through the center of the strip( see the illustration).
To make the remaining petals, continue in the same way, sewing first down the width, and then sideways along the length, pulling the thread well to make the petals more textured and clear. Do not forget to wrap the thread around the fabric, making a stitch, and fixing the petal.
When you have several petals ready, form a small ring and sew it behind with small stitches, so you will form the basis of colors. Tighten the thread well. After that, make additional petals. You can stitch them together at once, or you can wait until all the petals are ready. Collect the end of the segment as you did at the beginning, sewing a few stitches.
Arrange all the petals, giving them the appearance of a single stitch and sewing from behind.
Now take the button and sew it in the middle, where all of your petals are connected together. You can take a button with any button, the only thing is to consider the size, if your flower turned out to be bulky, then the button should also not be small. In general, it is better to prepare several options, and then, applying to ready-made flowers, choose the most suitable option. In this case, a monophonic light button was chosen for the checkered tissue. Adhere to the same principles - if the fabric is pockmarked or colorful, then the button should be monophonic and soft, and vice versa.
Everything, your handy is ready. In addition, you can attach a pin to the back of it to be able to attach flowers to the desired garment or accessory at any time. However, if you created these flowers for some of the garments specifically, then it is better to sew securely to it, especially if it concerns children's clothes.
Decorate with such colors you can not only garments, but also, for example, accessories - bags or jewelry for the hair.