
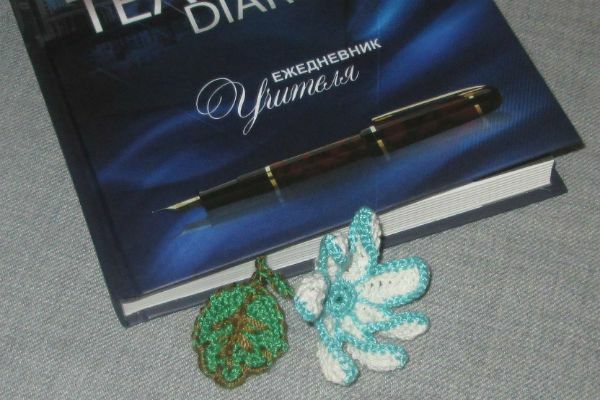
Gadgets and electronic media are slowly pushing out printed books, but reading them for many is still a favorite hobby, and for some, a good way to "kill" time in transport, queue or boring work. Closing the book, you often forget where you left off, so bookmarks come to the aid. You can make them yourself.
- Origami corner
- Of leaves
- Of clips
- Spider
- Of paper scrapbook
- Snake
- Flower
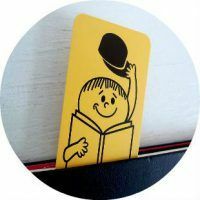
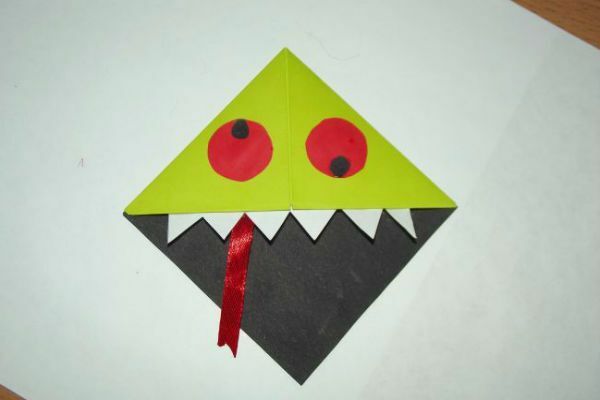
Corner of origami
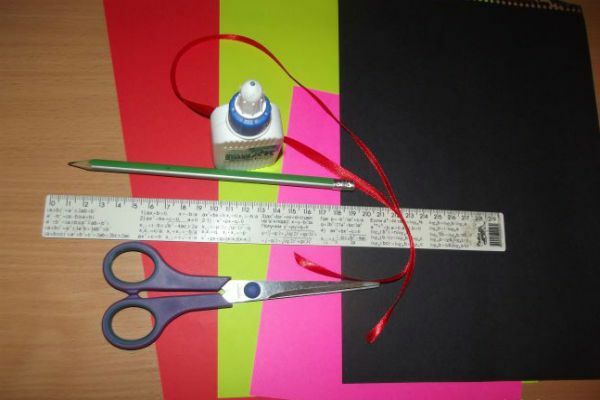

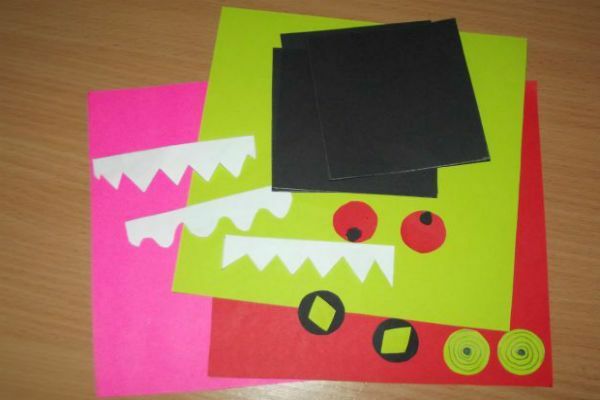
Materials:
- colored paper( mainly two-sided);
- plain paper( white and black);
- simple pencil, scissors, glue, ruler;
- red tape( width 0.6 centimeters, length - 10 centimeters);
- lighter.
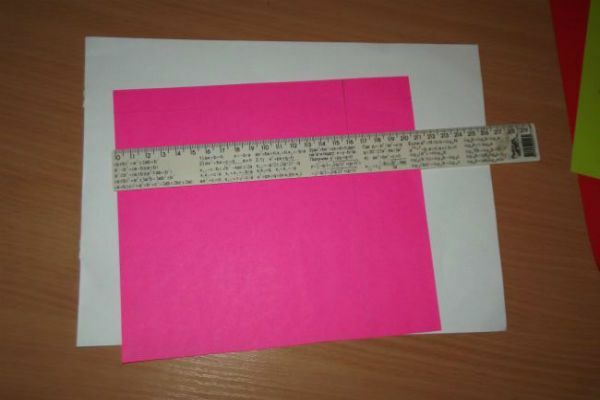
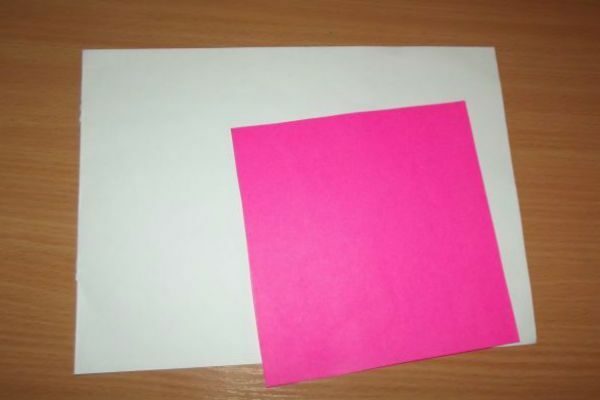
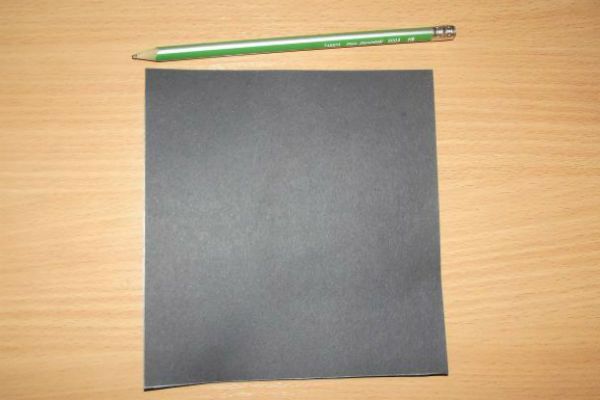
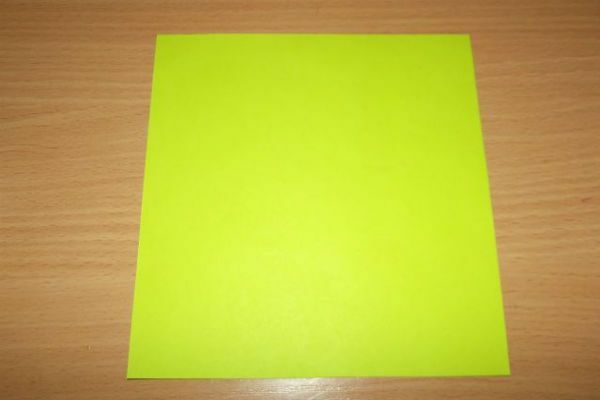
On a color paper, draw a square of 16 centimeters by 16 centimeters, cut it out.
The size of the square can be made larger or smaller.
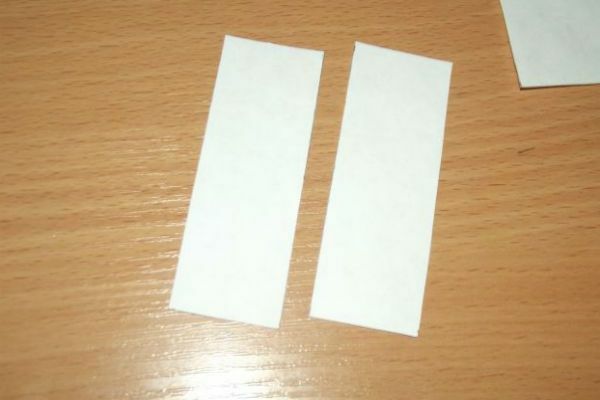
For the inside of the tab, you need a black square that will be ¼ of the outer square. For a more convenient calculation, we recommend cutting out a square of 16 centimeters by 16 centimeters from black paper, then cutting it into 4 equal parts.
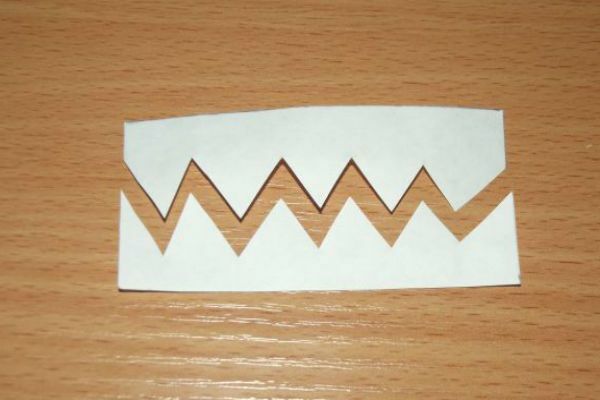
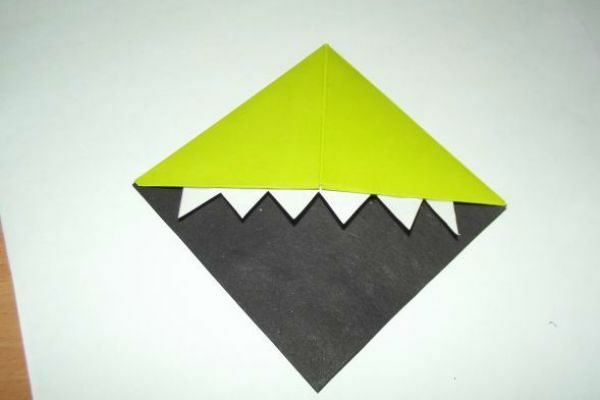
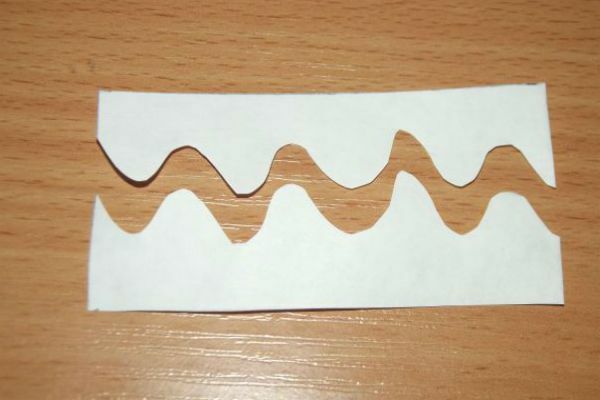
From white paper, cut out a rectangle measuring 8 centimeters by 3 centimeters, in the middle we cut out our teeth( sharp or wave).
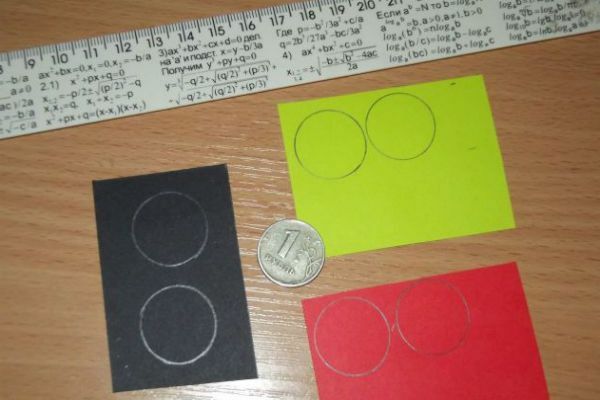
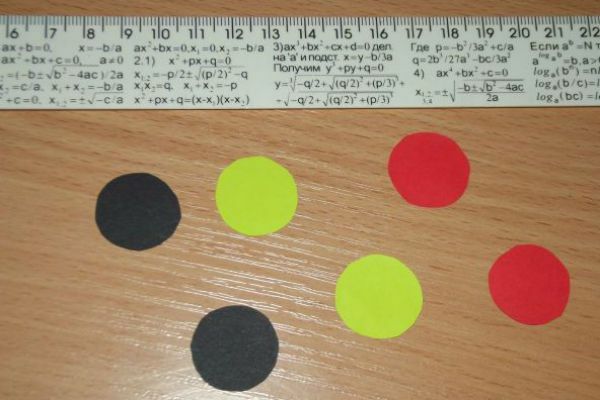
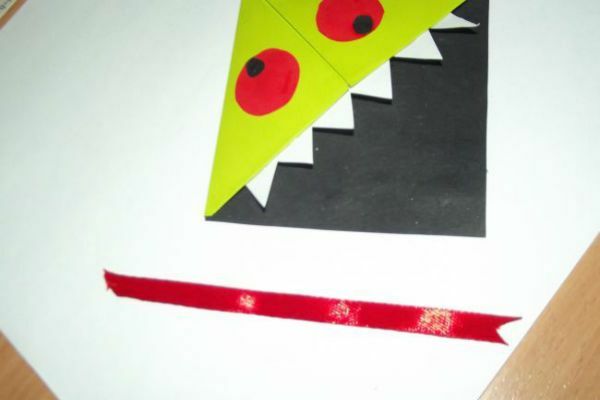
To make the eyes "Monstricam" you can take any color of paper, circle a ruble coin, then cut.
We make pupils of any color, collect eye sockets.
Assembling:
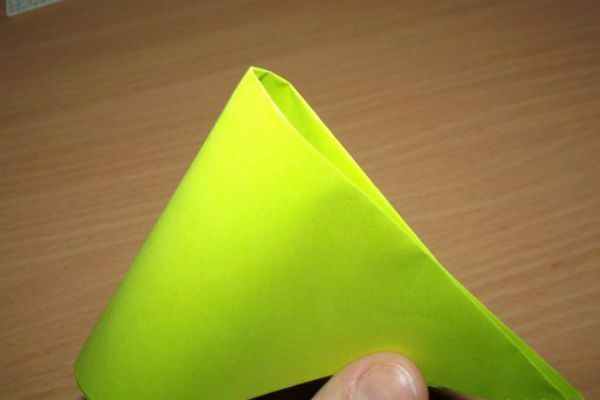
- Take a square sheet of colored paper of any color.
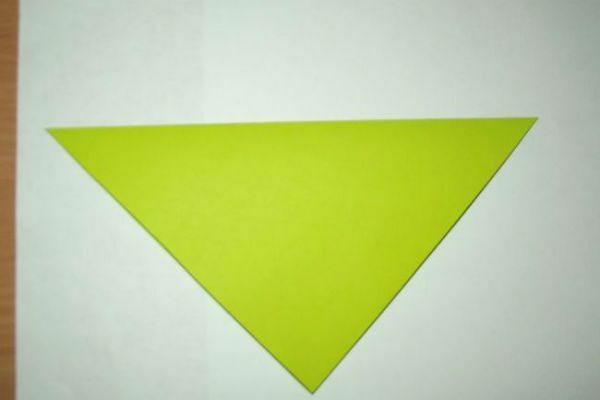
- Fold it diagonally, then on a long edge - in half.
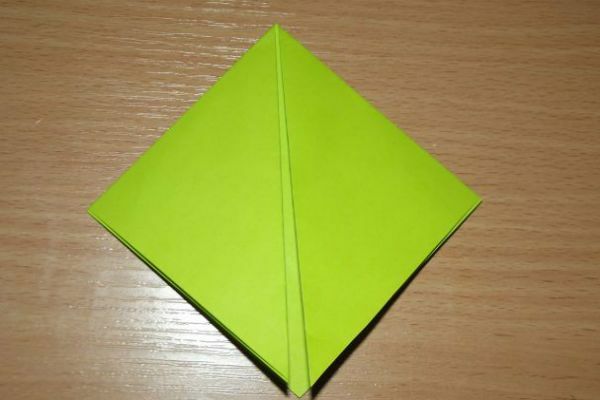
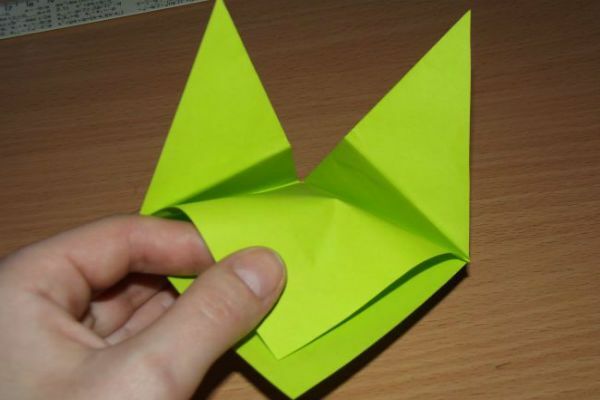
- Turn left and right sides in turn first forward, then perpendicular down.
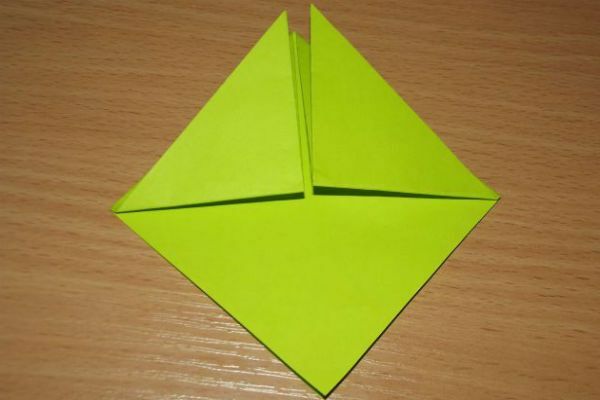
- The left side of these corners needs to be tucked up to the middle.
- The same principle requires bending the top sheet valve.
- The upper valve must be turned inwards.
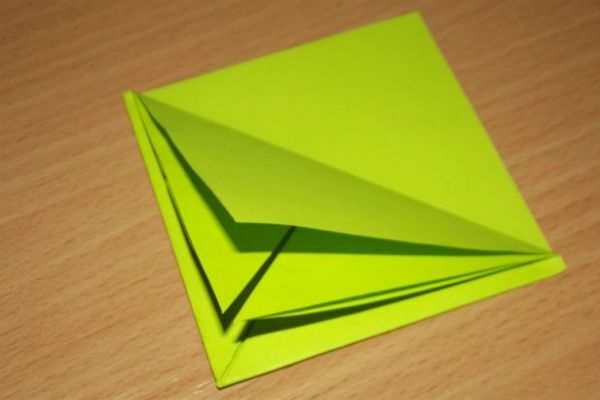
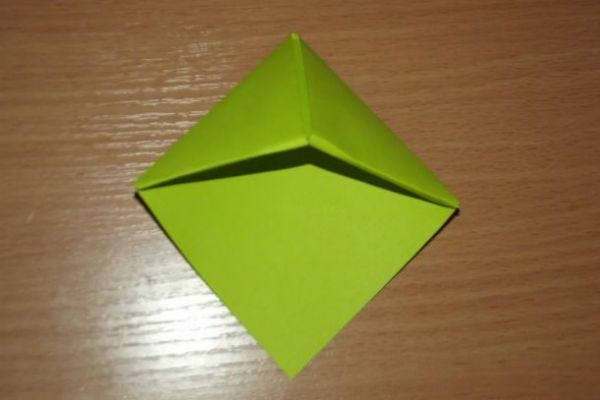
- Then bend both sides of the tucked-in corners.
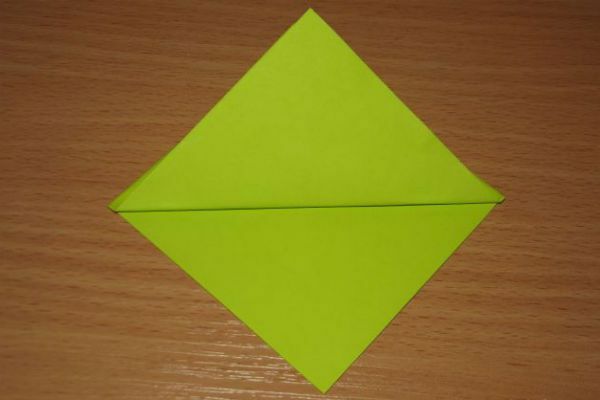
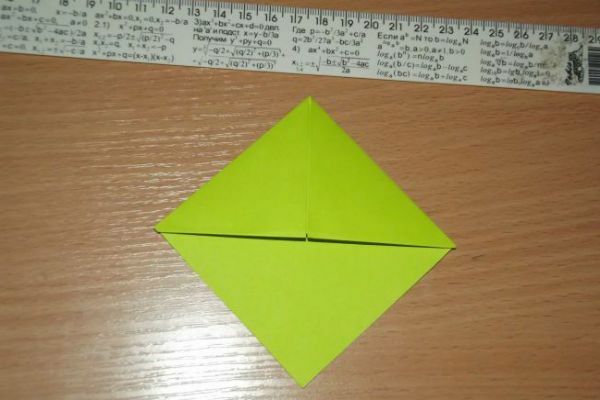
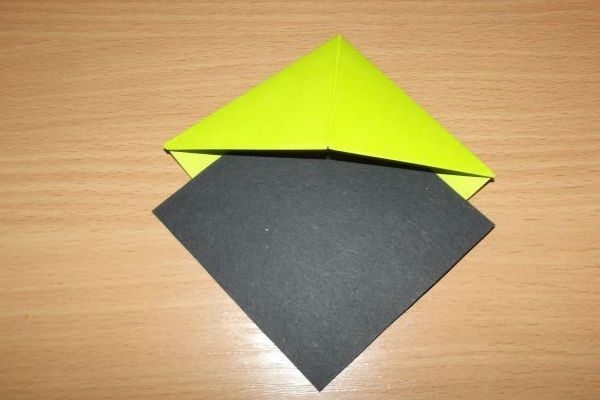
- All parts are filled and must form a compacted diamond with a pocket.
- All the folds are carefully passed through the ruler so that they are clear.
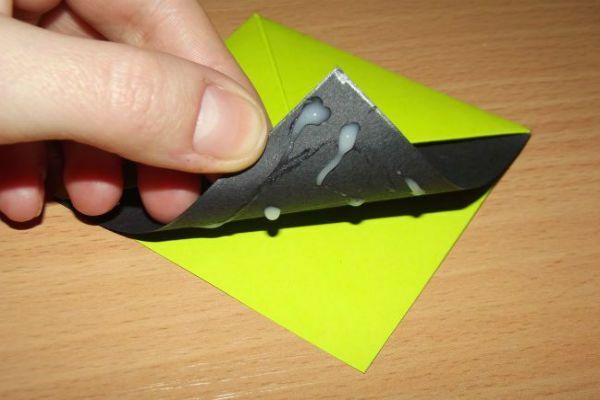
- Inside this workpiece, put the black previously prepared square.
- Paste the square into the pocket.
- To the top of the yellow workpiece we glue our teeth.
- Attach the eyes to the top of the yellow leaf.
- We take a red ribbon, at one end we make a forked tongue and glue it to the "Monster".
- We scorch the ribbon over the fire, so as not to become nuzzled with further use.
From leaves
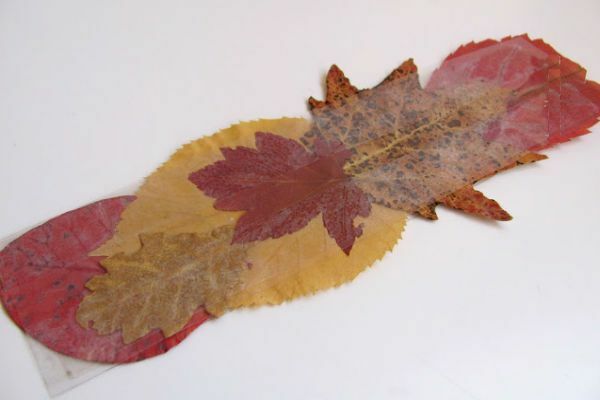
Materials:
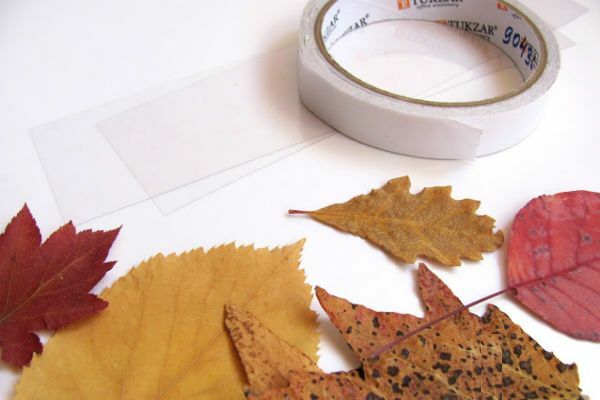
- pre-dried leaves( autumn or green, they should not be too brittle or old);
- double-sided adhesive tape;
- clear plastic.
From plastic it is necessary to cut out two identical strips, for each sticking an adhesive tape.
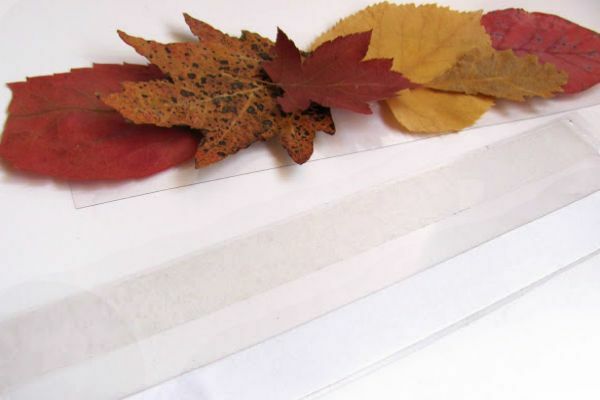
Then on the adhesive tape place and glue the leaves. On top of the leaves we place the second strip.
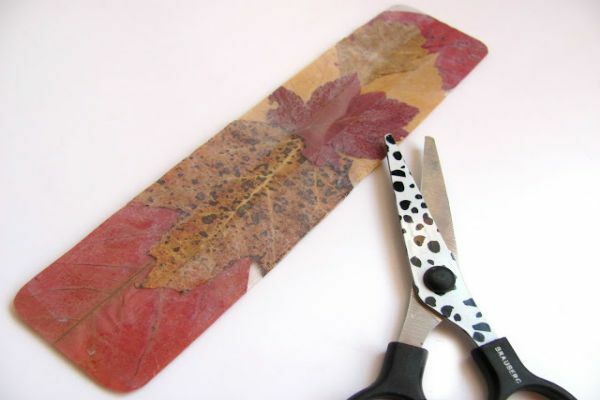
The protruding edges of the leaves need to be cut.
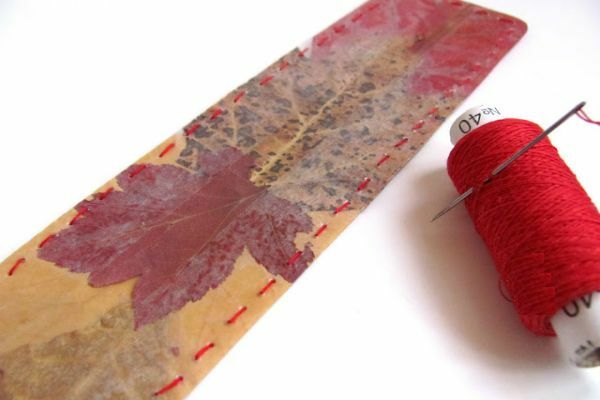
You can flush the bookmark around the perimeter so that it does not separate.
to contents ^Of clips
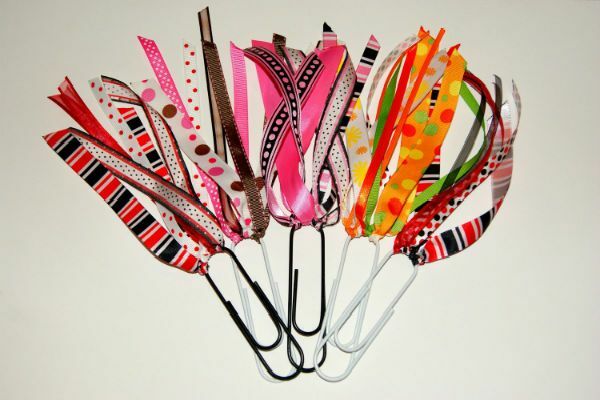
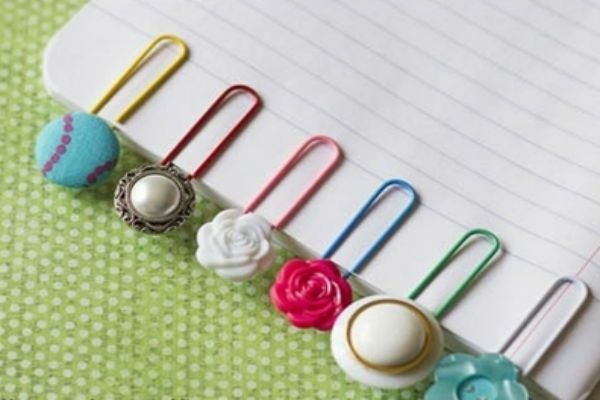
Materials of
- clips;
- glue gun;
- any elements for decor( feathers, buttons, beads, rhinestones and so on).
Manufacturing depends on the flight of your imagination: just fix the decorative elements with a glue gun on the clip. Allow the glue to dry and you can use the bookmark.
to contents ^Spider
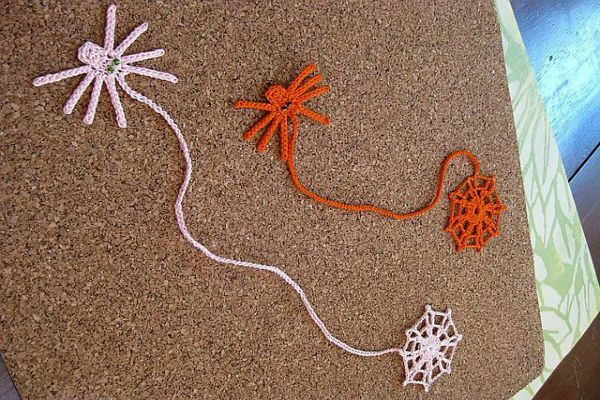
You will need:
- hook for knitting( preferably from number 2 to 3.5);
- thread of any color.
Spade web:
- Need to dial 5 air loops. Then you need to form a ring, for this, in the first loop we sew a connecting post.
- Row # 1: do three air lifting loops in order to form a new row. We enclose 15 columns with a crochet over the ring, then the connecting column to the uppermost lifting loop. He will be the sixteenth.
- Row # 2: we dial three air lifting loops, then it is necessary to fasten in the same loop 1 column with a crochet, after which 2 air loops, and the next one is skipped. We impose 2 columns with a crochet, 2 air loops and again we pass one. Repeating this scheme, we finish the series. At the end of this series, we fasten the connecting post to the upper air loop of the lift. As a result, we have 16 columns with a crochet and 8 arches of two air loops.
- Series number 3: we make 4 air lifting loops, in the next column with a crochet we tie a new column with a crochet, then - 3 air loops, a column with a crochet we sew in the next column. Similarly do to the end of the series.
- We finish the series with three air loops, we tie the connecting post to the upper air loop. As a result we have 16 columns with a crochet, 3 arches from three air loops and 8 arches from one air loop.
Lace shawl from web:
Lace from web to spider is tied with air loops, about 53 pieces.
We make a spider:
- We make a half-loop with a crochet in the second( from the hook) air loop( air loops of the lace).
- In the next 5 loops we sew on a half-column with a crochet. So we got 6 polololbikov.
- The first foot: we turn the work, we knit 9 air loops, then we sew the connecting column to the second from the hook, and in the remaining seven we also fasten the connecting bars. Should have 8 connecting posts
- Second foot: we tie the connecting post to the first half-column, then 9 air loops, then the connecting column to the second from the hook the air loop, in the next 7 loops we tie the connecting bars. As a result, we have 8 connecting posts.
- The third foot: we knit the connecting post to the next half-column, then we will need to tie 9 air loops. The second from the hook loop we sew a connecting column, then 7 connecting posts, there should be 8 of them.
- Fourth foot: start from the connecting post to the next half-column. We continue to work with nine air hinges, then we knit the connecting post to the second from the hook the air loop and 7 air loops into the next loops. It turned out 8 connecting posts. In the same loop, from which we began to tie 4 legs, we sew a connecting post.
We knit a spider's head:
We make a column without a crochet in the next 3 half-columns. Next, we unfasten 3 columns without a crochet from one loop. Then we sew a column without a crochet in the first 5 half-columns on the other side.
We make the presser foot:
To begin with, you need to turn the knitting and the other 4 tabs do the same as those 4, which are described above.
At the end of the job, you need to hide the ends. If there is a desire, you need to sew or glue a spider eye. To ensure that it has a stable shape, it is necessary to place it for a while under the press.
to contents ^Scrapbook
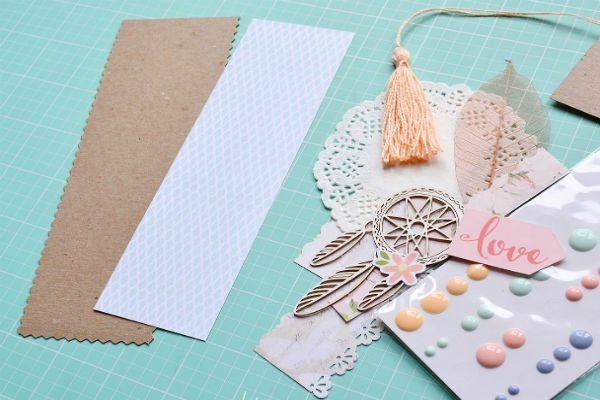
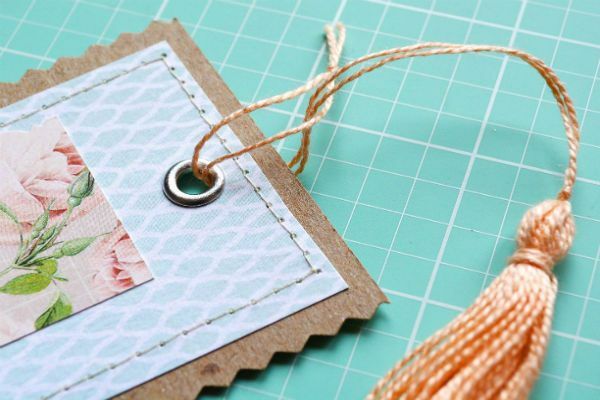
from paper It will take:
- kraft paper( density of at least 270 grams per 270 square meters);
- scrapbook paper( 1 sheet);
- various ornaments;
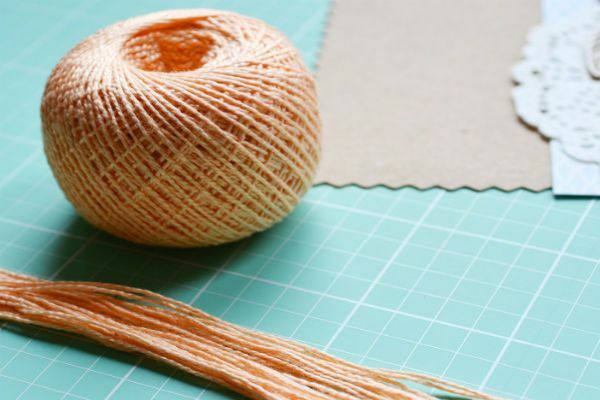
- yarn for tassels;
- 1 eyelet;
- curly scissors.
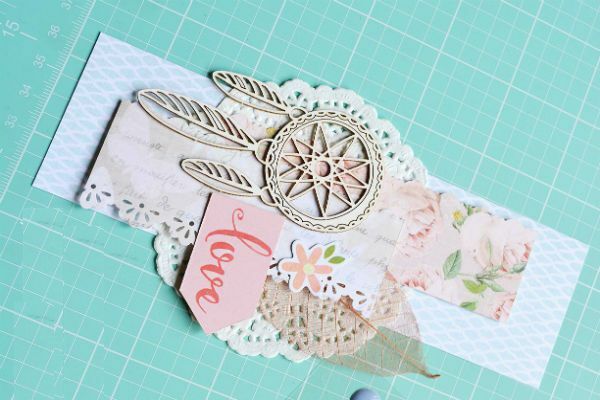
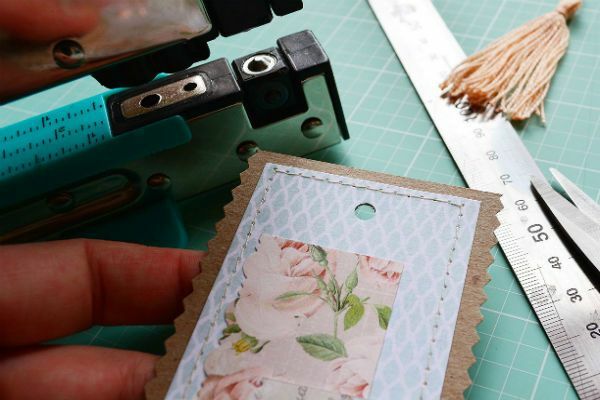
First we cut out a rectangle of 6 cm by 17 centimeters from kraft paper, this will be the basis for the bookmark. From scrapbooking paper, we cut out a strip of 5 centimeters by 16 centimeters. We put a smaller rectangle on the base, it can be fixed with glue or stitched on the typewriter. After that, using glue and ornaments, we compose the composition.
Make a brush:
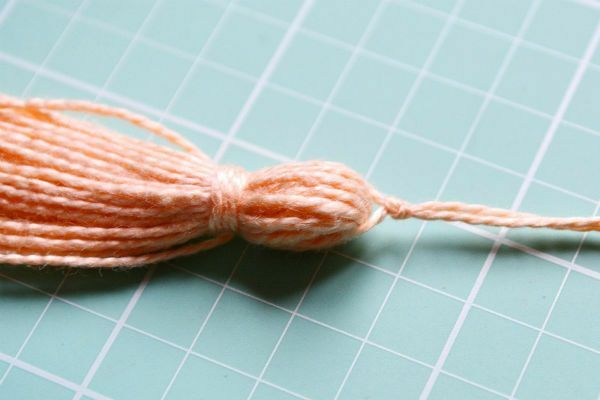
- Cut out small yarn from the yarn( the more we'll be, the fuzzy our brush will be).
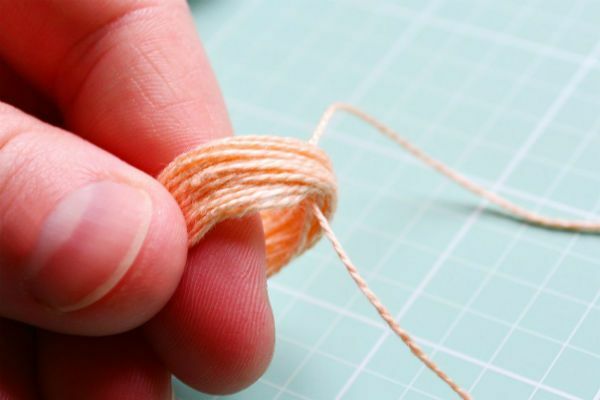
- Threads must be folded evenly, then folded in half.
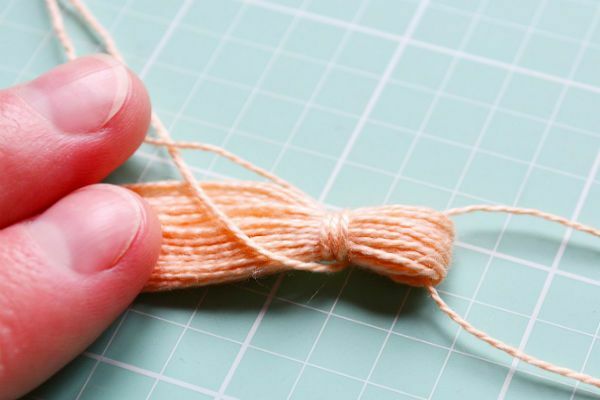
- Through the resulting hole in the middle we thread. Another thread you need to tie a bundle, tie a knot.
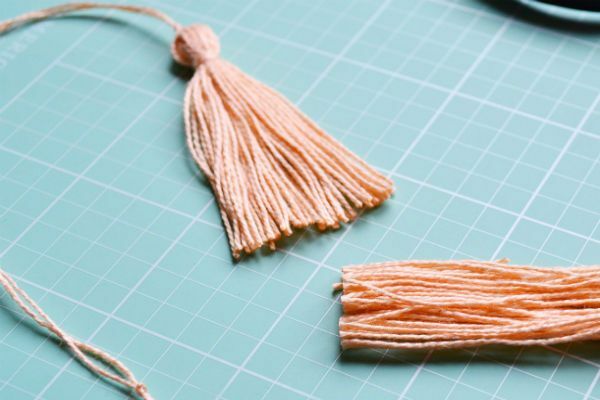
- Another strong knot you need to tie on the thread.
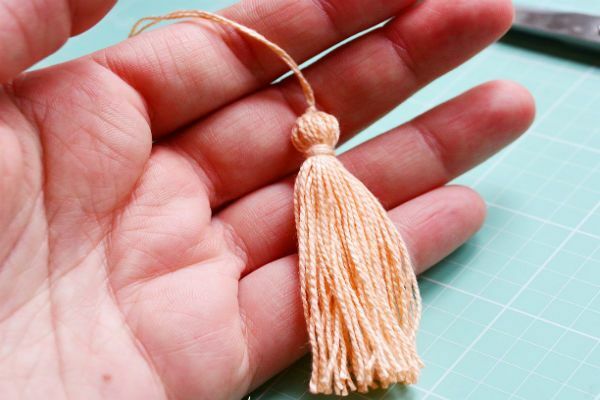
- If the tips of the brush are uneven, then they can be cut with scissors.
- Use a hole punch at the top of the bookmark to make a hole, insert the eyelet and attach our brush.
Snake
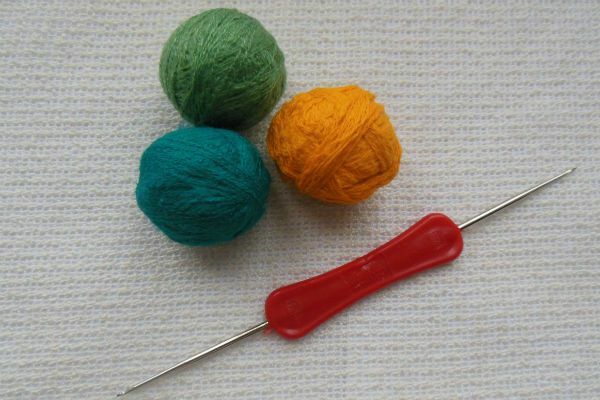
We need:
- any yarn( at least three colors);
- hook for knitting( from 1.5 to 2 millimeters).
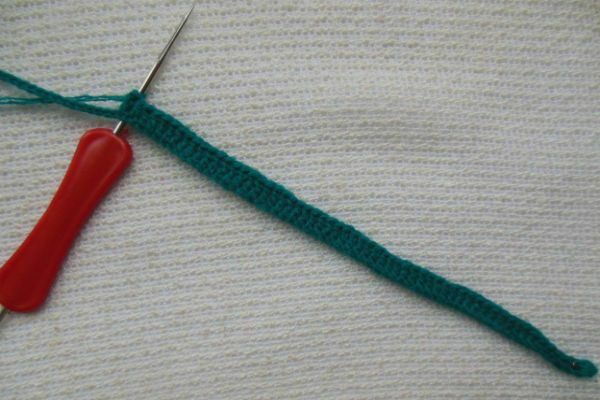
Course of work:
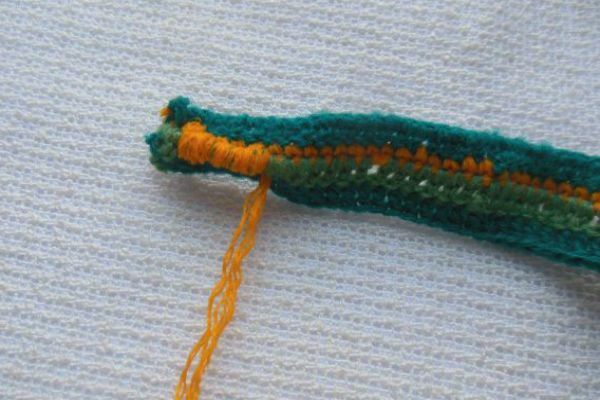
- For the snake's tail, you need to dial 50 air loops. Each row will begin with 8-10 columns without a crochet. The rest of the bandage with a crochet.
- For the second row we take a yarn of a different color and we tie a column without a crochet, and the third row is tied with a third color in a column with a crochet.
- For the fourth row we take the color of the yarn, like the first, and we sew it in a similar way.
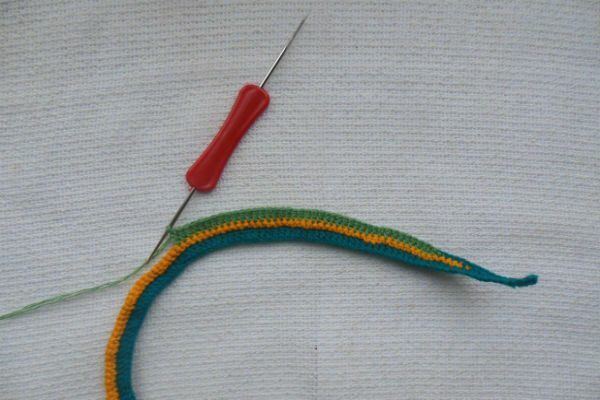
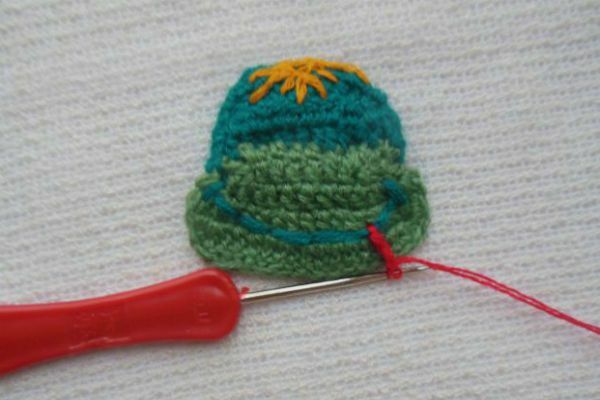
Make a face:
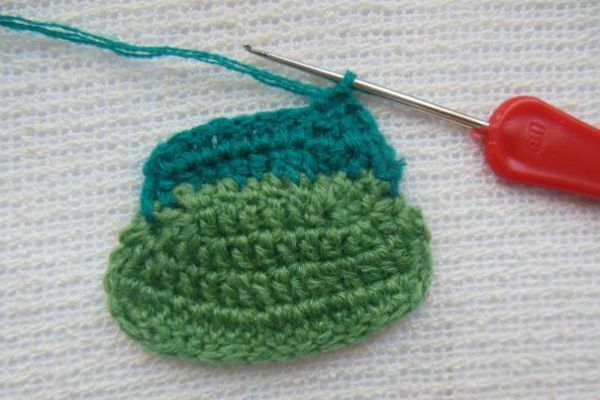
- It will require a yarn of two colors of the same color scheme, but different shades. The lower part will be lighter, the upper - darker. You need to dial 8 air loops( of light yarn) and tie a row with a column with a crochet. The same chain must be tied from the bottom.
- On the "turns" of our oval, you should unbind one of the 2 bars. We send half of the oval, increasing the lower part.
- From the dark yarn we sew 4 rows of a column with a crochet, increasing the upper part.
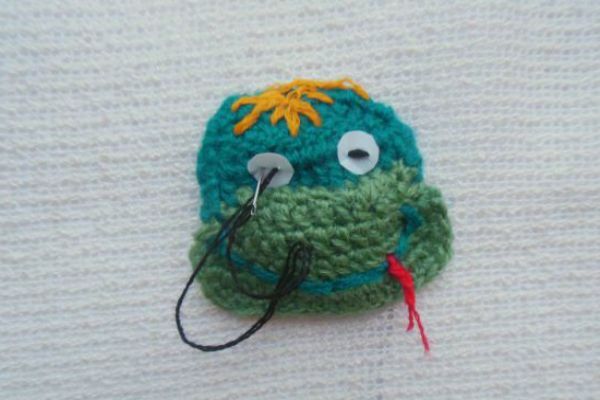
- Hair, smile, eyes and tongue embroider with threads.
- From the blister of tablets or plastic( cardboard) we make eyes.
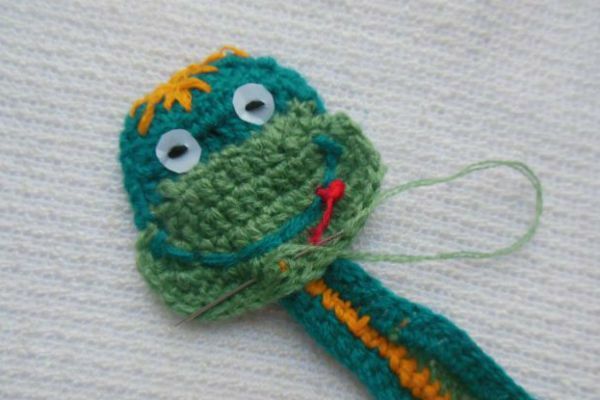
- The top of the trunk needs to be sewn with threads to make a thin neck.
- Sewn the head and the snake is ready.
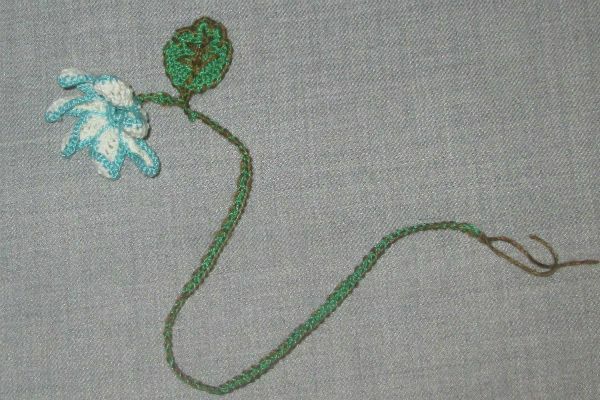
Flower


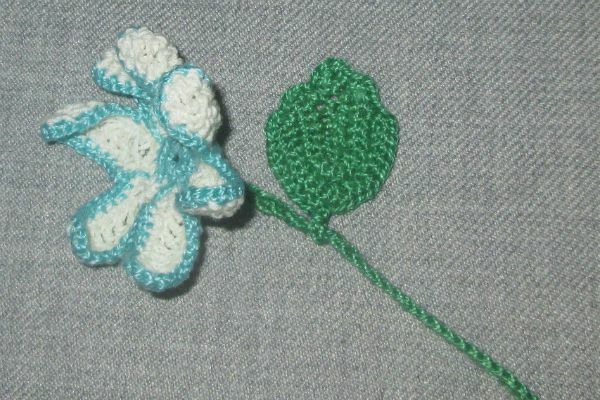
We need:
- yarn( 2 shades of green, white, blue);
- hook for knitting.
Procedure:
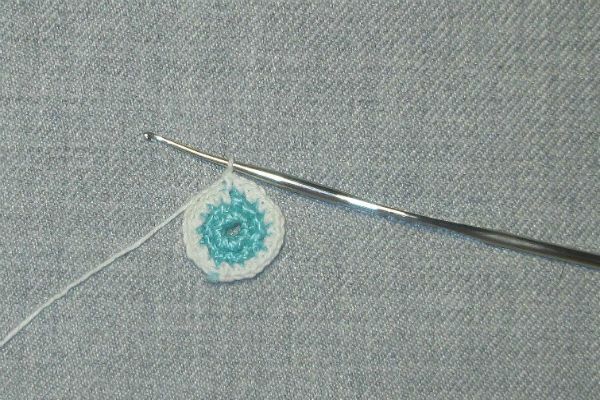
- Take the blue yarn and dial 5 air loops, joining the ring.
- We wire the ring with ten columns without a crochet with a white thread.
- Then, with a crochet without a crochet, we sew all the white yarn. After that, from each second column it is necessary to tie two posts without a crochet.
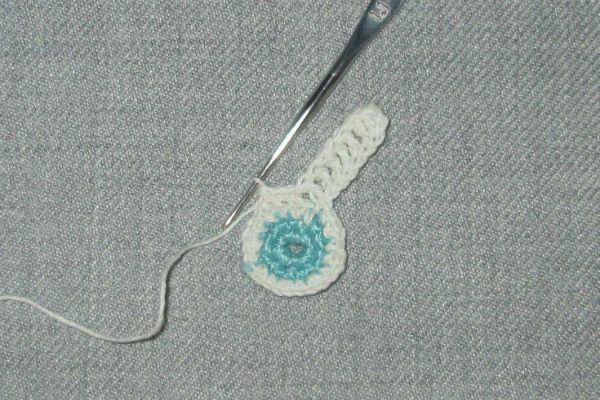
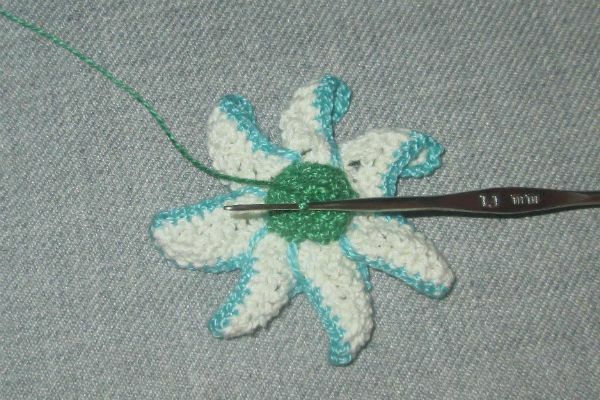
- For the production of petals, you need to dial 8 air loops.
- From the typed loops we tie the bars with the crochet, and then 3 without the crochet.
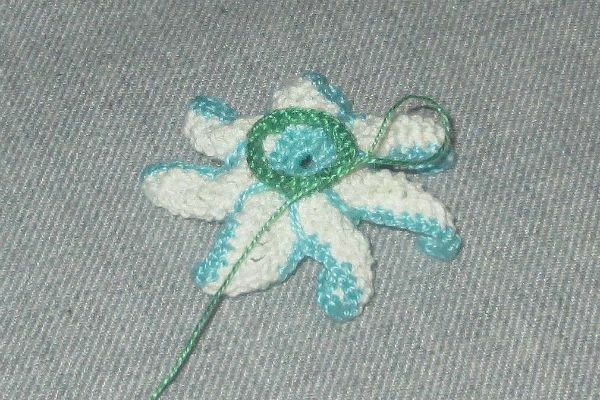
- In the same way we sew the other petals( their number will depend on the columns without the crochet in the previous row).
- All the petals along the edge must be tied with a string without a thread in threads. And the next row is another color.
- For the sepals, from the underside of the flower in a circle from the petals, we untangle 12 sticks without a crochet of green yarn.
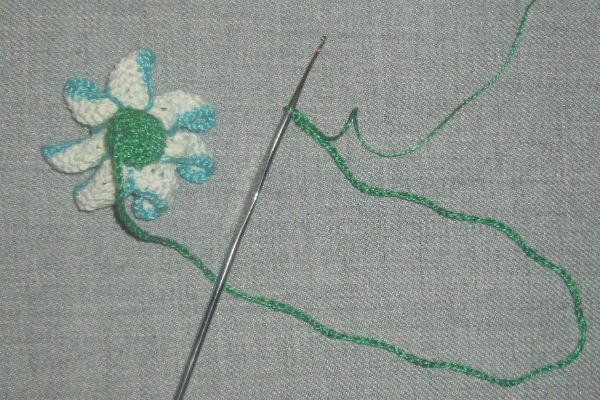
- Each subsequent row is typed with a gap of 4-5 bars, until there is only one left.
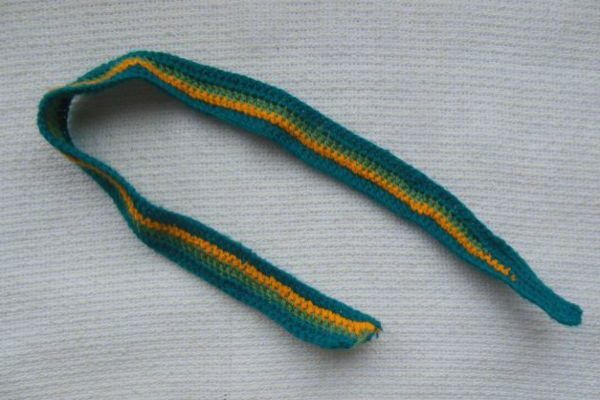
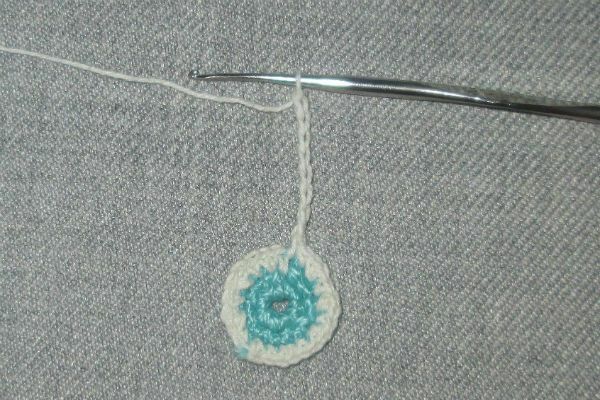
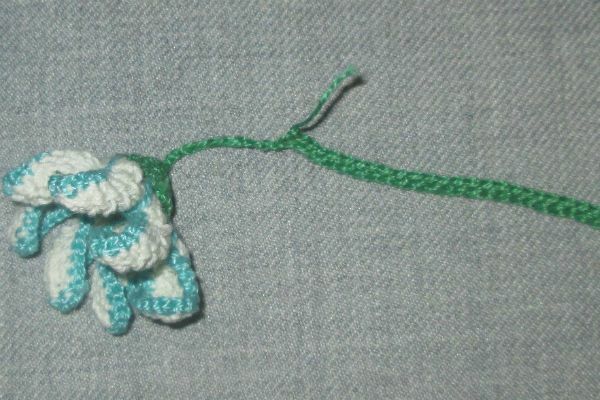
- We do not cut the thread, but we collect from it the necessary number of air loops for the stem( the length of the bookmark should be approximately 20-25 centimeters).Then we bind the stem with a column without a crochet, leaving a few loops in front of the flower itself. Crop thread.
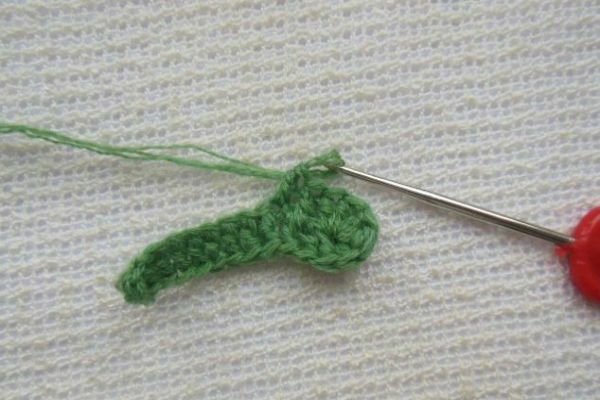
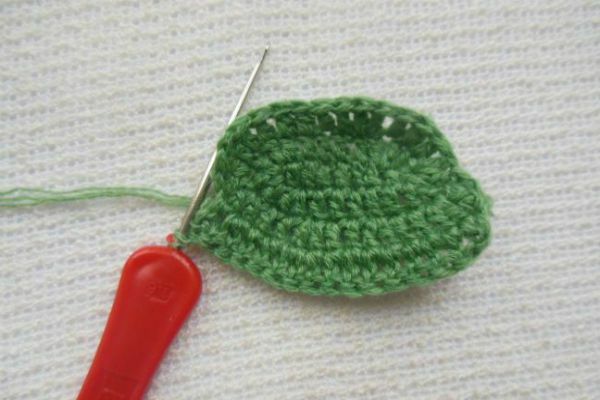
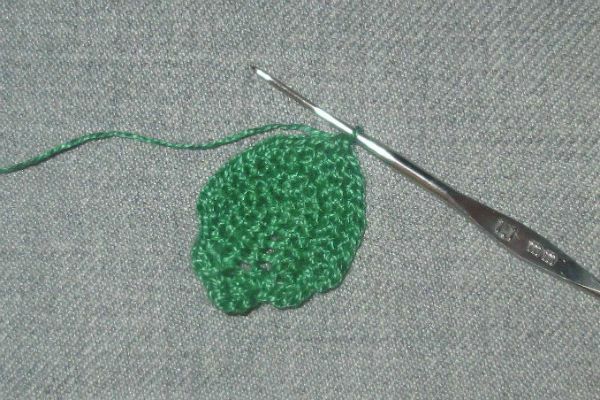
- We knit a leaf of arbitrary shape and size, do not cut off the thread, but tie it with a column without a crochet over the stem from the place where we stopped and to the sepals. Then the thread is cut off, the tip is hidden in the sepals.
- If desired, you can tie a dark green thread in the stem, make streaks.