Dream catcher is an ancient Indian talisman that is designed to protect the sleeper from bad dreams and evil spirits. According to Indian beliefs at night, all negative things had to be entangled in the cobweb's web and dissolve with the sunrise. Some esoteric teachings resort to the help of dream-catchers in the process of entering into lucid dreams.
Necessary material
In the modern world, these talismans are almost not used as an amulet, they are often perceived as a thematic decoration element.
In the original, representatives of Indian tribes wove their fishermen from reindeer veins and threads, pulling them on young flexible branches or grapevines.
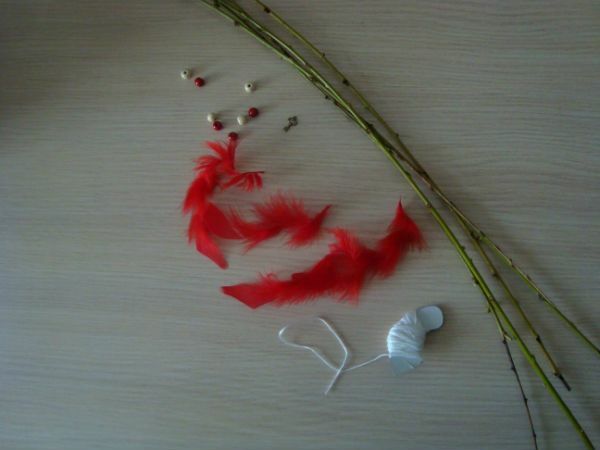
In our time to create your own dream catcher you will need:
- embroidery frame, wire or long thin willow branches;
- fishing line or thread of any color, density and texture;
- natural or painted feathers;
- beads, beads( wooden, glass, plastic);
- decorative suspension;
- scissors;
- universal adhesive.
Materials can choose absolutely any, because it's your dream catcher and you decide how it will be.
to contents ^Classic charts
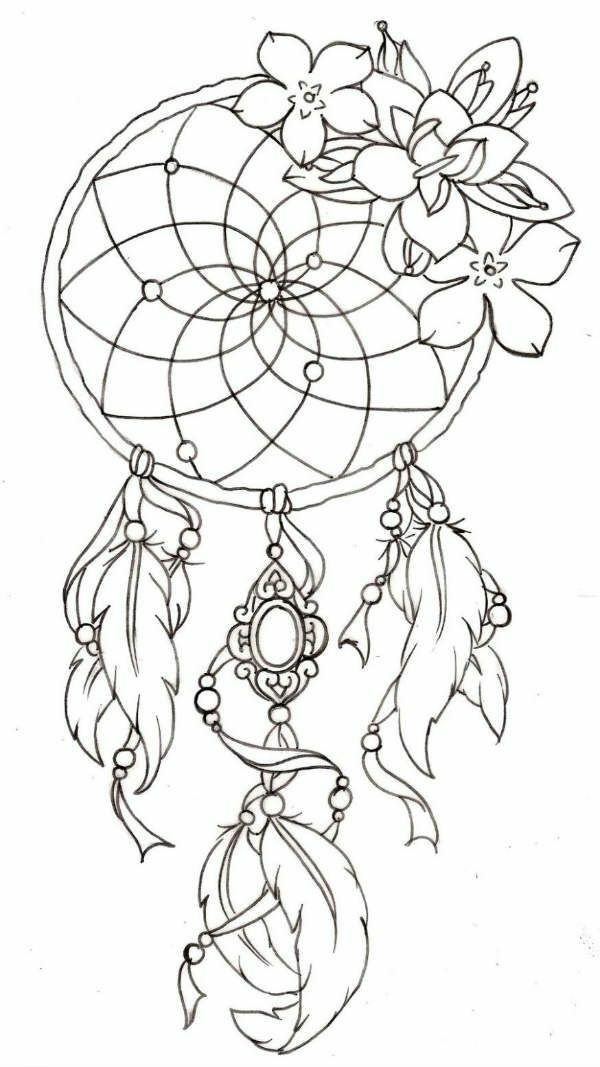
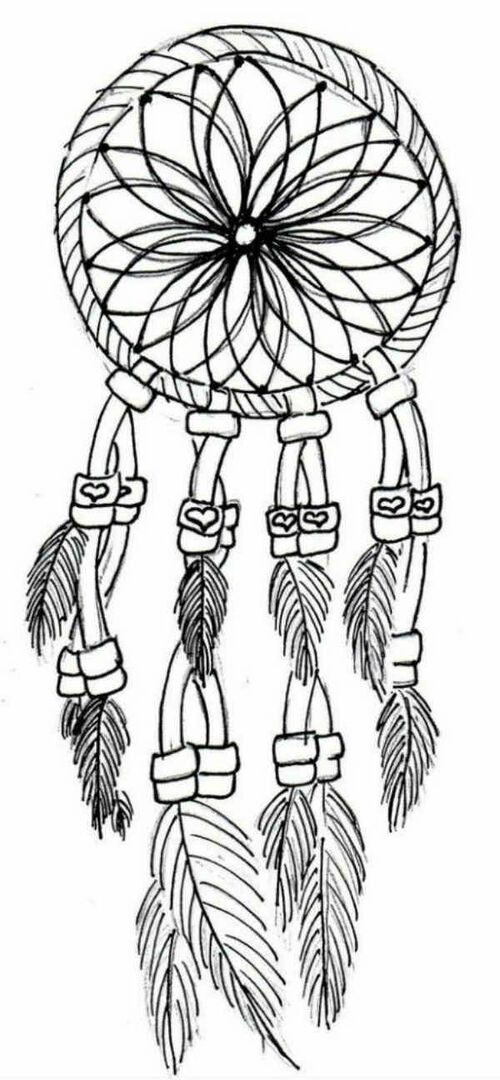
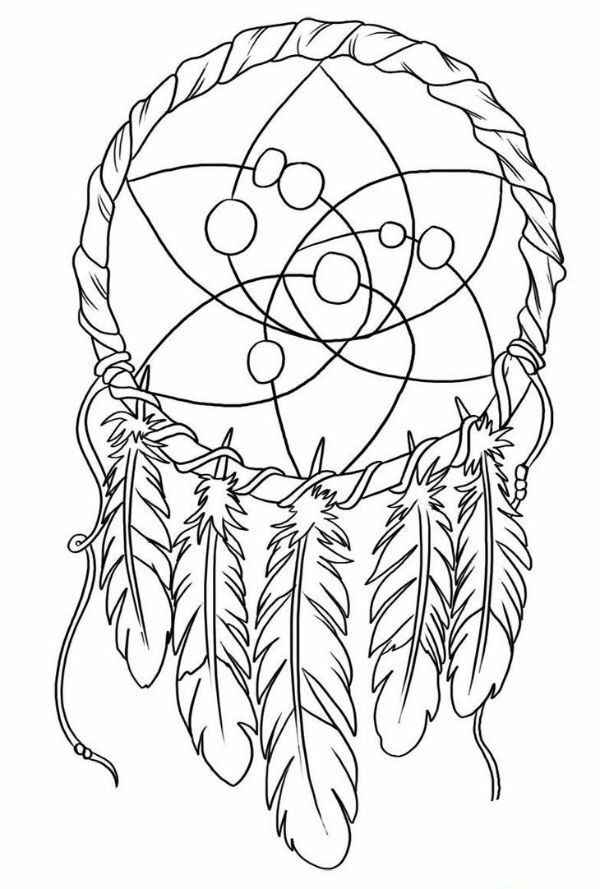
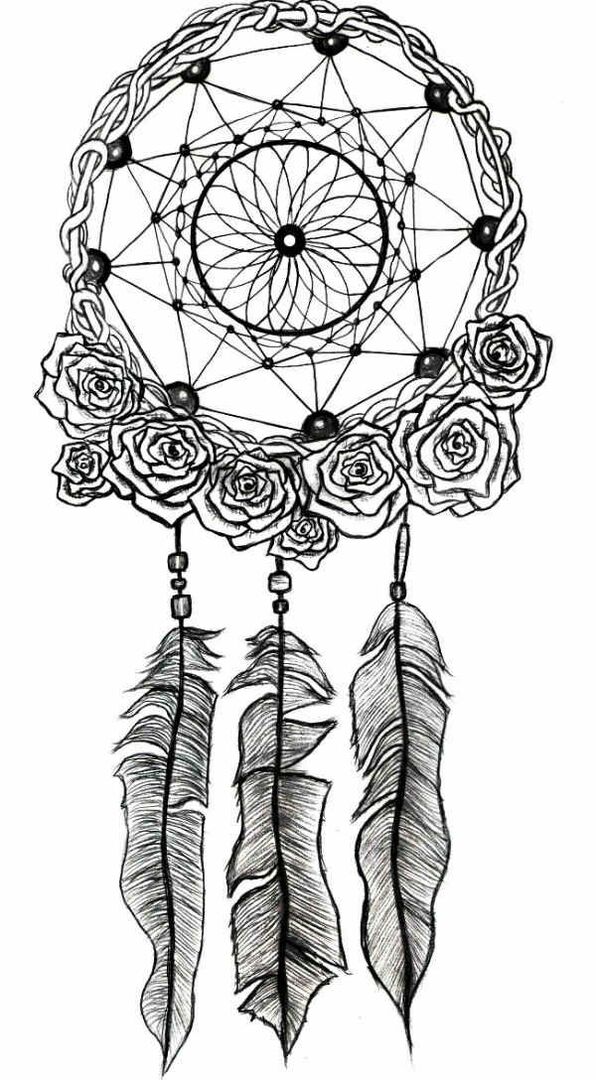

In the original, all the traps for dreams had a round shape, were cobwebbed with a hole in the center and decorated with feathers. This is no accident, because the Indians believed that bad dreams are caught in cobwebs, and good ones - on feathers go down to the head of a sleeper.
At the moment there is a fairly large selection of schemes for weaving such talismans.
to contents ^Make amulet-amulet
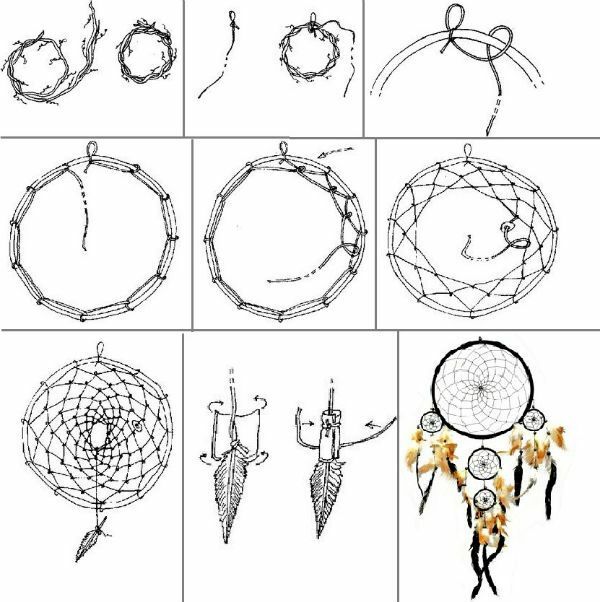
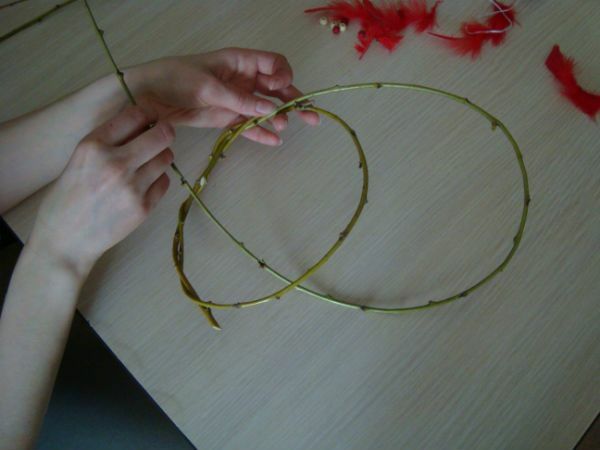
Take 3 willow branches without leaves. They should be long and flexible, then it will be easier for you to weave a circle out of them. In addition, it is believed that the willow has protective magical properties, so it is just perfect as a basis for making a catcher dreams.
To begin, break willow branches. Take each rod and gently bend them from the base to the tip.
When all the twigs are ready, we begin to weave.
Take one rod and fold it into a circle of the desired diameter.
The remaining end of the rod is wrapped around the circle, as shown in the photo.

At this step, you do not need glue or thread for fastening, the twig, due to its flexibility, will hold itself back.
Now take the second rod and fix its base in the weave of the first rod, as shown in the photo.
Next, we continue to braid your base with a rod.
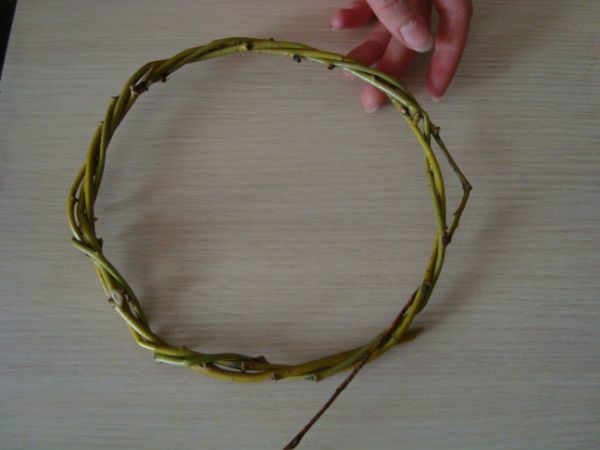
In the process of work it becomes noticeable how unsightly protruding ends of the first rod successfully hide under the bends of the second.
The remaining small tip is carefully secured between the weaves of the branches, as shown in the photo.
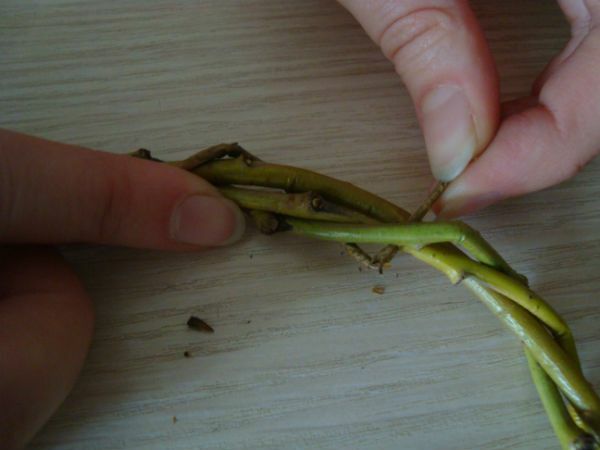
We are doing the same work with the third rod. As a result, you should get a round billet for our crafts.
If desired, you can use any number of willow branches.
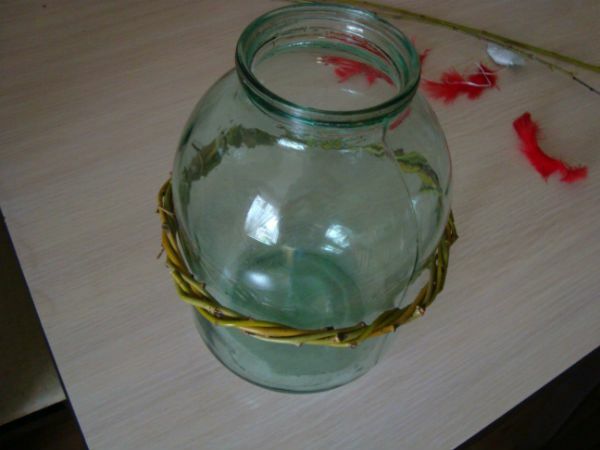
In order for our wooden base to retain its correct round shape for a long time, it needsput on a round object, for example, a three-liter jar, and leave to dry for a few days. But if you can not wait to continue working on the amulet, you can work with this raw preparation.
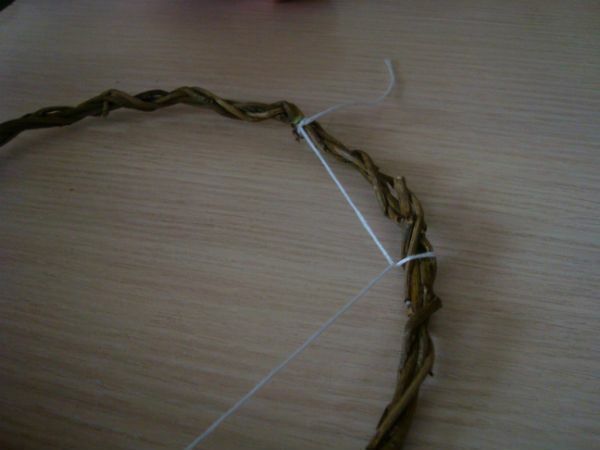
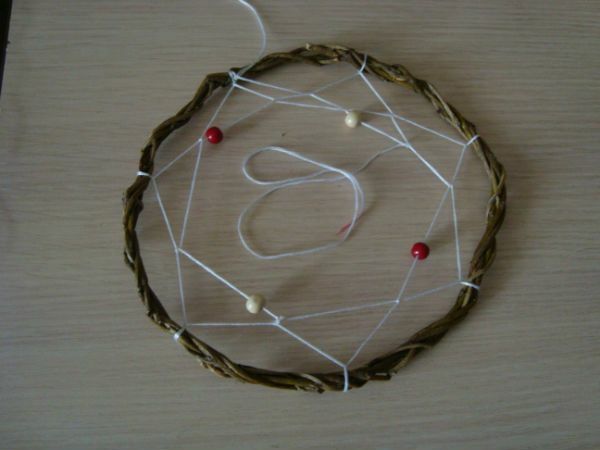
We begin to weave the web. Take the previously prepared thread, cut off a long enough piece from it and tie it to any place on the workpiece.
For convenience, the thread is better to wind.
Step back from the nodule 3-5 cm and wrap the thread around the base, stretching it crosswise as shown in the photo and diagram. You got the first loop.
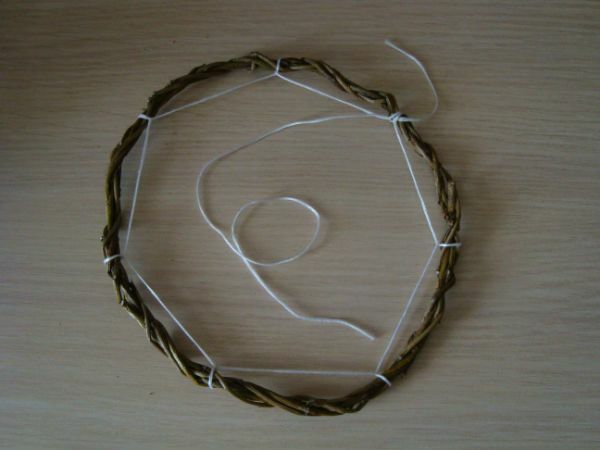
Tighten the thread well, measure the same distance on the base and make a second loop, pulling the thread again.
Continue making loops until you return to the first nodule. Here, tighten the loop again.
Now go on to weaving the second row. While holding the last stitch with your finger, thread the edge of the thread into the center of the "chord" of the first loop and make a similar loop.
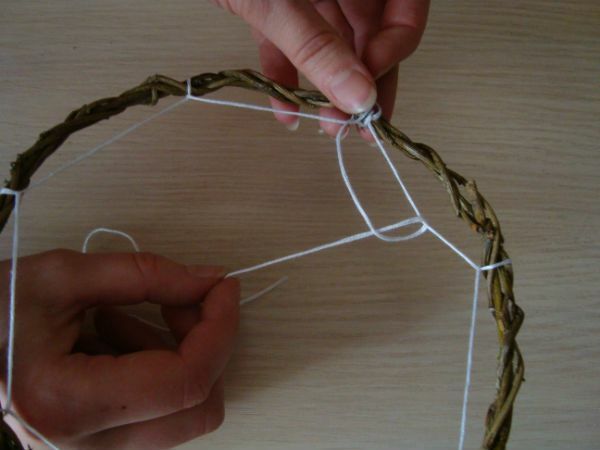
Do the same actions in a circle with the rest of the "chords", remembering to tighten the hinges well.
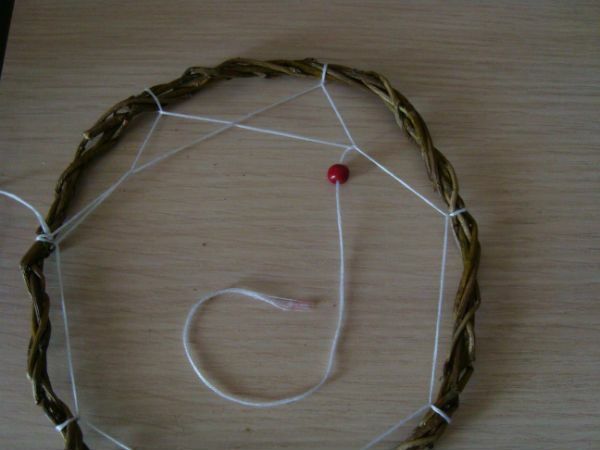
If desired, you can put beads on the thread after each eyelet.
If during the operation the thread ends unexpectedly or accidentally breaks - it does not matter. Make a knot and tie a new thread next to it.
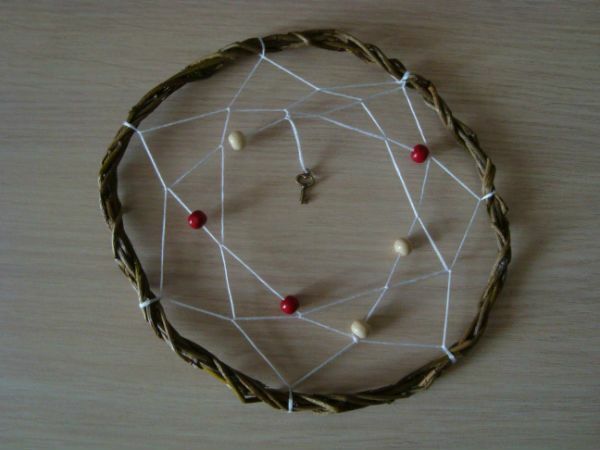
When you finish the last row of weaving, make a strong knot. For strength on it, it's even better to drop a little glue.
Leave a small piece of string after the nodule to attach to it a decorative suspension - a key. Thread the thread into the eye of the suspension and tie it to the knot.
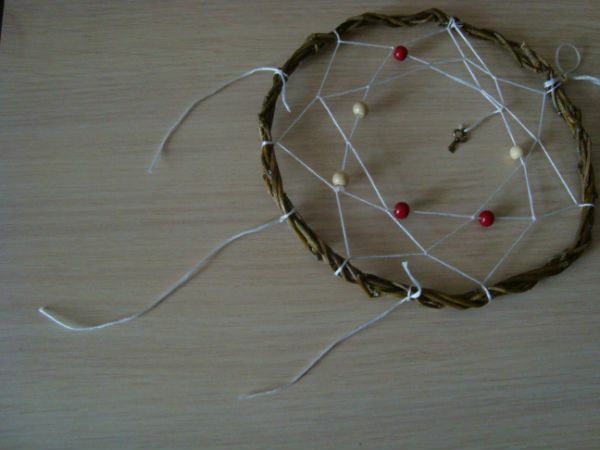
The excess ends of the threads should be cut.
To fix the catcher of dreams over the bed on it you will need to make a looper-holder. To do this, cut a thread about 15 cm long and fold it in half.
Determine where the talisman will be on top and in this place we form the loop, as well as on the photo.
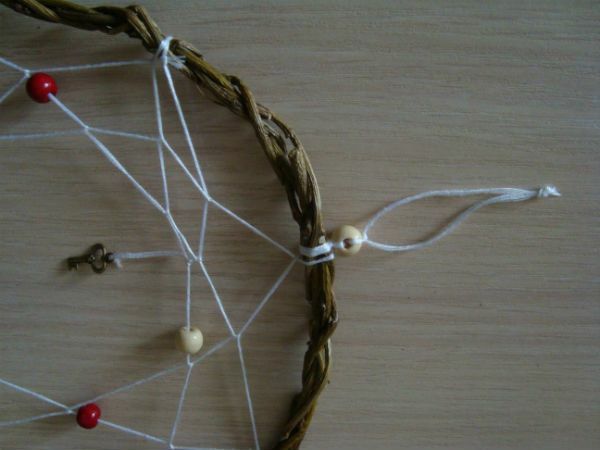
Decorate with beads, and tighten the ends of the threads together.
Now you can decorate the dream catcher with feathers. To do this, cut three pieces of thread with different lengths of about 10-20 cm.
Fasten the threads at equal distances from each other to the bottom of the workpiece and cut off the excess short ends of the thread.
Decorate the threads with beads. Their number and color can be absolutely any.
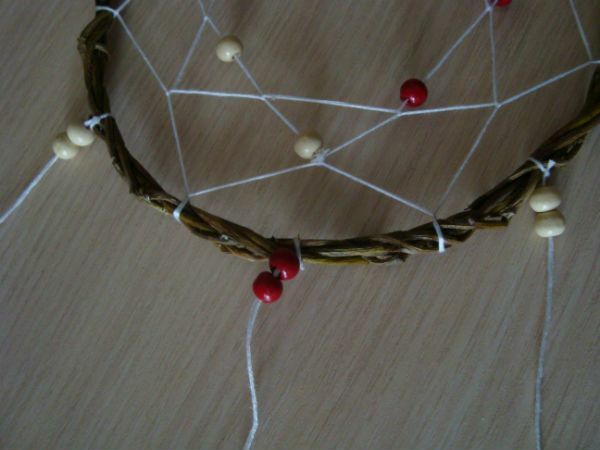
Beads try to attach closer to the base. For strength, tie two small nodules.
Take the feather and insert its edge into the hole of the last bead, as shown in the photo.
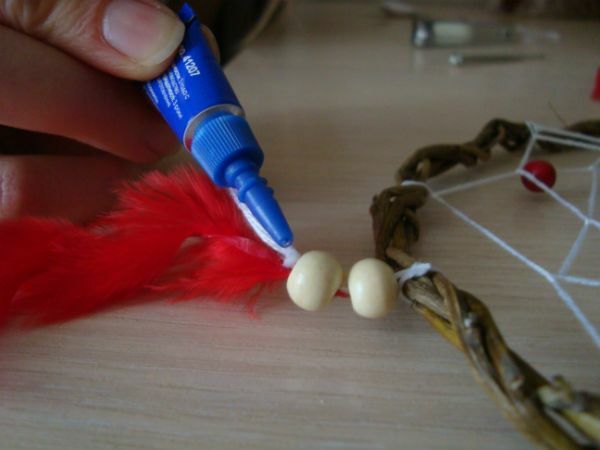
Fix the pen in the hole with a super glue. If you want, you can simply attach the stylus to the thread.
After this, cut the remaining end of the thread.

Similarly, fix all other feathers.
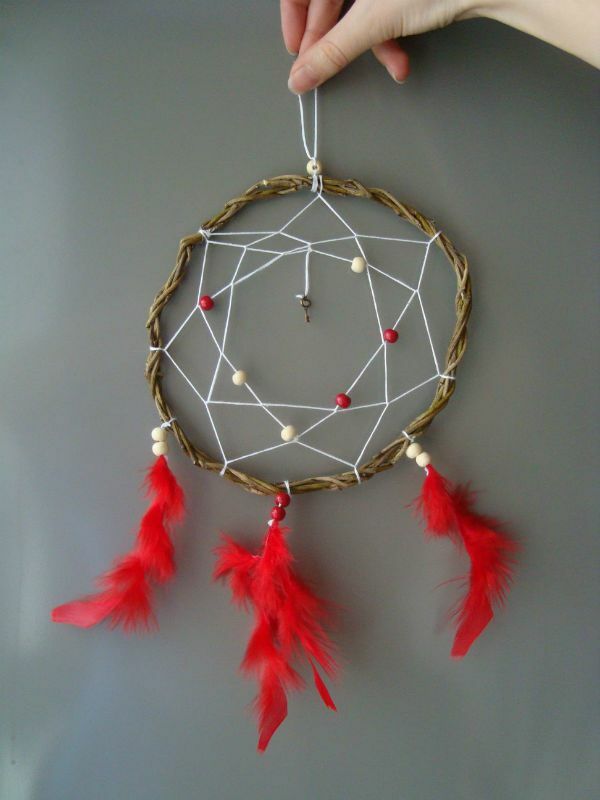
All dream-catchers are ready! You just have to find a place for him above your bed.
The finished product presented in the master class has a diameter of 15 cm and a height of 25 cm.