If all your attempts to tie a tie ended in complete failure, if instead of a beautiful knot you get an intricate tangle, then this article is for you. Simple instructions, described below, will help you understand how to tie a tie correctly. In total 3 simple ways from set of various variants will help you to become the expert in tying of ties.
- Windsor
- Pratt unit
- Semi-driver
Windsor
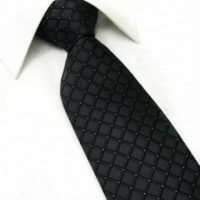
The Windsor node is a large symmetrical node in the form of a triangle, more extended in width than in height.
This knot is suitable for shirts with widely spaced collar angles or shark-fin type gates. So, let's step-by-step understand how to tie a tie Windsor knot.
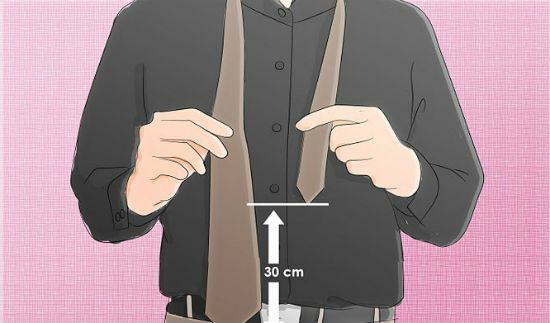
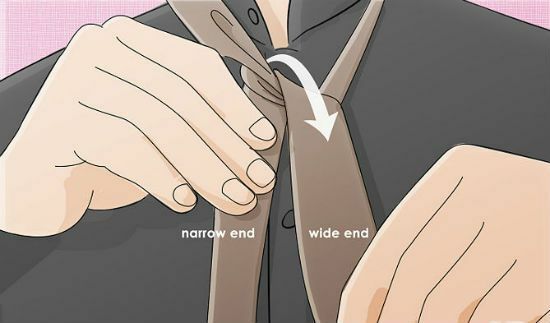
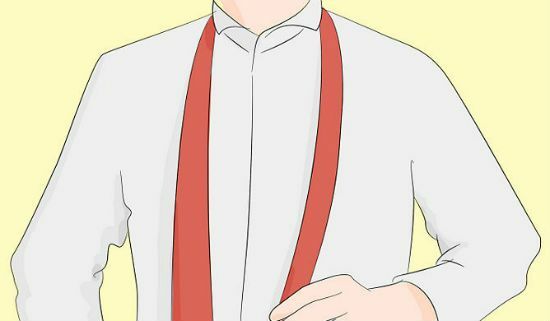
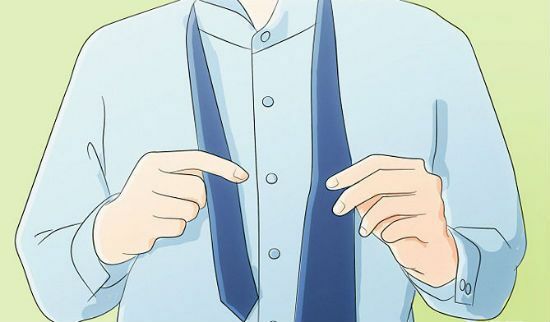
Take the tie and hang it around the neck. The wide end of the tie is lowered lower by 30 centimeters than the narrow one.
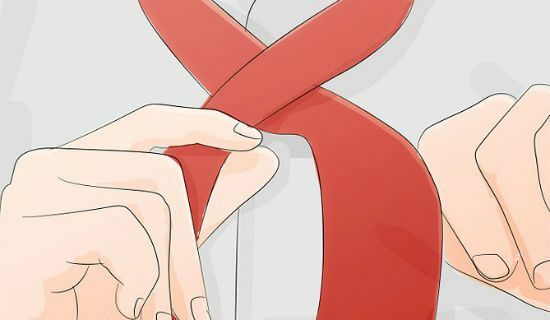
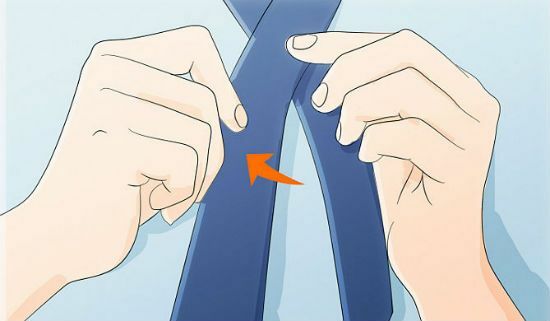
Place a wide edge on the narrow edge.
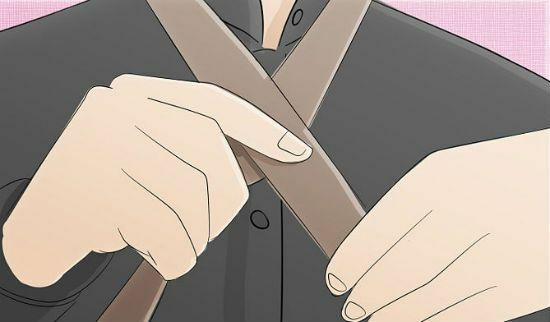
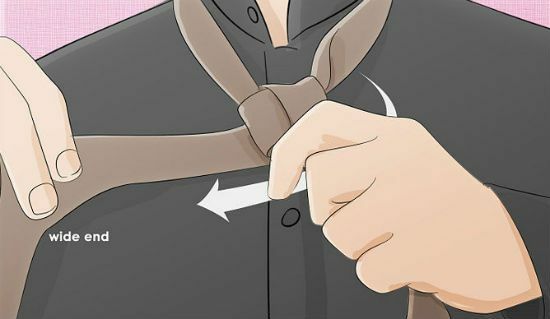
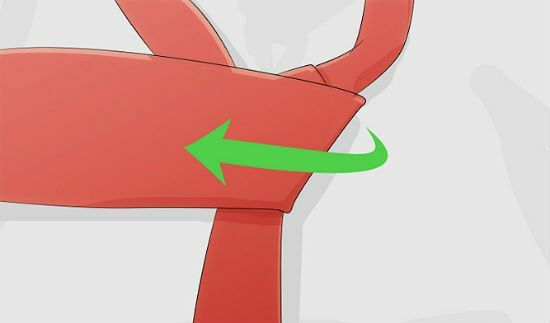
Next, start the wide end behind the thin one, pointing to the left and trailing behind the narrow one.

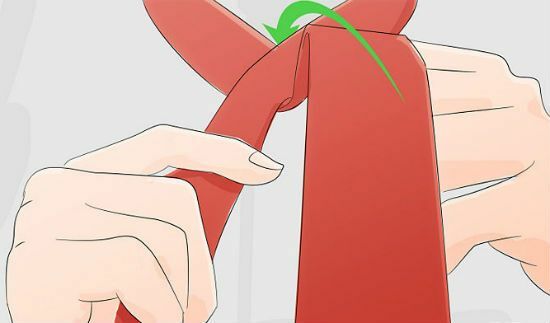
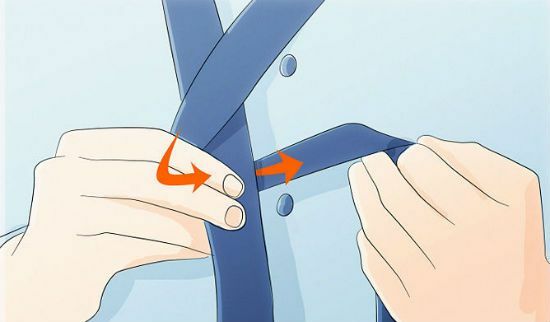
Thick edge stretch into the neck loop from the inside from the bottom up.
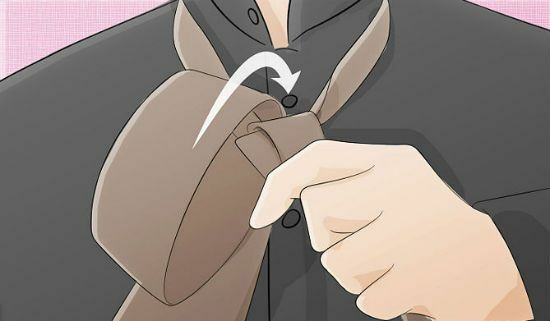
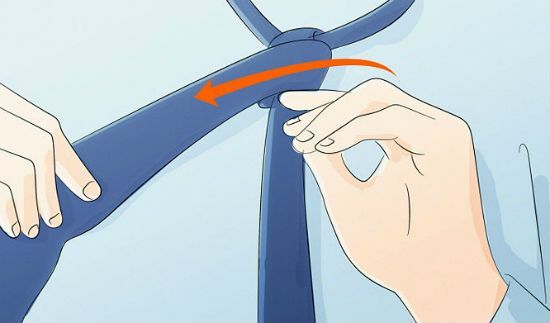
Now the wide part is rotated around the narrow one to make a triangle.
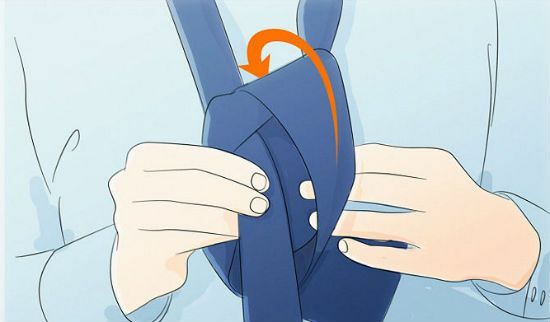
After that, the wide end is pulled through the top.
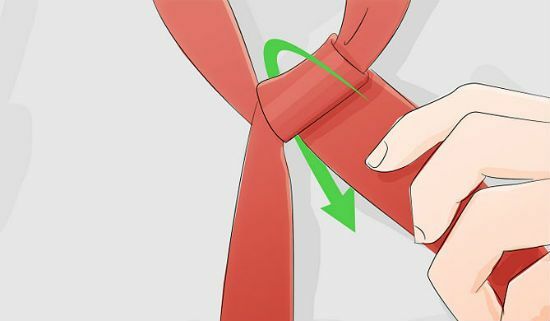
Again scroll the wide part around the narrow left to right.
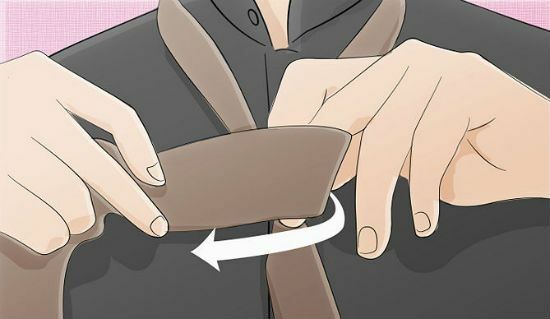
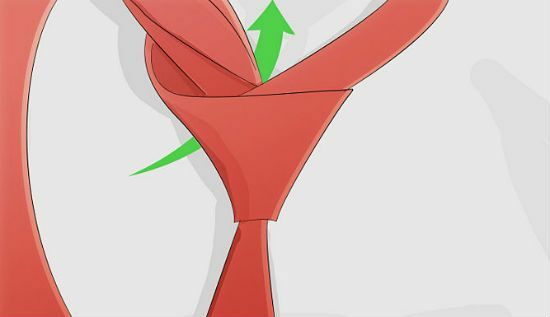
So we form a loop into which we pull the wide end upwards.
We pass the end into the neck loop and draw it into the hole formed.
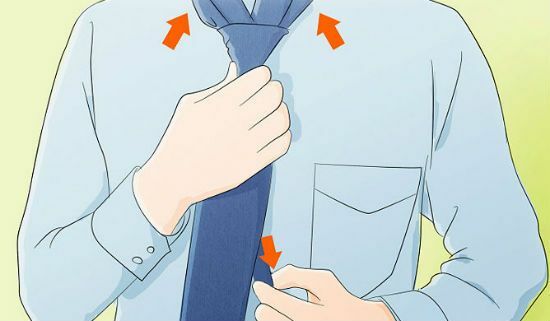
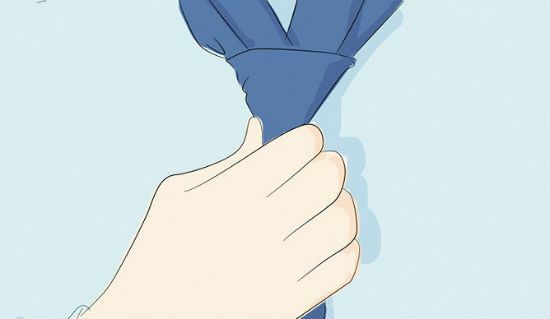
Pull the knot to the collar.
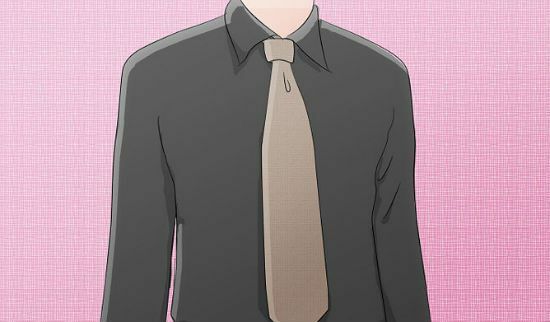
Straighten all wrinkles and knot at the base of the collar. That's how the traditional Windsor knot is tied. It looks very stylish and neat.
Knot pratt
The tie knot pratt is the reverse knot that is tied from beginning to end inside out, suitable for thin short ties with filler.
So, wrap the necktie with the wrong side around the neck. The wide end should be on the right and just below the narrow part.
Overlap the wide side narrow.
Now the wide end is thrown over the narrow one.
Pull the wide part into the neck loop.
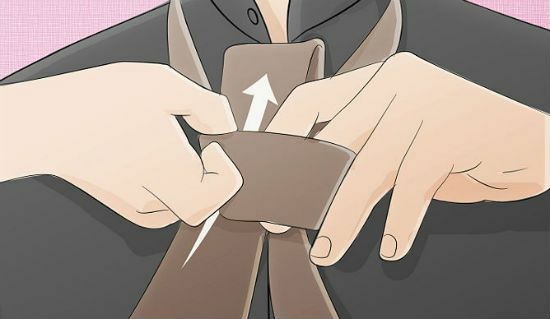
Next, swivel the wide part of the knot clockwise, as shown in the figure.
Now scroll the wide end, thereby creating a bridge over the narrow part.
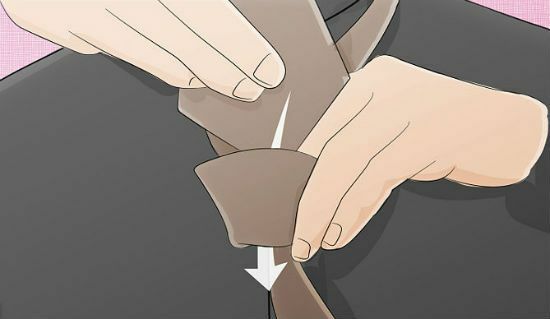
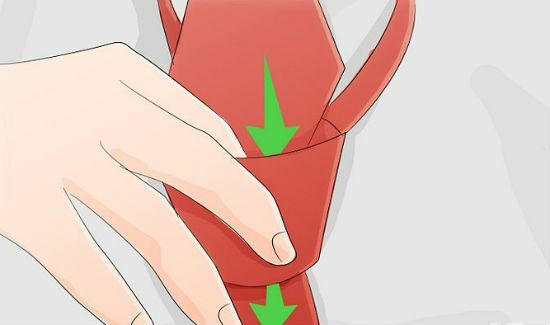
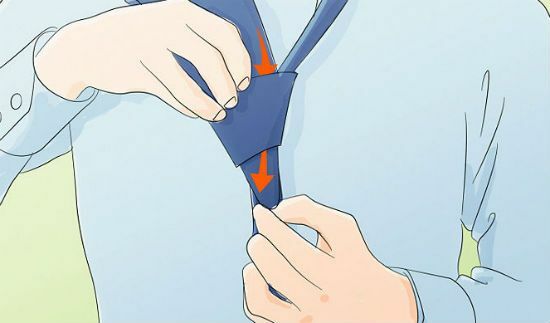
In the resulting loop, stretch a wide part of the tie in a direction from top to bottom.
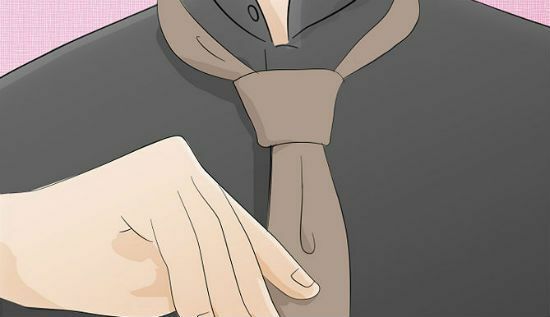
Tighten the assembly as needed. That's what a popular Pratt node looks like.
Semi-driver
The half-vidzor knot is very popular, as it is easily tied and very practical.
Thanks to its light asymmetry, this type of tying a tie is suitable for various forms of collars, which allows satisfying the tastes of many men.
Go to the mirror and place the necktie around the neck so that the wide side is on the left and a little lower. Experiment with the length of the wide part and determine the optimum for yourself.
Next, cross the ends of the tie, with the wide end leading to the right and overlaying it on the narrow one.
Now we start the wide part behind the narrow one, wrapping it around it.
Open a wide part of the necktie in the resulting loop, as shown in the picture.
Prolong the wide end from left to right, thereby obtaining a bridge.
We carry the wide part through the formed neck loop from the inner side in the direction from the bottom up.

In the received eye, push the wide end of the tie from top to bottom.
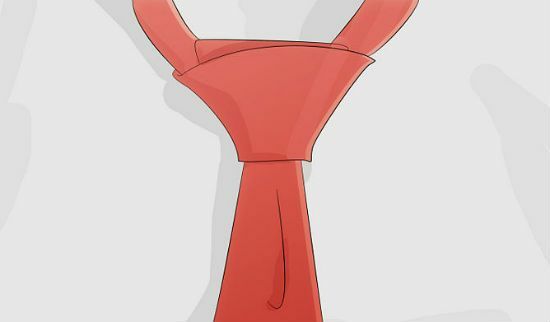
Slightly pull the knot up to get a triangle.
Then tighten the tie, pulling the narrow end down, and the triangle formed up. That's all, the half-vidzor knot is ready.