Weaving from rubber bands Rainbow Loom is a newfangled activity that enthralls both adults and children. If you have the imagination and desire, using silicone rubber bands you can create stylish accessories and original figures. But before proceeding to the manufacture of more complex crafts, one must learn how to weave the simplest figurines of rubber bands in the Lumigurumi technique.
- Banana
- Strawberries
- Heart
Banana
You can start with banana braiding from rubber bands on the slingshot. This master class is very simple in execution and is ideal for those who have not yet managed to buy a special machine for weaving.
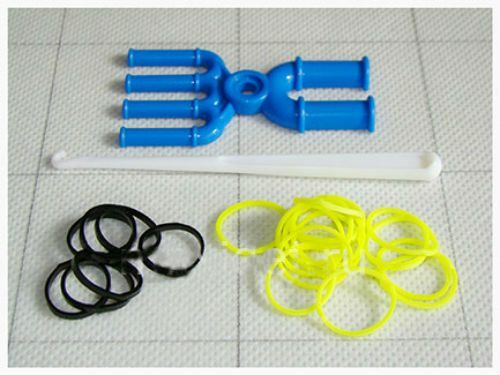
You need:
- slingshot;
- hook;
- yellow rubber bands - 20 pieces;
- black rubber bands - 4 pieces.
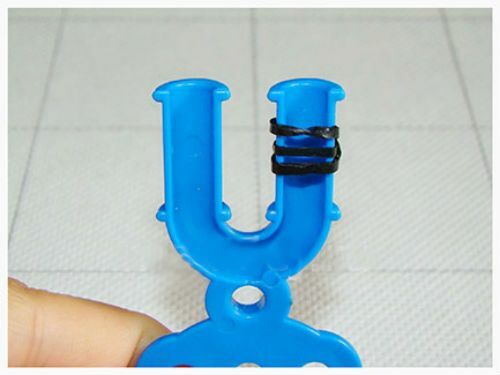
First you need to place the correct slingshot - the recesses of the columns turn to yourself. Then take the black rubber band on the right side of the slingshot and wrap it around three times.
Two yellow rubber bands put on 2 posts.
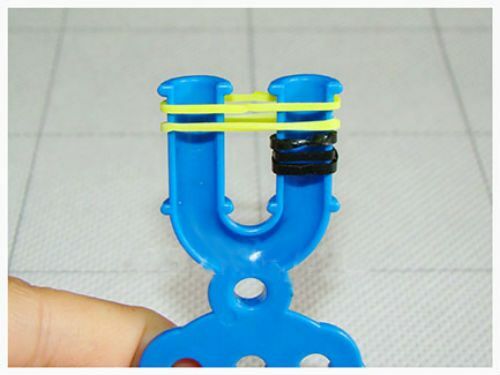
Using a hook, throw off the black rubber band( all three turns) into the center of the weaving.
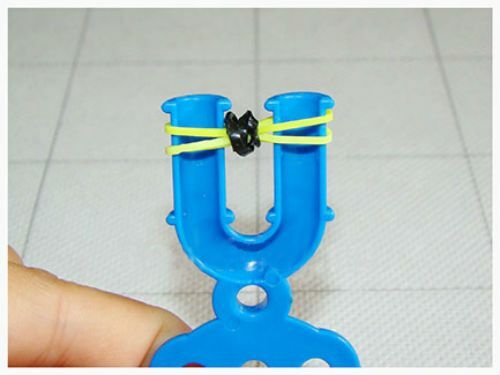
Add the next 4 yellow rubber bands to the two columns.
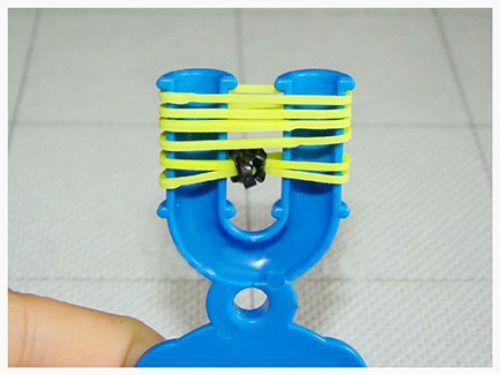
With the help of a hook to throw off each of the columns two lower yellow elastic bands in the middle of the weaving.
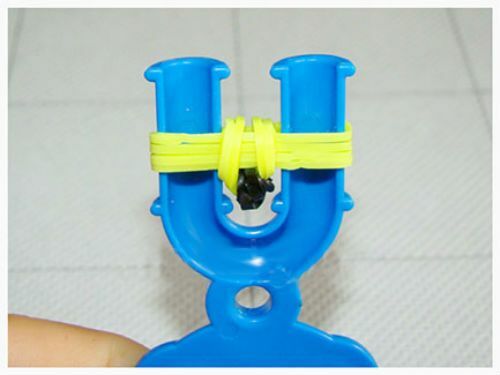
Again throw 4 yellow rubber bands on two posts.
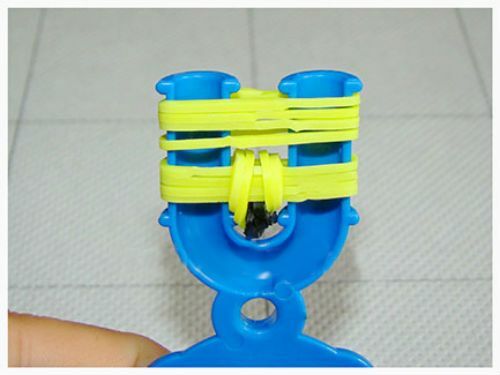
Lower 4 gums left and right to send to the center of the weave.
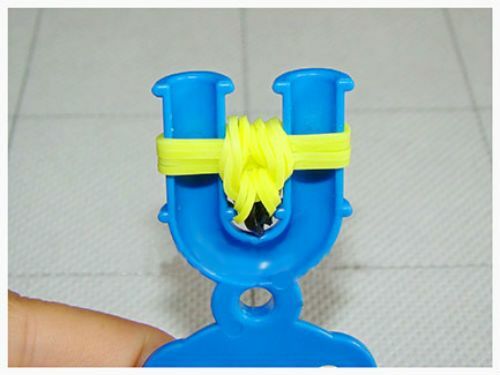
Repeat the casting of 4 yellow rubber bands two more times, each time folding the bottom 4 into the middle between the columns.
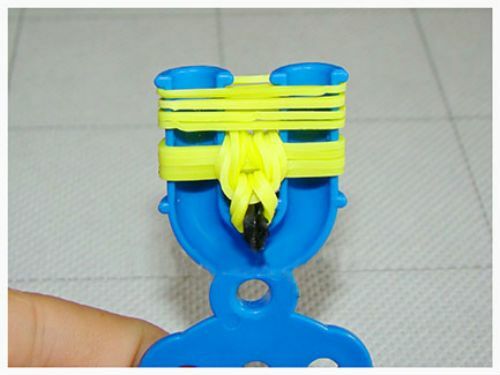
For the last time throw 2 yellow rubber bands,
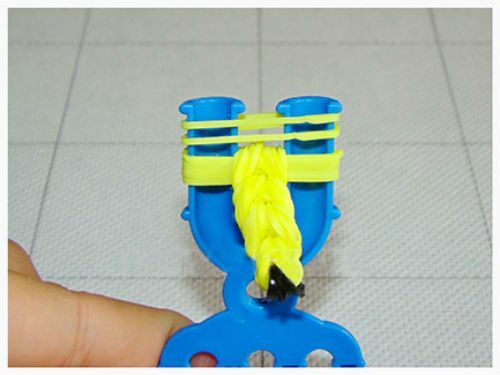
and 4 lower send to the center.
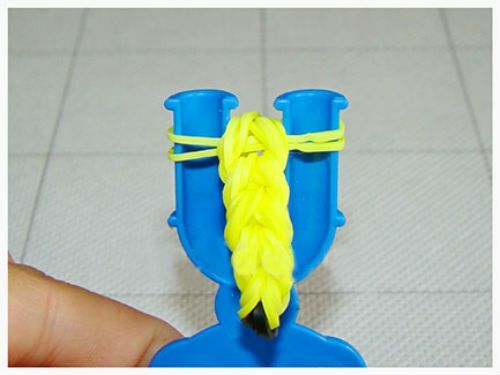
For a tail of a banana throw on 2 bars slingshot 2 black gum.
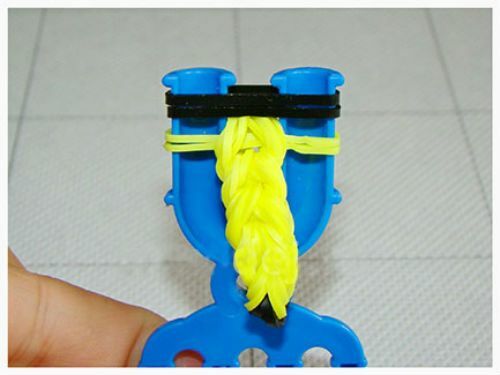
In this case, the lower yellow ones are to be thrown inside between the columns.
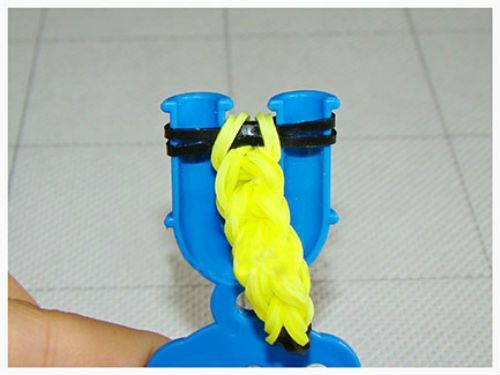
On the slingshot put on the last black rubber band.
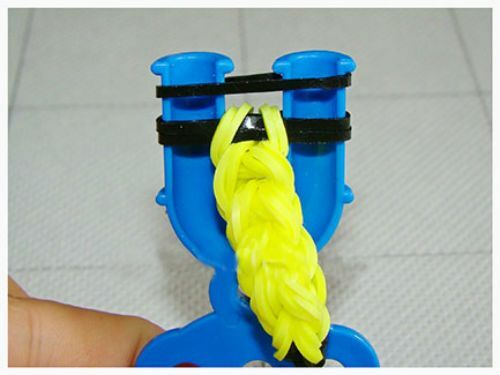
Two bottom black rubber bands on the right and left to send in the middle of the weaving.
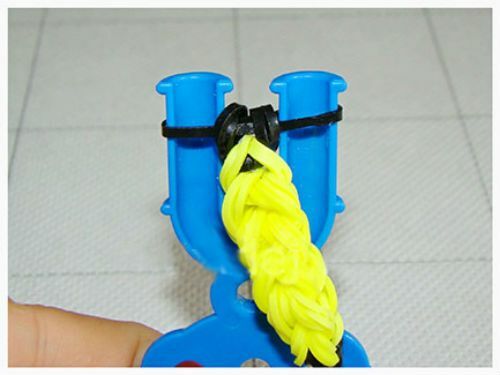
Move the black rubber band from the left column to the right.
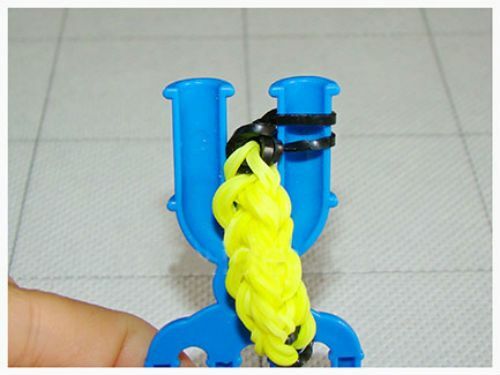
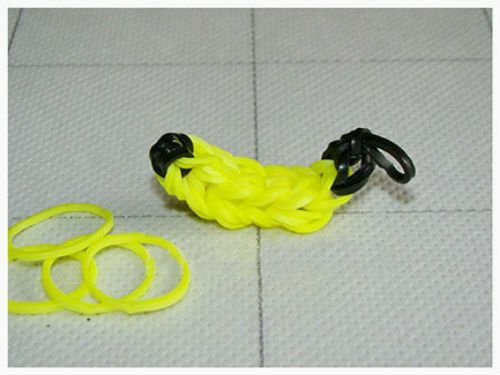
Lower the elastic band on the right column to grab a crochet and throw off the slingshot. Remain the remaining elastic band from the slingshot and tighten. In conclusion, the banana should be given the necessary form.
Strawberry
Using brightly colored rubber bands and a slingshot it is very easy and quick to create a strawberry fromrubber bands.
You need:
- slingshot;
- hook;
- red rubber bands - 13 pieces;
- green rubber bands - 5 pieces.
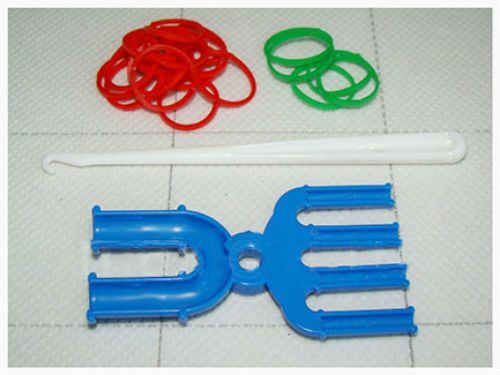
Turn the slingshot on the columns to yourself. First we'll make the berry itself, and then the green tail. The first elastic band of red color is wrapped three times around the right column.
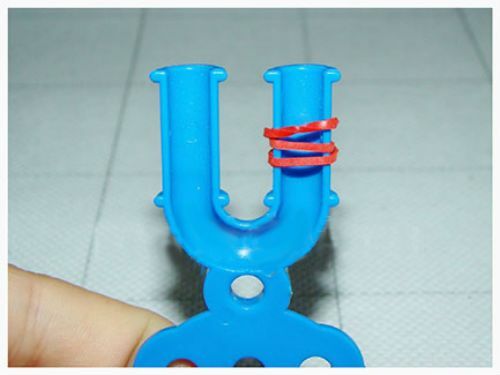
In the future, all the red rubber bands will be put on the slingshot in pairs. Put the first pair on the slingshot, as shown in the photo.
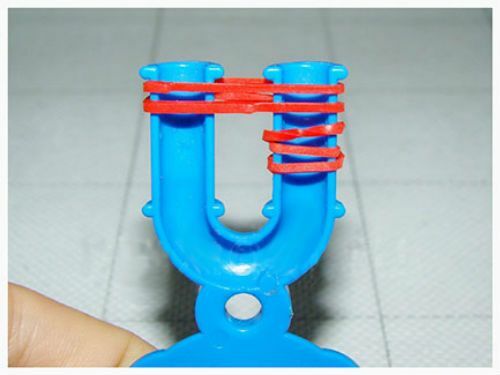
Throw three turns of the first rubber band in the middle of the weave.
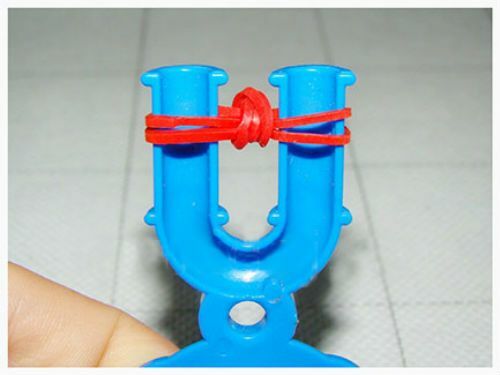
Put on the slingshot the next pair of red rubber bands, and move the lower pair from the right column to the center.
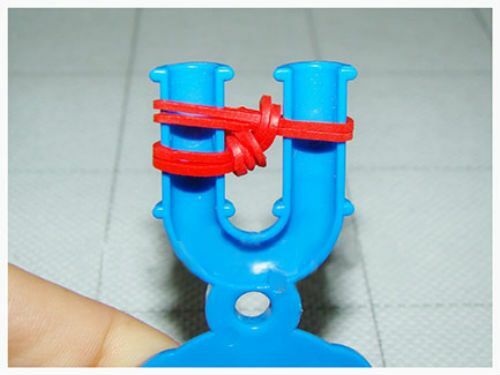
Spread the top two rubber bands from the left column to the right.
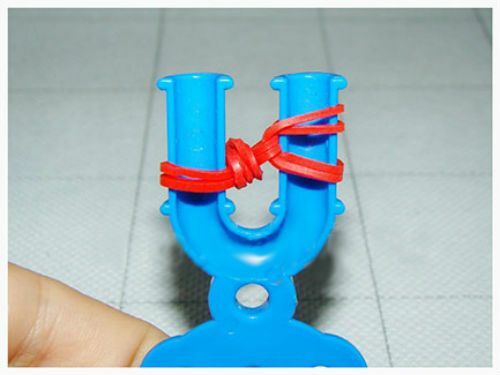
Throw a pair of rubber bands on the slingshot, and send the bottom pair of rubber bands to the center of the weave from the left column.
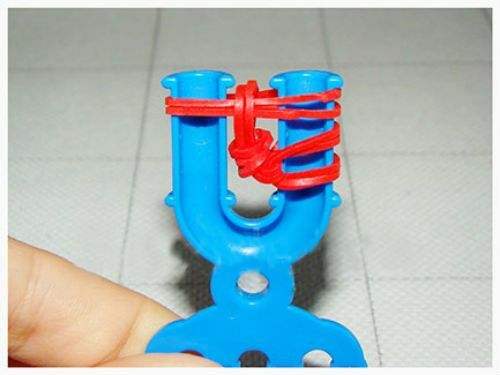
The next pair of red rubber bands should be worn on both columns, and again, lower the lower elastic bands to the left in the middle.
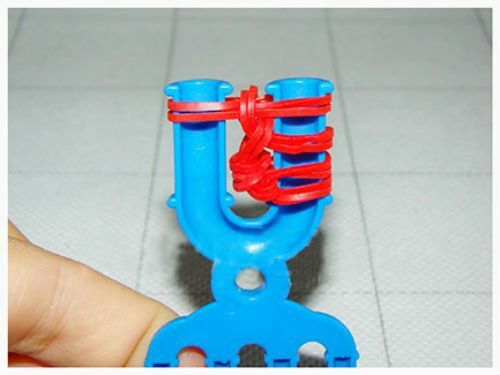
Move from the right column to the upper left pair of red rubber bands.
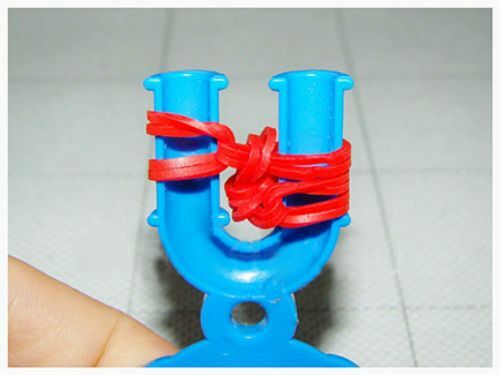
Throw a pair of rubber bands on both columns and transfer two middle pairs from the right column to the middle of the weave.
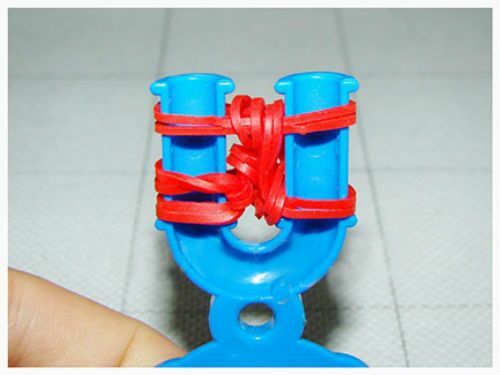
Again transfer the two upper bands from the right column to the left one.
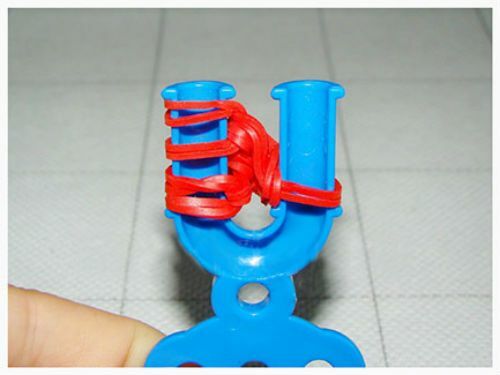
Put on the last pair of red rubber bands on the slingshot and send the lower pair from the right side to the center. The strawberry is ready, it remains to make a green tail.
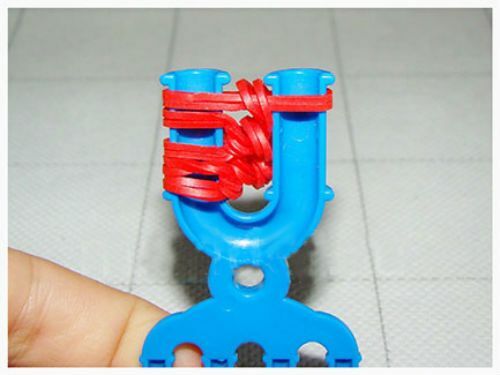
Put on 2 columns of slingshot 2 green rubber bands and throw them in the middle: from the right column - one pair of red rubber bands, from the left column - the top two red pairs.
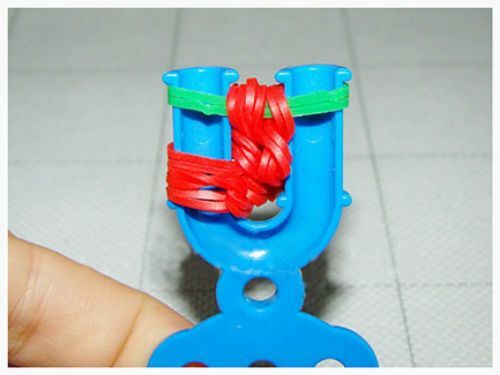
Transfer a pair of green rubber bands on the left side to the right.
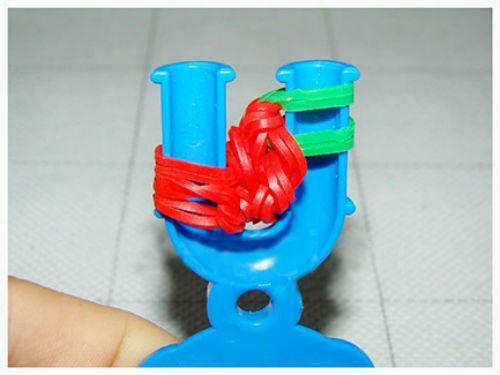
On the slingshot to throw the next pair of green rubber bands and throw in the middle of the remaining red rubber bands.
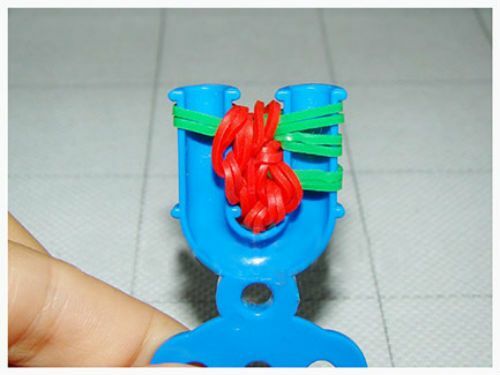
Put on the last green rubber band on both columns and send all the green rubber bands to it.
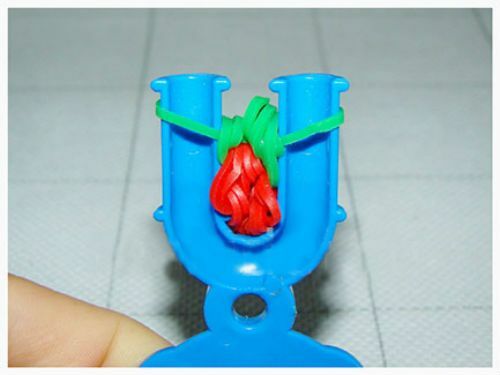
Transfer the upper elastic band to the adjacent column, and lower the top into the center of the weaving. The rest of the loop to remove from the slingshot and tighten - turned a ponytail of berries.
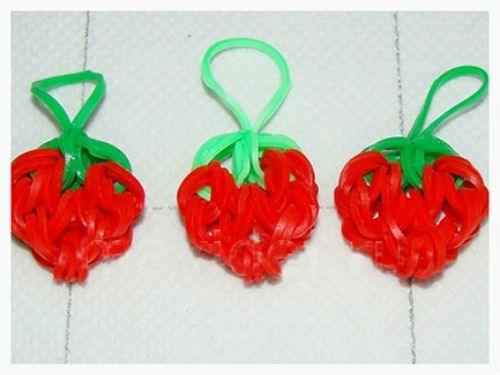
Strawberry made of gum is ready!
to the table of contents ^Heart
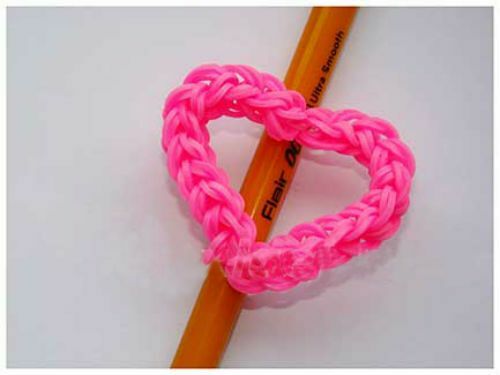
Using a bright silicone rubber band and a slingshot for weaving, you can make a simple heart. Such an article will be an excellent decoration for a beautiful pen or pencil.
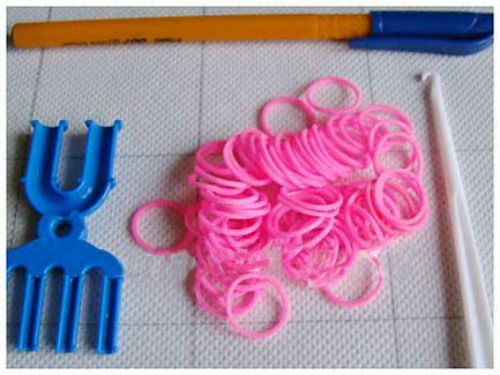
You will need:
- red or pink rubber bands - 46 pieces;
- slingshot;
- hook;
- pencil or pen.
Place the slingshot slots in your side. Put the first elastic band on the right column and wrap it around it twice.
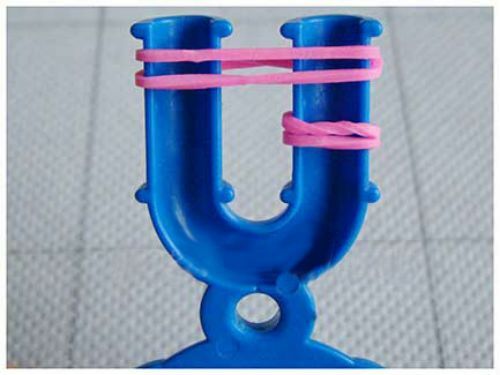
Weaving continues with a pair of rubber bands. For two halves, the heart should be prepared for 11 pairs. First we'll weave the first half. The first pair of throw on both columns of the slingshot, and then double the rubber band on the right to throw into the center of the weaving.
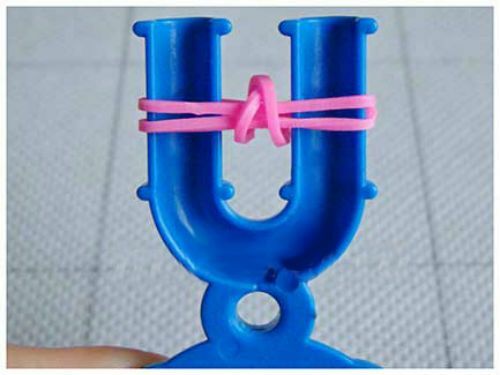
Throw the next pair of rubber bands on the slingshot,
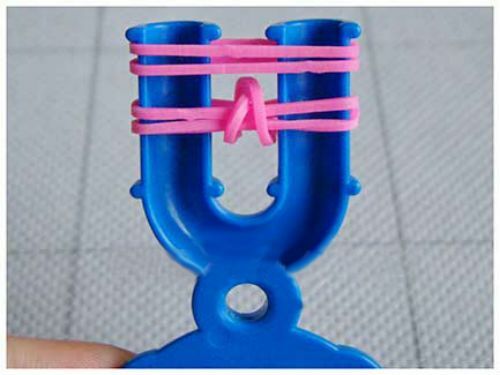
and send the lower bands on both sides to the center of the slingshot.
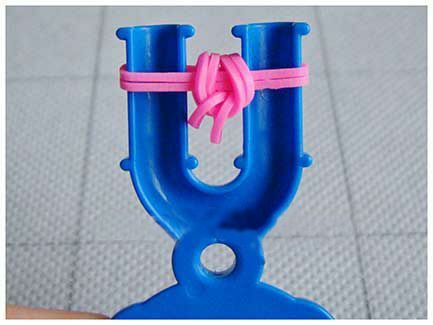
In the same way, you should weave all 11 pairs of rubber bands.
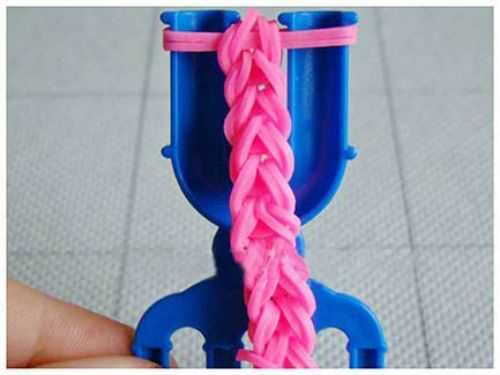
Now you need to free the left column of the slingshot by transferring the rubber band to the right side.
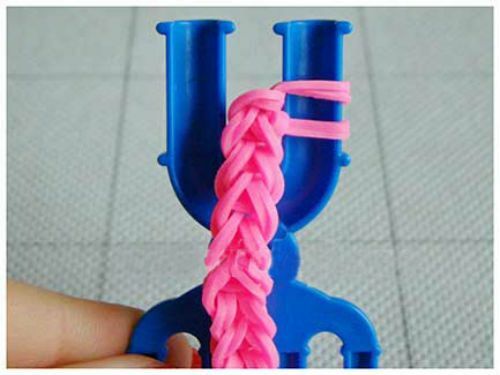
The hook for braiding should be made in the first woven loop, while leaving the free initial rubber band.
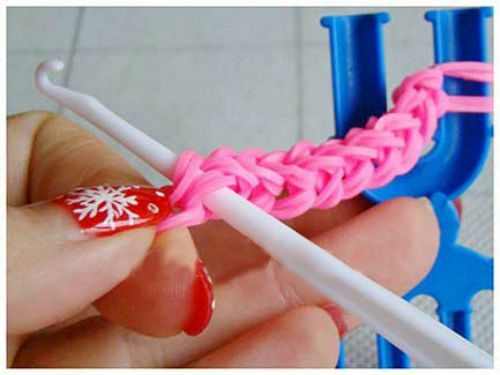
Next, you need to lower the loop from the hook to the left column and put on another pair of rubber bands on two posts.
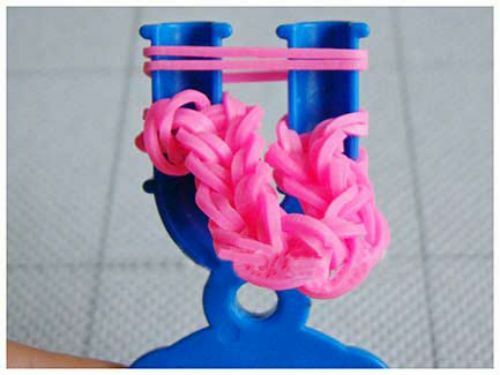
The eyelet on the left side should be thrown off into the middle of the weaving and similarly we continue the weaving of the second half of the heart.
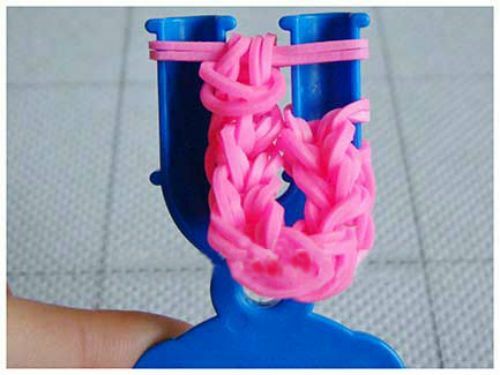
When the second half is ready, the slingshot will get the following picture.
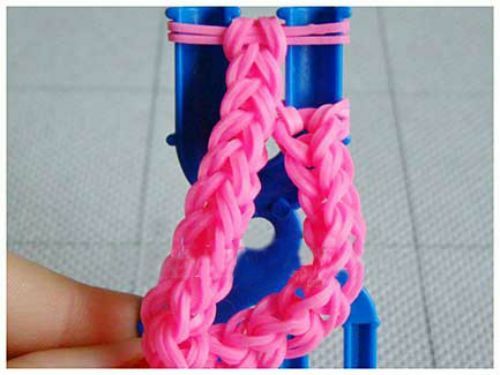
The weave ends with a single gum. It must be put on a slingshot, and all the lower ones should be thrown off in the middle.
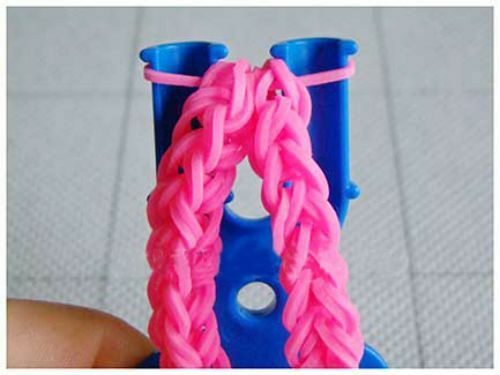
Then make a loop by transferring one of the rubber bands to the next column.
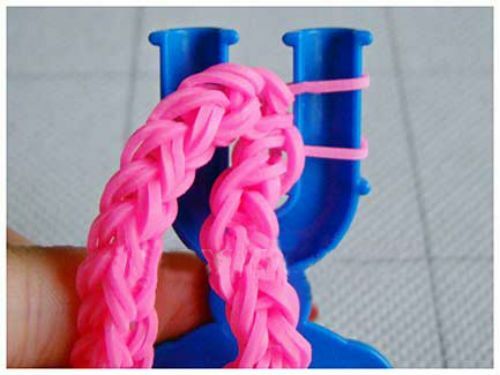
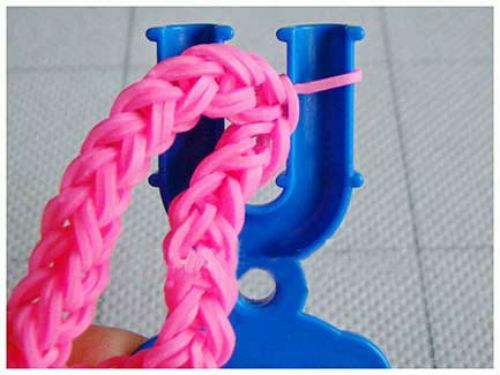
The bottom should be thrown off the column, and the remaining one should be removed from the slingshot and tightened well, so that the figure does not bloom.
The finished heart can be put on a pencil: first - the initial double loop,
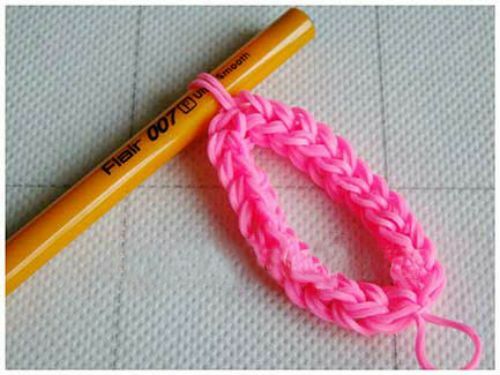
and then the last one, making 2 turns.
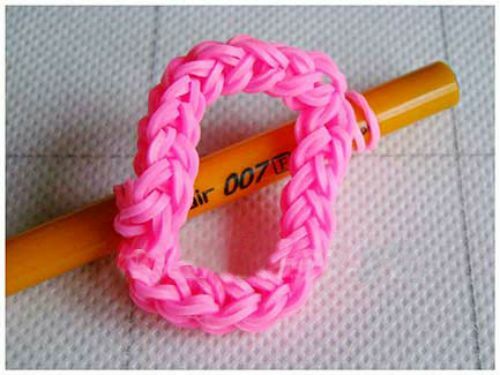
It remains to give the figure a heart shape.
