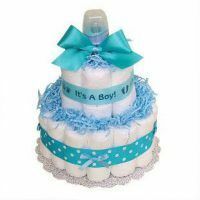
Do not know what to give the kid and his mom for an extract from the hospital, baptism or a birthday? Present a cake of diapers. This is an original and practical gift that is easy to make by yourself. Since a child in the first year of his life needs a lot of diapers, then surely young parents will appreciate such a present in full.
- Materials
- Operation
Materials
To create a cake from diapers we will need the following materials and accessories:
- Diapers. When buying diapers, pay attention to their size. For newborns use one or two. Since children grow quickly, the cake can be made from diapers of different sizes.
- Elastic bands, double-sided adhesive tape, satin ribbons, cake stand, two wooden keys, a roll of paper towels. All this is useful for assembling cake.
- Flowers, bow and other elements for decoration. Choose jewelry depending on the sex of the child. If the cake is made of pampers for a girl, then bows and ribbons buy a pink color.
- Baby things at will: booties, nipple, bottle, powder, lotion, rattle, teaser, diaper, raspashka and more. These things we will insert into the cake, and they will also be a gift, but it is possible without them.
- Packing polyethylene.
How to use
Before you start working, wash your hands and soap well with soap, as hygiene is very important for babies. Cakes from diapers can be done in two ways: collect at once with a whole pile or twist one by one. We will consider two variants of fabrication and start with the simplest example, which requires a minimum of time.
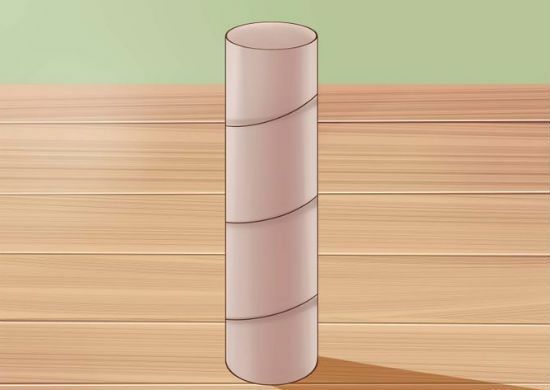
To collect the wrapped cake, take a roll of paper towels. It will be the center of the cake holding the tiers together. Instead of a roll as a center, you can use a tightly twisted diaper or a large bottle of lotion for the baby.
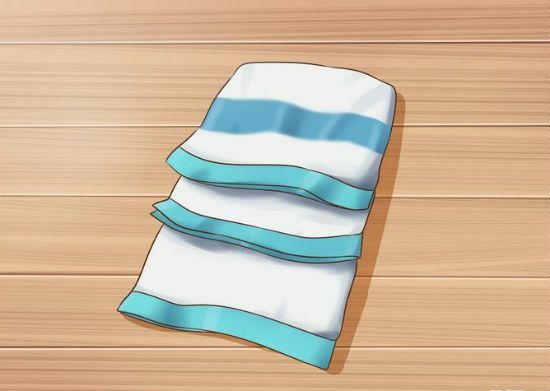
Take the diapers out of the package and straighten them.
We take one diaper, put it horizontally and wrap it around the roll. The second diaper is also wrapped around the center so that it overlaps the edges of the first one. Repeat this action until the width of the lower layer is sufficient. The first tier you can make big or small, but remember that each subsequent level will be smaller than the previous one.
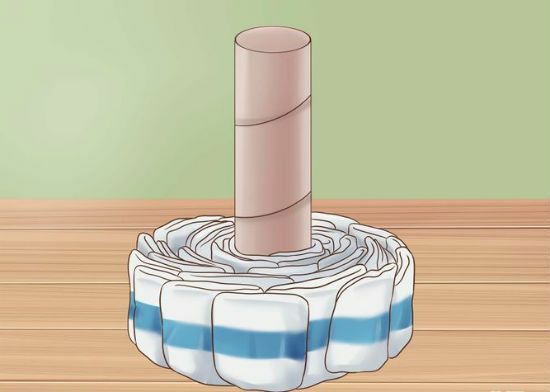
When you have reached a sufficient width, take a large elastic band and fasten all the diapers in the middle so that the cake does not crumble.
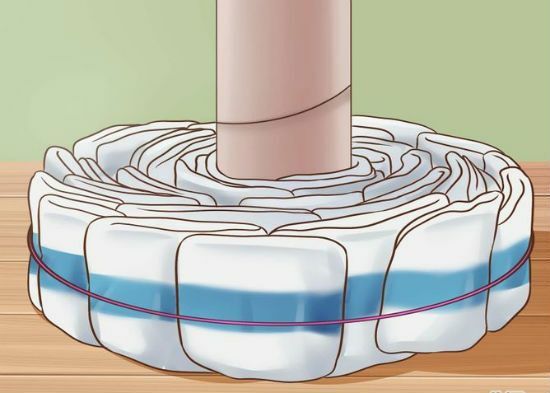
By the same principle, collect the second and third layer of the cake, each tier do not forget to fasten with an elastic band.
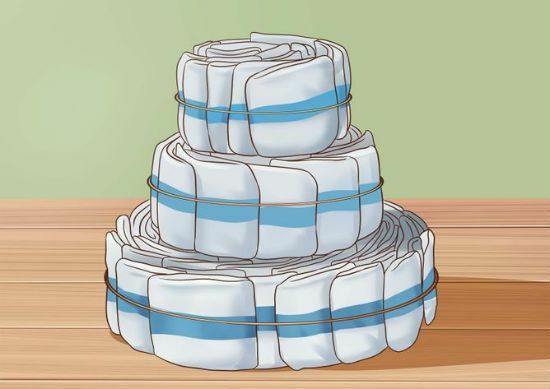
The principle of assembling a wrapped cake is simple and straightforward. Now we will talk about the second option, when each diaper is twisted individually.
So, we take one diaper and turn it into a tube, starting from the outer edge. We tie it with an elastic band so it does not spin. This will be the center of the first tier, and you can also use a baby bottle as a base.
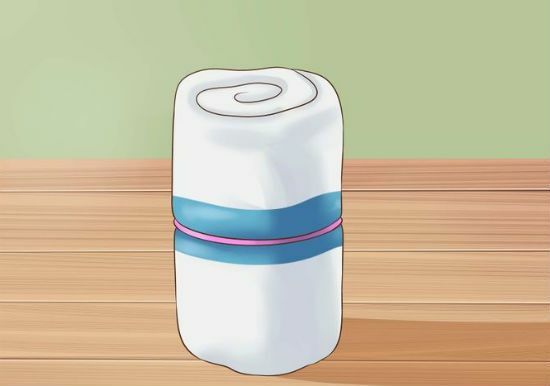
Next, we roll another seven diapers on the same principle and place them around the central diaper or bottle so that they all evenly settle. We tie all the diapers with an elastic band to keep them together. A circle should form from the twisted diapers. This is the top layer of the cake.
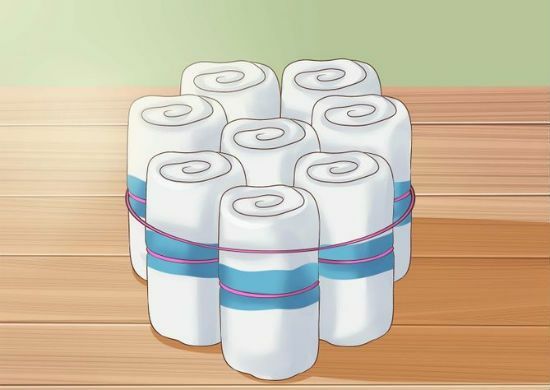
Next we make the center for the middle layer. It can also be a diaper, a bottle of lotion or any other object of an elongated shape that can be given to a baby. According to the scheme described above, we twist another 15 diapers and place them around the center, tying them with a large rubber band. The second tier is ready.
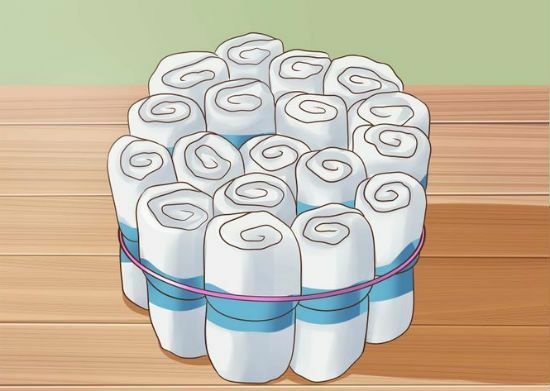
Similarly, we make the center for the lower layer( a diaper, a twisted diaper or a toy).We twist 30 diapers, not forgetting to put rubber on each. We arrange them evenly around the center and we tie them with a big elastic band.
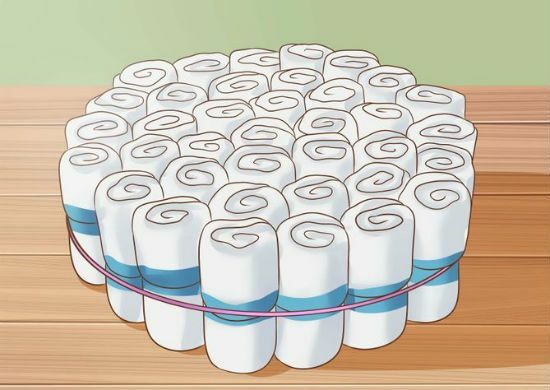
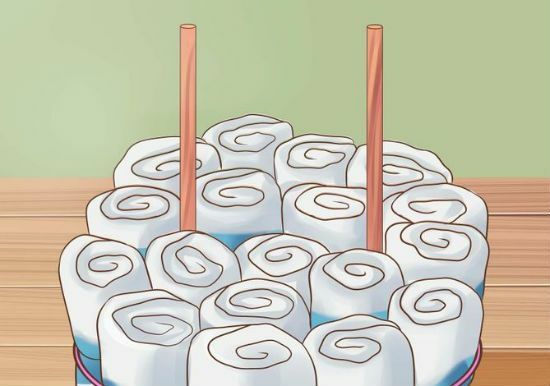
Tiers of cake are fastened together with two wooden keys, which we insert into the bottom layer. Then we put on them the second and third layer. Make sure that the dowels pass between the diapers, and not through them.
Now we are going to decorate the cake. We need a base for cake, you can make them a thick cardboard or buy a ready-made base in the culinary department.
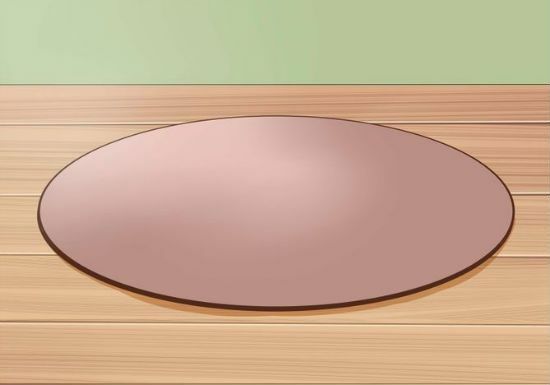
Place the cake on a stand and wrap each tier with decorative tape to hide all the gums. Cut the tape so long that one end of it is slightly overlapped. The two ends of the tape are fastened together with a double-sided tape.
For a more beautiful look, the layers can be decorated with different ribbons or wrapped first with a wide, and then on top, put on a tape thinner, of a different contrasting color.
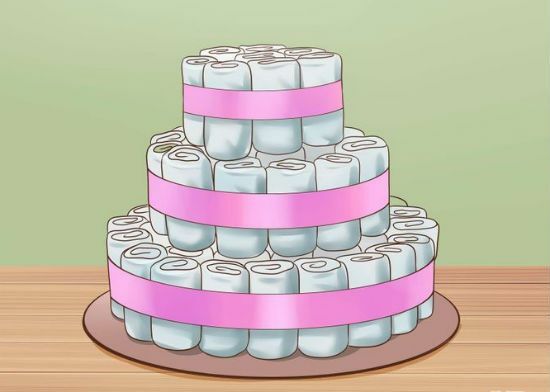
At this stage, you can decorate the cake with additional gifts and decor. Do not forget that if you make a cake for diapers for a boy, then use a blue, green or blue color scheme.
To ensure that the diapers do not get dirty during transportation, wrap the cake in the packing polyethylene and secure it at the top with a bow.
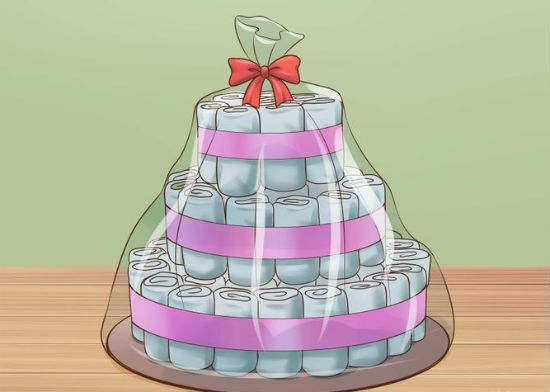
That's it, your original gift is ready.
