Would you like to be able to create unique things or transform existing ones? Transform them into gold or old relics? The answer is sure to be positive. You, of course, may seem that for this you need to be born a magician or for many years to learn from the best professors of alchemy, but no, it is enough to discover the amazing technique of needlework - paper art.
- Basics of
- Technique Ready-made works - examples
- Making paper-art bottles
Basics of
technique Literally the name of this kind of creativity translates as "paper art".But this does not mean that only paper is used in the framework of technology. The second important raw material in it is polymeric clay.
Paper-art is a unique art, which is ten years old, not more. Now it is definitely impossible to say who its founder is. But most of the innovators-handymasters within it live exactly in our country. So, it is quite possible that it originated in Russia.
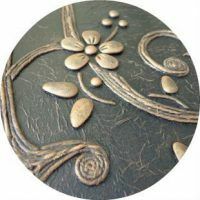
What is the peculiarity of this creativity? Paper-art allows you to transform almost any thing of everyday life: glass and wood products, beyond recognition, with its main advantage - with the help of this technique you can simulate various effects, for example, carving or chasing metal, which, you agree, is notwill make every second. And for these purposes, basically, you will need only polymer clay and paper in the form of thin napkins.
Additional tools and materials will also be needed: scissors, brushes, PVA glue, clay cutting patterns, tweezers, sprayers or paints with interesting effects( for gold, silver, pearls, bronze, wood, etc.).This is basic. But there is also decorative material. For example, for the installation and enrichment of the composition artificial artificial stones, wire, beads and the same kind of decorative material can be useful.
In our master class you will only get acquainted with the basics of this creativity, so the examples made by hand are quite simple and will take you no more than an hour. Your task is to evaluate the possibilities of technology and understand what ultimately can create amazing masterpieces with its help.
to the table of contents ^Ready-made works - examples
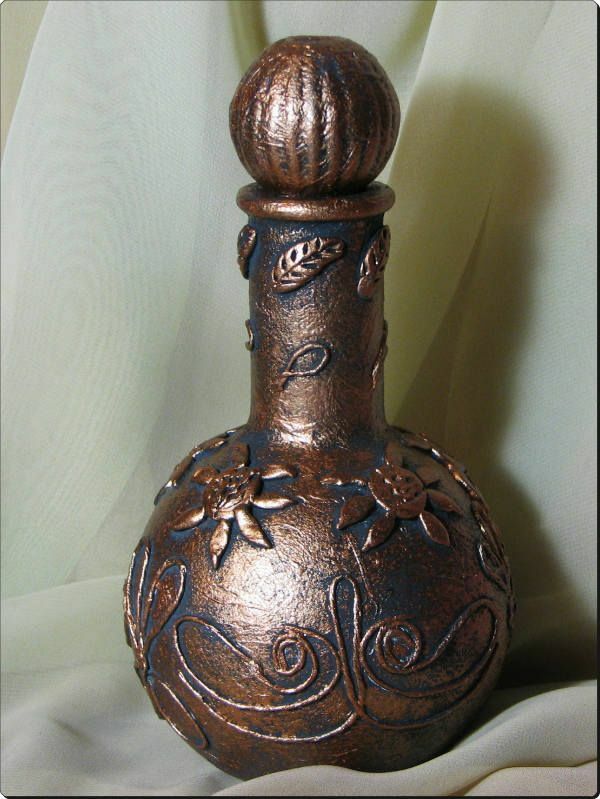
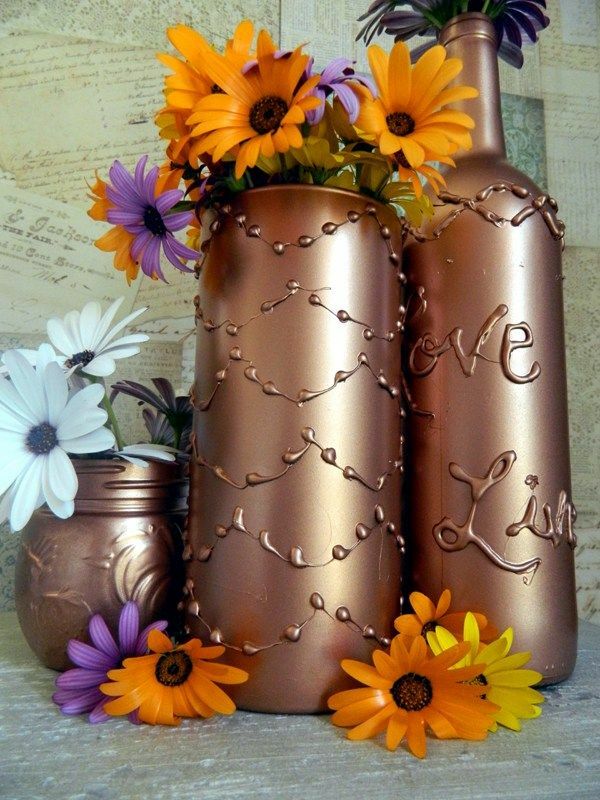
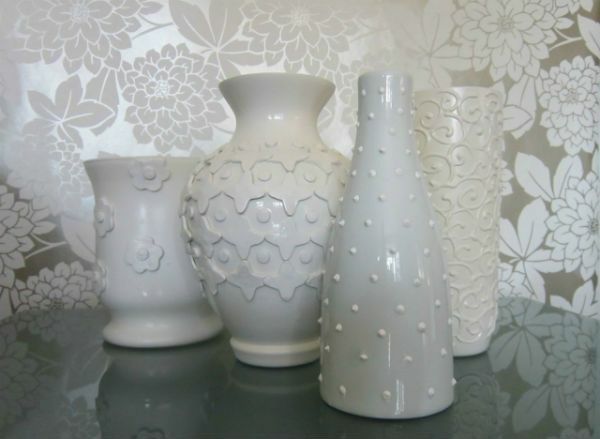
Thanks to the master class you can be sure that you can really create real magic with your own hands in the technique of paper art really. And from an ordinary bottle you can create an amazing medieval decanter, and make an old cardboard box, with effort, into a wonderful golden casket or a spectacular embossed jewelry box.
When you are equipped with paper art technology, you can easily arrange any object, whether it's utensils, vases, candlesticks, flower pots, photo frames, mirrors or even your favorite laptop.
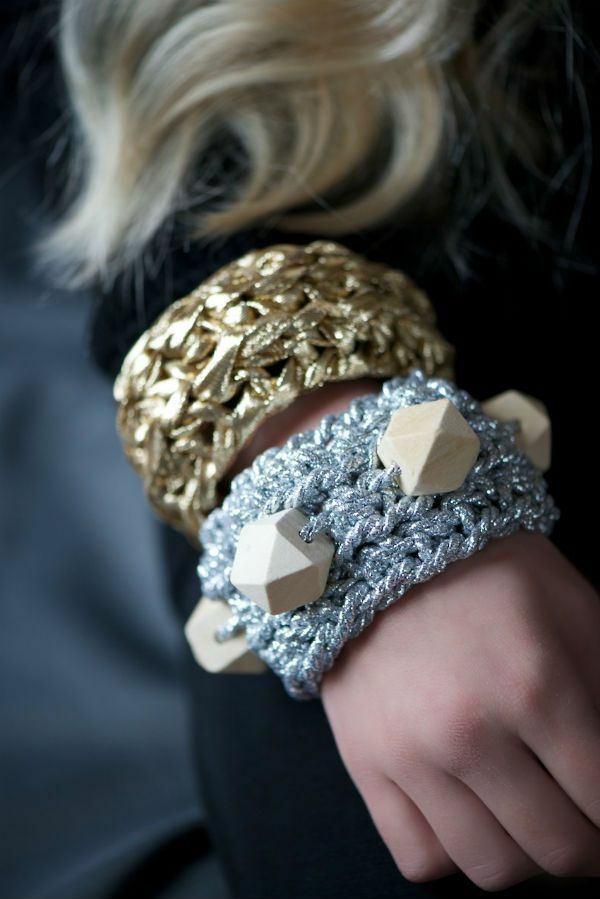
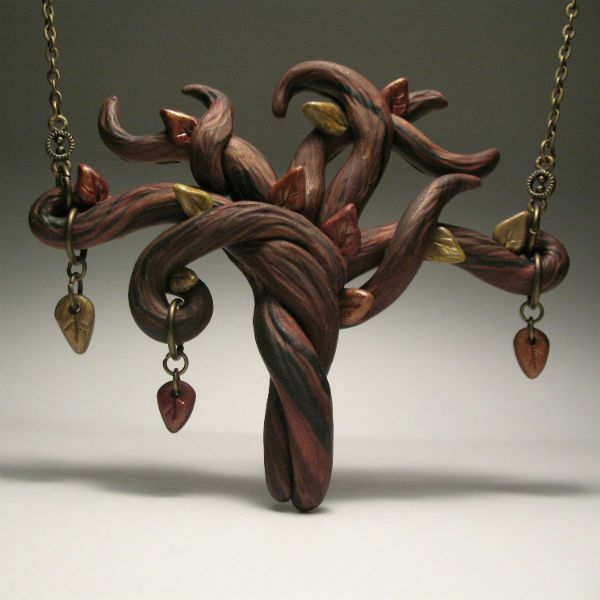
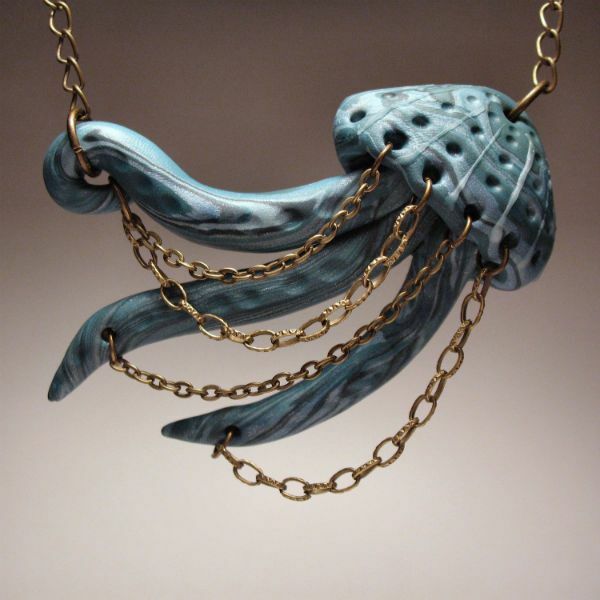
A little imagination, a little work and you will learn how to get unique bracelets, earrings or medallions, decorated for lace, leather, silver and gold.
Exclusive diary, the cover of which is decorated with patterns of napkin plastic will be a wonderful gift for friends to any holiday.
With a great desire, having enough free time, you can decorate with paper art and larger objects: chest of drawers, dressing table, headboard.
Also thanks to this marvelous technique, you can add brightness and individuality to your house's statuettes of animals or sculpt absolutely new figures.
There is no limit to your imagination and the technique of paper art. Try and, perhaps, you too will become a fan of this wonderful kind of needlework.
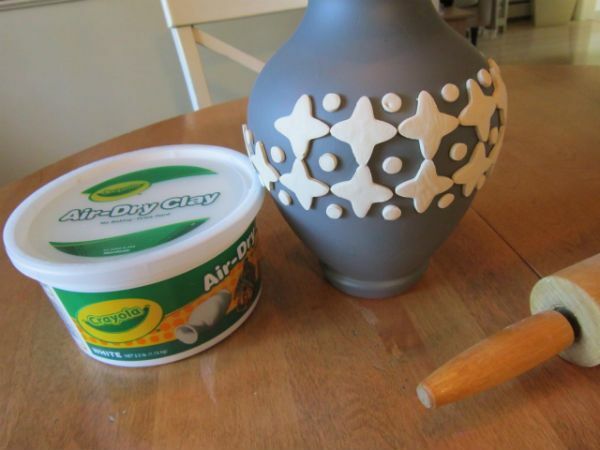
Making a paper-art bottle
First of all, pick up a thing that you will decorate. In our case, these are four packagings of glass, different in their purpose. At the very beginning, they do not look enviable, but, believe me, at the end of processing, their appearance will be radically transformed and enriched.
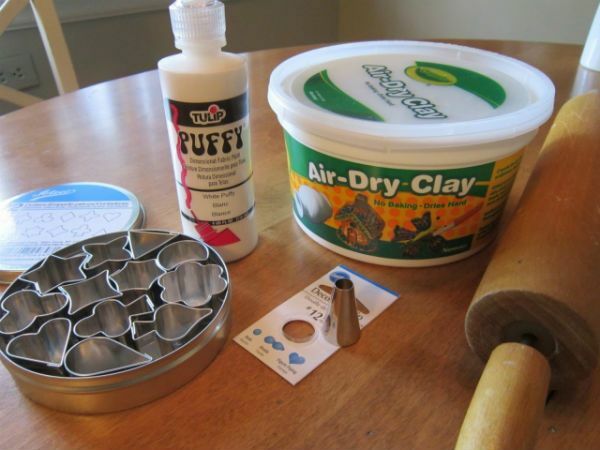

Start with the arrangement of the workplace. All instruments and materials must be at hand.
If you have already worked with polymer clay, then please note, in this caseit can not be sent to dry, but if there is such a possibility - dry all the details in the oven for 15 minutes at a temperature of not less than 180 degrees Celsius. When everything is ready, you can proceed.
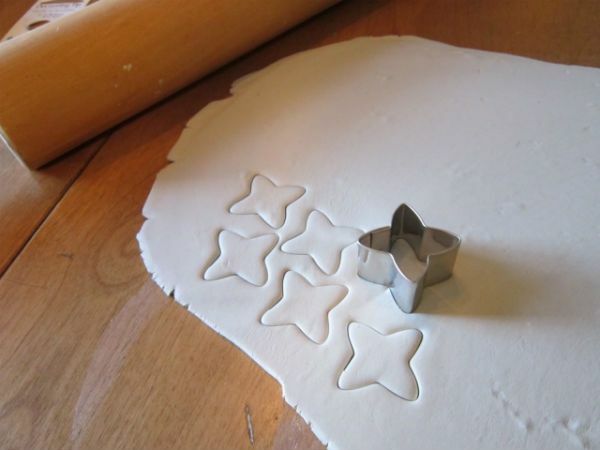
Wipe the item being decorated with a cotton swab dipped in alcohol to degrease the surface. After this, at your discretion, you can paste the surface of the object with pieces of napkins moistened in PVA in one or more layers. But this step is needed only if you want to achieve an uneven surface with final staining. When such goals are not, you can immediately begin to form elements of jewelry from clay and napkins.
For napkins. Wet hands with plain water, in which the adhesive is diluted( one to one ratio).And roll a piece of rope out of the napkin. From this rope, form curls and glue them to their rightful place.
The choice of ornaments and patterns in this case simply has no boundaries. But, it is worth considering what effect you want to get. For example, our subjects, shown in the photo for the lesson, are decorated for metal, that is, chasing metal. At the end, when all elements are glued, they are covered with a spray of the appropriate metallic color( copper).You can experiment both with the configuration of the elements of the composition, and with the final design.
After spraying has been applied, which, by the way, can be applied as a paint, it is also appropriate to apply a layer of varnish. But it will fit only when you make a tree decoration. For the idea of "under the metal", on the contrary, the matte coating is considered ideal.